链接下载:
操作环境
VMware虚拟机中CentOS 7.6
SecureCRT
Xftp(Xmanager)
需求分析
使用Apache服务实现访问http
操作步骤
1、挂载光盘
[root@localhost ~]# mount /dev/cdrom /mnt

查看是否挂载
[root@localhost ~]# df -Th

2、从源码包编译安装程序 (编译安装)
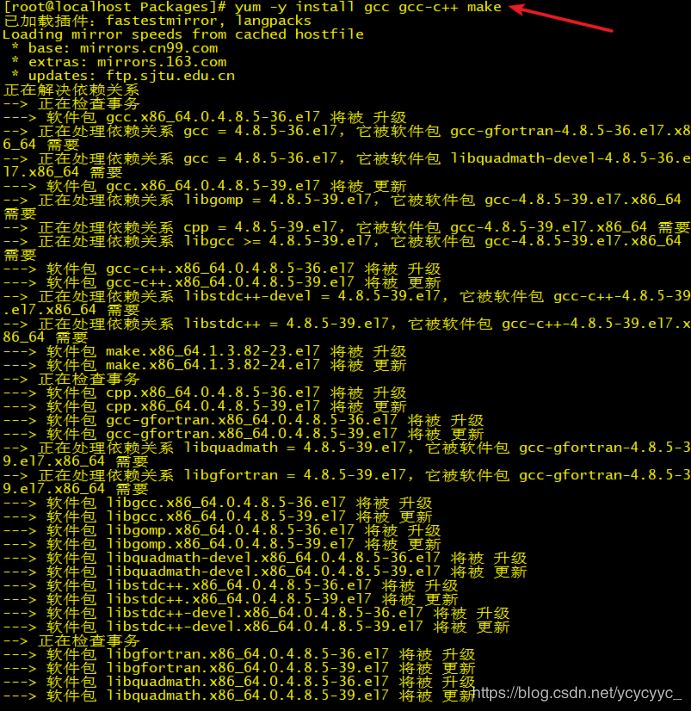
[root@localhost Packages]# yum -y install gcc gcc-c++ make
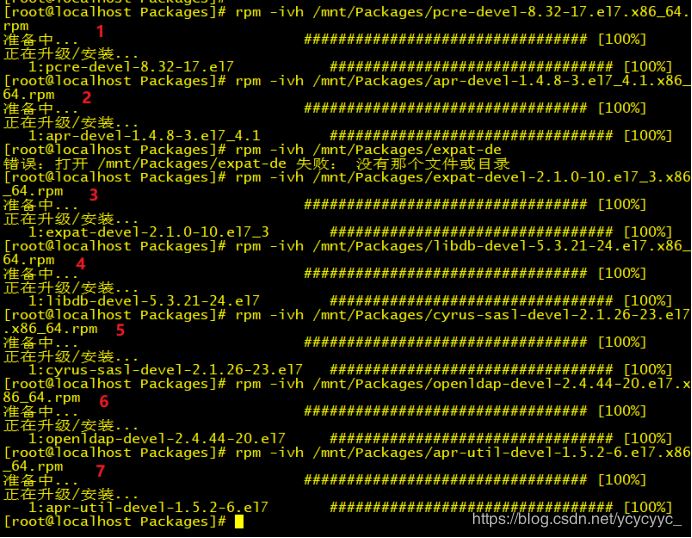
3、安装HTTP的依赖关系包,共7个包
[root@localhost Packages]# rpm -ivh /mnt/Packages/pcre-devel-8.32-17.el7.x86_64.rpm
[root@localhost Packages]# rpm -ivh /mnt/Packages/apr-devel-1.4.8-3.el7_4.1.x86_64.rpm
[root@localhost Packages]# rpm -ivh /mnt/Packages/expat-devel-2.1.0-10.el7_3.x86_64.rpm
[root@localhost Packages]# rpm -ivh /mnt/Packages/libdb-devel-5.3.21-24.el7.x86_64.rpm
[root@localhost Packages]# rpm -ivh /mnt/Packages/cyrus-sasl-devel-2.1.26-23.el7.x86_64.rpm
[root@localhost Packages]# rpm -ivh /mnt/Packages/openldap-devel-2.4.44-20.el7.x86_64.rpm
[root@localhost Packages]# rpm -ivh /mnt/Packages/apr-util-devel-1.5.2-6.el7.x86_64.rpm
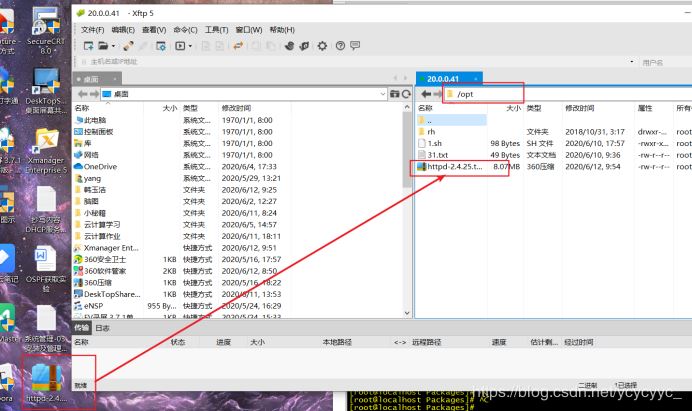
4、利用XFTP软件将http-2.4.25.tar.gz软件包放进Linux系统里面
打开Xmanager Enterprise软件

打开Xftp程序

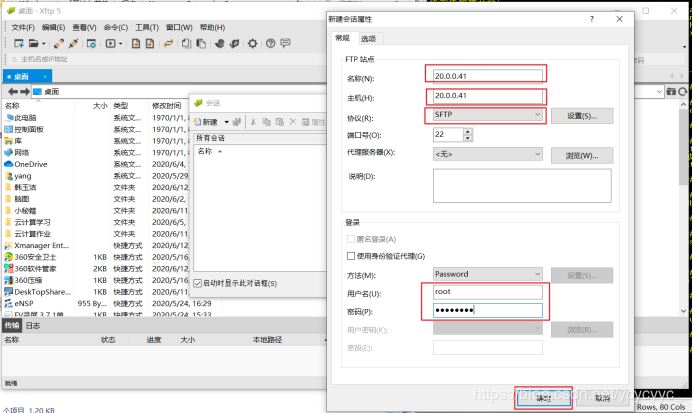
第一次使用的话要新建,名称和主机都填虚拟机的IP地址,协议改为SFTP,输入用户名和密码,点击确认关闭
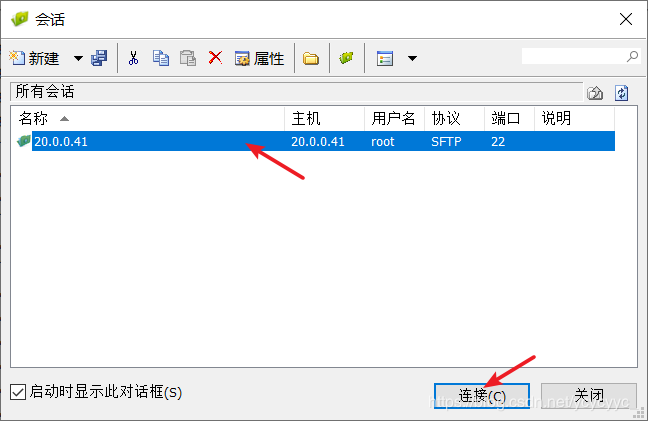
在会话选择20.0.0.41,点击连接
在上方路径框输入/opt,进入到opt文件中,将桌面上的httpd-2.4.25.tar.gz压缩包文件拖入到opt文件中
5、tar解包
切换到 /opt目录下
[root@localhost ~]# cd /opt
解压压缩包到C/opt下
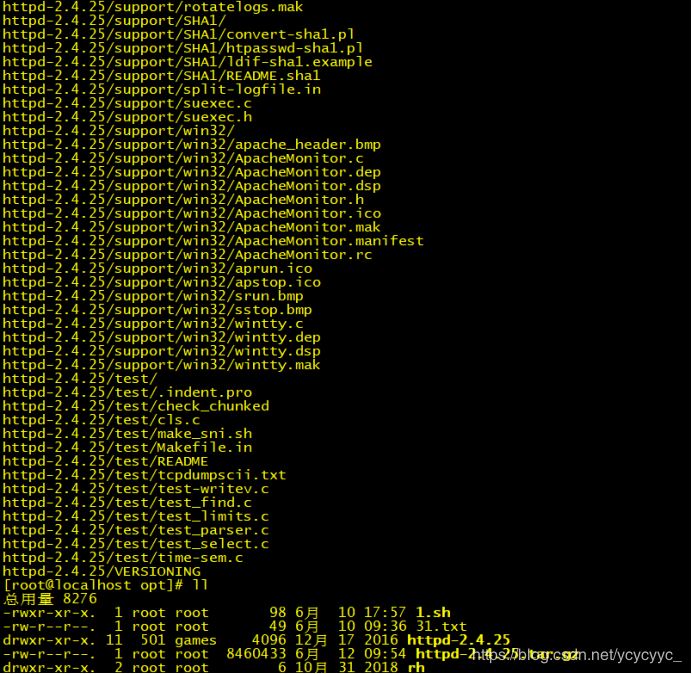
[root@localhost opt]# tar xzvf httpd-2.4.25.tar.gz -C /opt
ll查看一下,已经存在了
[root@localhost opt]# ll
6、./configure配置
进入httpd-2.4.25目录
[root@localhost opt]# cd httpd-2.4.25/
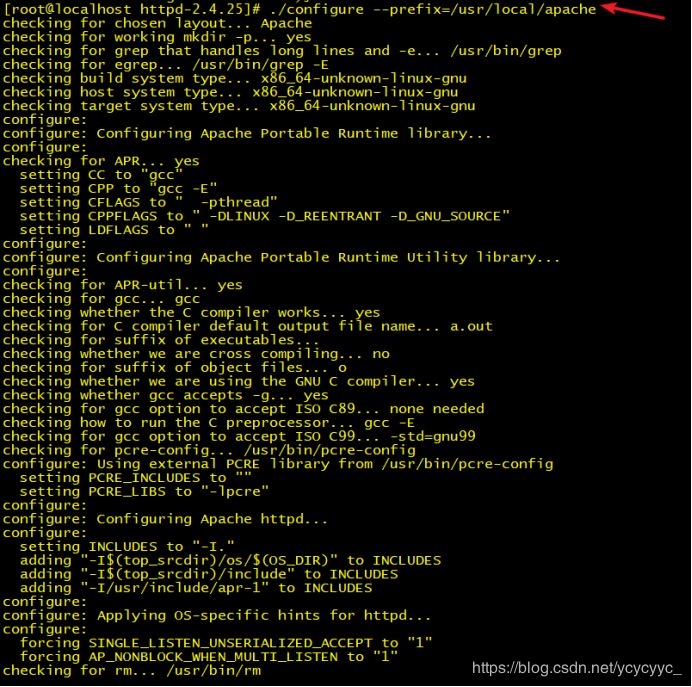
配置./configure,这里添加了安装的路径
[root@localhost httpd-2.4.25]# ./configure --prefix=/usr/local/apache
7、make编译
转换成能够识别的二进制文件
[root@localhost httpd-2.4.25]# make
8、make install 安装
将软件的执行程序、配置文件、帮助文档等相关文件复制到 Linux 操作系统中
[root@localhost httpd-2.4.25]# make install
9、使用
进入/usr/local/apache/bin/目录
[root@localhost httpd-2.4.25]# cd /usr/local/apache/bin/
修改配置文件
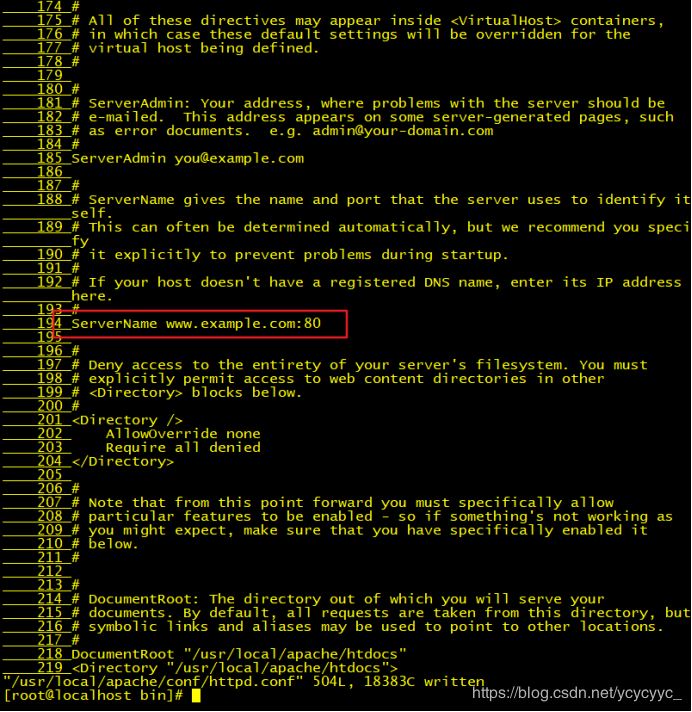
[root@localhost bin]# vi /usr/local/apache/conf/httpd.conf
按i进入编辑模式,按 :set nu将文本标注行号,按 :194 定位到194行,将194行的第一个字符 # 号键删除,即为开启80服务协议
启动apachectl 服务,要敲两次!一次成功不了
[root@localhost bin]# ./apachectl start
[root@localhost bin]# ./apachectl start

安装客户端浏览器
[root@localhost bin]# rpm -ivh /mnt/Packages/lynx-2.8.8-0.3.dev15.el7.x86_64.rpm
这个是客户端的浏览工具
[root@localhost bin]# lynx 127.0.0.1

关闭虚拟机防火墙服务
[root@localhost bin]# systemctl stop firewalld.service

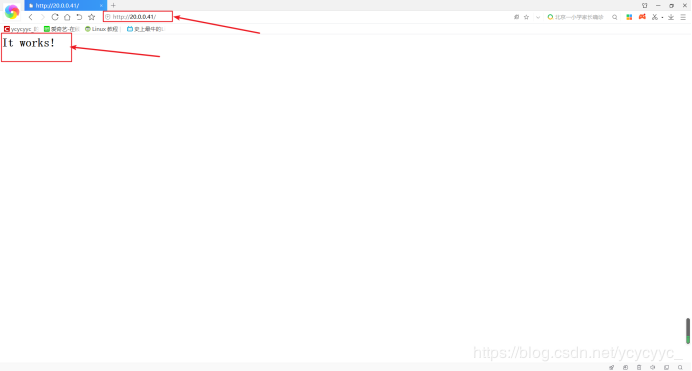
进入电脑网页,输入虚拟机IP地址
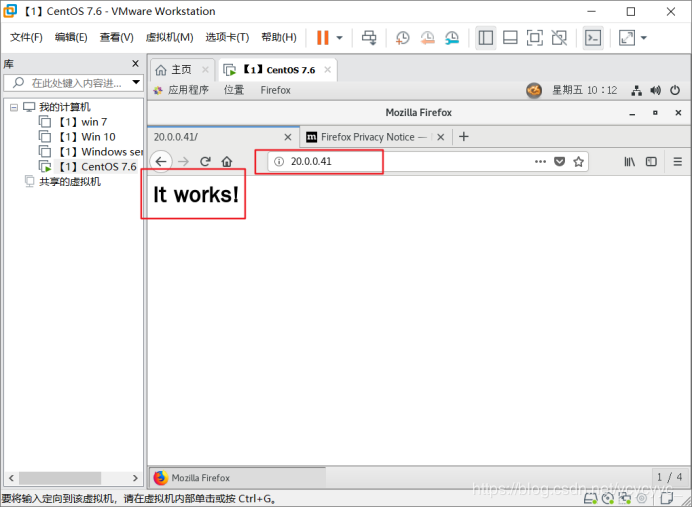
进入虚拟机中再确认一下
总结
到此这篇关于如何在Linux操作系统下安装Apache服务的方法实例详解的文章就介绍到这了,更多相关linux 下安装apache服务内容请搜索易盾网络以前的文章或继续浏览下面的相关文章希望大家以后多多支持易盾网络!
