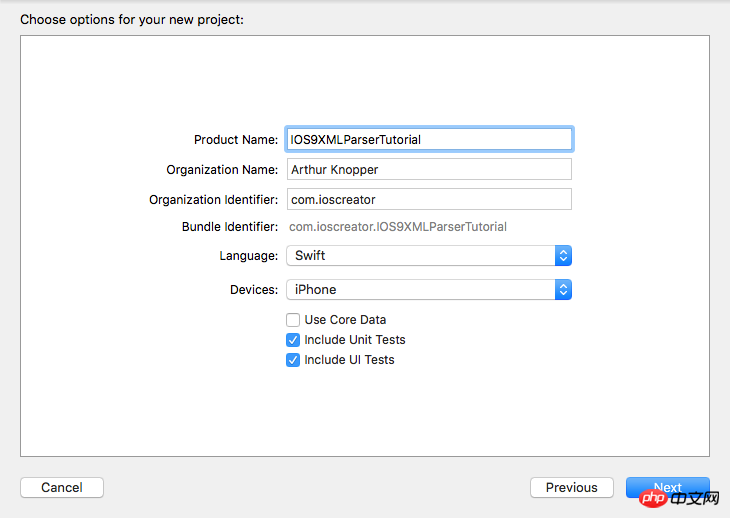
打开 Xcode 并且新建一个单视窗应用。名字就叫 IOS9XMLParserTutorial,组织名字和组织标识自己定。语言选 Swift,设备只选 iPhone。
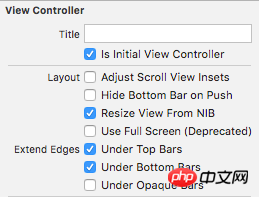
把 View Controller 从 Storyboard 中移除,并拖一个 Navigation Controller 到空的画板里。这个 Navigation Controller 会自动携带一个 Table View Controller。当你把初始的 View Controller 删除时相应的故事板起点也被移除了。所以我们先选中新添加的 Navigation Controller 在 Attribute Inspector 的 "Is Initial View Controller" 复选框打上勾作为新的故事板起点。
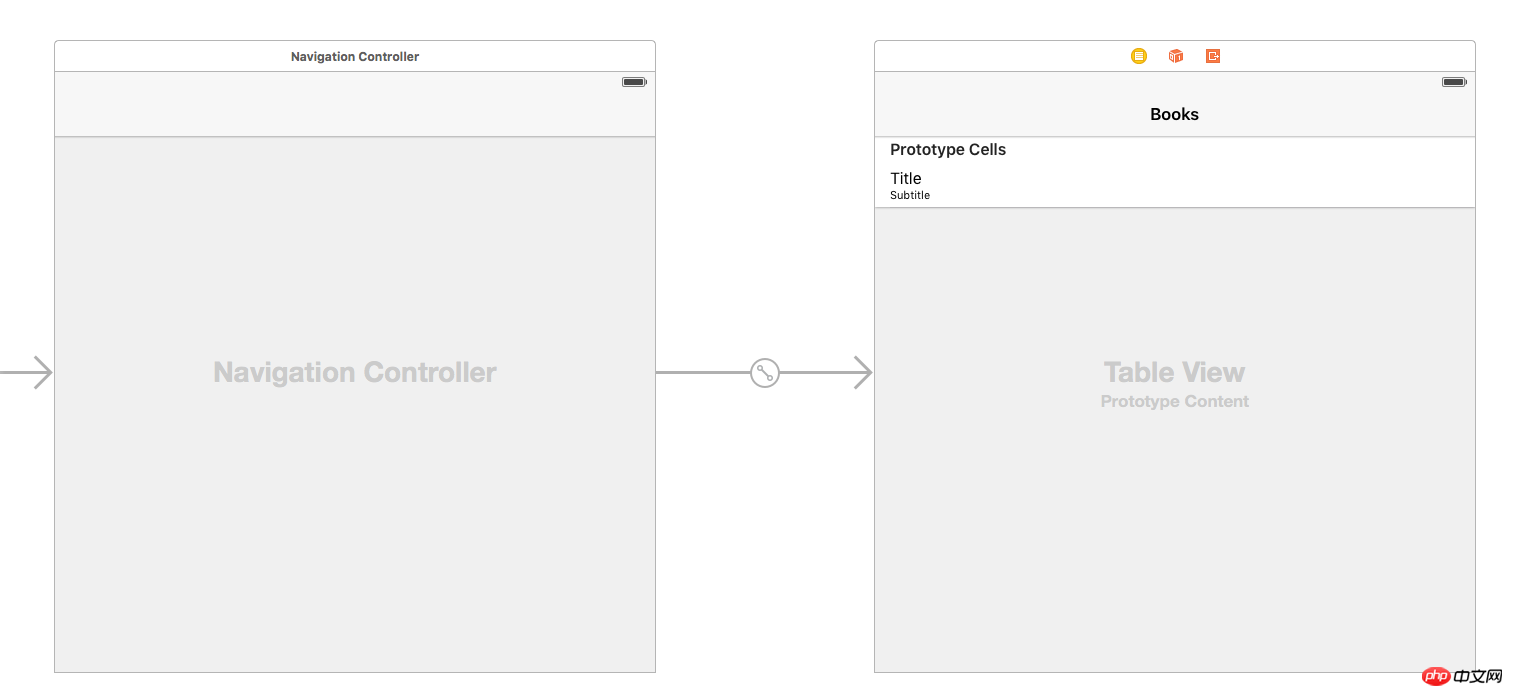
双击 able View Controller 的 Title Bar 将其设置为 “Books”。选择 Table View Cell 然后在 Attributes Inspector 中将它的 Style 属性设为 Subtitle。

Storyboard 长这样
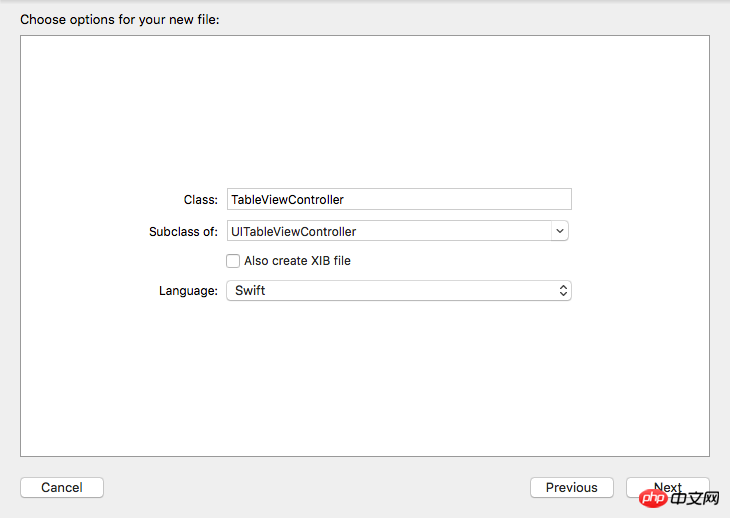
既然我们删除了初始 View Controller ,ViewController.swift 也可以一起删除了。选择 iOS->Source->Cocoa Touch Class 添加一个新的文件,命名为 TableViewController,并且设置它为 UITableViewController 的子类。
前往 Storyboard 中选中 Table View Controller,在 Identity inspector 中将 Custom Class 部分设置为 TableViewController。

选择 iOS->Source->Swift File,添加一个新的文件。命名为 Books.xml
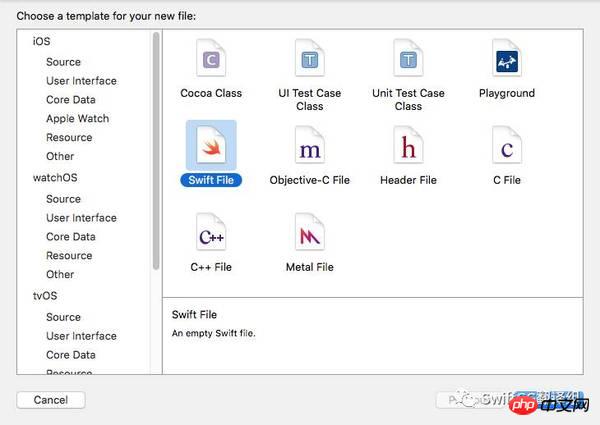
打开 Books.xml 替换成以下代码
<?xml version="1.0"?>
<catalog>
    <book id="1">
        <title>To Kill a Mockingbird</title>
        <author>Harper Lee</author>
    </book>
    <book id="2">
        <title>1984</title>
        <author>George Orwell</author>
    </book>
    <book id="3">
        <title>The Lord of the Rings</title>
        <author>J.R.R Tolkien</author>
    </book>
    <book id="4">
        <title>The Catcher in the Rye</title>
        <author>J.D. Salinger</author>
    </book>
    <book id="5">
        <title>The Great Gatsby</title>
        <author>F. Scott Fitzgerald</author>
    </book>
</catalog>
选择 iOS->Source->Swift File 添加新的文件作为 xml 文件中不同项的数据模型。我们叫它 Book.swift,并替换成以下代码
import Foundation

class Book {
    var bookTitle: String = String()
    var bookAuthor: String = String()
}
前往 tableViewController.swift 文件,添加以下变量。
var books: [Book] = []
var eName: String = String()
var bookTitle = String()
var bookAuthor = String()
将 viewDidLoad 方法复写为
override func viewDidLoad() {
    super.viewDidLoad()

    if let path = NSBundle.mainBundle().URLForResource("books", withExtension: "xml") {
        if let parser = NSXMLParser(contentsOfURL: path) {
            parser.delegate = self
            parser.parse()
        }
    }
}
NSXMLParser 对象解析 bundle 中的 books.xml 文件。添加以下 table View 的数据源及委托方法
override func numberOfSectionsInTableView(tableView: UITableView) -> Int {
    return 1
}

override func tableView(tableView: UITableView, numberOfRowsInSection section: Int) -> Int {
    return books.count
}

override func tableView(tableView: UITableView, cellForRowAtIndexPath indexPath: NSIndexPath) -> UITableViewCell {
    let cell = tableView.dequeueReusableCellWithIdentifier("Cell", forIndexPath: indexPath)

    let book = books[indexPath.row]

    cell.textLabel?.text = book.bookTitle
    cell.detailTextLabel?.text = book.bookAuthor

    return cell
}
所有书的标题和作者数据会保存在 books 数组中并且由 Table View 呈现。接着,实现 NSXMLParser 的委托方法。
// 1
func parser(parser: NSXMLParser, didStartElement elementName: String, namespaceURI: String?,
qualifiedName qName: String?, attributes attributeDict: [String : String]) {
    eName = elementName
    if elementName == "book" {
        bookTitle = String()
        bookAuthor = String()
    }
}

// 2
func parser(parser: NSXMLParser, didEndElement elementName: String, namespaceURI: String?, qualifiedName qName: String?) {
    if elementName == "book" {

    let book = Book()
    book.bookTitle = bookTitle
    book.bookAuthor = bookAuthor

    books.append(book)
    }
}

// 3
func parser(parser: NSXMLParser, foundCharacters string: String) {
    let data = string.stringByTrimmingCharactersInSet(NSCharacterSet.whitespaceAndNewlineCharacterSet())

    if (!data.isEmpty) {
        if eName == "title" {
            bookTitle += data
        } else if eName == "author" {
            bookAuthor += data
        }
    }
}
该方法在解析对象碰到 "<book>" 的起始标签时出触发
该方法在解析对象碰到 "<book>" 的结尾标签时出触发
这里解析过程真正执行。标题和作者标签会被解析并且相应的变量将会初始化。
构建并运行项目。在 TableViewController 中能看到所有书的标题和作者。
以上就是详细介绍XML解析(图文)的详细内容,更多请关注自由互联其它相关文章!
