该配置用于vue开发,最终效果是保存时自动根据eslint对js、html和css代码进行格式化。
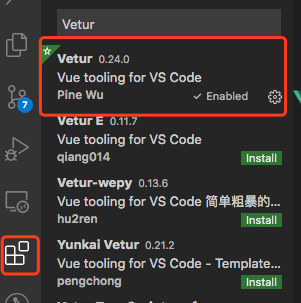
vscode Vetur插件
Vetur插件用于识别vue文件,原本vetur自带格式化功能,但是和eslint会有冲突,所以没用上。
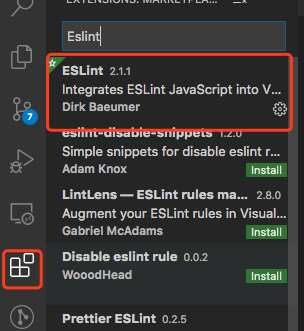
vscode ESlint插件
Eslint插件用于根据工程目录的.eslintrc.js配置文件在编辑器中显示一些错误提示,后面的自定格式化根据这里的错误提示进行格式化操作。
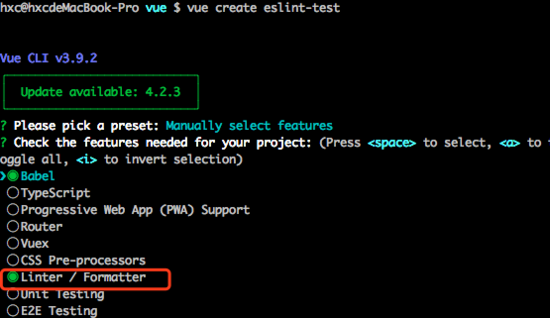
基于vue-cli创建的项目 以下相关步骤需要注意:
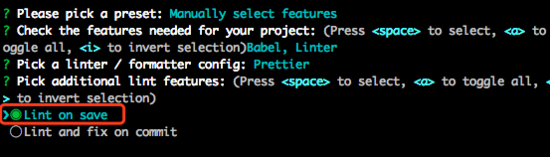
创建的时候把Linter/Formatter选上(默认已选上)
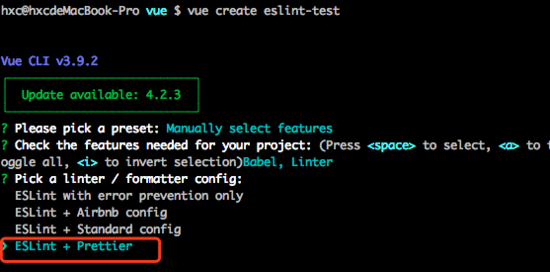
下一步选择Eslint+Prettier
下一步选择Lint on save (在编辑保存之后根据对代码格式进行检测)
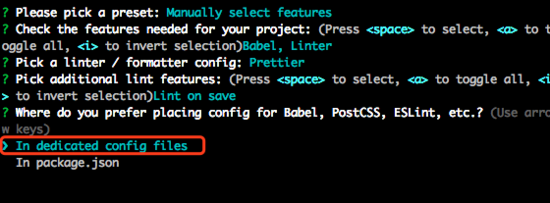
下一步选择In dedicated config files(将eslint和prettier的配置抽离到独立的文件中)
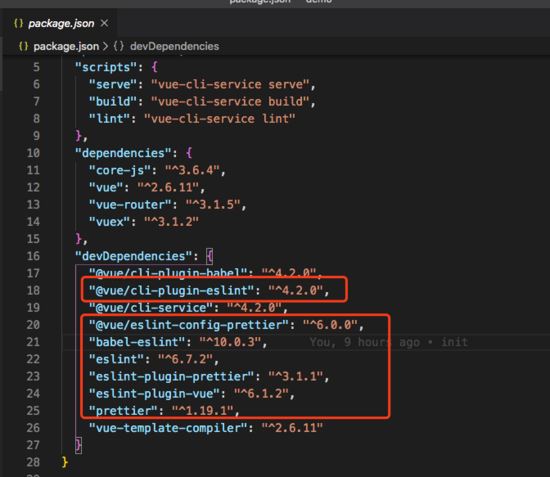
创建完在package.json里面可看到和eslint与prettier相关的依赖
在.eslintrc.js可以看到总体的eslint规则合并了vue、eslint和prettier的一些插件库进行语法分析(eslint针对js,vue、prettier针对js、html和css,这里eslint和prettier的一些冲突已经处理)
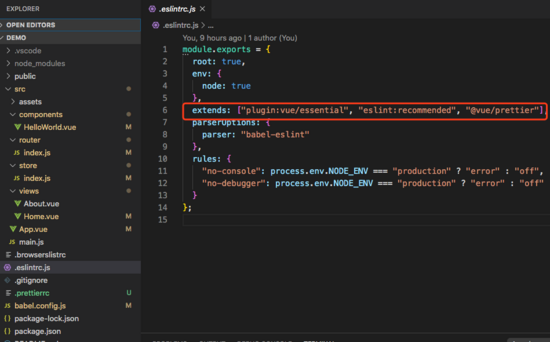
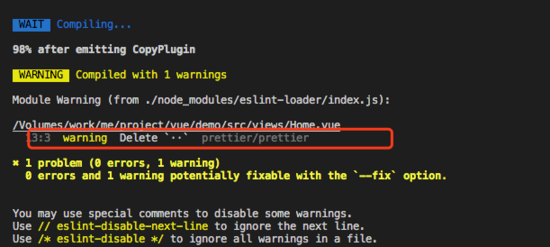
到这一步,编译的时候就能看到eslint报错和警告了,但是还不能实现保存自动格式化功能。
在文件根目录下创建.prettierrc对prettier格式化进行自定义规则设置,以下为我添加的规则
{
 /* 单引号包含字符串 */
 "singleQuote": true,
 /* 不添加末尾分号 */
 "semi": false,
 /* 在对象属性添加空格 */
 "bracketSpacing": true,
 /* 优化html闭合标签不换行的问题 */
 "htmlWhitespaceSensitivity": "ignore"
}
在用户设置添加自定义设置
mac中的位置
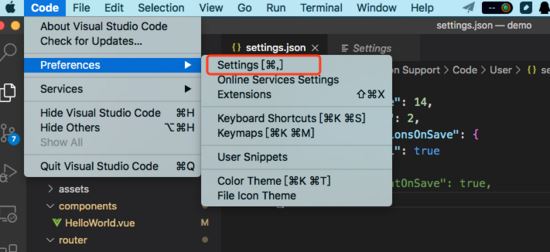
根据需要选择全局(User)或者工程(Workspace)的配置,点击右上角的编辑按钮,打开settings.json文件

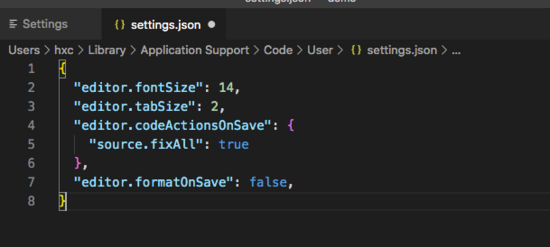
添加以下配置,使编辑器在保存时自动eslint规则格式化
"editor.codeActionsOnSave": {
 "source.fixAll": true
},
/* 关闭编辑器自带保存格式化功能,此功能会用Vetur进行格式化。*/
"editor.formatOnSave": false
这是我自己的自定义配置
非vue-cli创建的项目
单独引入以下红框中的几个依赖
添加vscode Vetur和ESlint, .eslintrc.js、.prettierrc 和 settings.json的内容和上面一样,这样就可以实现保存自动根据eslint进行格式化了。
总结
引入eslint、vue和prettier的一些相关的依赖
@vue/cli-plugin-eslint
@vue/eslint-config-prettier
babel-eslint
eslint
eslint-plugin-prettier
eslint-plugin-vue
prettier
- 安装vscode Vetur和ESlint插件
- 配置.eslintrc.js文件
- 配置.prettierrc文件
- 配置.settings.json文件
到此这篇关于vscode 配置vue+vetur+eslint+prettier自动格式化功能的文章就介绍到这了,更多相关vscode vue vetur eslint prettier内容请搜索易盾网络以前的文章或继续浏览下面的相关文章希望大家以后多多支持易盾网络!