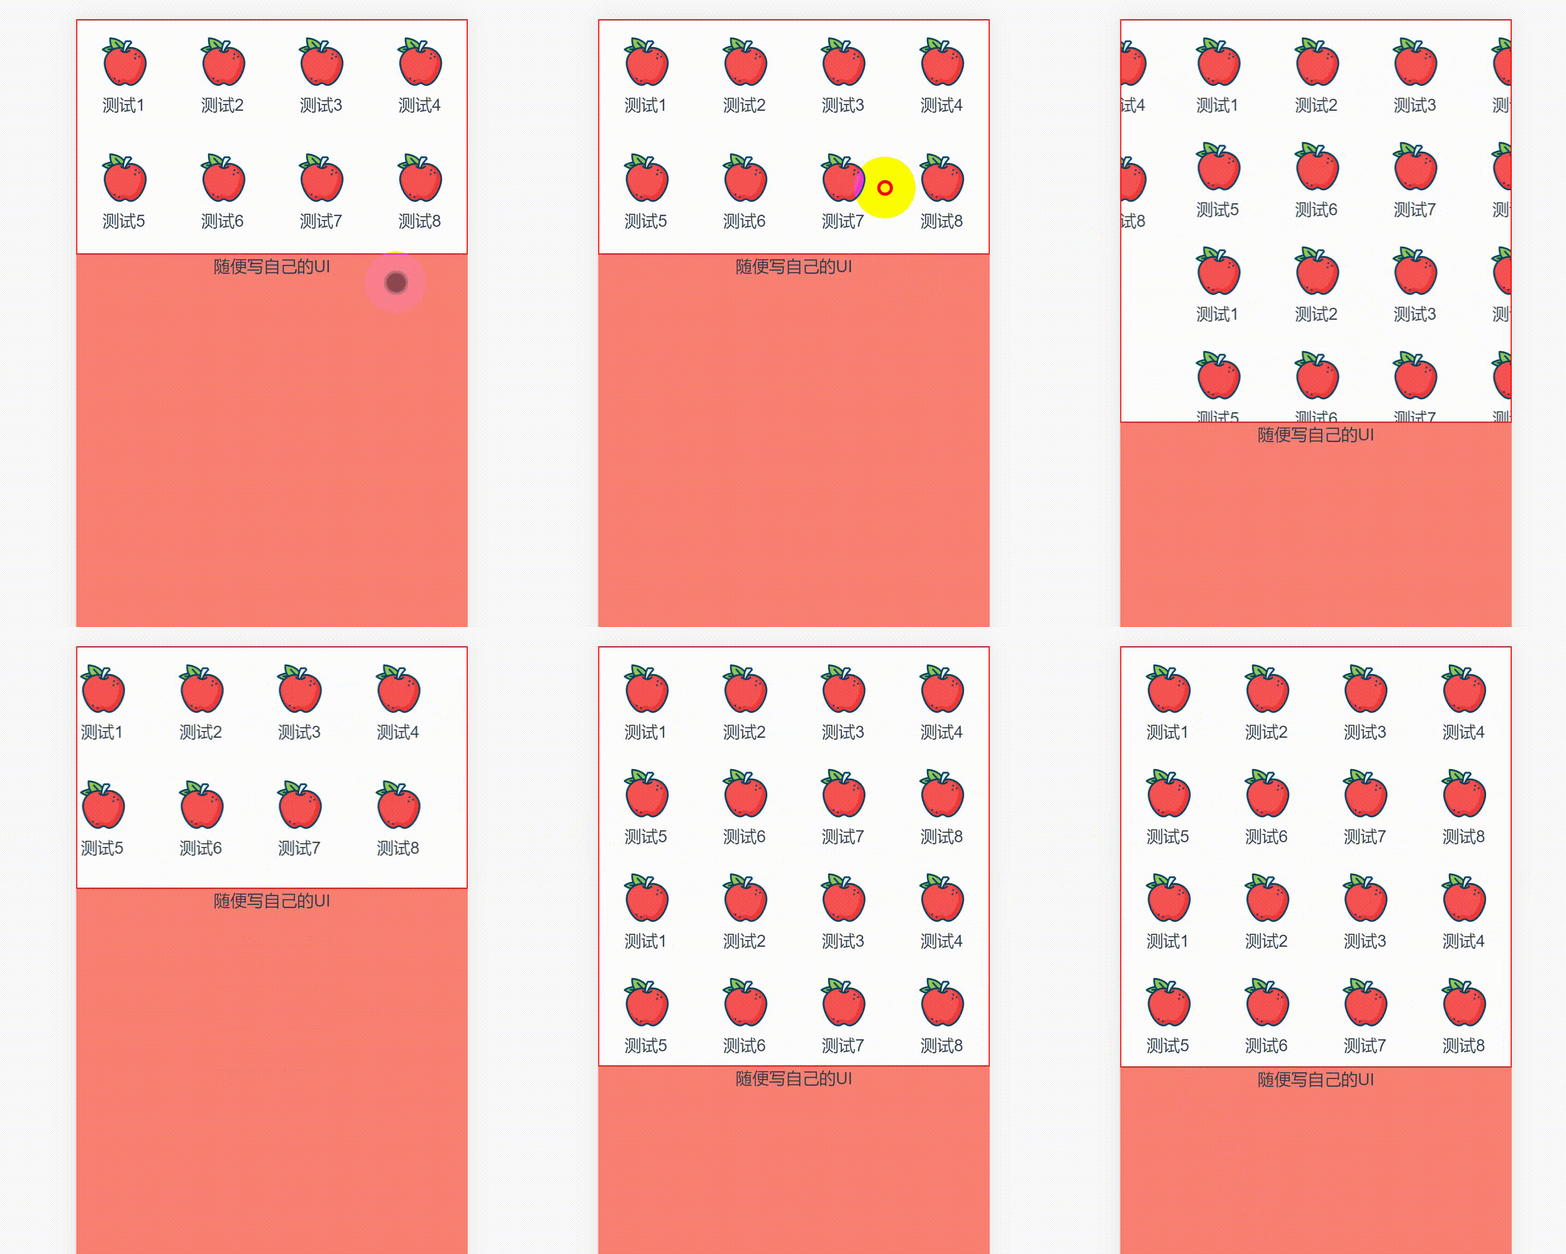
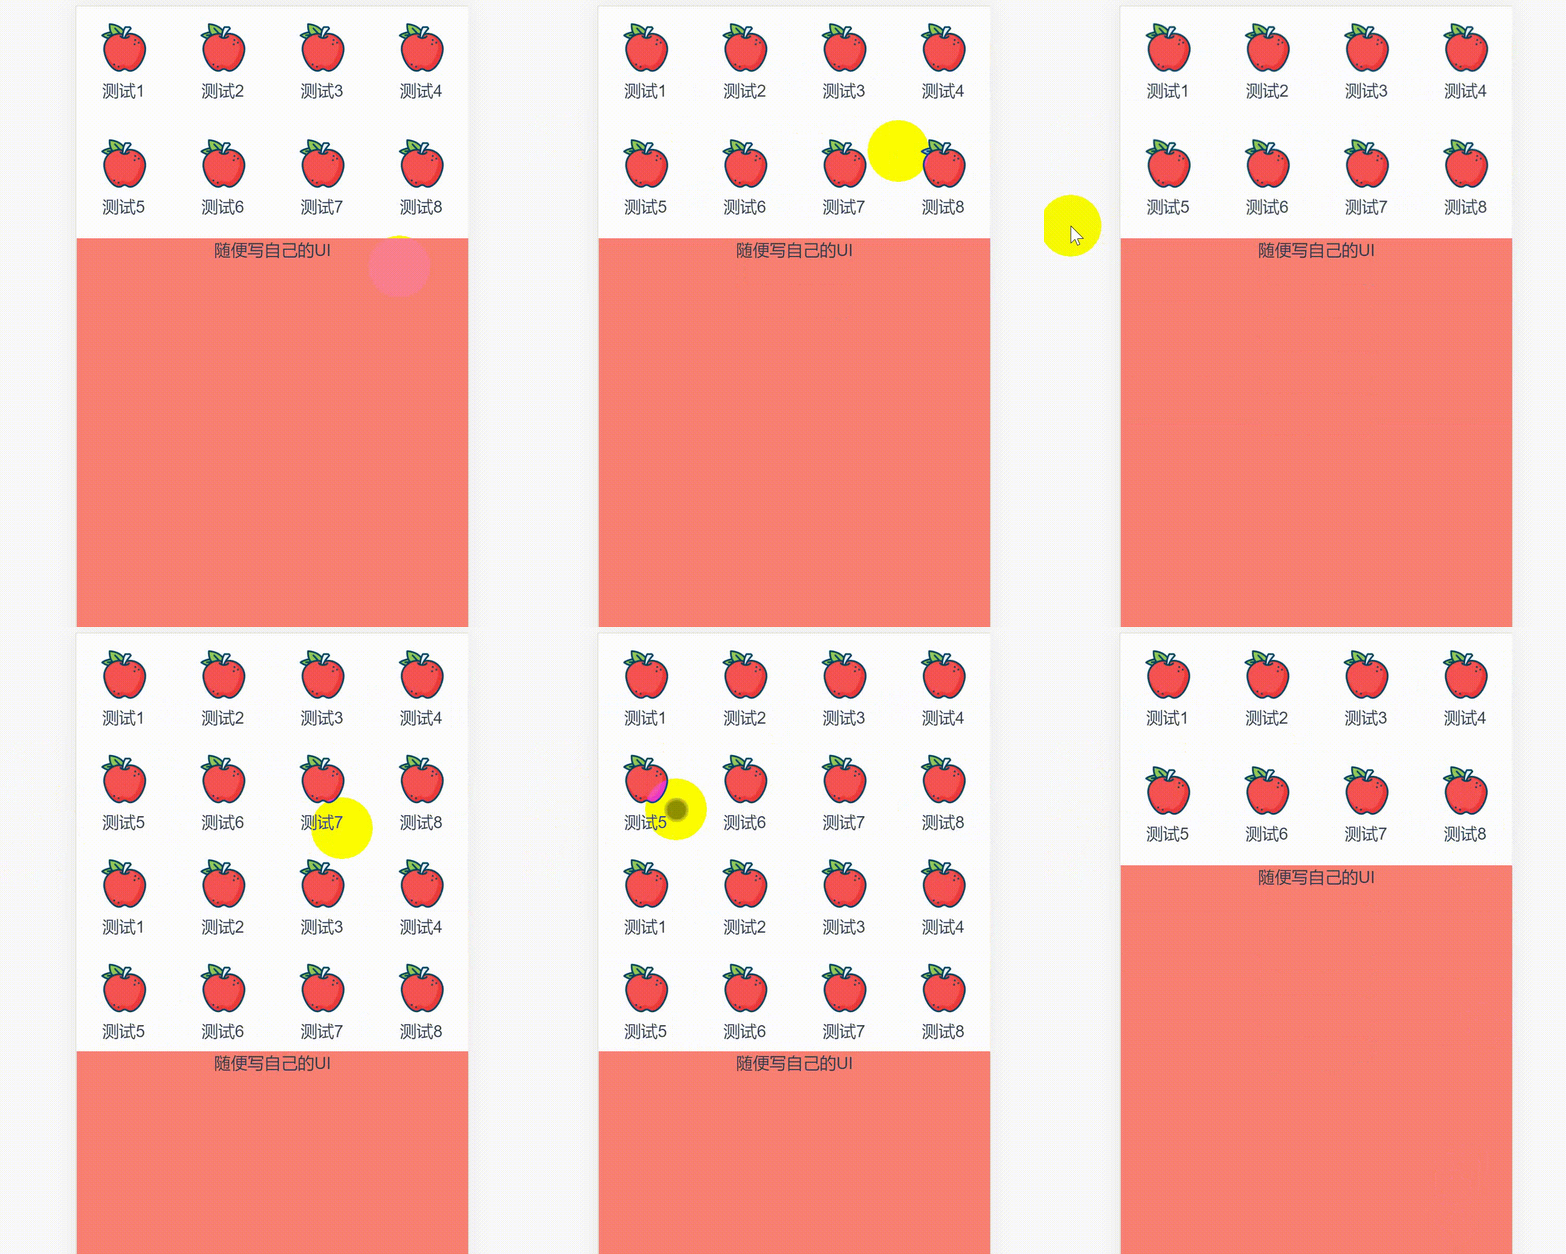
先看案例,使用vue+swiper实现,slide不同高度时,动态计算盒子高度,让其下方高度自适应的效果 首先搭建vue项目,这里不做过多说明,然后安装swiper npm install swiper --save-dev 1. js部分:初
先看案例,使用vue+swiper实现,slide不同高度时,动态计算盒子高度,让其下方高度自适应的效果

首先搭建vue项目,这里不做过多说明,然后安装swiper
npm install swiper --save-dev
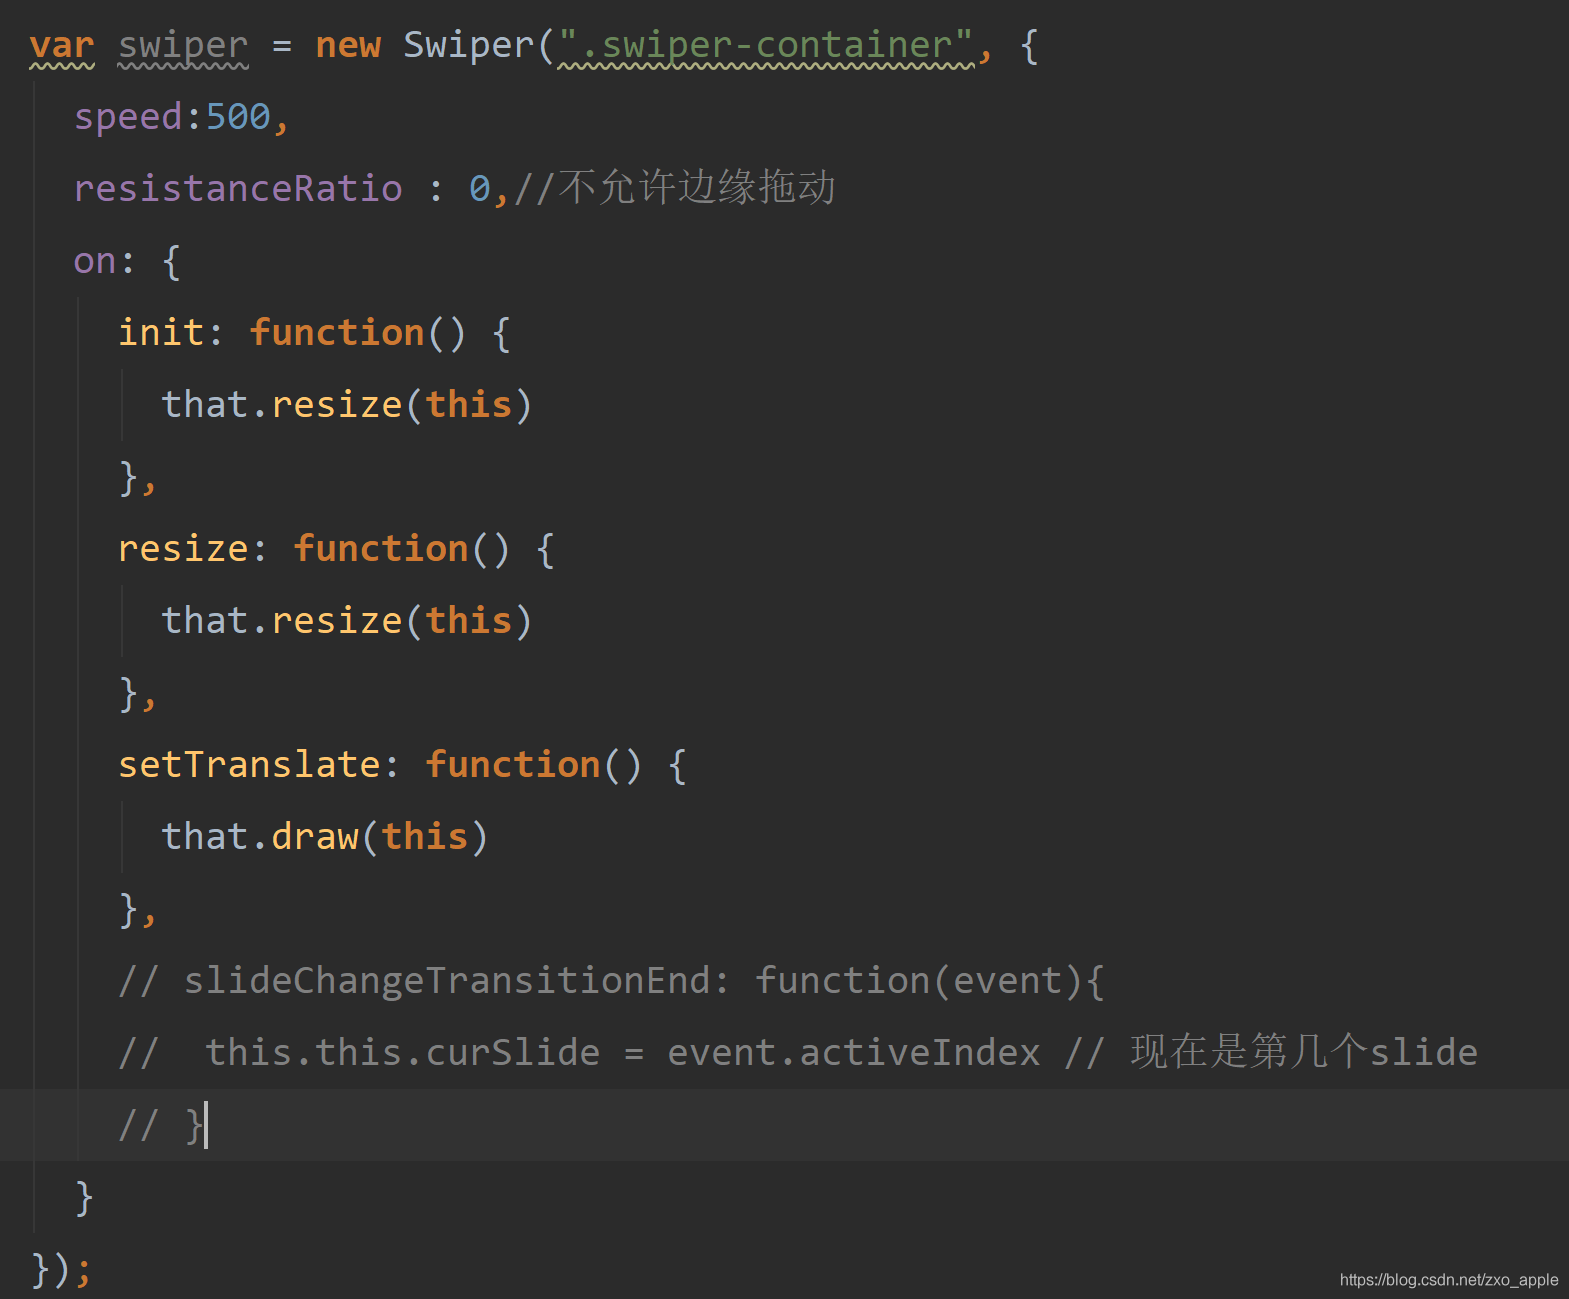
1. js部分:初始化swiper组件,vue要在mounted生命周期中进行初始化,代码如下:
import Swiper from 'swiper'
import { TweenMax, Power2 } from 'gsap'

初始化时调用resize函数,计算屏幕容器的宽高,代码如下
// 重新计算屏幕宽高
resize(swiper) {
	this.clientWidth = document.documentElement.clientWidth||document.body.clientWidth;
	this.clientHeight = document.documentElement.clientHeight||document.body.clientHeight;
	this.draw(swiper)
},
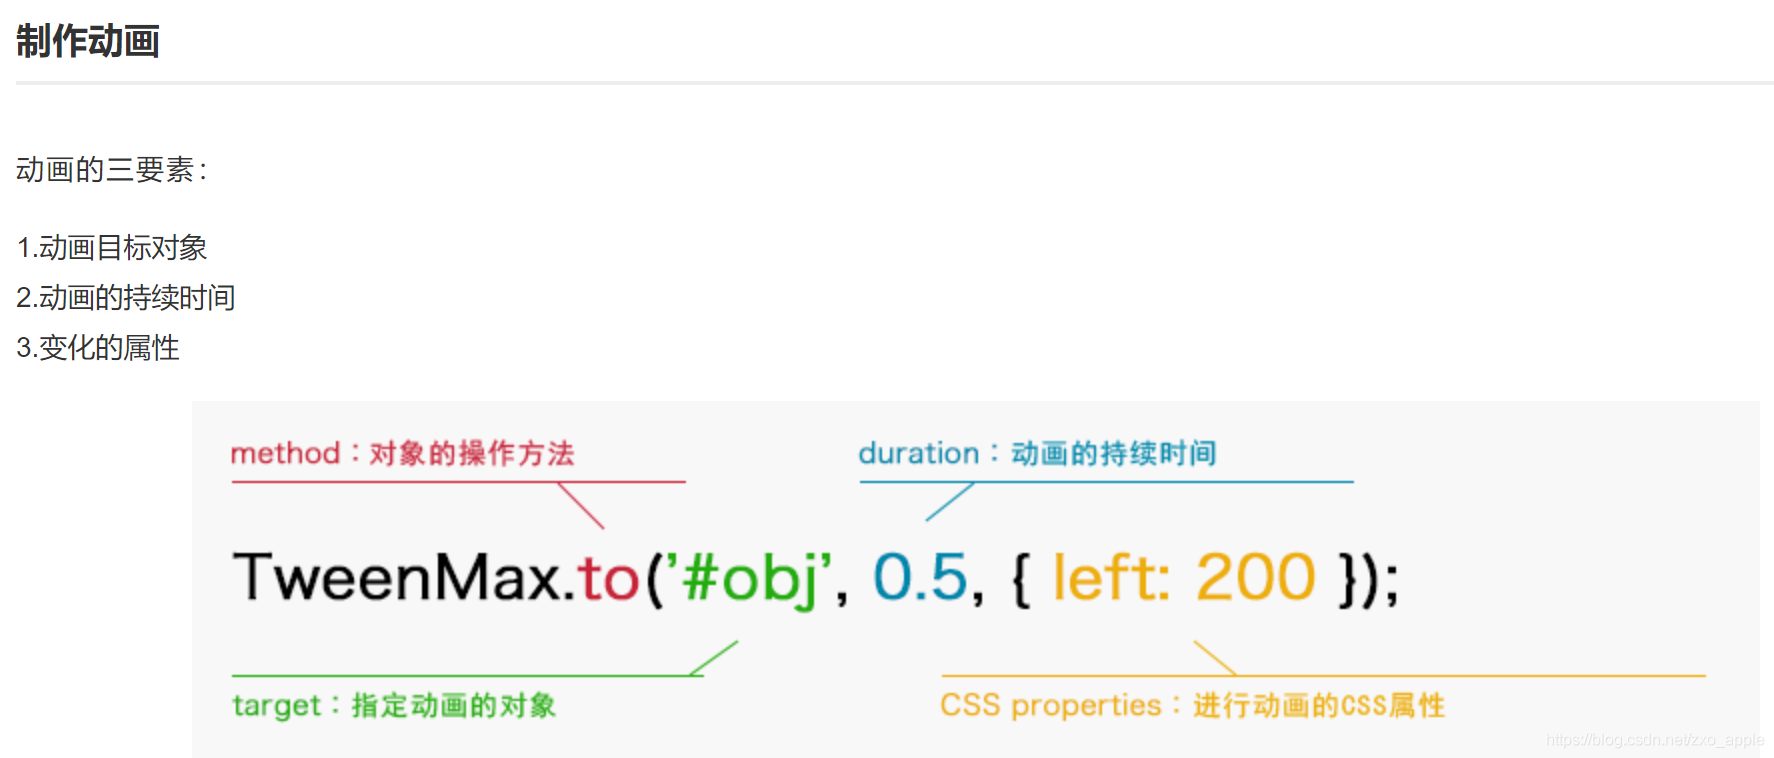
计算完后调用draw函数,根据滑动slide,动态计算轮播容器的高度;注意这里引用了TweenMax框架,使用前需要安装,详细使用方法可参考官网TweenMax
npm install gsap -D
先大概看下TweenMax使用方法

// 动态计算swiper-container高度
			draw(swiper) {
				TweenMax.to(this.tweenObj, 0.5, {translate: swiper.translate, ease: Power2.easeOut,
					onUpdate: () => {
						let translate = this.tweenObj.translate
						// 左边slide索引
						let iLeft = Math.floor(-translate / this.clientWidth)
						if (iLeft > this.slidesLength) {
							iLeft = this.slidesLength
						}
						// 右边slide索引
						let iRight = iLeft + 1
						if (iRight > this.slidesLength) {
							iRight = this.slidesLength
						}
						for(let i=0; i< this.swiperSlide.length; i++){
							//图片宽度满屏时,每个图片的高度
							this.swiperSlide[i].fullHeight = this.clientWidth/this.swiperSlide[i].getBoundingClientRect().width * this.swiperSlide[i].getBoundingClientRect().height;
						}
						//移动比例 移动过程中高度变化 0~1~0的变化规律
						let percent = Number((-translate / this.clientWidth).toFixed(5)) - iLeft
						//根据左右图片和移动比例得出相应高度
						let currentHeight = (this.swiperSlide[iRight].fullHeight - this.swiperSlide[iLeft].fullHeight )*percent + this.swiperSlide[iLeft].fullHeight
						// 轮播容器高度
						swiper.el.style.height = currentHeight +'px'
					}
				})
			}
2.html部分
<!--仿携程轮播效果-->
	<div class="swiper-demo">
		<div class="swiper-container">
			<div class="swiper-wrapper">
			<!--这里一定要加高度,不然会出问题!!!-->
				<div class="swiper-slide" style="height: 222px;">
					<div class="wrap" v-for="(item, index) in category1" :key="index">
						<img src="../assets/wish.png" alt="">
						<span>{{item.name}}</span>
					</div>
				</div>
					<!--这里一定要加高度,不然会出问题!!!-->
				<div class="swiper-slide" style="height: 400px;">
					<div class="wrap" v-for="(item, index) in category2" :key="index">
						<img src="../assets/wish.png" alt="">
						<span>{{item.name}}</span>
					</div>
				</div>
			</div>
		</div>

		<div style="background: salmon; height: 80vh">随便写自己的UI</div>
	</div>
注意:swiper-slide一定要加高度,不然会出问题
3.css部分
.swiper-slide {
		width: auto;
		height: 100%;
		display: flex;
		flex-wrap: wrap;
		justify-content: space-between;
	}
	.wrap {
		width: 24%;
		height: 100px;
		display: flex;
		flex-direction: column;
		align-items: center;
		justify-content: center;
	}
	img {
		width: 60px;
	}
这样就实现了一个高度自适应的轮播效果了,三个及以上也没问题啦,喜欢点个关注吧,嘻嘻~

到此这篇关于vue仿携程轮播图效果(滑动轮播,下方高度自适应)的文章就介绍到这了,更多相关vue轮播图内容请搜索自由互联以前的文章或继续浏览下面的相关文章希望大家以后多多支持自由互联!
