Win8系统内含一个Windows To Go的功能,简单地讲就是可以使用U盘将Win8操作系统装在U盘里,然后随身携带。Windows To Go驱动器可在多台计算机上启动,首次启动时,它会检测计算机的所有硬件,并安装任何需要的驱动程序。那Win8如何打开Windows to go功能呢?下面,小编就和大家说一下Win8系统打开Windows to go功能的方法。
步骤如下:
1、硬件需求:
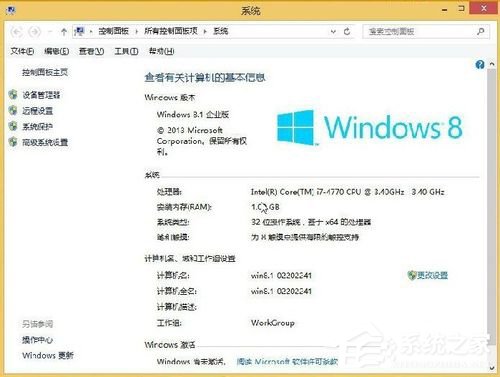
电脑:安装Win8操作系统,CPU需要在1GHz以上,内存空间2GB以上,显卡需要支持 DirectX 9和WDDM 10或更高版本。

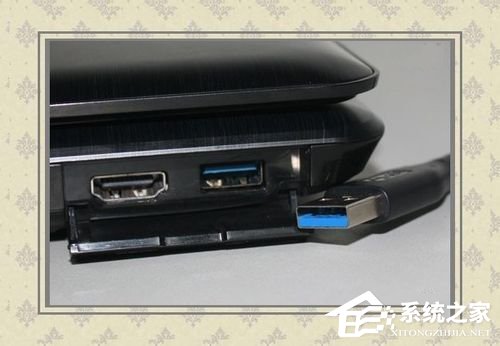
2、U盘:电脑的USB接口最好是支持USB3.0的,如果电脑只支持USB2.0的,可以考虑使用移动硬盘替代u盘。虽然微软官方提示16G即可,但实际操作32G的空间才能支持图形界面的操作,低于32G空间的可能只适用于命令操作。
3、软件需求:Win8企业原版操作系统安装光盘或者是相对应的ISO扩展名的安装文件。在Win8四个版本的操作系统中,目前只有企业版支持Windows To Go 功能。
4、安装步骤:
明白了安装Windows To Go软硬件的要求,符合的就可以进行操作了。先将Win8操作系统的安装文件加载到虚拟光驱中。

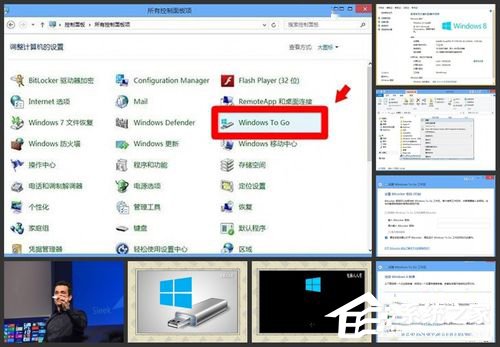
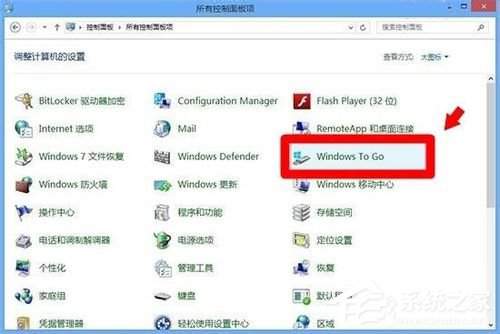
5、然后,点开控制面板中的Windows To Go。
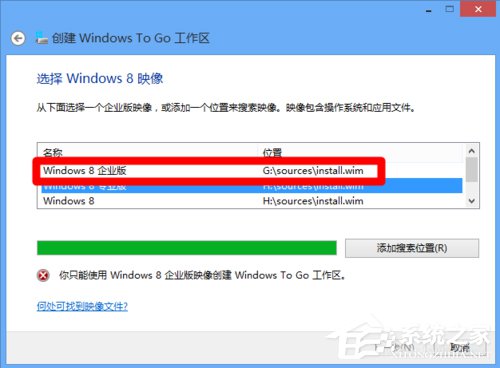
6、接下来添加 Win8的系统映像,将路径定位到已挂载的 Win8 镜像位置(盘符),向导能够自动找到该路径下的 Install.wim文件。
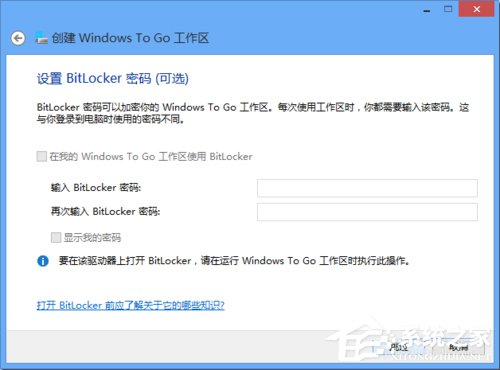
7、在“设置 Bitlocker 密码(可选)”中,如果希望使用 Bitlocker 来保护 Windows To Go 以防止未经授权的使用,那么可以在此步骤中键入 Bitlocker 密码,这样每次在 Windows To Go 启动时都会要求输入密码,否则无法使用。
8、如果设置了密码,开机就需要输入正确的密码才能进入系统。假如输入了错误的密码,就会有恢复系统的提示。

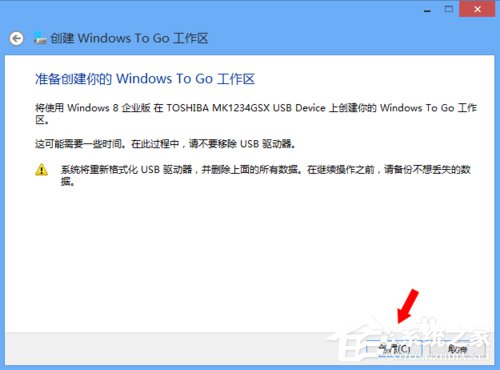
9、再回到刚才的操作步骤,在完成 Bitlocker 的设置之后,安装向导会最后一次提示将删除当前驱动器上的所有数据,如果确认则点击创建按钮。
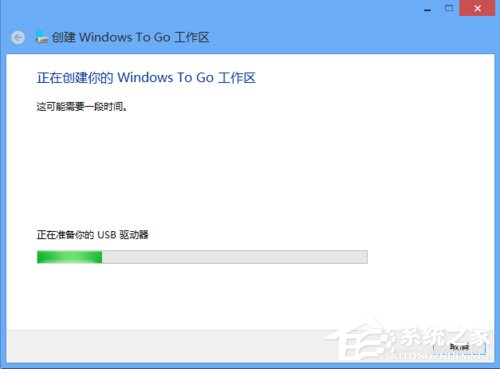
10、接下来向导将把 Win8系统映像释放到驱动器上,根据电脑的配置,可能需要等待近10分钟左右的时间(操作系统尽量不要做其它工作,以免失误)。
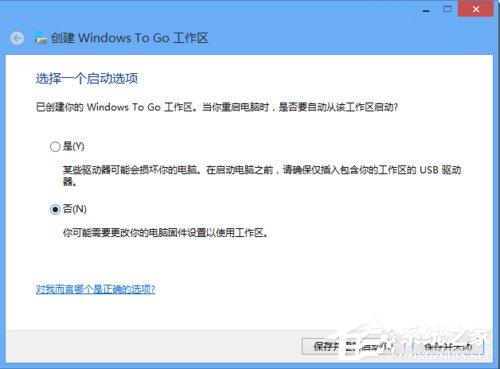
11、系统映像拷贝完毕后,会出现一个启动选项选择的设置菜单,这里选择否,这样启动信息便会记录在 Windows To Go 驱动器上了。
12、Windows To Go 支持 UEFI \ Bios引导,所以在UEFI 引导的电脑上无需重新设置 BIOS即可直接从 Windows To Go 进行引导和启动,第一次运行与平常完成 Win8 安装一样,需要初始化检测,然后进入 OOBE 阶段设置,之后就与平常用 Windows 8 是一样的。

上述也就是Win8系统打开Windows to go功能方法的全部内容了。你还不知道怎么打开Windows to go功能的,可以按照上述的方法步骤去操作,都有步骤教你的,只要按照步骤去操作就可以打开Windows to go功能了。