许多用户在使用电脑的时候经常会对自己的电脑进行系统更新,而不少用户都遇到了一些奇奇怪怪的问题。最为常见的就是提示某些设置由你的组织来管理,这要怎么处理呢?下面小编就带着大家一起看看怎么解决吧!
操作方法:
方法一:软件冲突导致
1、消除安全卫士干预系统更新
虽然Windows自带Defender,但是因为本人小白一枚,还安装了360安全卫士。没想到360安全卫士是让这个问题发生的原因之一。
安装360安全卫士时,360会自动为您开启“关闭Windows Update”的选项,所以我们需要先取消勾选这个选项。
打开360安全卫士设置中心-漏洞修复-其他设置里面取消勾选关闭Windows Update选项。


2、在服务中自动启用Windows更新
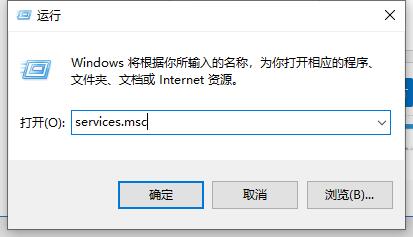
首先win+r,打开运行窗口,输入“services.msc”(不含引号)即可调出本地服务项;
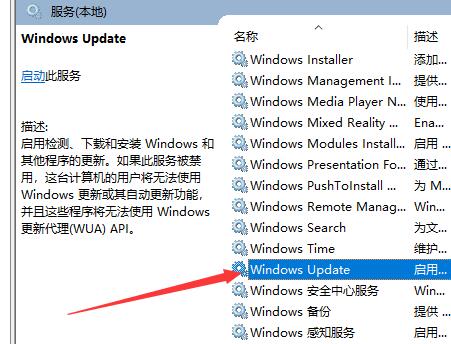
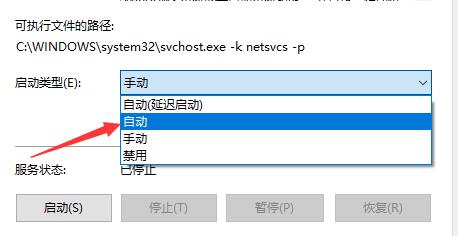
找到Windows Update启动并设置成自动。
3、恢复关于Windows Update的编辑组策略
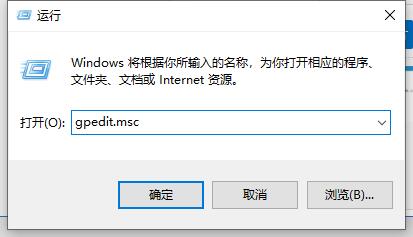
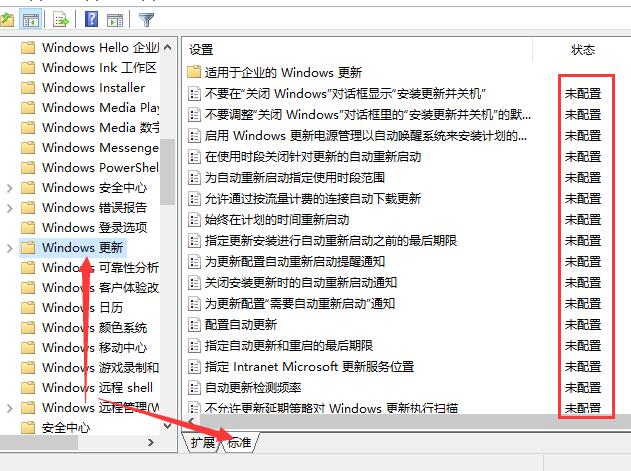
首先在运行窗口中输入“gpedit.msc”(不含引号)即可调出本地服务项;
接着在左侧选计算机配置—管理模板—Windows组件—Windows更新—在右侧下方点击标准,查看具体的配置情况。
然后将没有设置成未配置的选项全部选成未配置,完成后效果如图。
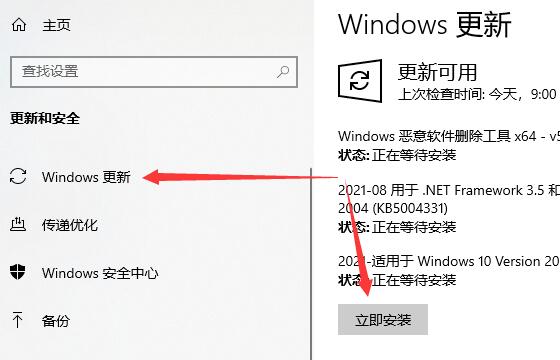
4、检查更新
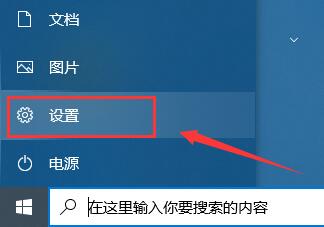
首先打开设置,转到Windows更新,点击检查更新按钮,过后,一切就都恢复正常了(如果不行,请尝试重启计算机)。
方法二:激活码问题
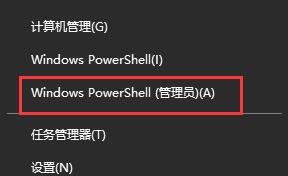
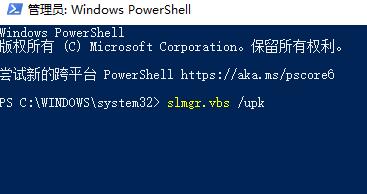
1、首先是卸载已有的激活码。在开始菜单上面点击鼠标右键,选择Windows PowerShell(管理员)项,如图所示。
2、然后在该窗口中输入命令slmgr.vbs /upk回车运行。
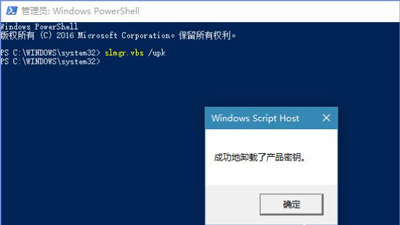
3、就会弹出成功卸载密钥的窗口,表示我们已经卸载当前Windows10系统安装的密钥了,以后就可以重新输入密钥重新激活了。
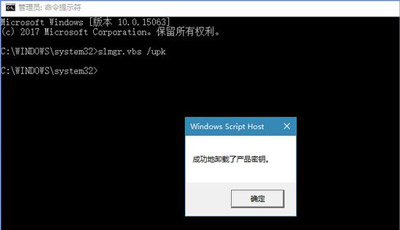
4、其实,卸载密钥也可以在命令提示符(以管理员身份运行)窗口进行同样的操作,如图所示。只是创意者版本更新后,右击开始菜单里没有命令提示符项,所以为了方便,才选择了Windows PowerShell,其实两者的效果都是一样的。
5、最后就是重新输入密钥去激活Windows10。打开Win10的【设置】的【更新和安全】项里的【激活】里的【选择更改产品密钥】。
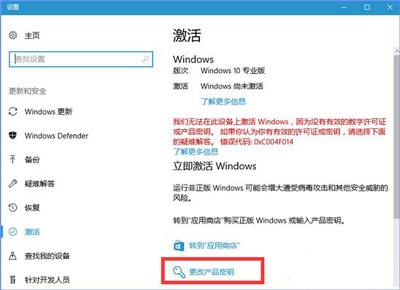
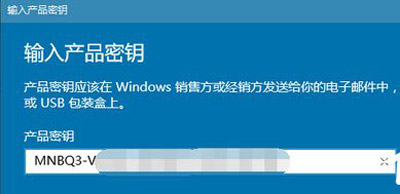
6、在输入产品密钥里输入激活密钥,输入完后,点击下一步,再选择激活。
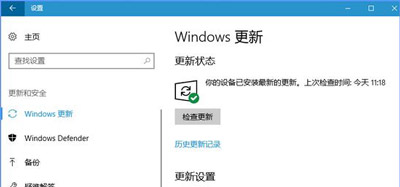
7、激活完毕后,选择【Windows更新】项,点击检查更新(非必须)后,就可以看到带※的红字内容《某些设置隐藏或者由你的组织来管理》已经完全消失了。
8、如果你无法进行以上设置,或者设置完以后还是无用。那你的系统可能是盗版系统,建议安装正版系统。