进阶JavaSE-三大接口:Comparator、Comparable和Cloneable。
Comparable和Comparator这两个接口很相似,都是用于比较大小的接口。在我们写一些数据结构的算法题时,用的比较多,具体是怎么用的,我们接着往下看。
Comparator接口:
public interface Comparator<T> {
    public int compare(T o1, T o2); //比较方法
}
Comparable接口:
public interface Comparable<T> {
   public int compareTo(T o);
}
在具体实现的类中,实现Comparable接口,然后在类里面重新compareTo方法,就能这个类具有可比较的能力,在添加完数据后,可以直接调用Collections.sort() 或者Arrays.sort() 方法,就能对装有这个类的对象的集合进行排序。
而Comparator接口,是不需要在被排序对象的类中实现这个接口的,这个接口是自己单独实现一个类,实现这个接口。然后调用Collections.sort(),或者其他方法,就可以将被排序的集合和这个接口一起传过去,就能实现排序。
Comparator接口:自己单独实现排序类。不需要在被排序的类中实现。
Comparable接口:必须在被排序的类中实现这个接口。
上诉两个接口实现后,都需要重写相应的比较方法。
具体实例:
//Comparator接口实例
class Student {
public String name;
public int age;
public Student(String name, int age) {
this.name = name;
this.age = age;
}
@Override
public String toString() {
return this.name + " " + this.age;
}
}
public class Demo {
//实现Comparator接口的类
private static class AgeCompare implements Comparator<Student> {
@Override
public int compare(Student o1, Student o2) {
return o1.age - o2.age; //以年龄进行排序
}
}
public static void main(String[] args) {
Student student1 = new Student("小明", 10);
Student student2 = new Student("小刚", 5);
Student student3 = new Student("彭于晏", 28);
Student student4 = new Student("胡歌", 26);
Student[] array = new Student[4];
array[0] = student1;
array[1] = student2;
array[2] = student3;
array[3] = student4;
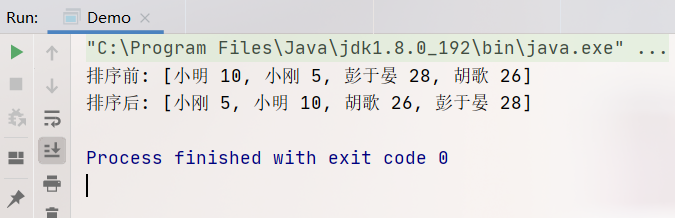
System.out.println("排序前: " + Arrays.toString(array));
Arrays.sort(array, new AgeCompare()); //以年龄进行排序
System.out.println("排序后: " + Arrays.toString(array));
}
}
最后输出的结果:
Comparable接口示例:
//Comparable接口示例
class Student implements Comparable<Student>{
public String name;
public int age;
public Student(String name, int age) {
this.name = name;
this.age = age;
}
@Override
public String toString() {
return this.name + " " + this.age;
}
@Override
public int compareTo(Student o) {
return this.name.compareTo(o.name); //以姓名进行排序
}
}
public class Demo2 {
public static void main(String[] args) {
Student student1 = new Student("Tom", 10);
Student student2 = new Student("Emma", 5);
Student student3 = new Student("Alice", 20);
Student student4 = new Student("Kate", 30);
Student[] array = new Student[4];
array[0] = student1;
array[1] = student2;
array[2] = student3;
array[3] = student4;
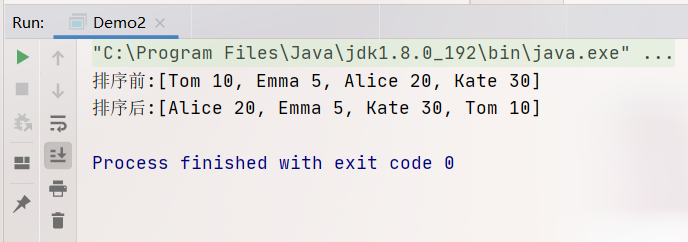
System.out.println("排序前:" + Arrays.toString(array));
Arrays.sort(array); //以姓名进行排序
System.out.println("排序后:" + Arrays.toString(array));
}
}
最终输出结果:
注:String类里面的CompareTo方法,是按照字典序的大小进行比较。简单点说,每个字符都有相应的ASCII码值,这个方法会从头开始比较每个字符,如果前者小于后者,返回-1,相等返回0,大于就返回1。具体的注释可以查看帮助文档。
以上就是两个比较接口的使用,这两接口通常也叫做比较器。
Cloneable接口:用于克隆的。

也就是说,一个类要想实现克隆的功能,需要实现Cloneable接口,实现这个接口后,还必须自己手动的书写Object的clone方法。
切记:在没有实现接口的情况下,调用克隆方法,会抛出异常。
Cloneable示例:
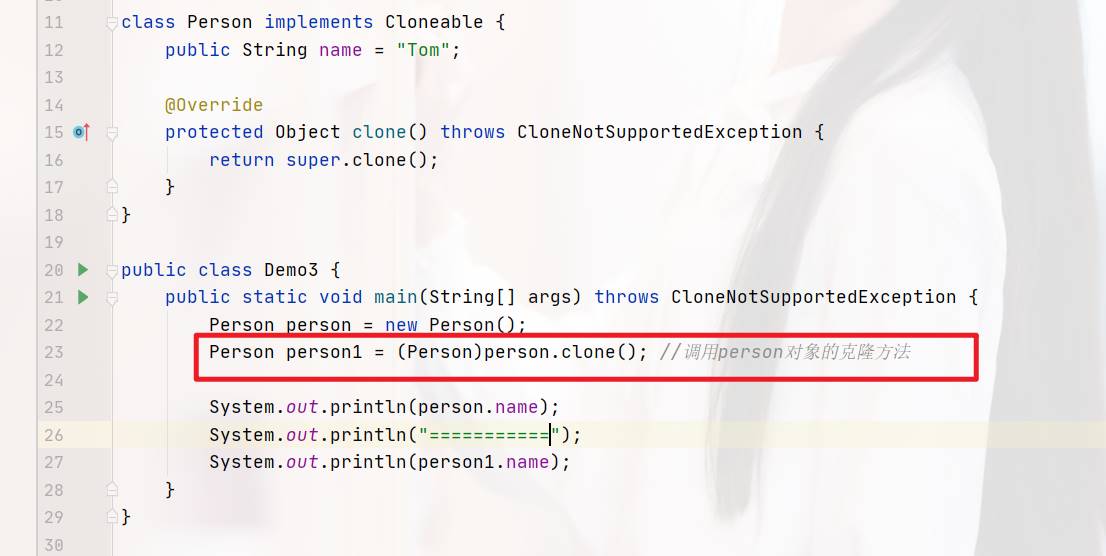
通过person对象,调用克隆方法,就能实现克隆。那么问题来了,这是深拷贝还是浅拷贝?关于深拷贝浅拷贝,我前面有一篇文章讲过
深拷贝与浅拷贝。
我们来看下面这一段代码,可能你就会更好理解这个Cloneable接口:
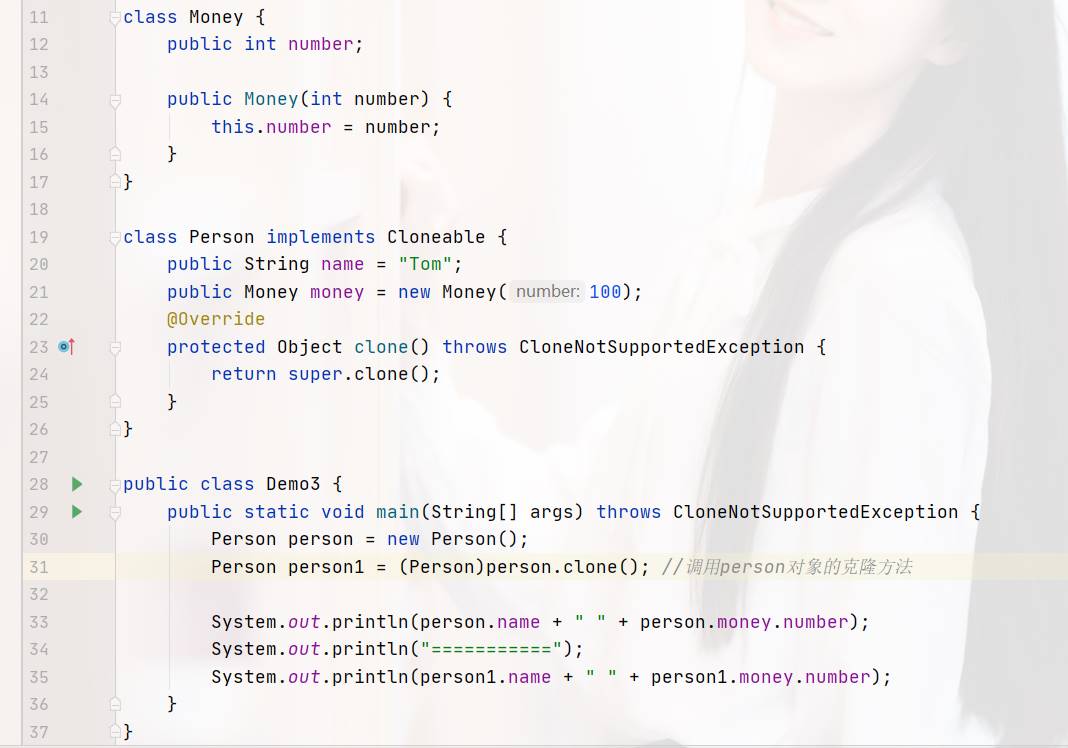
上诉代码所对应的内存图如下:

此时如果我们通过person1来改变money里面的值,那么person对象里面的也会被修改。因为本质上这两个对象的money值是指向同一块空间的。这也就是浅拷贝。
那么要实现深拷贝,该如何?
那就将money对象,再拷贝一份出来,让person1的money值指向新的空间即可。
class Money implements Cloneable {
public int number;
public Money(int number) {
this.number = number;
}
@Override
protected Object clone() throws CloneNotSupportedException {
return super.clone();
}
}
class Person implements Cloneable {
public String name = "Tom";
public Money money = new Money(100);
@Override
protected Object clone() throws CloneNotSupportedException {
Person clone = (Person) super.clone();
clone.money = (Money) this.money.clone();
return clone;
}
}
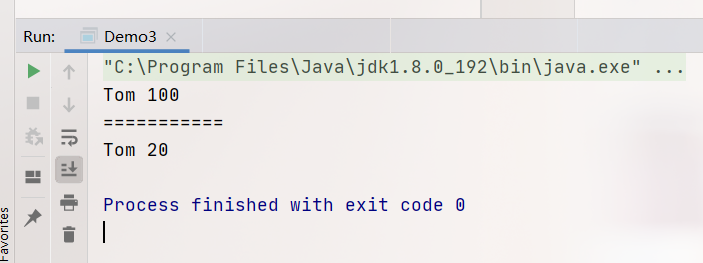
public class Demo3 {
public static void main(String[] args) throws CloneNotSupportedException {
Person person = new Person();
Person person1 = (Person)person.clone(); //调用person对象的克隆方法
System.out.println(person.name + " " + person.money.number);
System.out.println("===========");
person1.money.number = 20;
System.out.println(person1.name + " " + person1.money.number);
}
}
运行结果:
注意一下,Person类里面克隆方法的修改,并且Money类也是需要实现Cloneable接口的。

切记,Cloneable接口是一个空的接口,也叫标记接口。这个接口的存在,只是为了证明当前这个类是有克隆方法。如果不写这个接口,调用克隆方法,会报异常。
总结
本篇文章就到这里了,希望能够给你带来帮助,也希望您能够多多关注自由互联的更多内容!