1、打开word文档,在“插入”选项卡中点击【文本框】。 2、输入文本框后,点击旁边的布局选项,选择文字环绕效果后移动图片即可。 本文以华为matebook 16为例适用于windows 10系统Micr
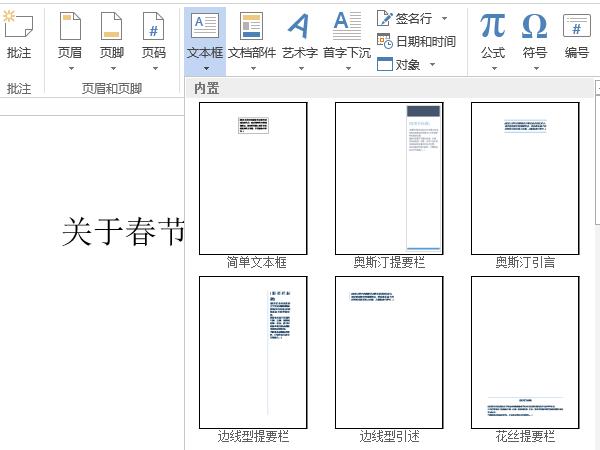
1、打开word文档,在“插入”选项卡中点击【文本框】。
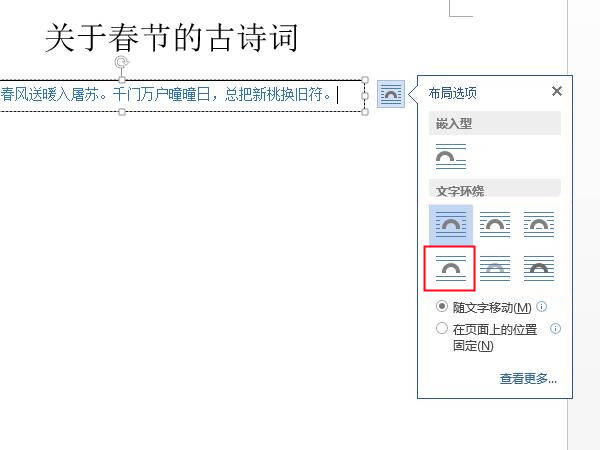
2、输入文本框后,点击旁边的布局选项,选择文字环绕效果后移动图片即可。
本文以华为matebook 16为例适用于windows 10系统Microsoft word 2019版本
1、打开word文档,在“插入”选项卡中点击【文本框】。
2、输入文本框后,点击旁边的布局选项,选择文字环绕效果后移动图片即可。
本文以华为matebook 16为例适用于windows 10系统Microsoft word 2019版本