最近正在写SpringBoot系列文章和录制视频教程,每次都要重复写一些Getter/Setter、构造器方法、字符串输出的ToString方法和Equals/HashCode方法等。甚是浪费时间,也影响代码的可读性。因此,今天就给大家推荐一款Java开发神器——Lombok,让代码更简单易读。
什么是Lombok
Lombok是一款Java开发插件,可以通过它定义的注解来精简冗长和繁琐的代码,主要针对简单的Java模型对象(POJO)。
好处就显而易见了,可以节省大量重复工作,特别是当POJO类的属性增减时,需要重复修改的Getter/Setter、构造器方法、equals方法和toString方法等。
而且Lombok针对这些内容的处理是在编译期,而不是通过反射机制,这样的好处是并不会降低系统的性能。
下面我们就看看具体的使用。
Lombok的安装
Lombok的安装分两部分:Idea插件的安装和maven中pom文件的导入。
第一步,在Idea的插件配置中搜索Lombok或官网下载本地安装。
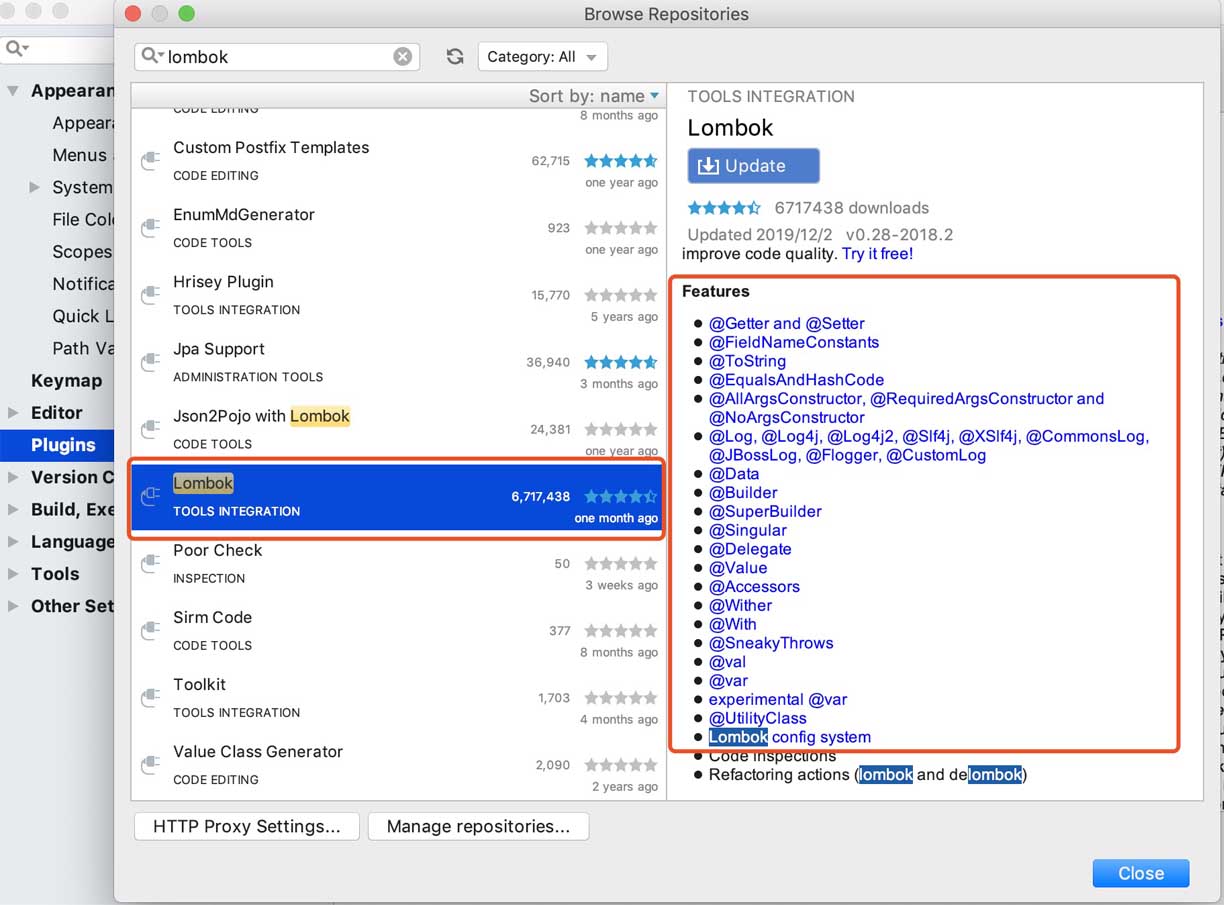
同时,在插件的描述中也能够看到它支持的注解。
第二步,引入pom中依赖,当前最细版本1.18.10。
<dependency>
  <groupId>org.projectlombok</groupId>
  <artifactId>lombok</artifactId>
  <version>1.18.10</version>
</dependency>
如果是通过Idea创建Spring Boot项目,可在创建项目时直接在“Developer Tool”中选择Lombok。
完成了以上两步,就可以在代码中使用该款神器了。
Lombok的使用
@Data
@Data最常用的注解之一。注解在类上,提供该类所有属性的getter/setter方法,还提供了equals、canEqual、hashCode、toString方法。
这里的提供什么意思?就是开发人员不用手写相应的方法,而Lombok会帮你生成。
使用@Data示例如下,最直观的就是不用写getter/setter方法。
@Data
public class Demo {
 private int id;
 private String remark;
}
我们看该类编译之后是什么样子。
public class Demo {
  private int id;
  private String remark;

  public Demo() {
  }

  public int getId() {
    return this.id;
  }

  public String getRemark() {
    return this.remark;
  }

  public void setId(final int id) {
    this.id = id;
  }

  public void setRemark(final String remark) {
    this.remark = remark;
  }

  public boolean equals(final Object o) {
    if (o == this) {
      return true;
    } else if (!(o instanceof Demo)) {
      return false;
    } else {
      Demo other = (Demo)o;
      if (!other.canEqual(this)) {
        return false;
      } else if (this.getId() != other.getId()) {
        return false;
      } else {
        Object this$remark = this.getRemark();
        Object other$remark = other.getRemark();
        if (this$remark == null) {
          if (other$remark != null) {
            return false;
          }
        } else if (!this$remark.equals(other$remark)) {
          return false;
        }

        return true;
      }
    }
  }

  protected boolean canEqual(final Object other) {
    return other instanceof Demo;
  }

  public int hashCode() {
    int PRIME = true;
    int result = 1;
    int result = result * 59  this.getId();
    Object $remark = this.getRemark();
    result = result * 59  ($remark == null ? 43 : $remark.hashCode());
    return result;
  }

  public String toString() {
    return "Demo(id="  this.getId()  ", remark="  this.getRemark()  ")";
  }
}
上面的反编译代码,我们可以看到提供了默认的构造方法、属性的getter/setter方法、equals、canEqual、hashCode、toString方法。
使用起来是不是很方便,最关键的是,当新增属性或减少属性时,直接删除属性定义即可,效率是否提升了很多?
为了节省篇幅,后面相关注解我们就不再看反编译的效果了,大家使用idea直接打开编译之后对应的.class文件即可看到。
@Setter
作用于属性上,为该属性提供setter方法; 作用与类上,为该类所有的属性提供setter方法, 都提供默认构造方法。
public class Demo {
 private int id;
 @Setter
 private String remark;
}

@Setter
public class Demo {
 private int id;
 private String remark;
}
@Getter
基本使用同@Setter方法,不过提供的是getter方法,不再赘述。
@Log4j
作用于类上,为该类提供一个属性名为log的log4j日志对象。
@Log4j
public class Demo {
}
该属性一般使用于Controller、Service等业务处理类上。与此注解相同的还有@Log4j2,顾名思义,针对Log4j2。
@AllArgsConstructor
作用于类上,为该类提供一个包含全部参的构造方法,注意此时默认构造方法不会提供。
@AllArgsConstructor
public class Demo {
 private int id;
 private String remark;
}
效果如下:
public class Demo {
  private int id;
  private String remark;

  public Demo(final int id, final String remark) {
    this.id = id;
    this.remark = remark;
  }
}
@NoArgsConstructor
作用于类上,提供一个无参的构造方法。可以和@AllArgsConstructor同时使用,此时会生成两个构造方法:无参构造方法和全参构造方法。
@EqualsAndHashCode
作用于类上,生成equals、canEqual、hashCode方法。具体效果参看最开始的@Data效果。
@NonNull
作用于属性上,提供关于此参数的非空检查,如果参数为空,则抛出空指针异常。
使用方法:
public class Demo {
 @NonNull
 private int id;
 private String remark;
}
效果如下:
public class Demo {
  @NonNull
  private int id;
  private String remark;
}
@RequiredArgsConstructor
作用于类上,由类中所有带有@NonNull注解或者带有final修饰的成员变量作为参数生成构造方法。
@Cleanup
作用于变量,保证该变量代表的资源会被自动关闭,默认调用资源的close()方法,如果该资源有其它关闭方法,可使用
@Cleanup(“methodName”)来指定。
public void jedisExample(String[] args) {
  try {
    @Cleanup Jedis jedis =  redisService.getJedis();
  } catch (Exception ex) {
    logger.error(“Jedis异常:”,ex)
  }
}
效果相当于:
public void jedisExample(String[] args) {

  Jedis jedis= null;
  try {
    jedis = redisService.getJedis();
  } catch (Exception e) {
    logger.error(“Jedis异常:”,ex)
  } finally {
    if (jedis != null) {
      try {
        jedis.close();
      } catch (Exception e) {
        e.printStackTrace();
      }
    }
  }
}
@ToString
作用于类上,生成包含所有参数的toString方法。见@Data中toString方法。
@Value
作用于类上,会生成全参数的构造方法、getter方法、equals、hashCode、toString方法。与@Data相比多了全参构造方法,少了默认构造方法、setter方法和canEqual方法。
该注解需要注意的是:会将字段添加上final修饰,个人感觉此处有些失控,不太建议使用。
@SneakyThrows
作用于方法上,相当于把方法内的代码添加了一个try-catch处理,捕获异常catch中用Lombok.sneakyThrow(e)抛出异常。使用@SneakyThrows(BizException.class)指定抛出具体异常。
@SneakyThrows
public int getValue(){
 int a = 1;
 int b = 0;
 return a/b;
}
效果如下:
public int getValue() {
  try {
    int a = 1;
    int b = 0;
    return a / b;
  } catch (Throwable var3) {
    throw var3;
  }
}
@Synchronized
作用于类方法或实例方法上,效果与synchronized相同。区别在于锁对象不同,对于类方法和实例方法,synchronized关键字的锁对象分别是类的class对象和this对象,而@Synchronized的锁对象分别是私有静态final对象lock和私有final对象lock。也可以指定锁对象。
public class FooExample {

 private final Object readLock = new Object();

 @Synchronized
 public static void hello() {
   System.out.println("world");
 }

 @Synchronized("readLock")
 public void foo() {
  System.out.println("bar");
 }

}
效果相当于如下:
public class FooExample {

 private static final Object $LOCK = new Object[0];
 private final Object readLock = new Object();

 public static void hello() {
  synchronized($LOCK) {
   System.out.println("world");
  }
 }

 public void foo() {
  synchronized(readLock) {
    System.out.println("bar");
  }
 }

}
val
使用val作为局部变量声明的类型,而不是实际写入类型。 执行此操作时,将从初始化表达式推断出类型。
public Map<String, String> getMap() {
 val map = new HashMap<String, String>();
 map.put("1", "a");
 return map;
}
效果如下:
public Map<String, String> getMap() {
  HashMap<String, String> map = new HashMap();
  map.put("1", "a");
  return map;
}
也就是说在局部变量中,Lombok帮你推断出具体的类型,但只能用于局部变量中。
@Builder
作用于类上,如果你喜欢使用Builder的流式操作,那么@Builder可能是你喜欢的注解了。
使用方法:
@Builder
public class Demo {
 private int id;
 private String remark;
}
效果如下:
public class Demo {
  private int id;
  private String remark;

  Demo(final int id, final String remark) {
    this.id = id;
    this.remark = remark;
  }

  public static Demo.DemoBuilder builder() {
    return new Demo.DemoBuilder();
  }

  public static class DemoBuilder {
    private int id;
    private String remark;

    DemoBuilder() {
    }

    public Demo.DemoBuilder id(final int id) {
      this.id = id;
      return this;
    }

    public Demo.DemoBuilder remark(final String remark) {
      this.remark = remark;
      return this;
    }

    public Demo build() {
      return new Demo(this.id, this.remark);
    }

    public String toString() {
      return "Demo.DemoBuilder(id="  this.id  ", remark="  this.remark  ")";
    }
  }
}
我们可以看到,在该类内部提供了DemoBuilder类用来处理具体的流式操作。同时提供了全参的构造方法。
小结
最后,说一下个人的看法,此神器虽然好用,但也不建议大家无条件的使用,为了程序的效率等问题,该自己亲手写的代码还是要自己亲手写。毕竟,只有定制化的才能达到最优化和最符合当前场景。
到此这篇关于Java开发神器Lombok使用详解的文章就介绍到这了,更多相关Java Lombok使用内容请搜索易盾网络以前的文章或继续浏览下面的相关文章希望大家以后多多支持易盾网络!