原先前后端分离的api文档开启了前后端相互撕逼的对接之路 api更新不及时导致对接失败,以及存在测试不够方便,而swagger则很好的解决了这个问题 在项目中也经常用到swagger2,于是动
- 原先前后端分离的api文档开启了前后端相互撕逼的对接之路
- api更新不及时导致对接失败,以及存在测试不够方便,而swagger则很好的解决了这个问题
在项目中也经常用到swagger2,于是动手记录一下swagger2配置过程,希望能带来一点帮助。
在SpringBoot项目当中使用Swagger主要分为以下几步:
1、SpringBoot-web项目并添加pom.xml依赖
2、编写HelloController,测试成功运行
3、创建一个SwaggerConfig类,配置swagger-ui
流程确实是很简单的,但是能真正的在项目中活用swagger却不是那么简单
1、SpringBoot-web项目并添加pom.xml依赖
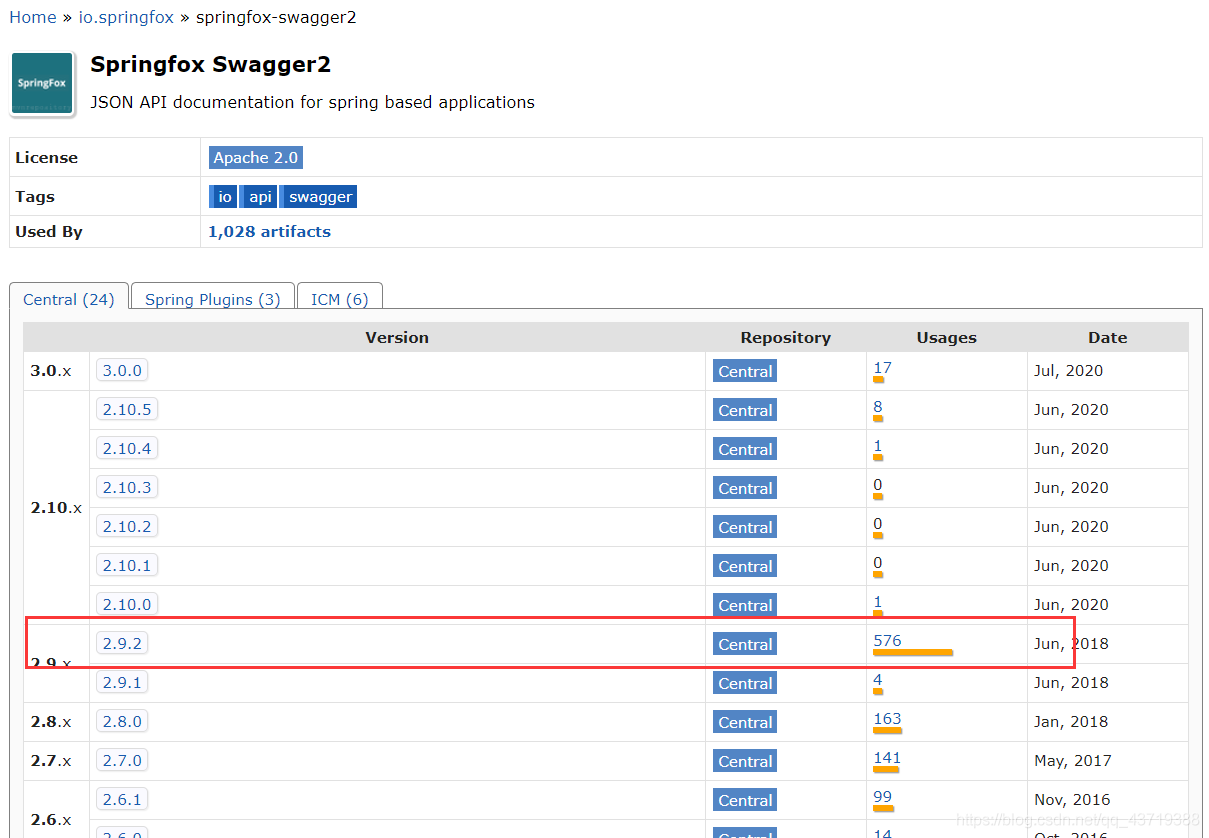
可以直接在maven repository搜索
多最一句,一般在选择maven依赖时,我们趋向于选择最稳定版本,可以通过Usages判断,尽量不要选择最新版,及时并没有什么影响。详细经历过版本冲突和版本不兼容的小伙伴应该深有体会。

<!-- https://mvnrepository.com/artifact/io.springfox/springfox-swagger2 -->
<dependency>
  <groupId>io.springfox</groupId>
  <artifactId>springfox-swagger2</artifactId>
  <version>2.9.2</version>
</dependency>
<!-- https://mvnrepository.com/artifact/io.springfox/springfox-swagger-ui -->
<dependency>
  <groupId>io.springfox</groupId>
  <artifactId>springfox-swagger-ui</artifactId>
  <version>2.9.2</version>
</dependency>
2、编写HelloController,测试成功运行
package cn.swpu.myblog.controller;

import io.swagger.annotations.Api;
import io.swagger.annotations.ApiOperation;
import org.springframework.stereotype.Controller;
import org.springframework.web.bind.annotation.RequestMapping;
import org.springframework.web.bind.annotation.RequestMethod;

@Controller
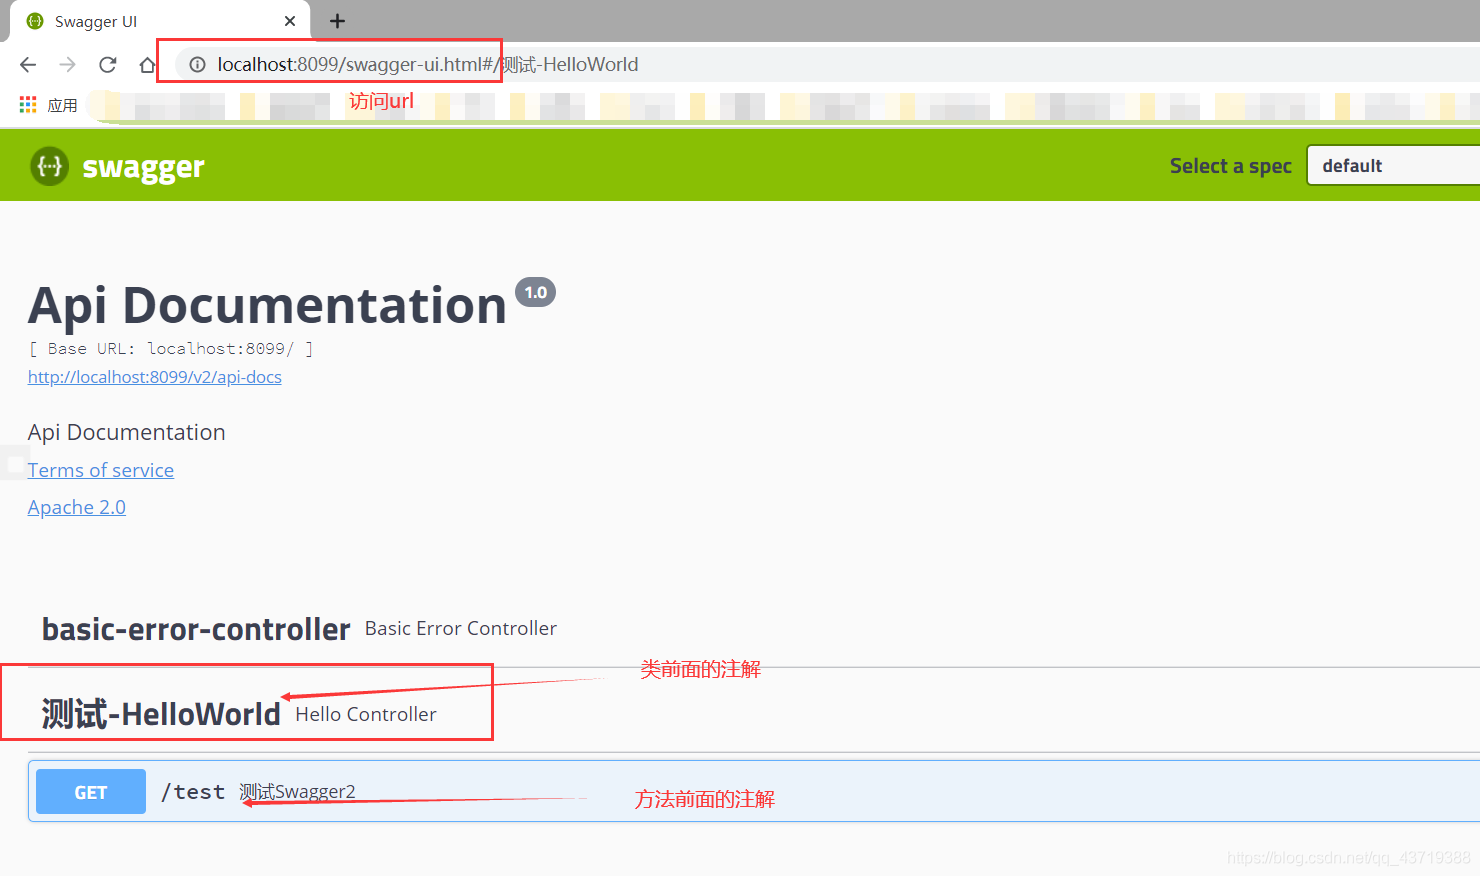
@Api(tags = "测试-HelloWorld") //这个controller下的所有接口的描述
public class HelloController {

  @ApiOperation("测试Swagger2") //显示在接口的信息说明
  @RequestMapping(value = "/test", method = RequestMethod.GET) //请求路径和类型
  public void testSwagger(){

  }
}
3、创建一个SwaggerConfig类,配置swagger-ui
package cn.swpu.myblog.config;

import org.springframework.context.annotation.Configuration;
import springfox.documentation.swagger2.annotations.EnableSwagger2;

@Configuration
@EnableSwagger2
public class SwaggerConfig {
}
然后就可以根据你的端口访问swagger-ui了,例如我的是8099
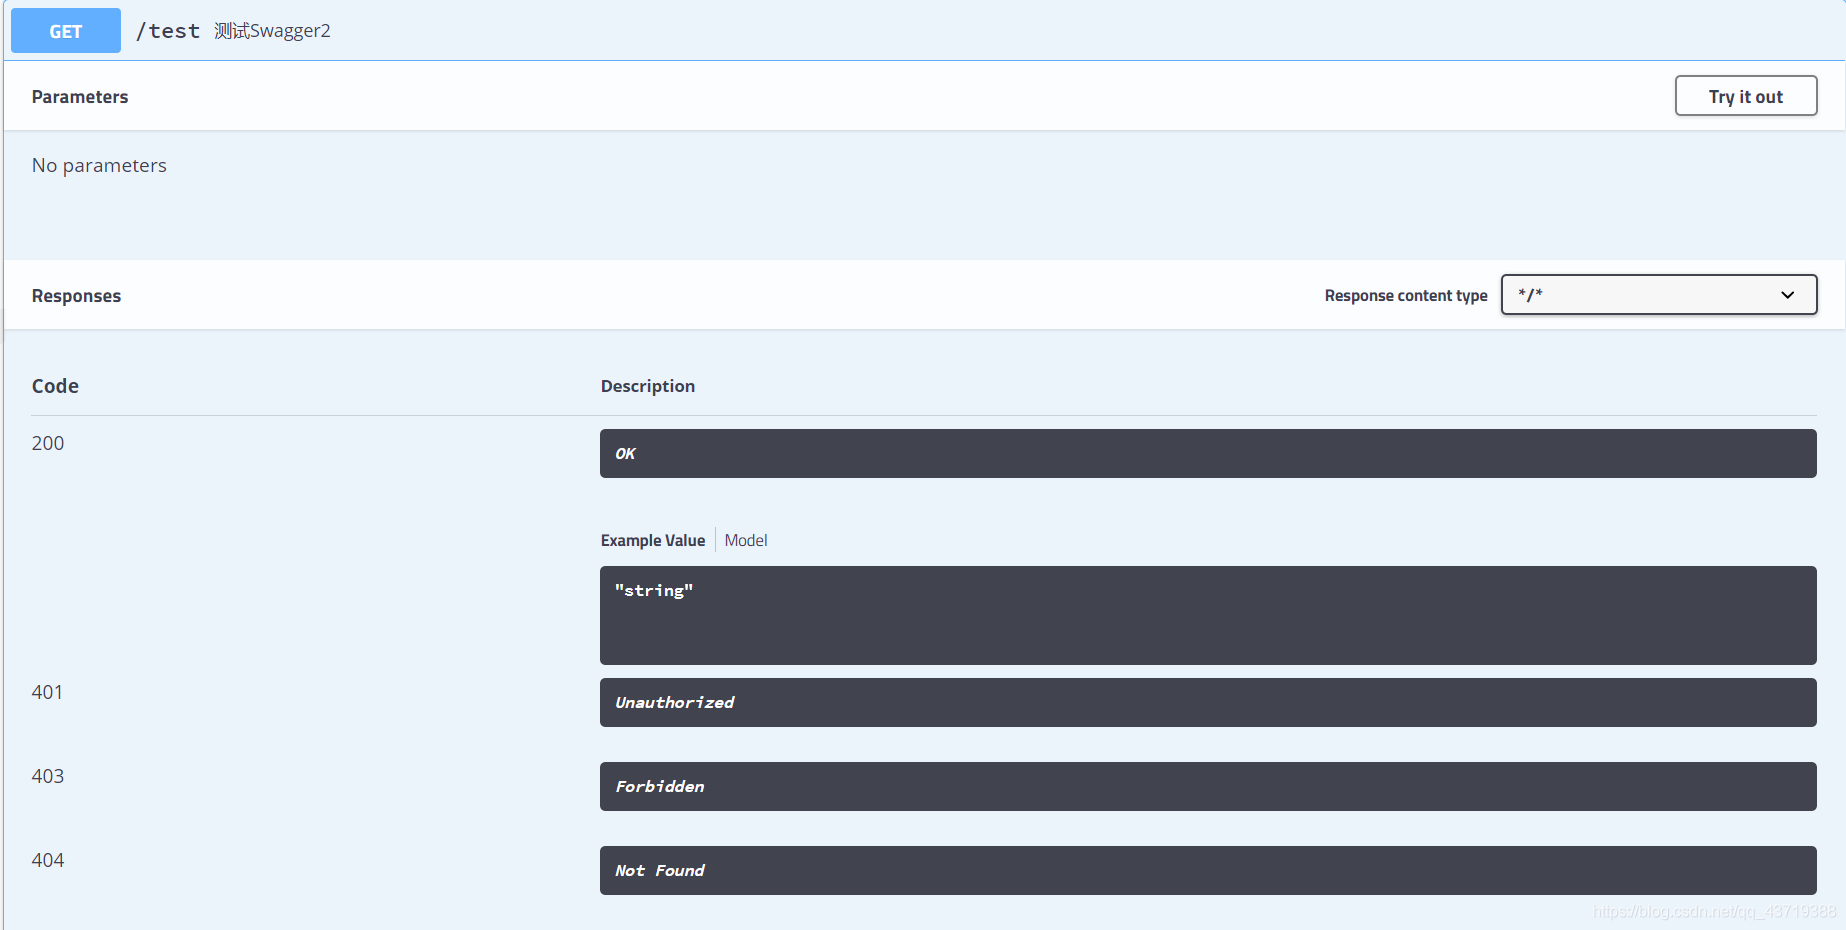
http://localhost:8099/swagger-ui.html#/


至此IDEA 继承Swagger就可以了,但这仅仅只是个开始,swagger还是有很多的实用技巧。
到此这篇关于IDEA SpringBoot 项目配置Swagger2的详细教程的文章就介绍到这了,更多相关IDEA SpringBoot 项目配置Swagger2内容请搜索易盾网络以前的文章或继续浏览下面的相关文章希望大家以后多多支持易盾网络!
