有小伙伴想要学习用Photoshop给古装人像照片添加雪景效果,今天小编就带领大家一起学习用Photoshop给古装人像照片添加雪景效果,一起来学习一下吧。 如何用Photoshop给古装人像照片添加
有小伙伴想要学习用Photoshop给古装人像照片添加雪景效果,今天小编就带领大家一起学习用Photoshop给古装人像照片添加雪景效果,一起来学习一下吧。
如何用Photoshop给古装人像照片添加雪景效果?Photoshop给古装人像照片添加雪景效果的教程介绍

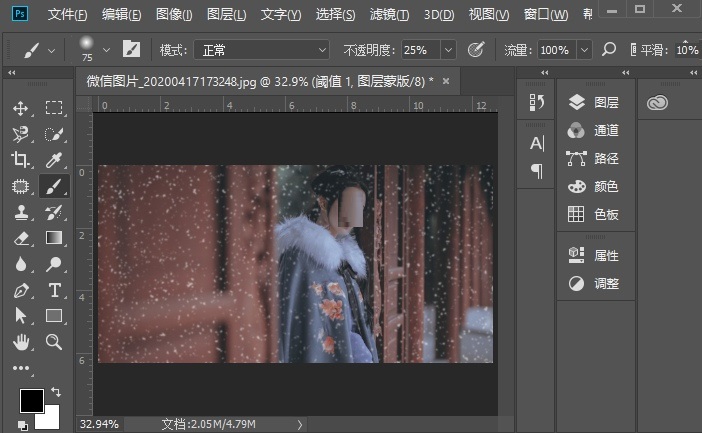
1.打开PS,将素材拖入PS中,新建一个图层,填充黑色,在菜单栏找到【滤镜-杂色-添加杂色】,点击确定

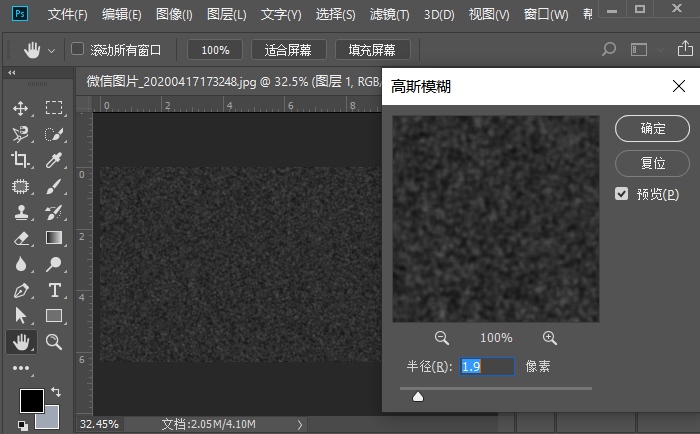
2.在菜单栏里找到【滤镜-模糊-高斯模糊】
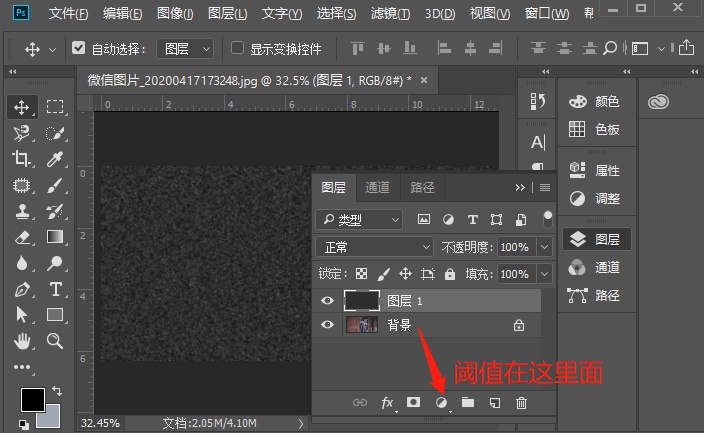
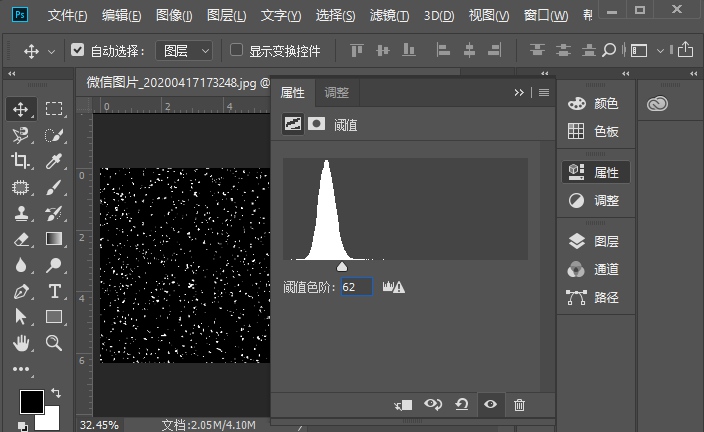
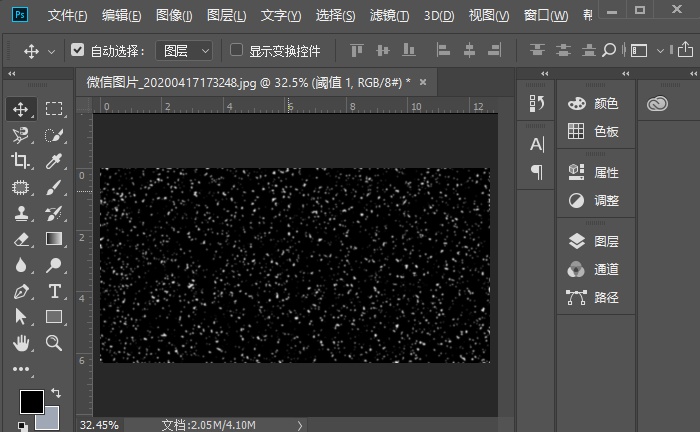
3.选择阈值,设置合适的参数
4.选中两个图层,按【Ctrl+e】合并图层,然后再次选择【滤镜-模糊-高斯模糊】
5.混合模式选择滤色,降低不透明度,用蒙版把不必要的擦除,飘雪的效果就做出来了
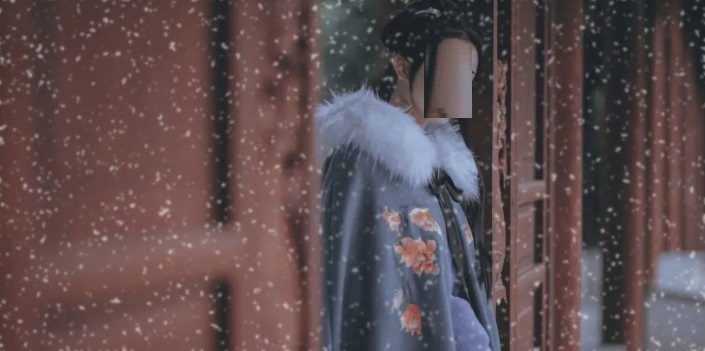
6.完成:
以上这里为各位分享了Photoshop给古装人像照片添加雪景效果的教程介绍,有需要的朋友赶快来看看本篇文章吧。