WPS Office APP数据透视表功能怎么使用,很多帅哥美女都不是很了解,下面iefans小编整理了使用数据透视表功能的方法讲解。希望能够解决各位用户的问题! 首先打开手机WPS Office 打开或
WPS Office APP数据透视表功能怎么使用,很多帅哥美女都不是很了解,下面iefans小编整理了使用数据透视表功能的方法讲解。希望能够解决各位用户的问题!
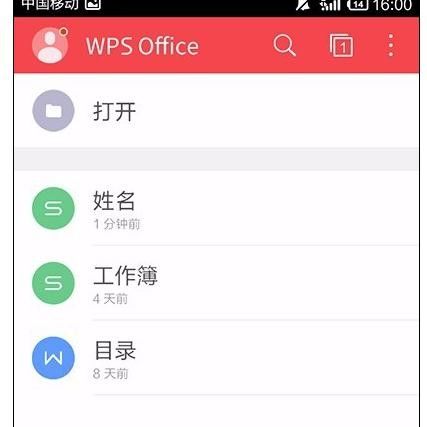
首先打开手机WPS Office

打开或新建表格
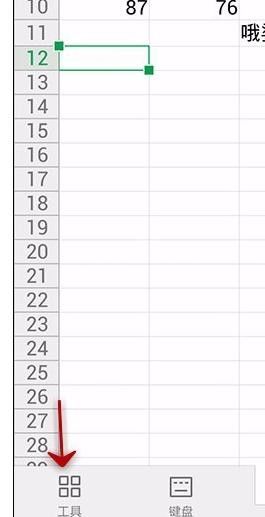
打开“工具”
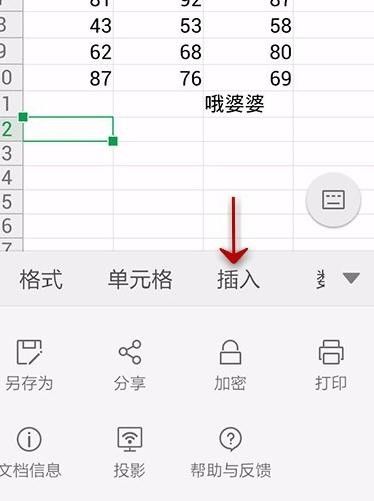
点击“插入”
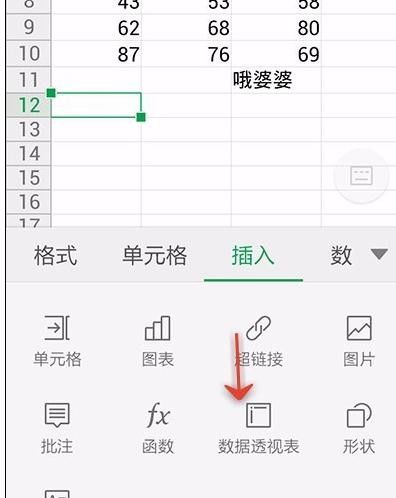
单击“数据透视表”
选中需要透视的范围
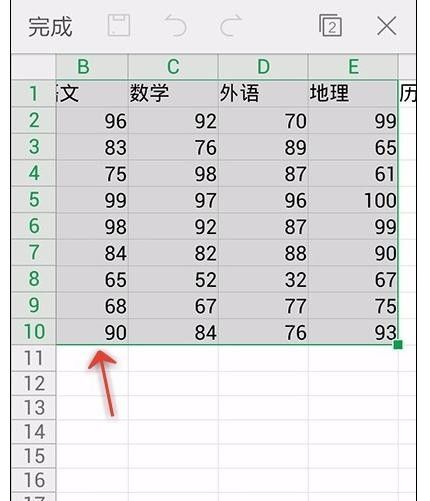
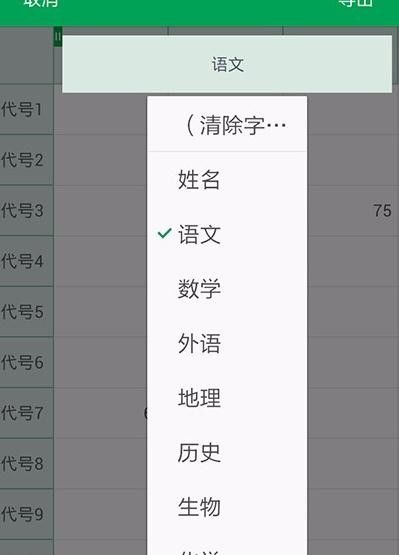
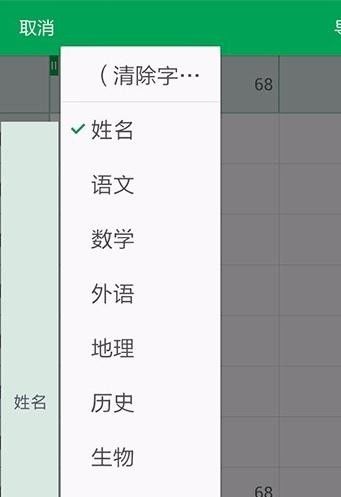
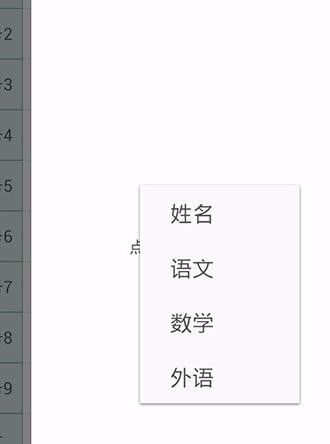
选择横纵坐标所代表的类型数据
点击“完成”
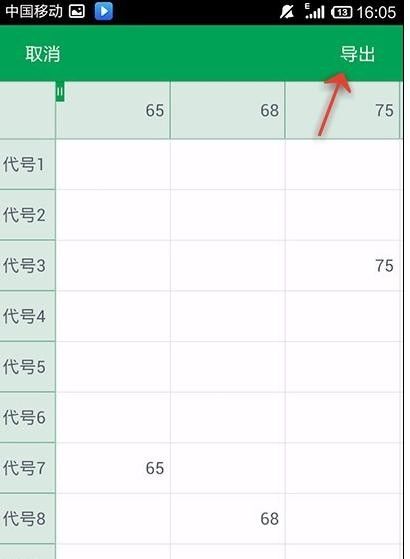
之后弹出的数据框,点击空白处,选择内容数据类型
最后效果如下图

WPS相关攻略推荐:
wps2019中下载云文档的具体操作步骤
WPS中怎么使用会议模式 具体操作方法
使用WPS制作文档渐变色背景具体操作方法
上文就是小编为您带来的使用数据透视表功能的方法讲解,你学会了吗?若还有疑问请多多关注自由互联专区!