标签(空格分隔): kubernetes系列 一:ruoyi-cloud 实施 1.1 ruoyi-cloud 简介 基于Spring Boot、Spring Cloud Alibaba的分布式微服务架构权限管理系统,同时提供了 Vue3 的版本git 地址:https://gitee.co
标签(空格分隔): kubernetes系列
一:ruoyi-cloud 实施
1.1 ruoyi-cloud 简介
基于Spring Boot、Spring Cloud & Alibaba的分布式微服务架构权限管理系统, 同时提供了 Vue3 的版本 git 地址: https://gitee.com/y_project/RuoYi-Cloud
1.2 安装nacos
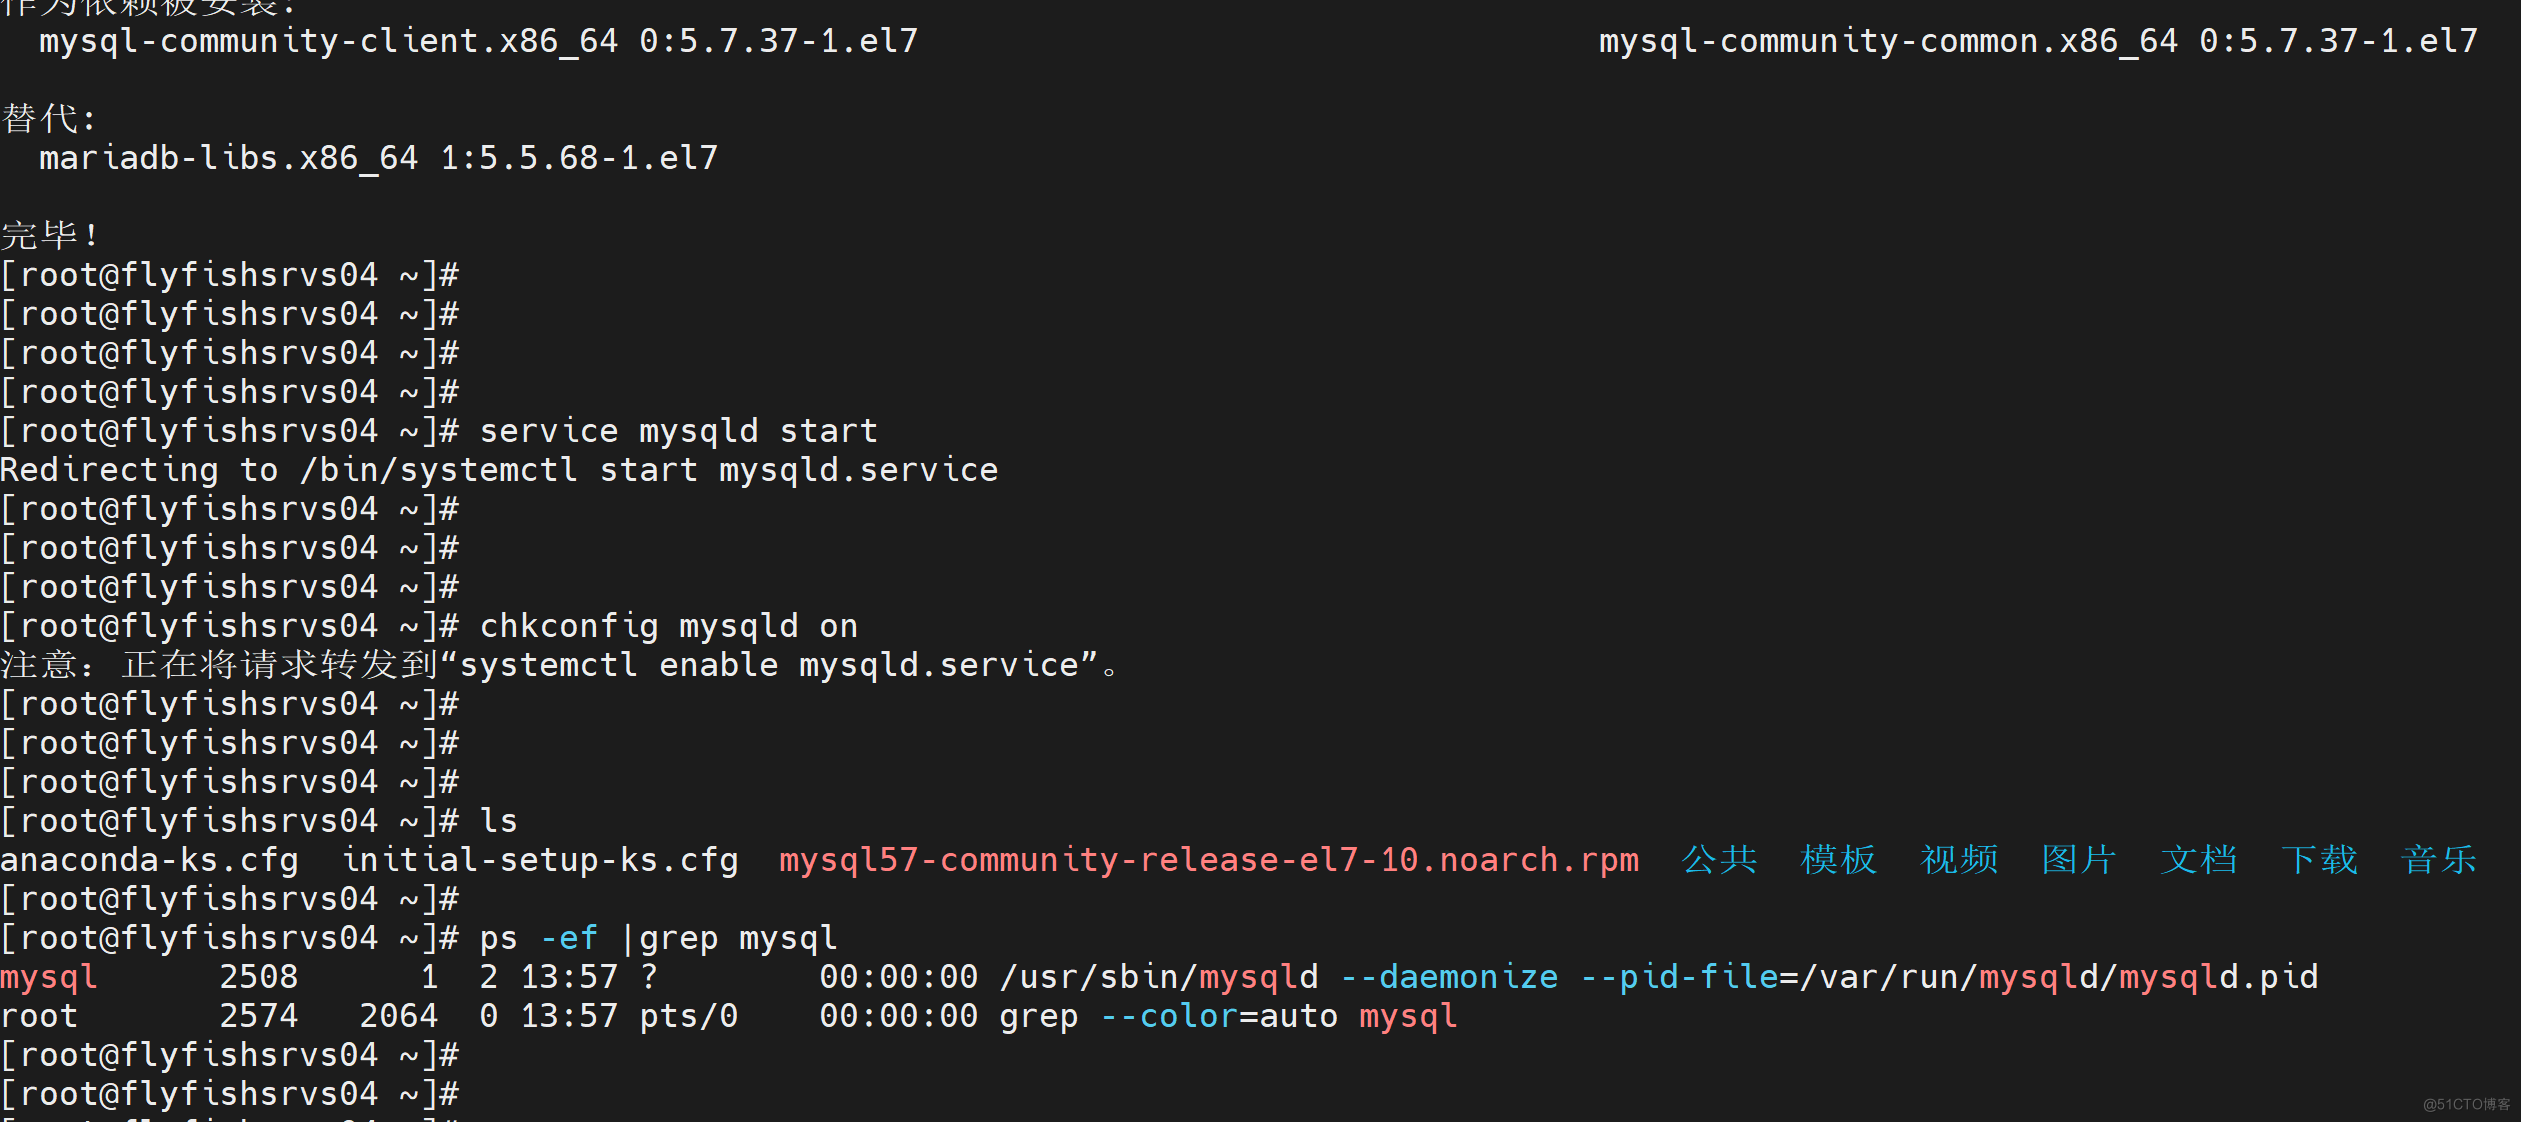
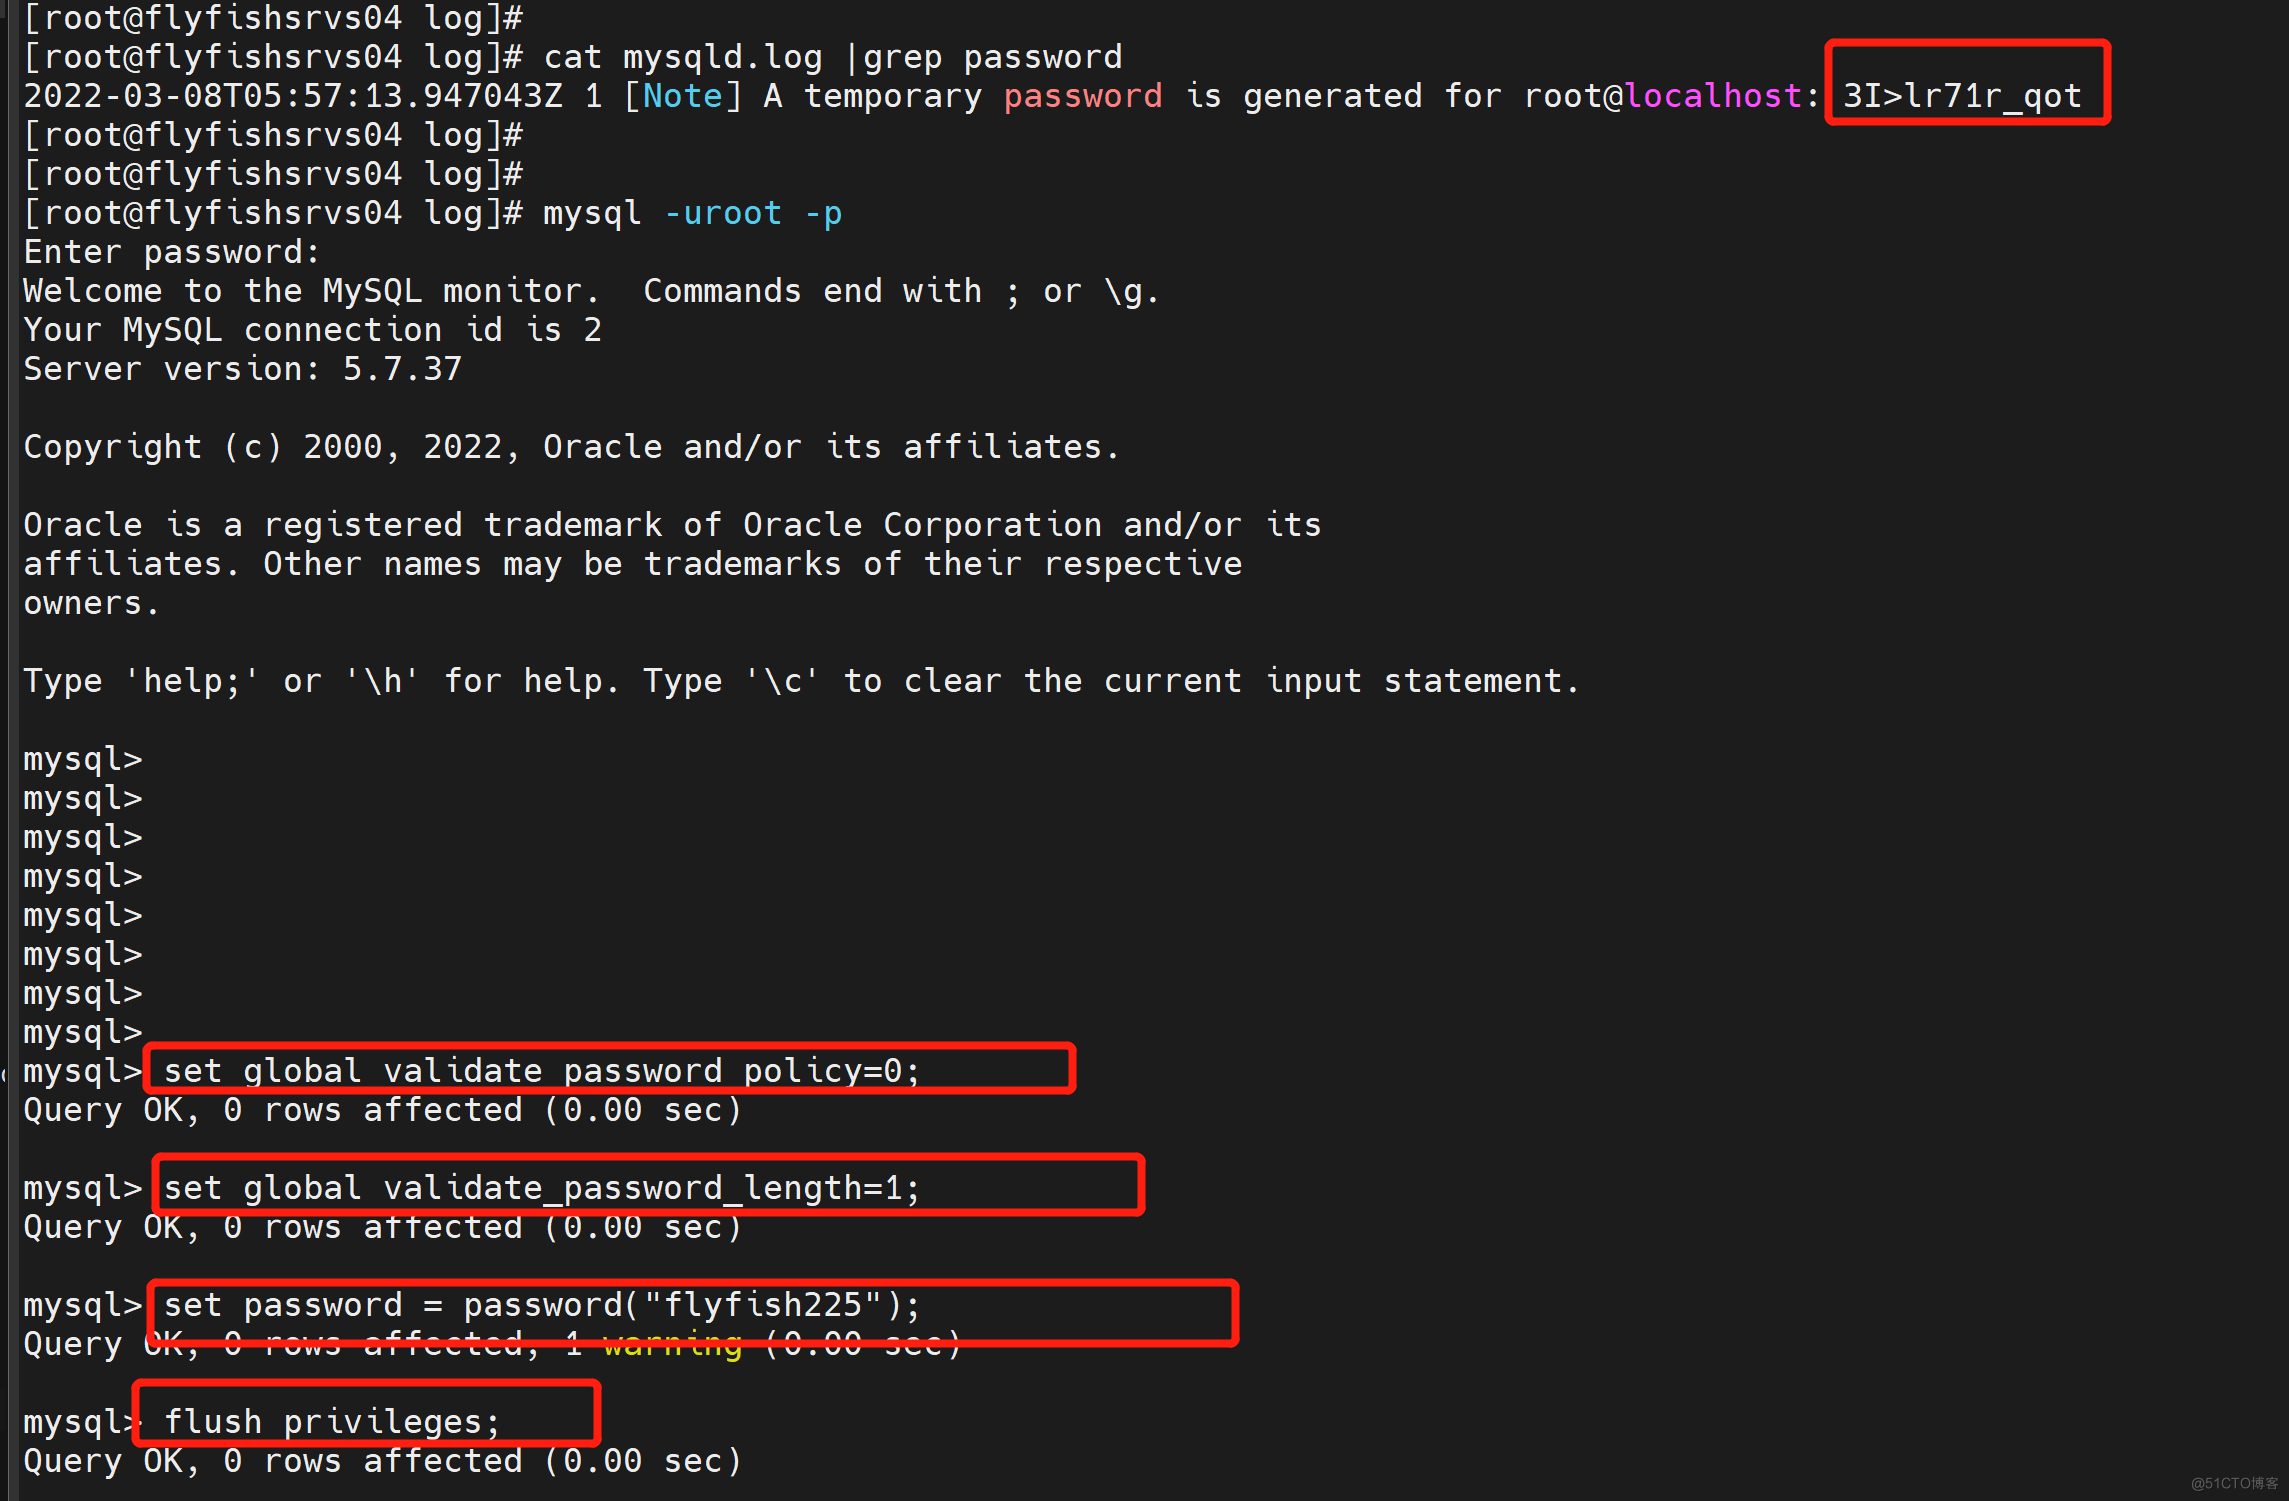
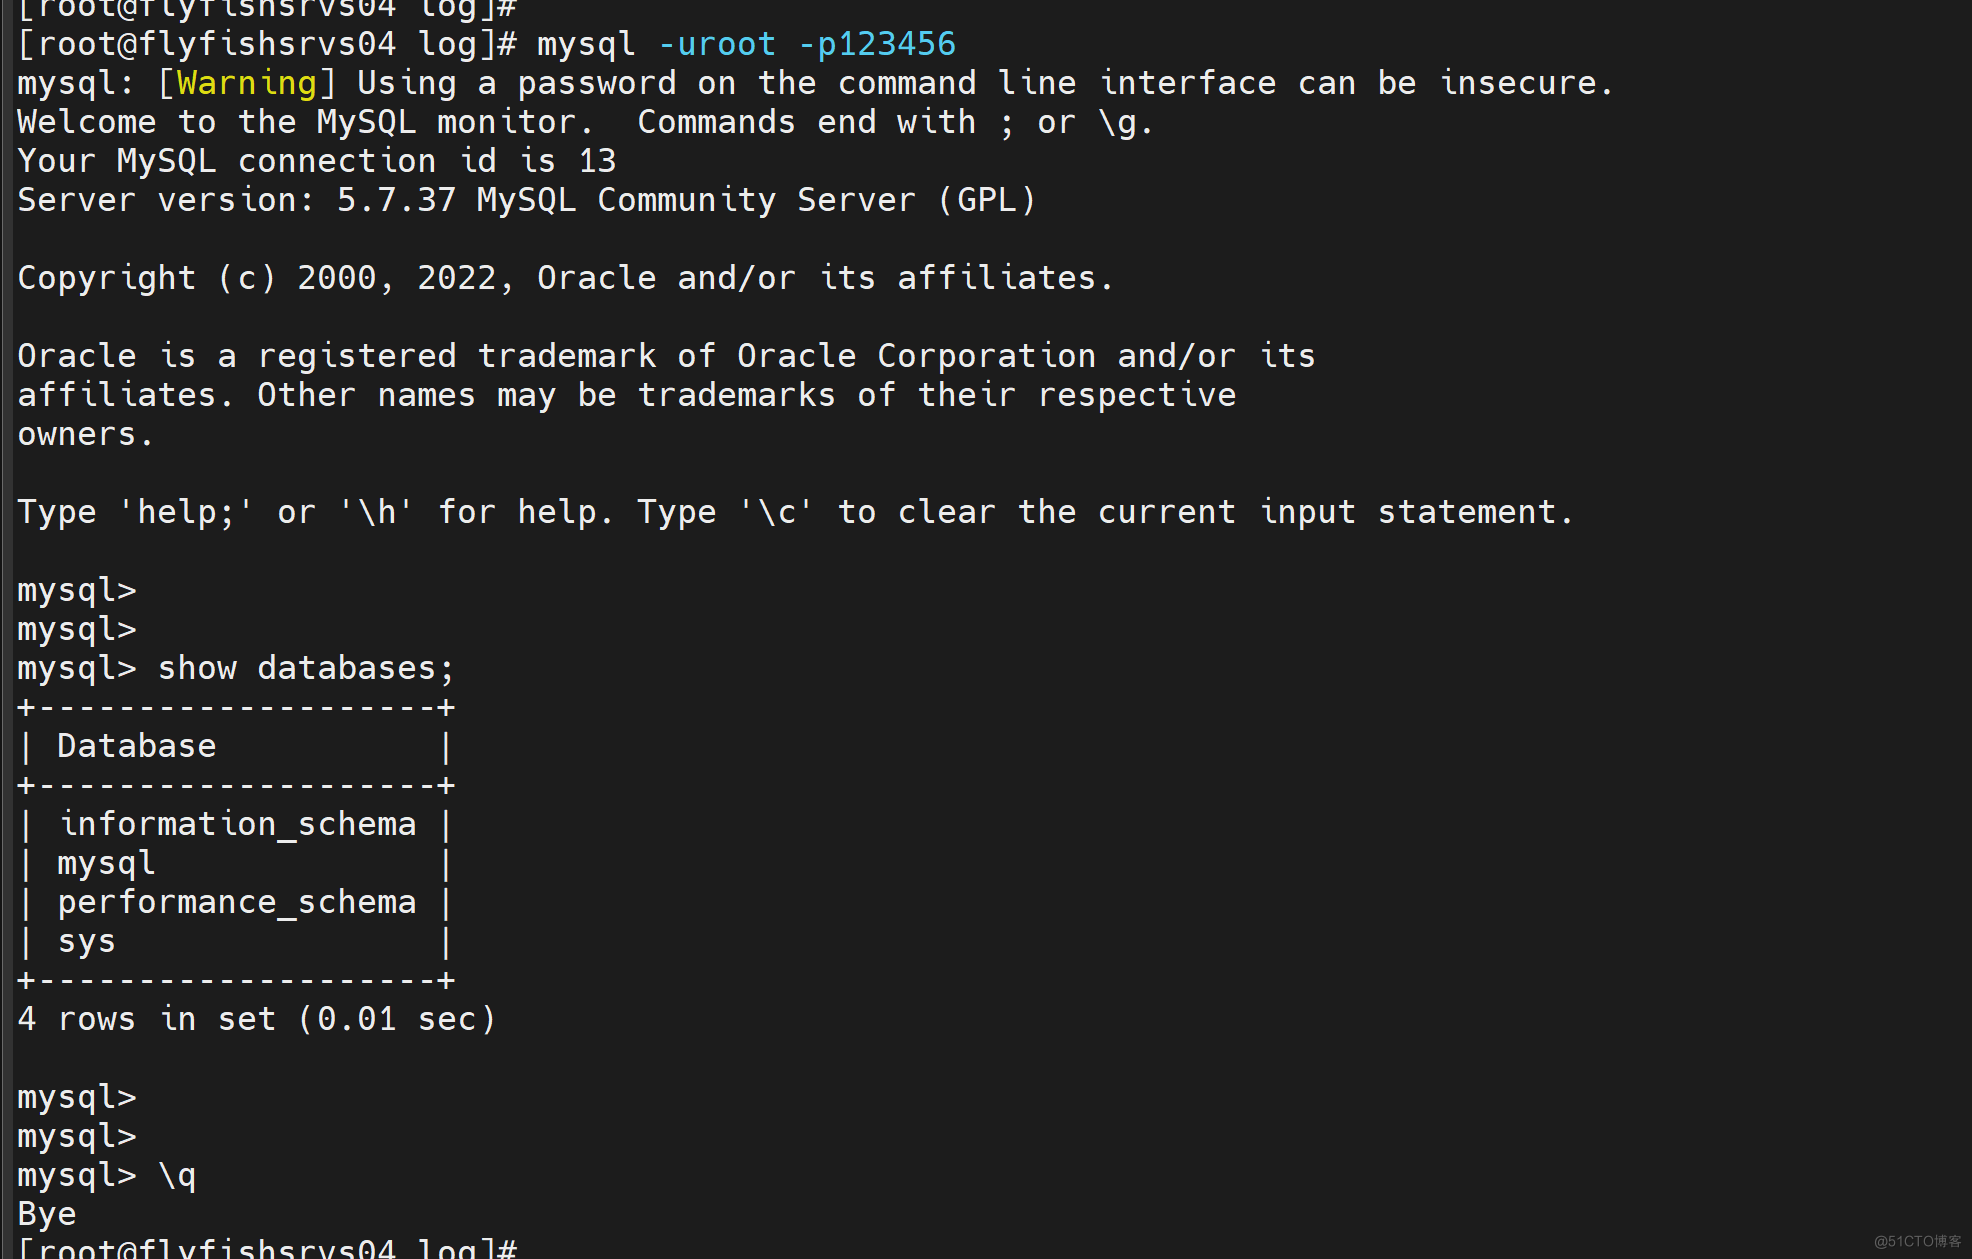
1.2.1 安装MySQL 5.7
rpm -ivh mysql57-community-release-el7-10.noarch.rpm rpm --import https://repo.mysql.com/RPM-GPG-KEY-mysql-2022 yum install mysql-server service mysqld start chkconfig mysqld on cd /var/log/ cat mysqld.log |grep password mysql -uroot -p set global validate_password_policy=0; set global validate_password_length=1; set password = password("123456"); flush privileges; GRANT ALL PRIVILEGES ON *.* TO 'root'@'%'IDENTIFIED BY '123456' WITH GRANT OPTION;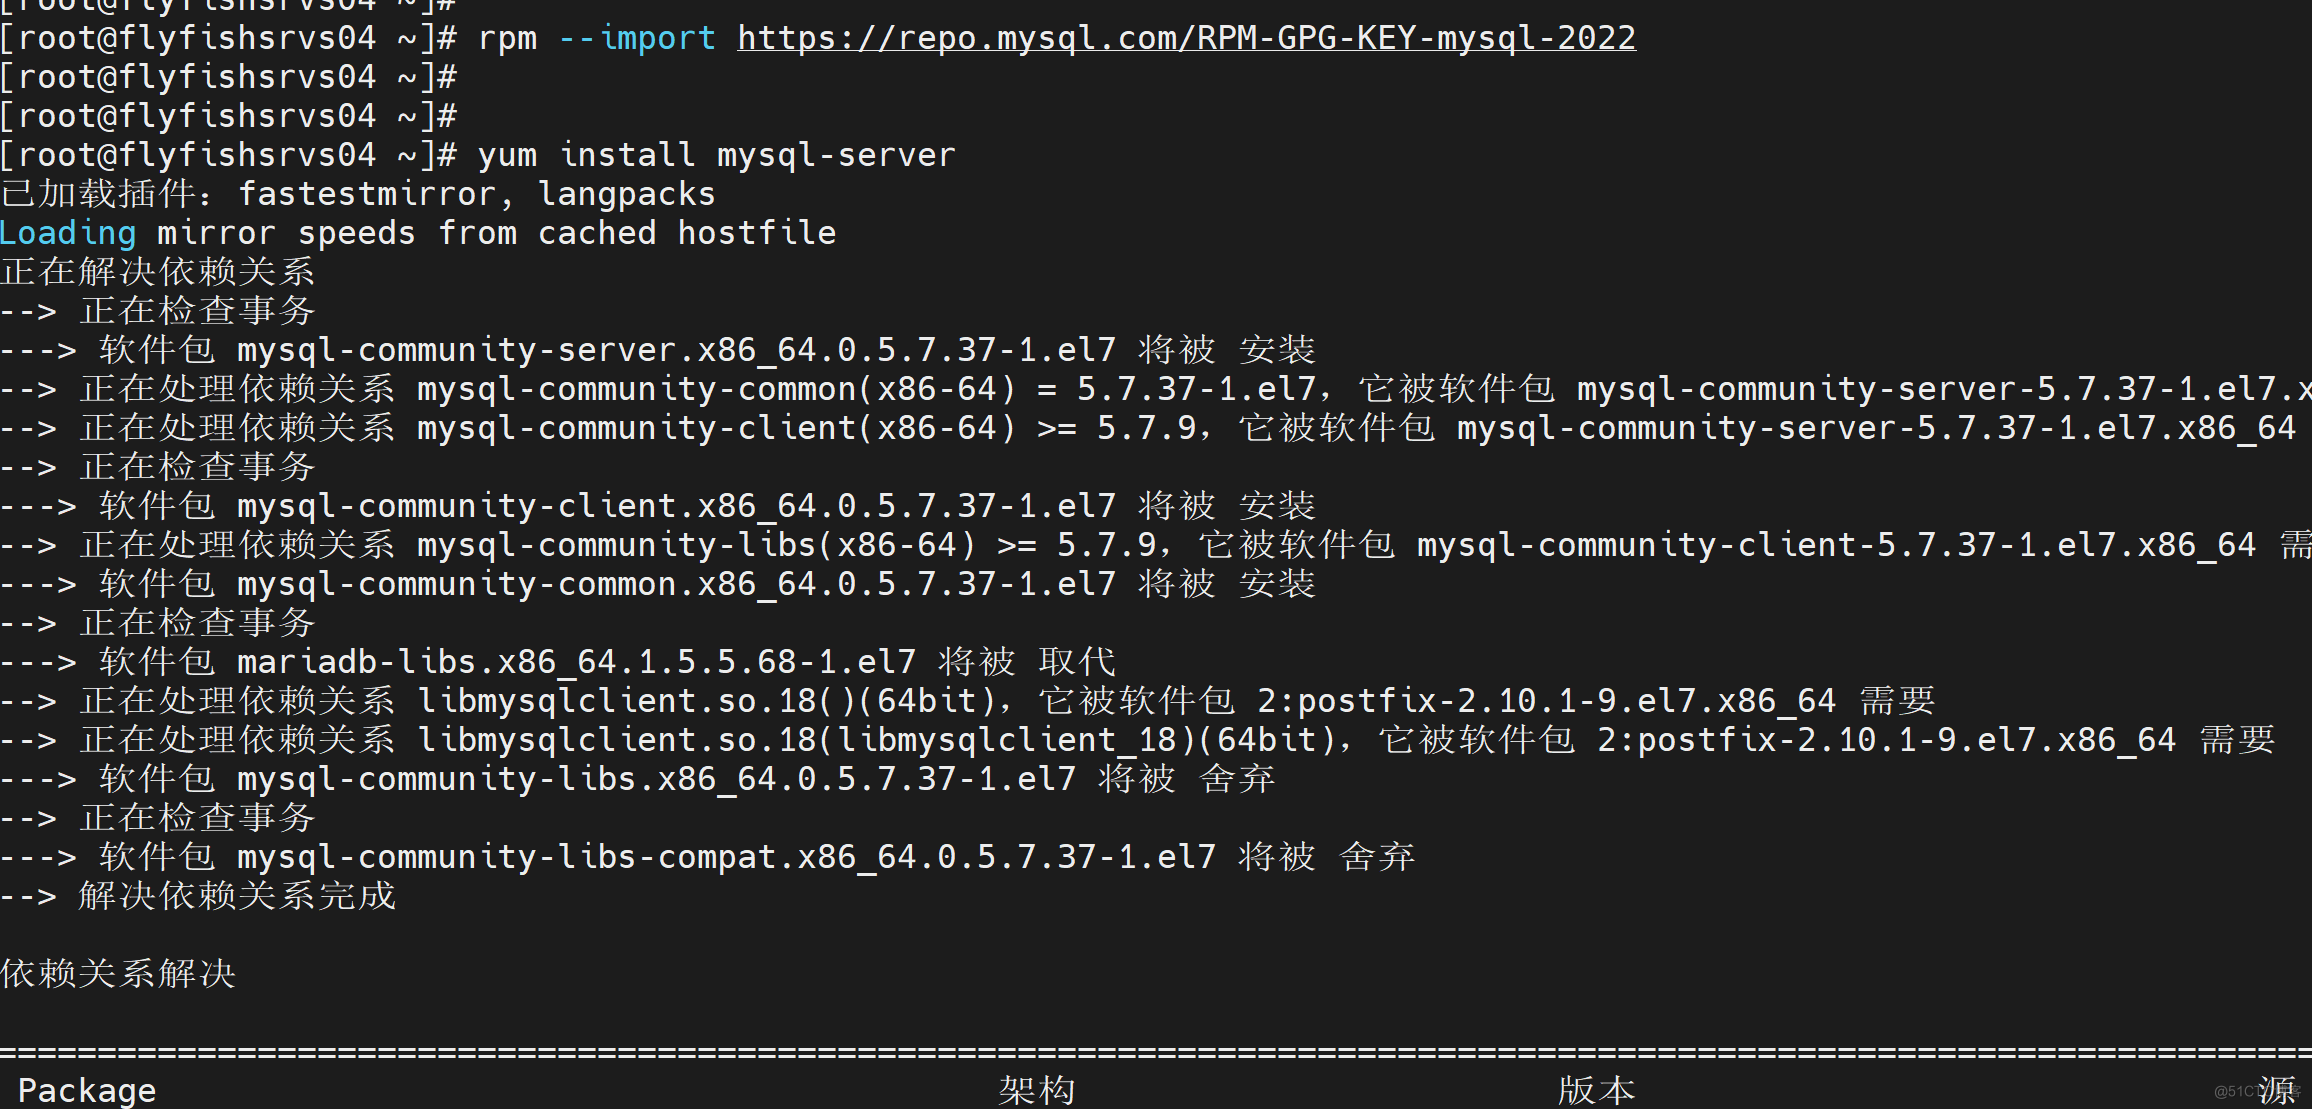

1.2.2 安装nacos
1.2.2.1 nacos 简介
https://github.com/alibaba/nacos/releases/tag/2.0.4 下载: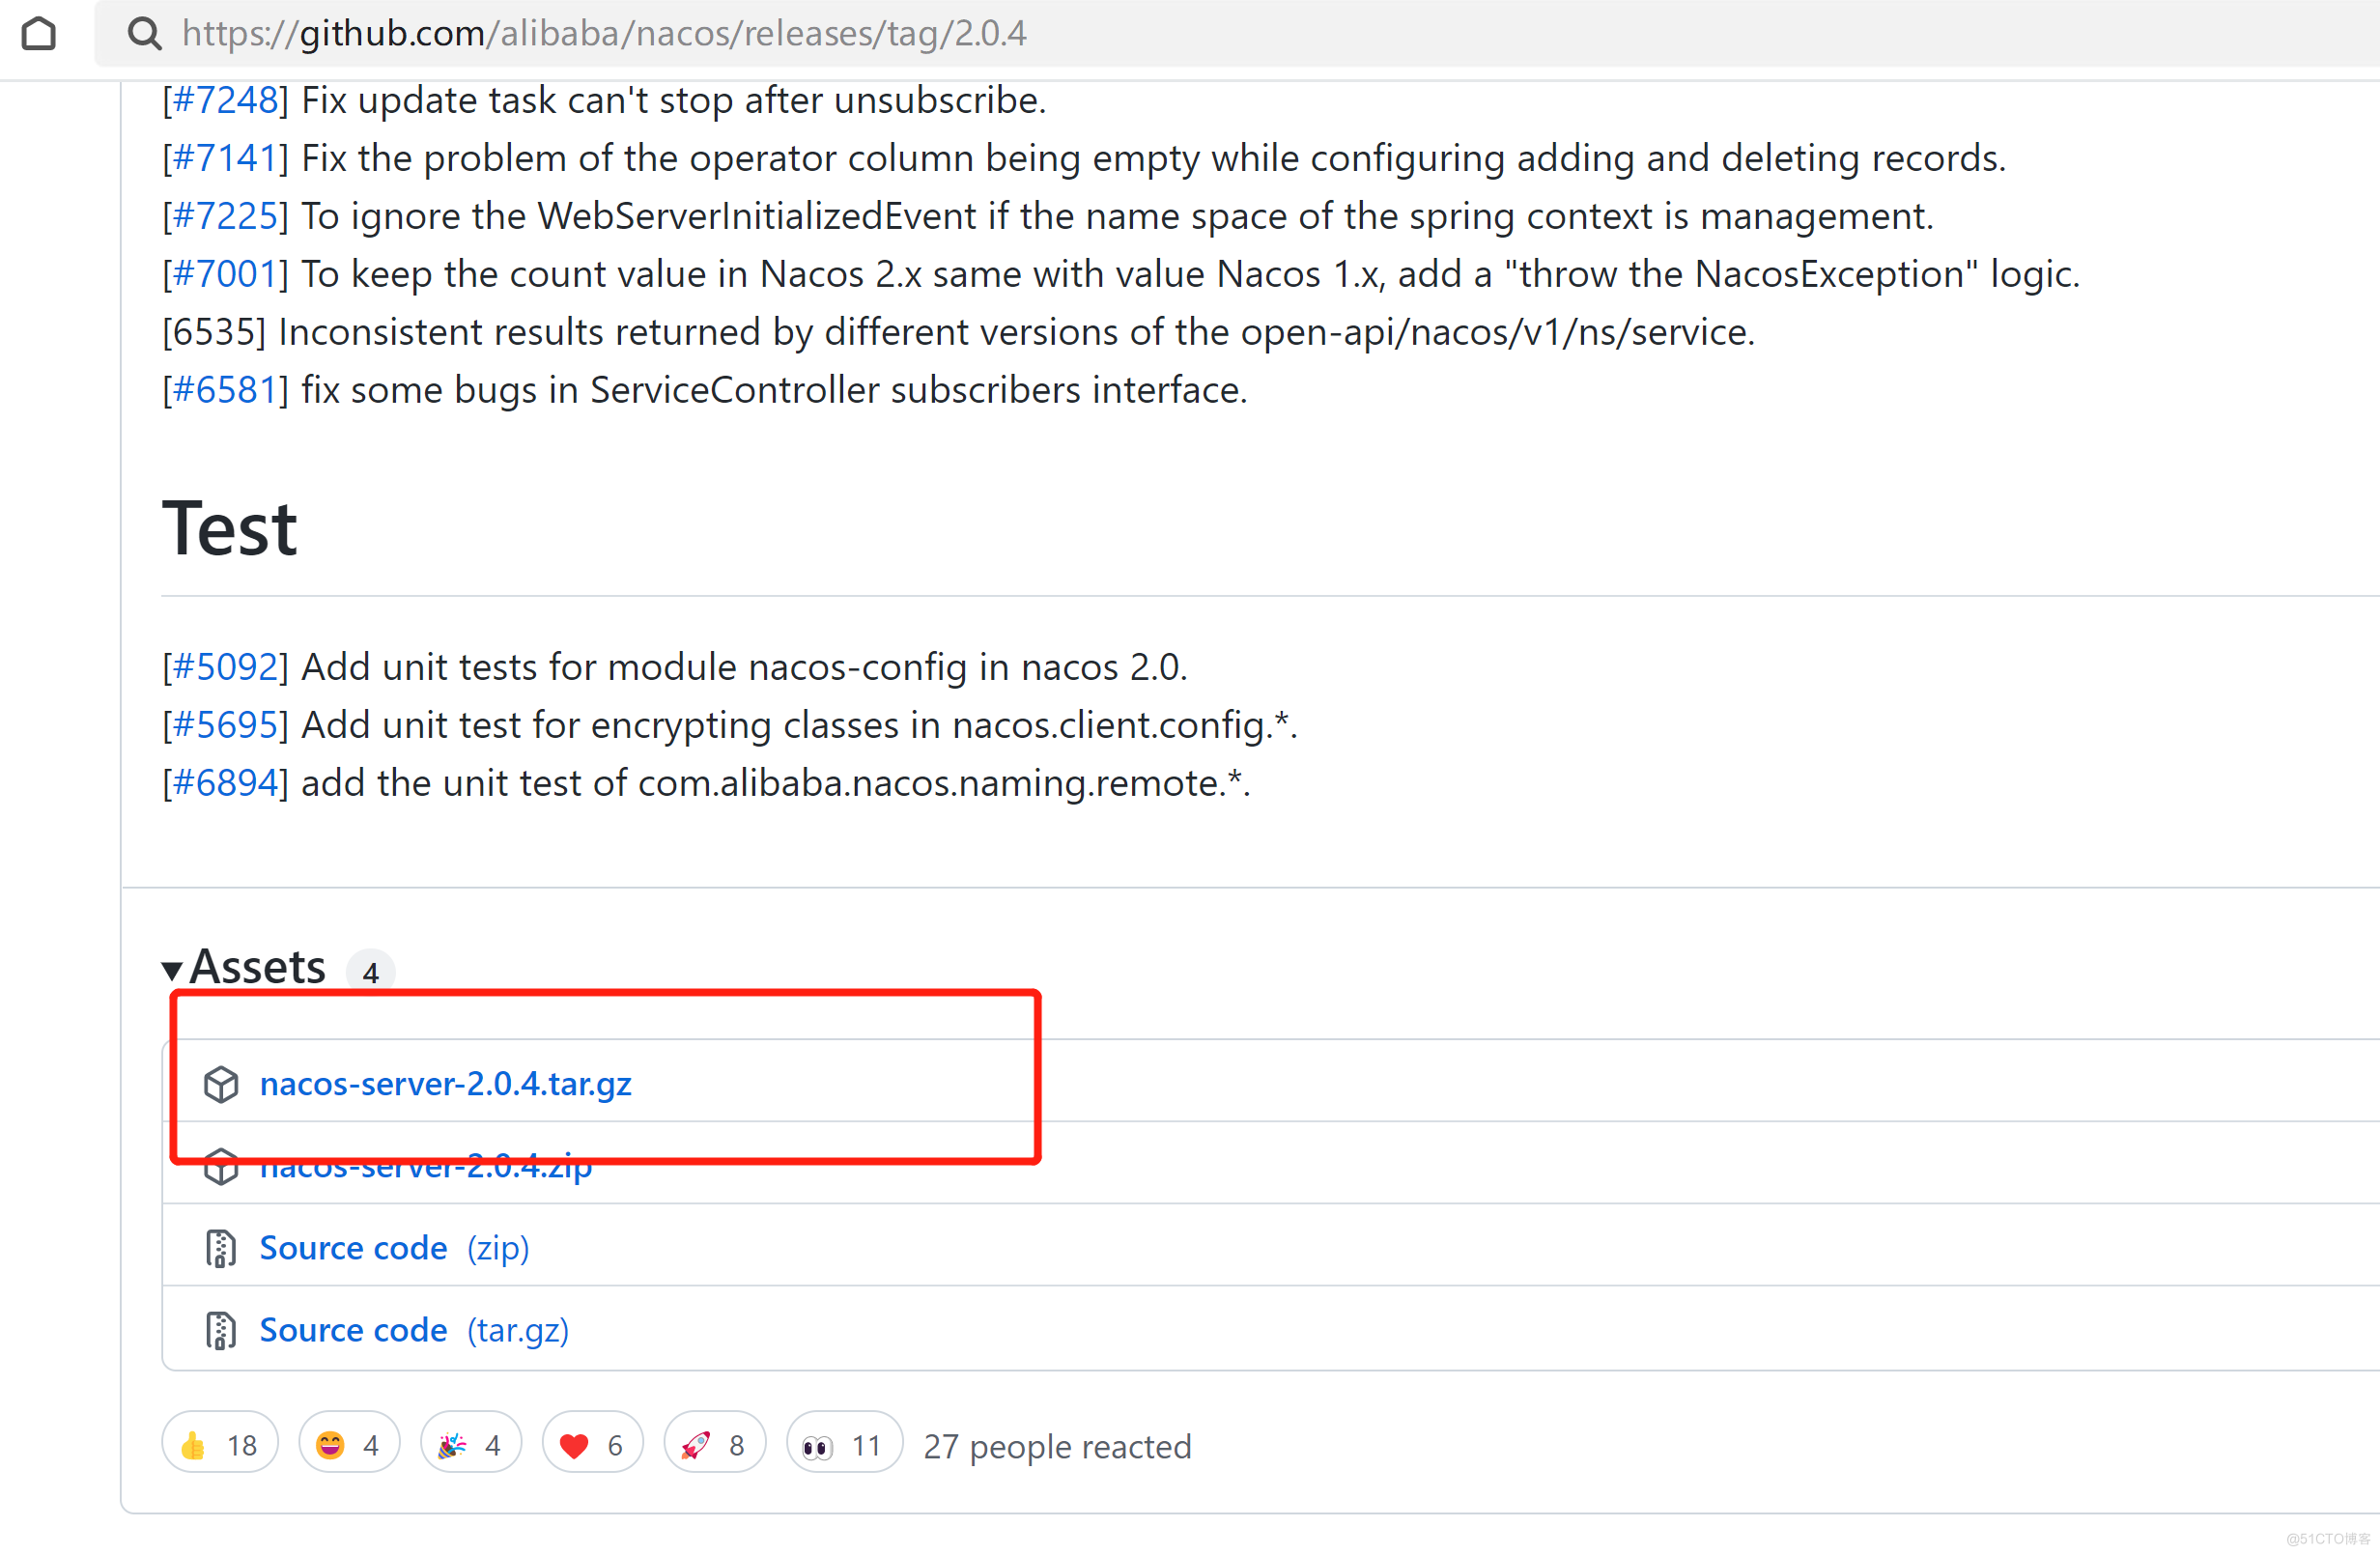

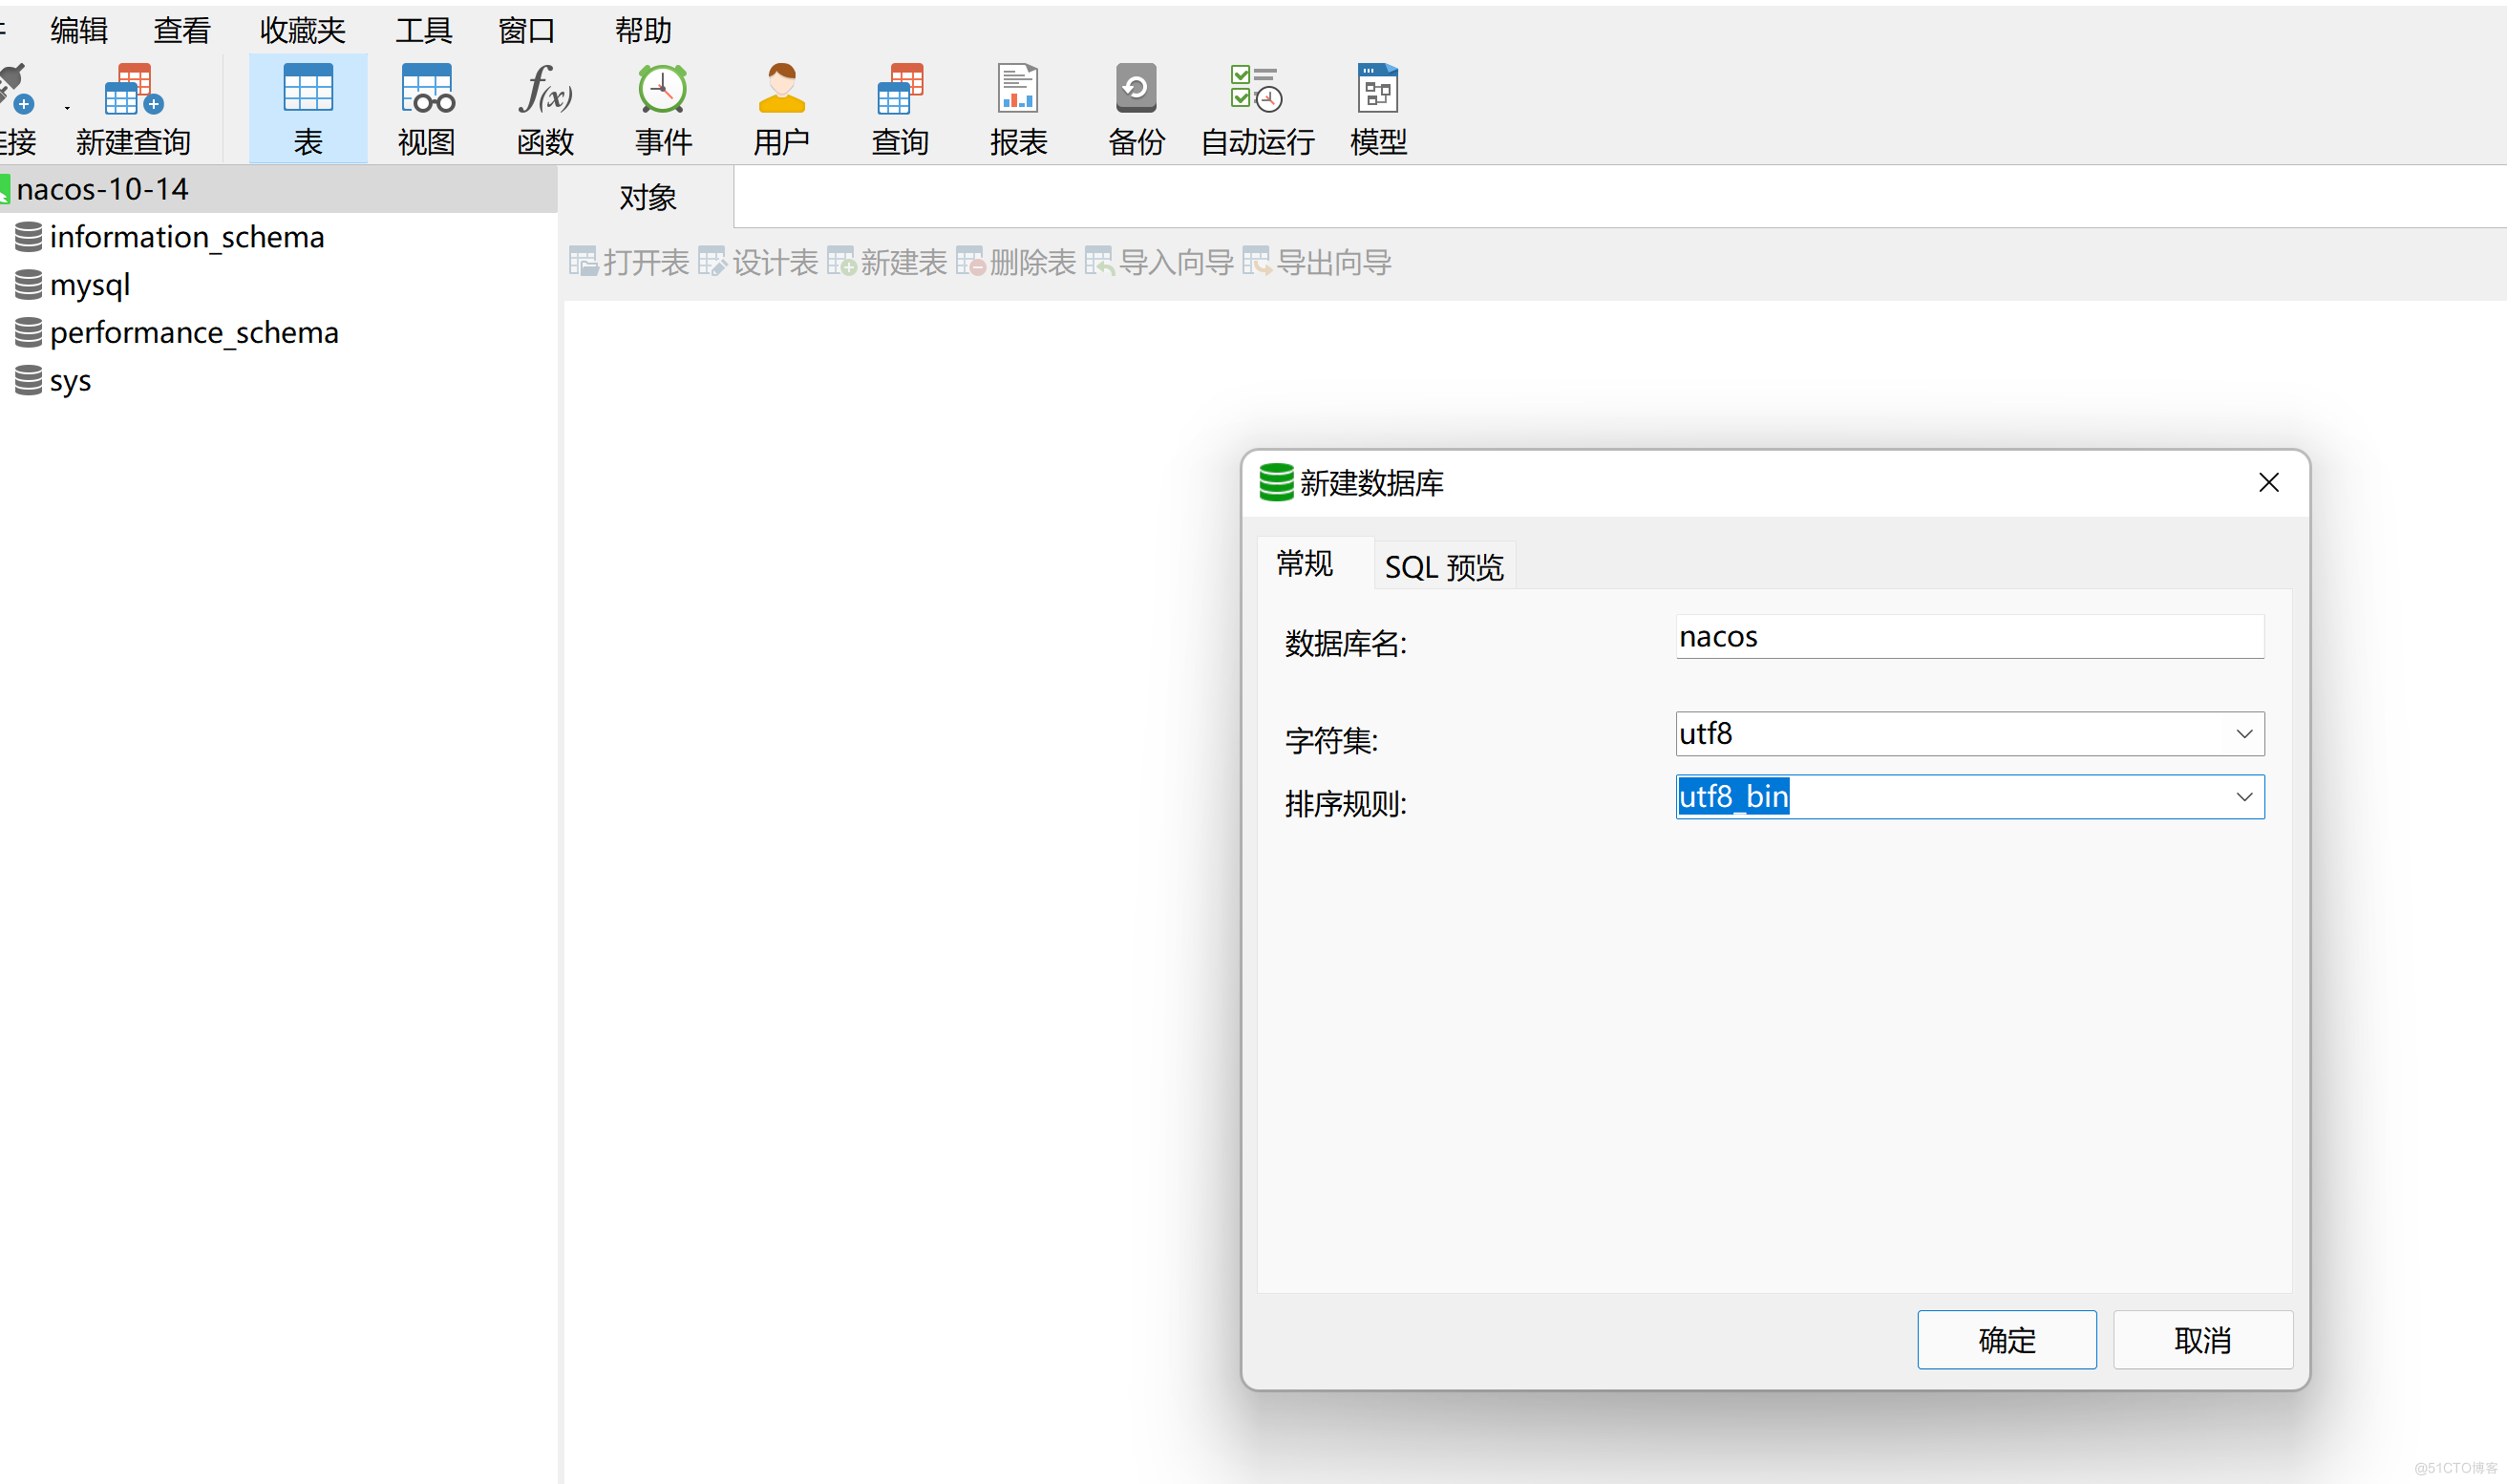
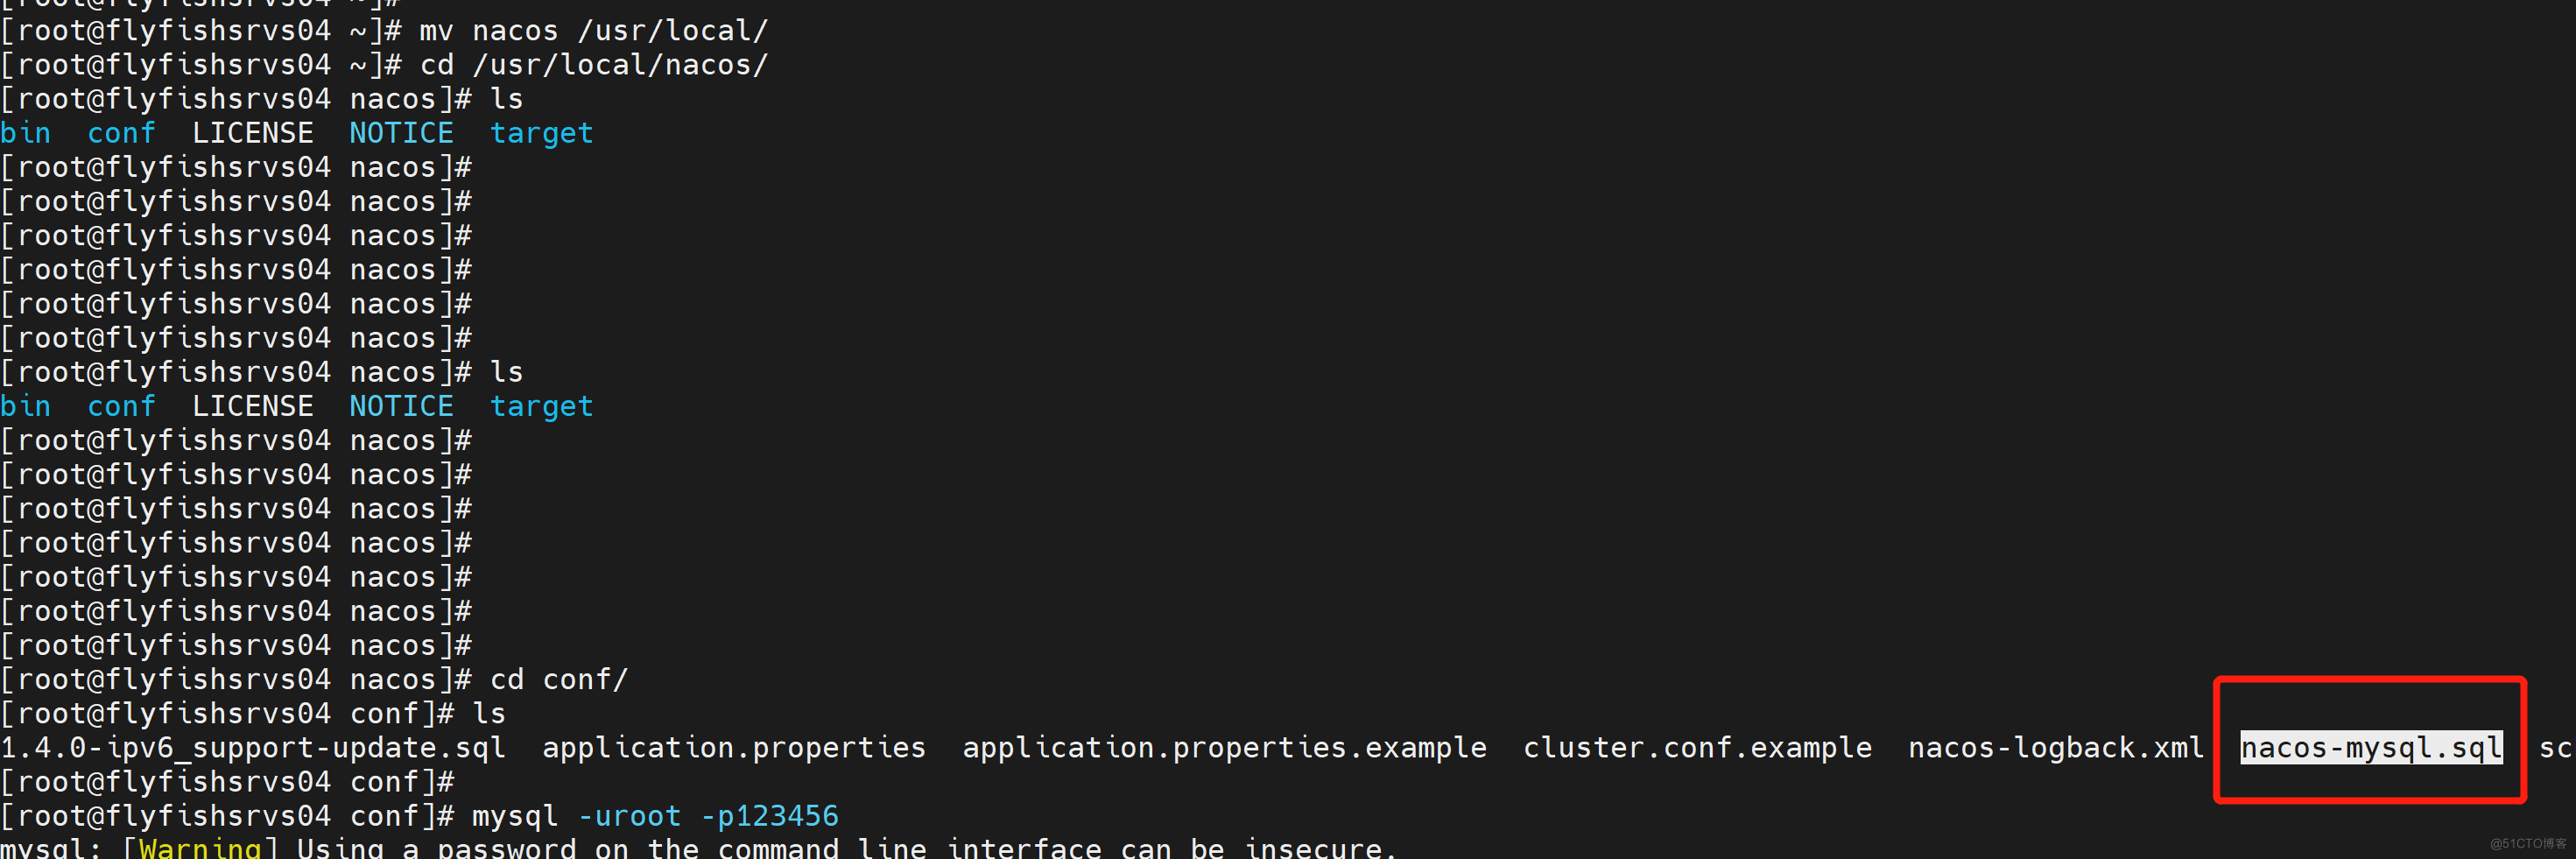
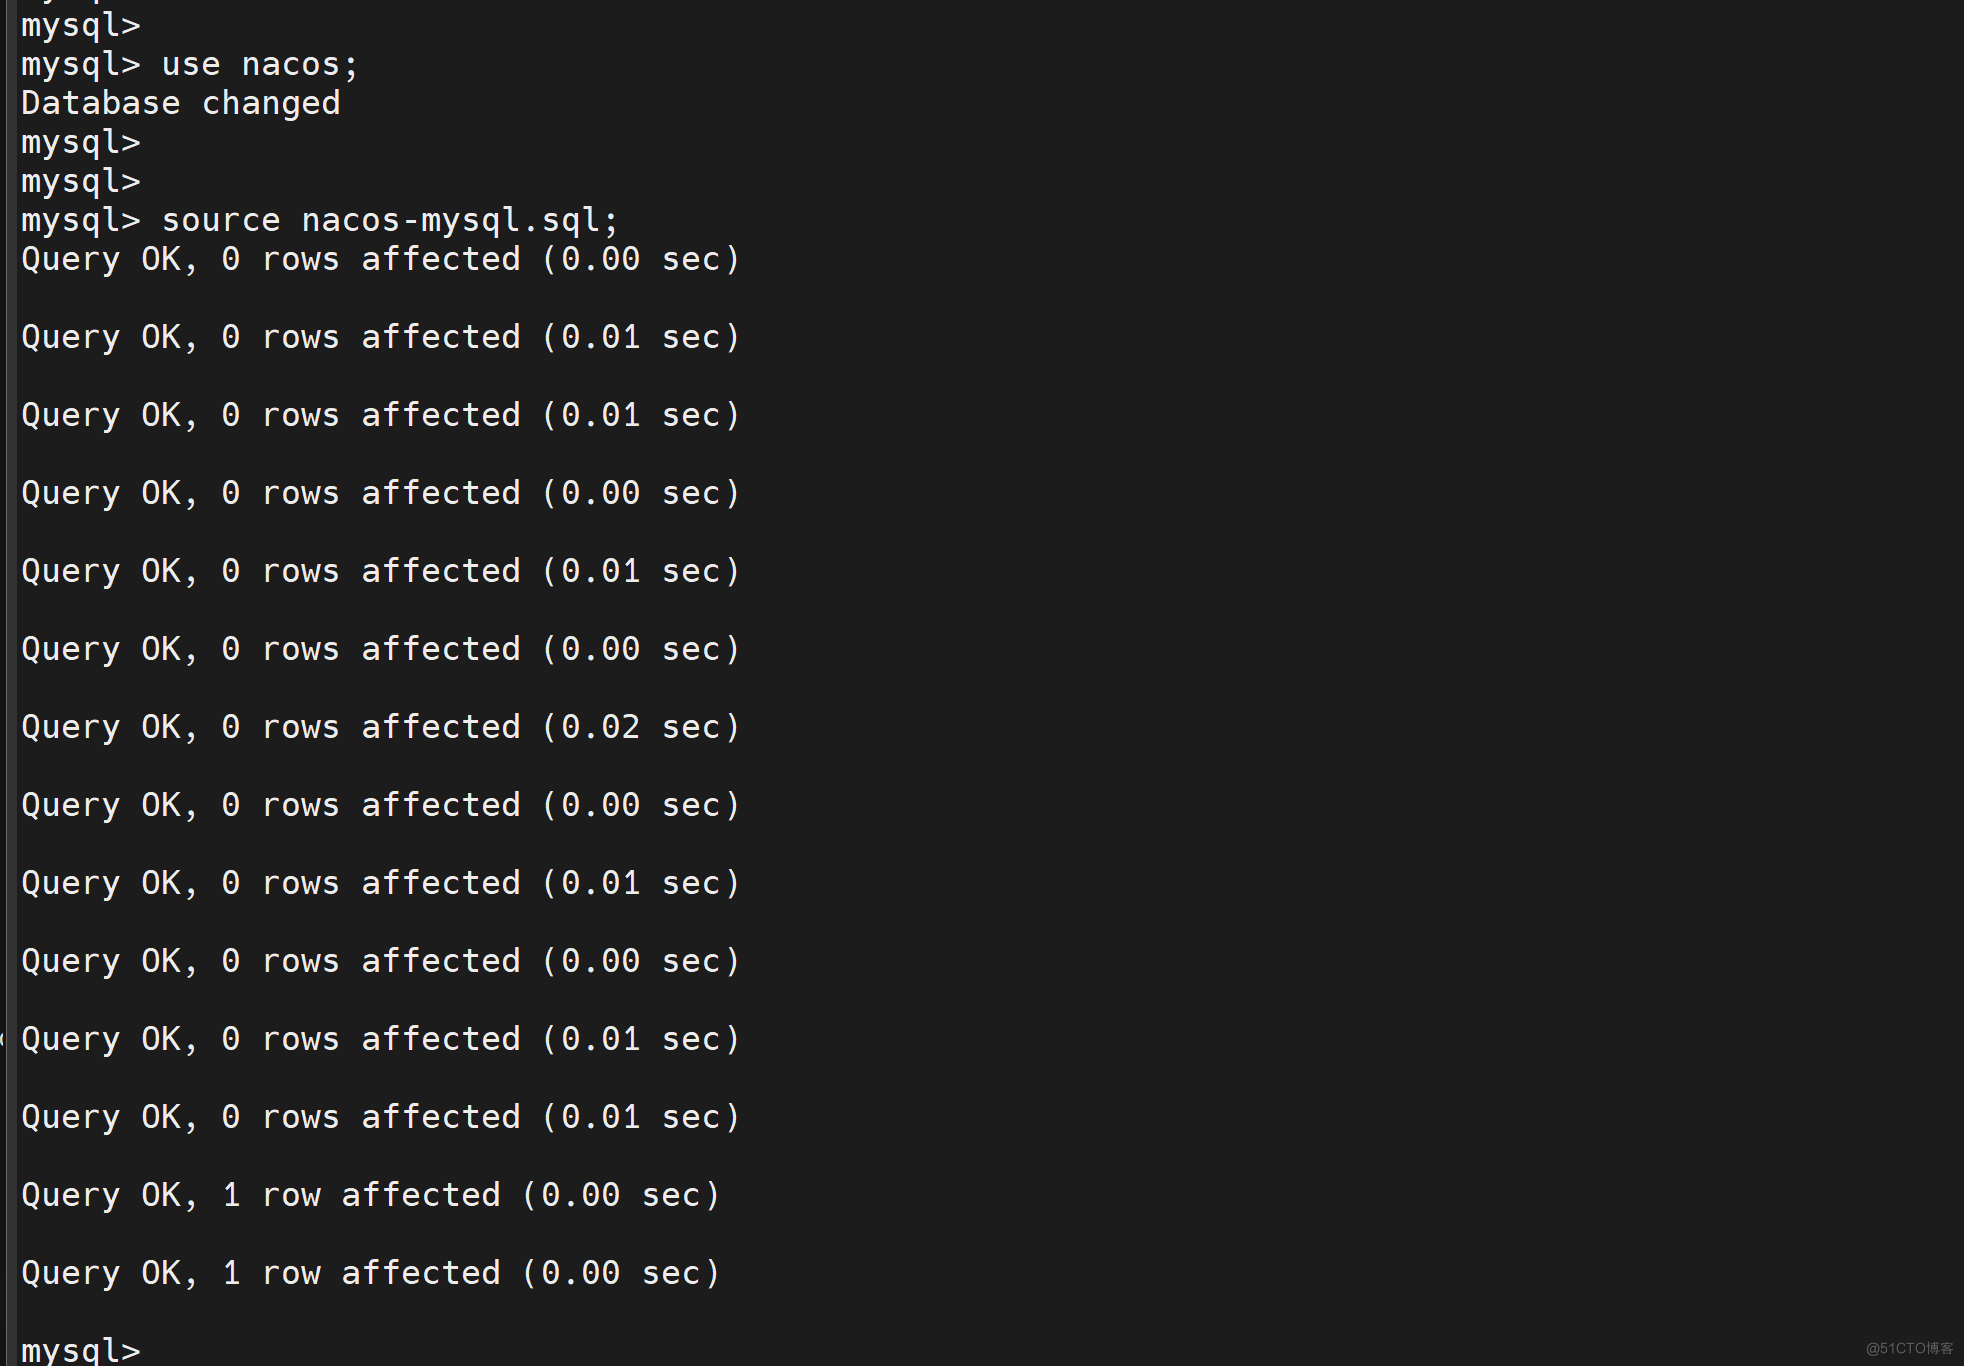
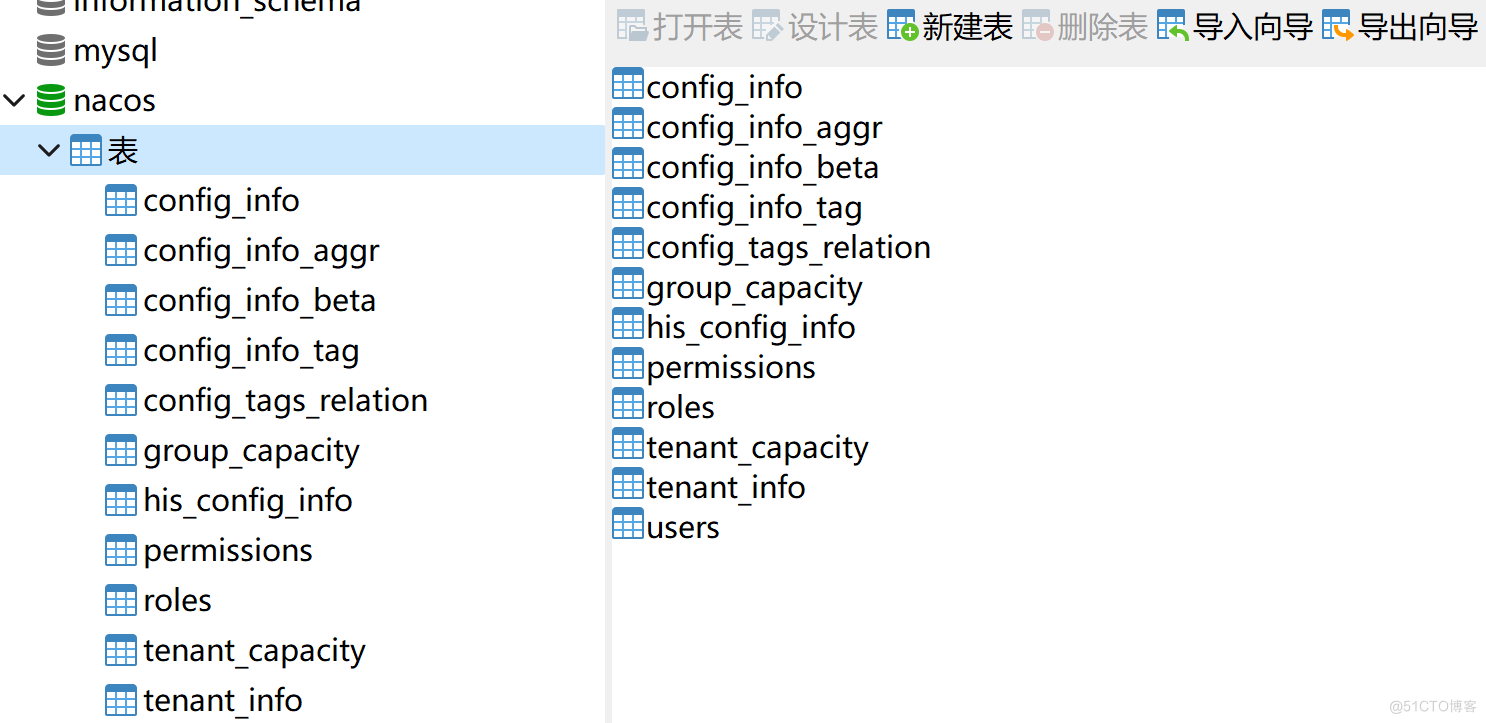
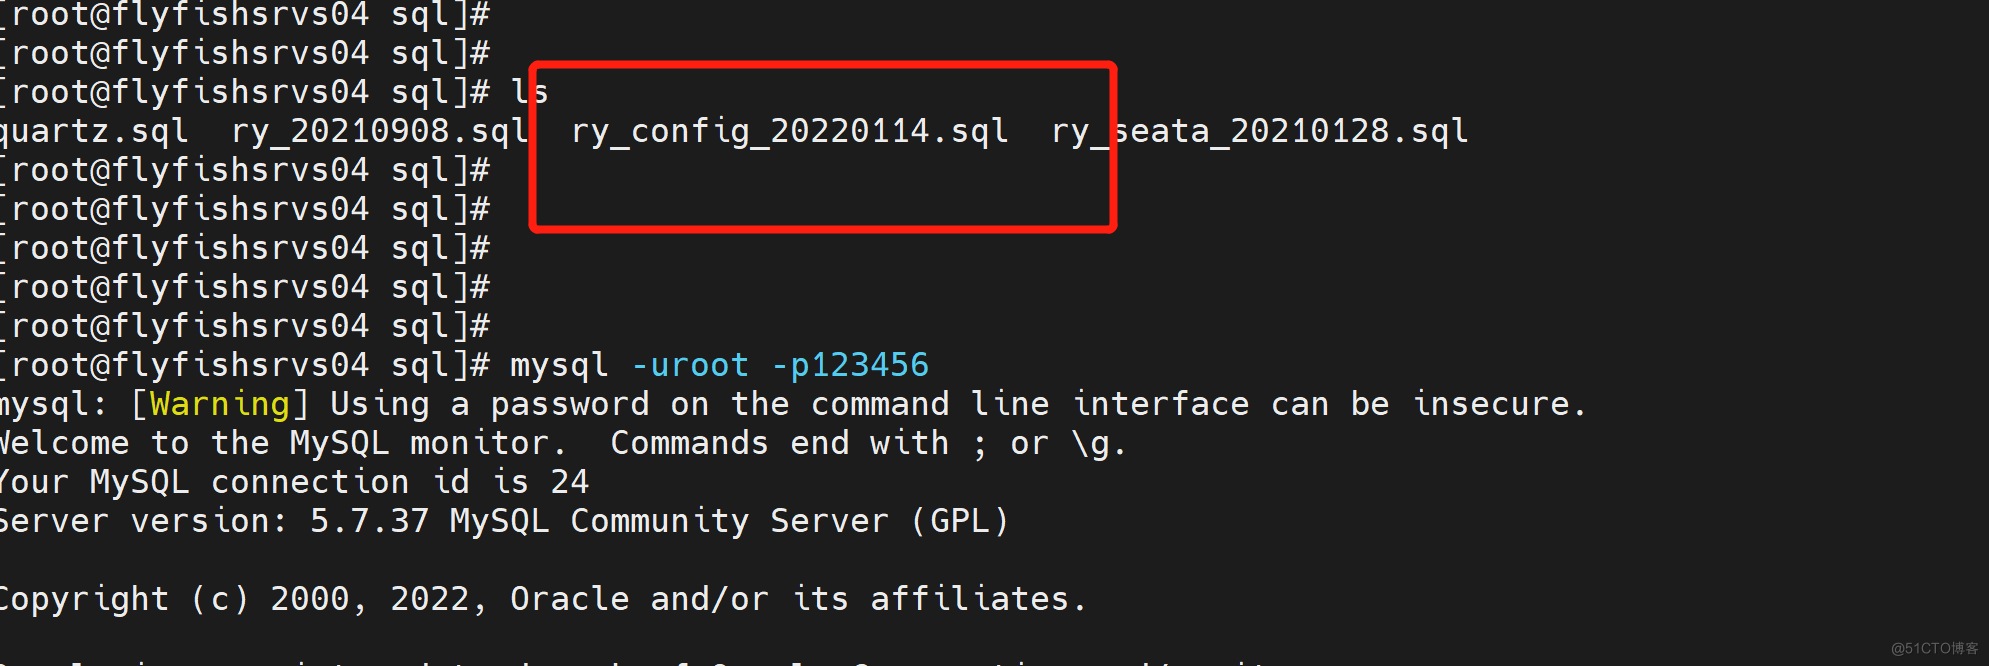
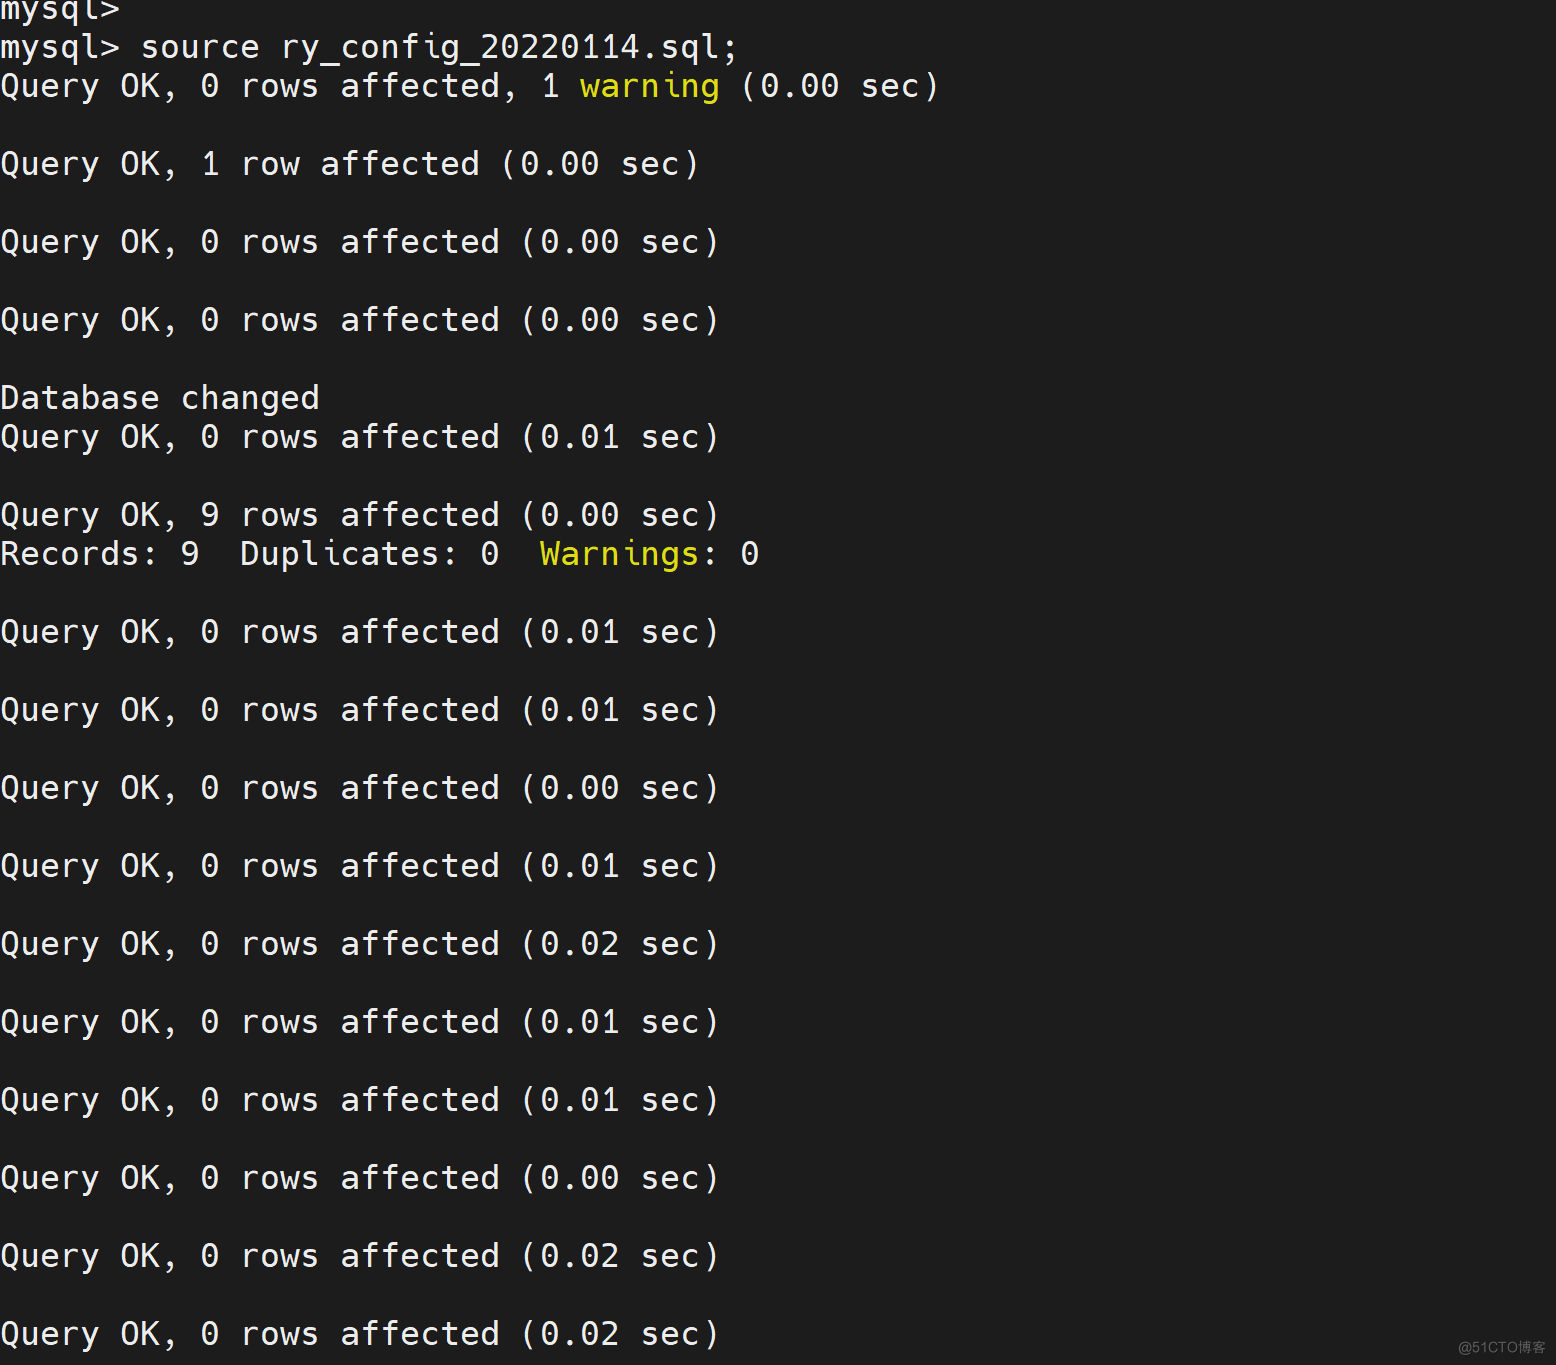
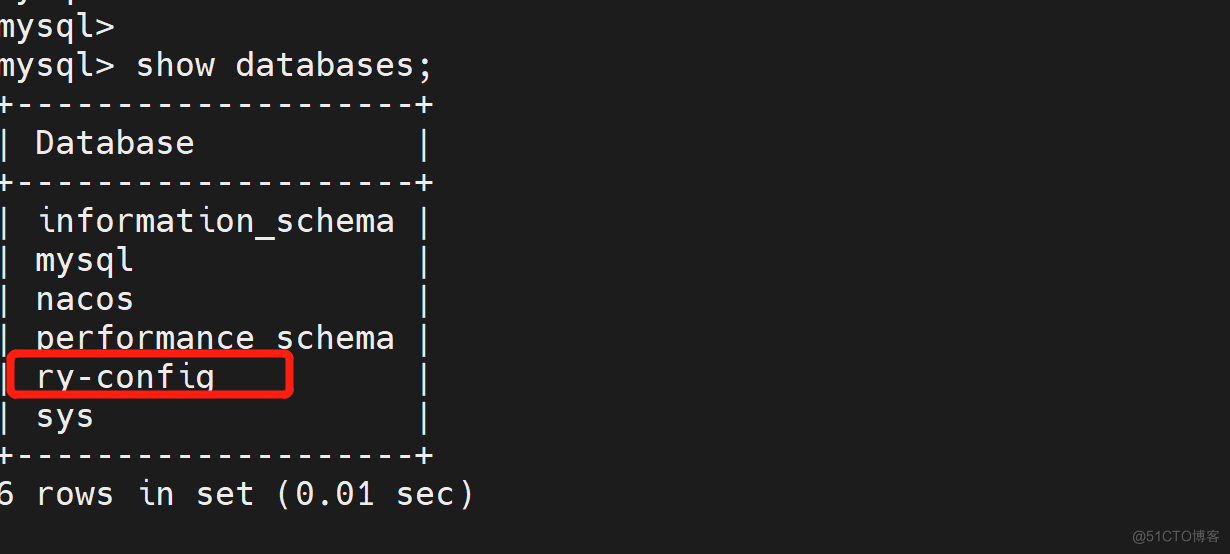
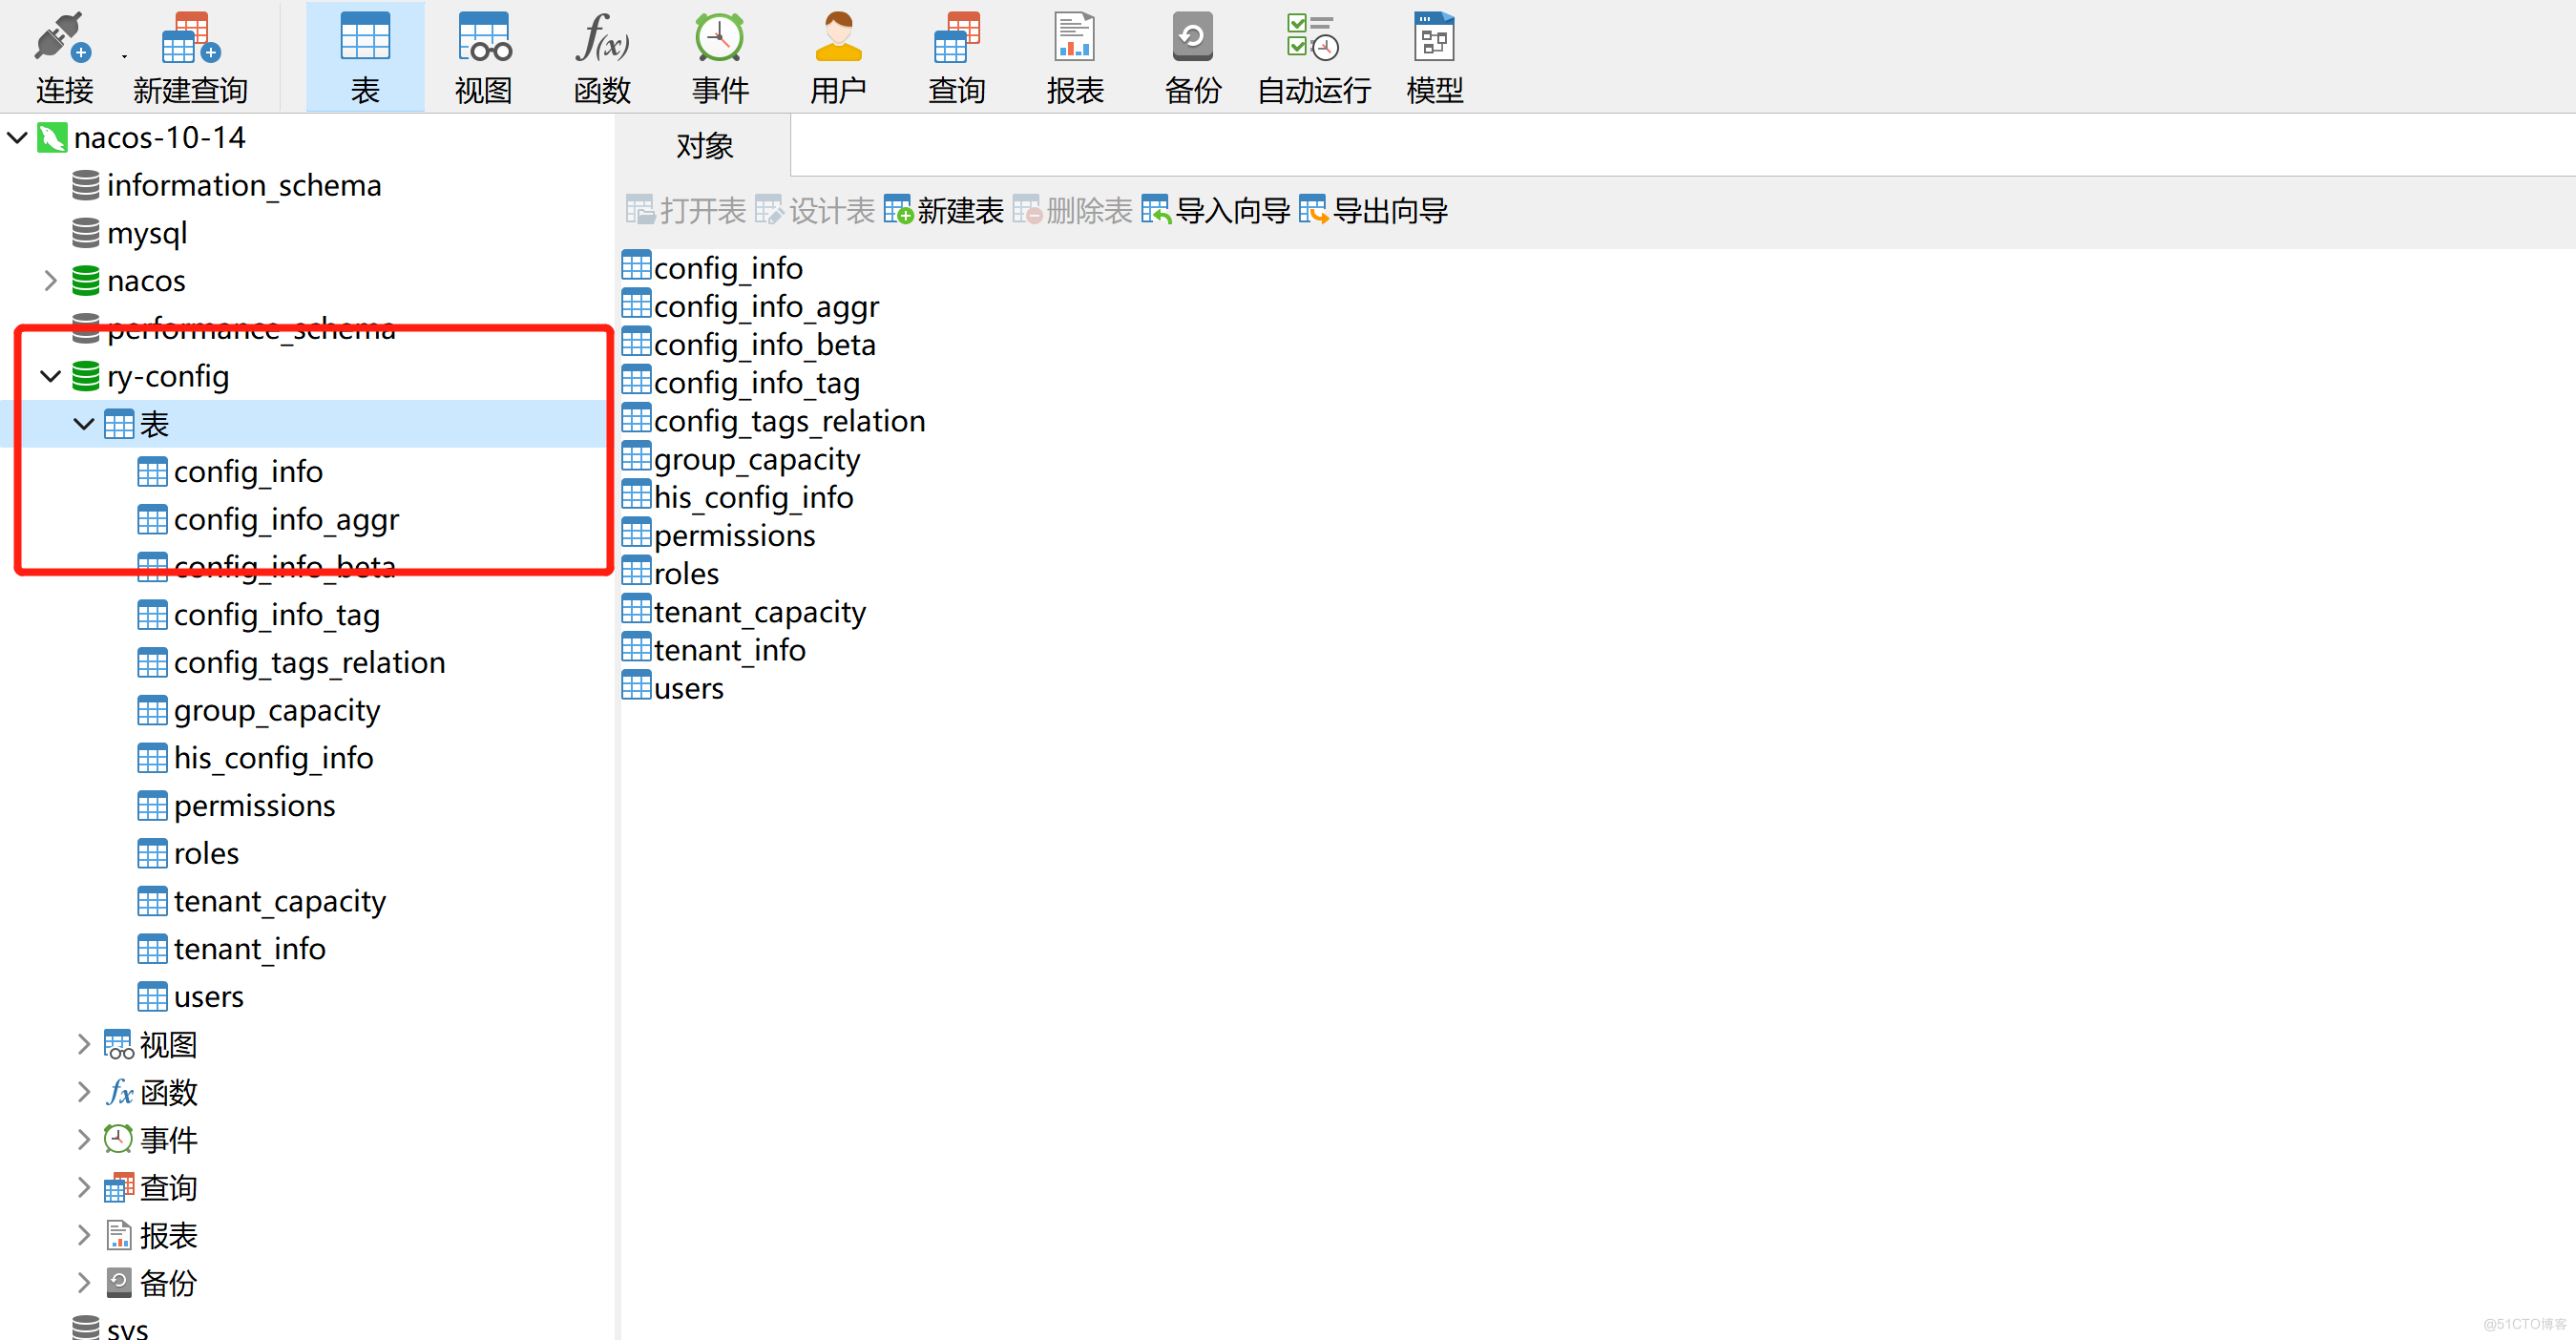
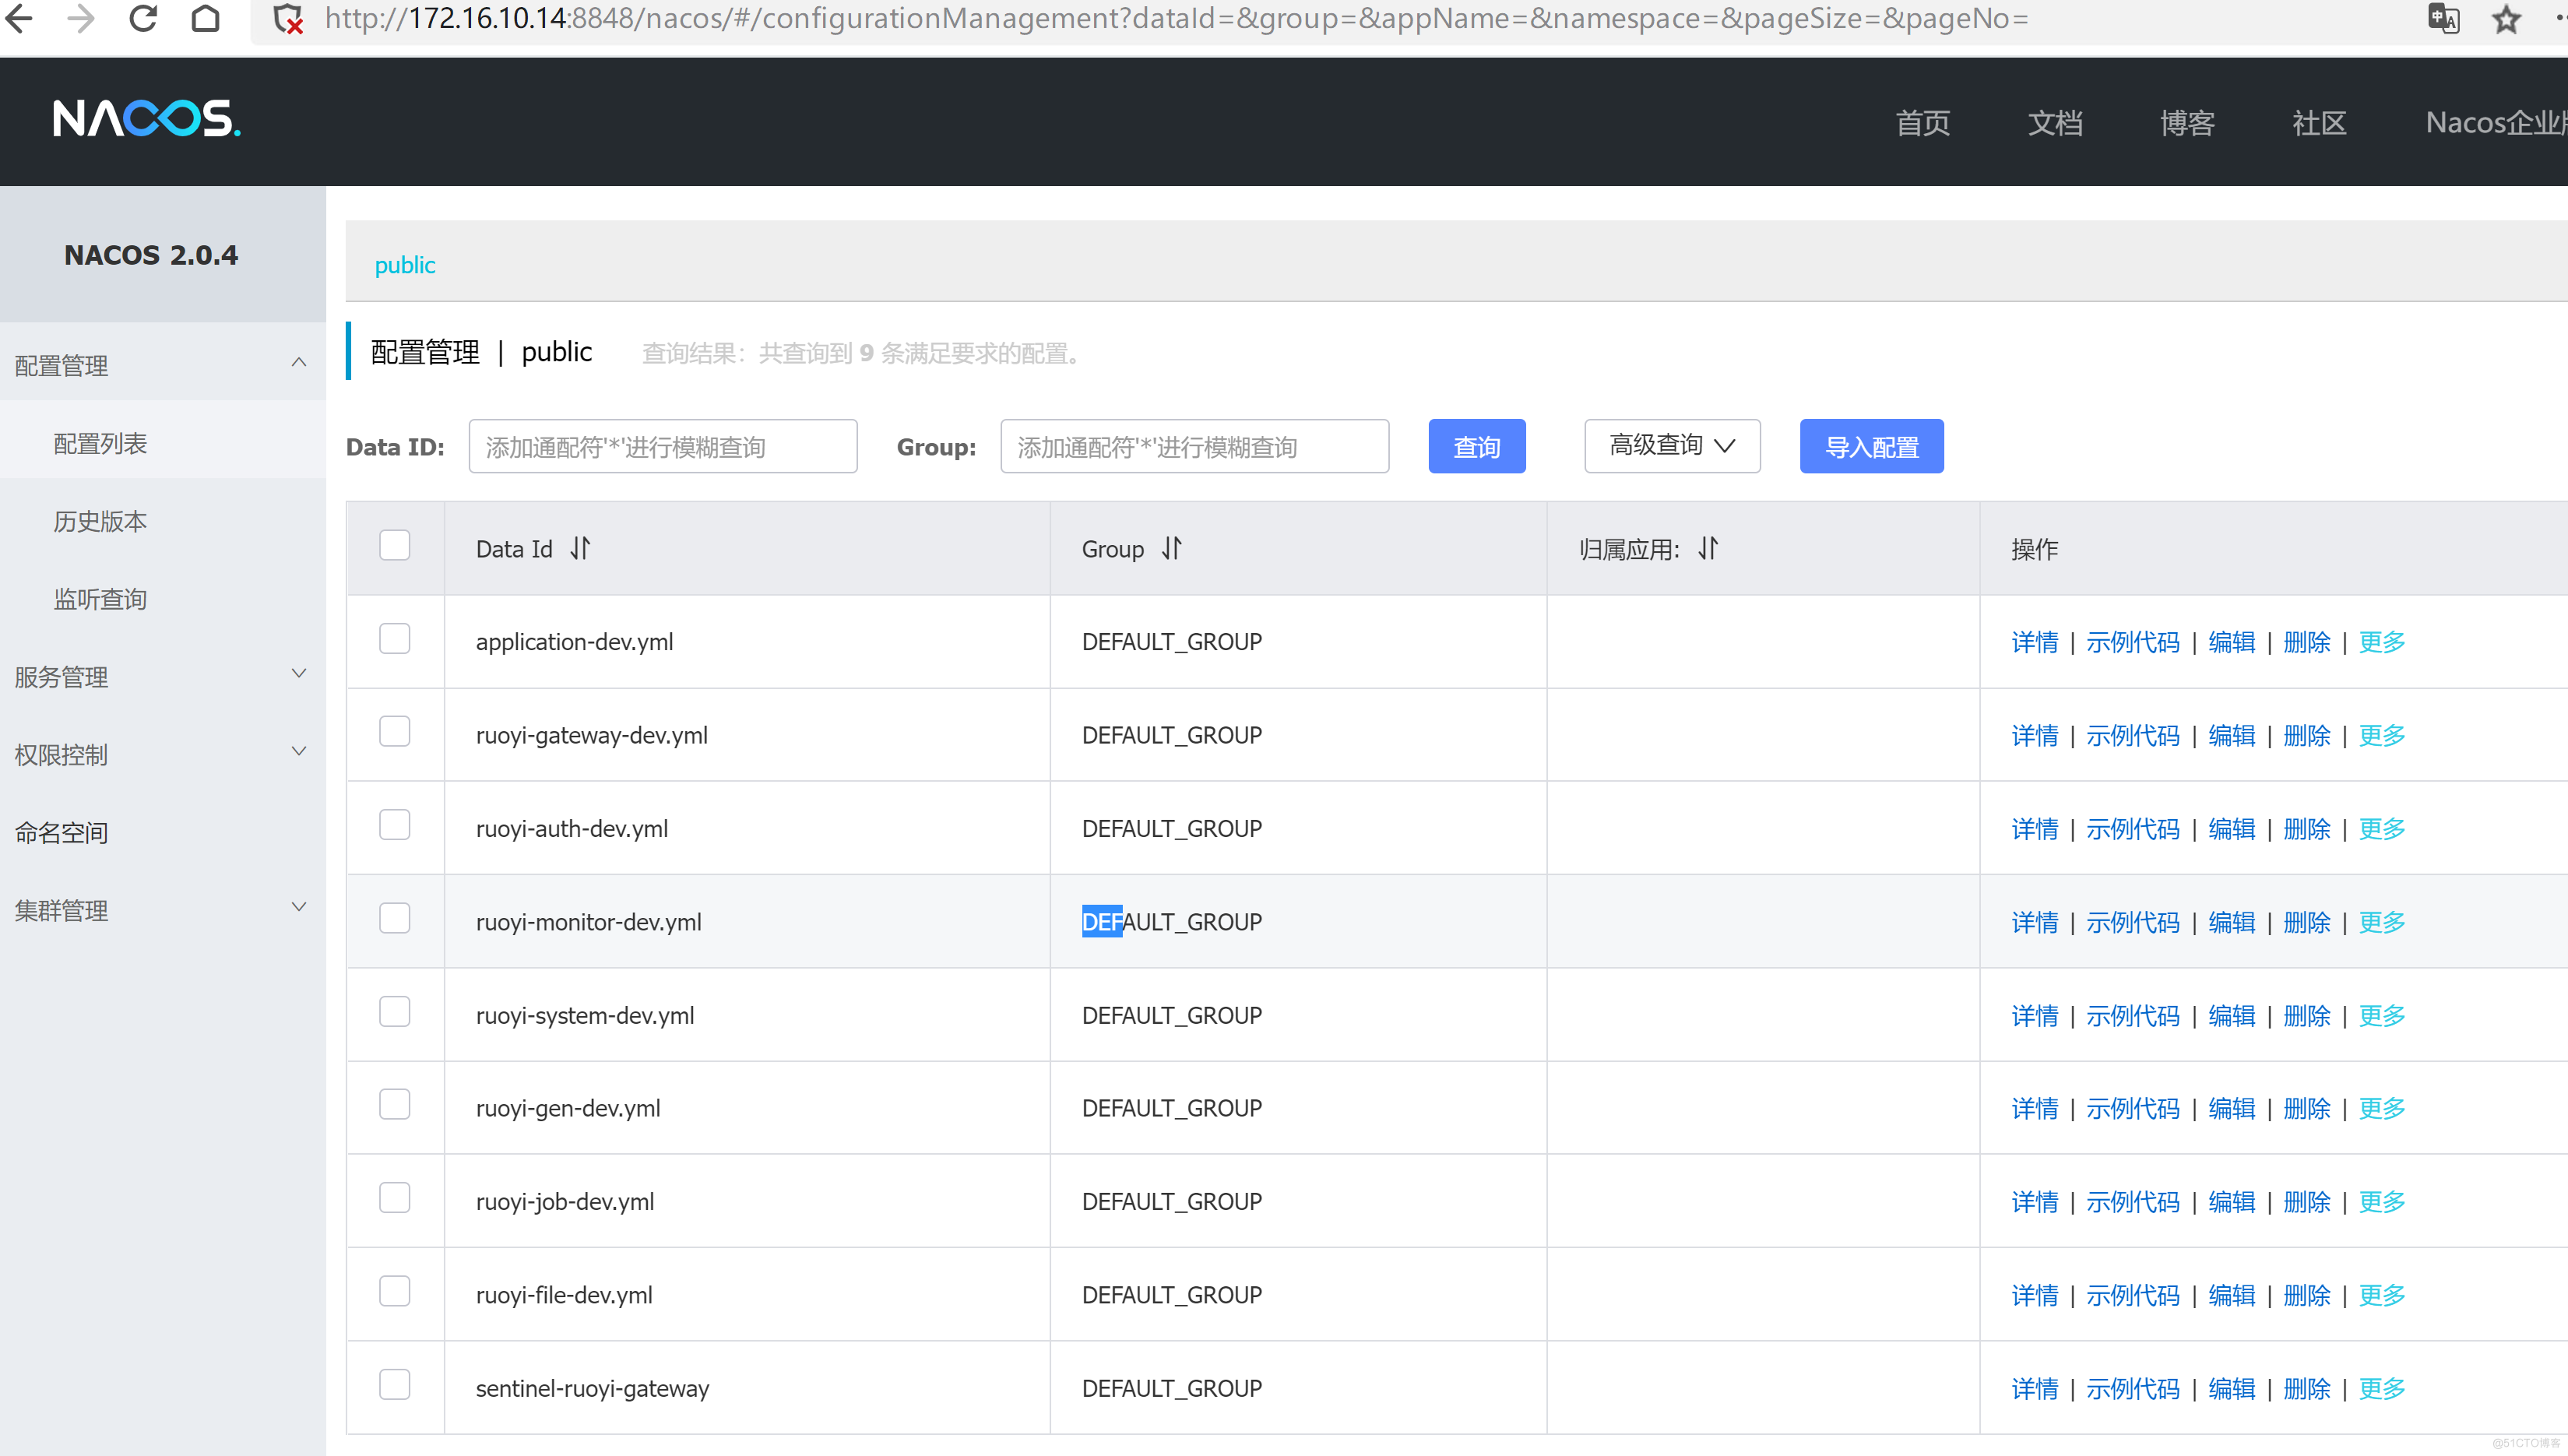
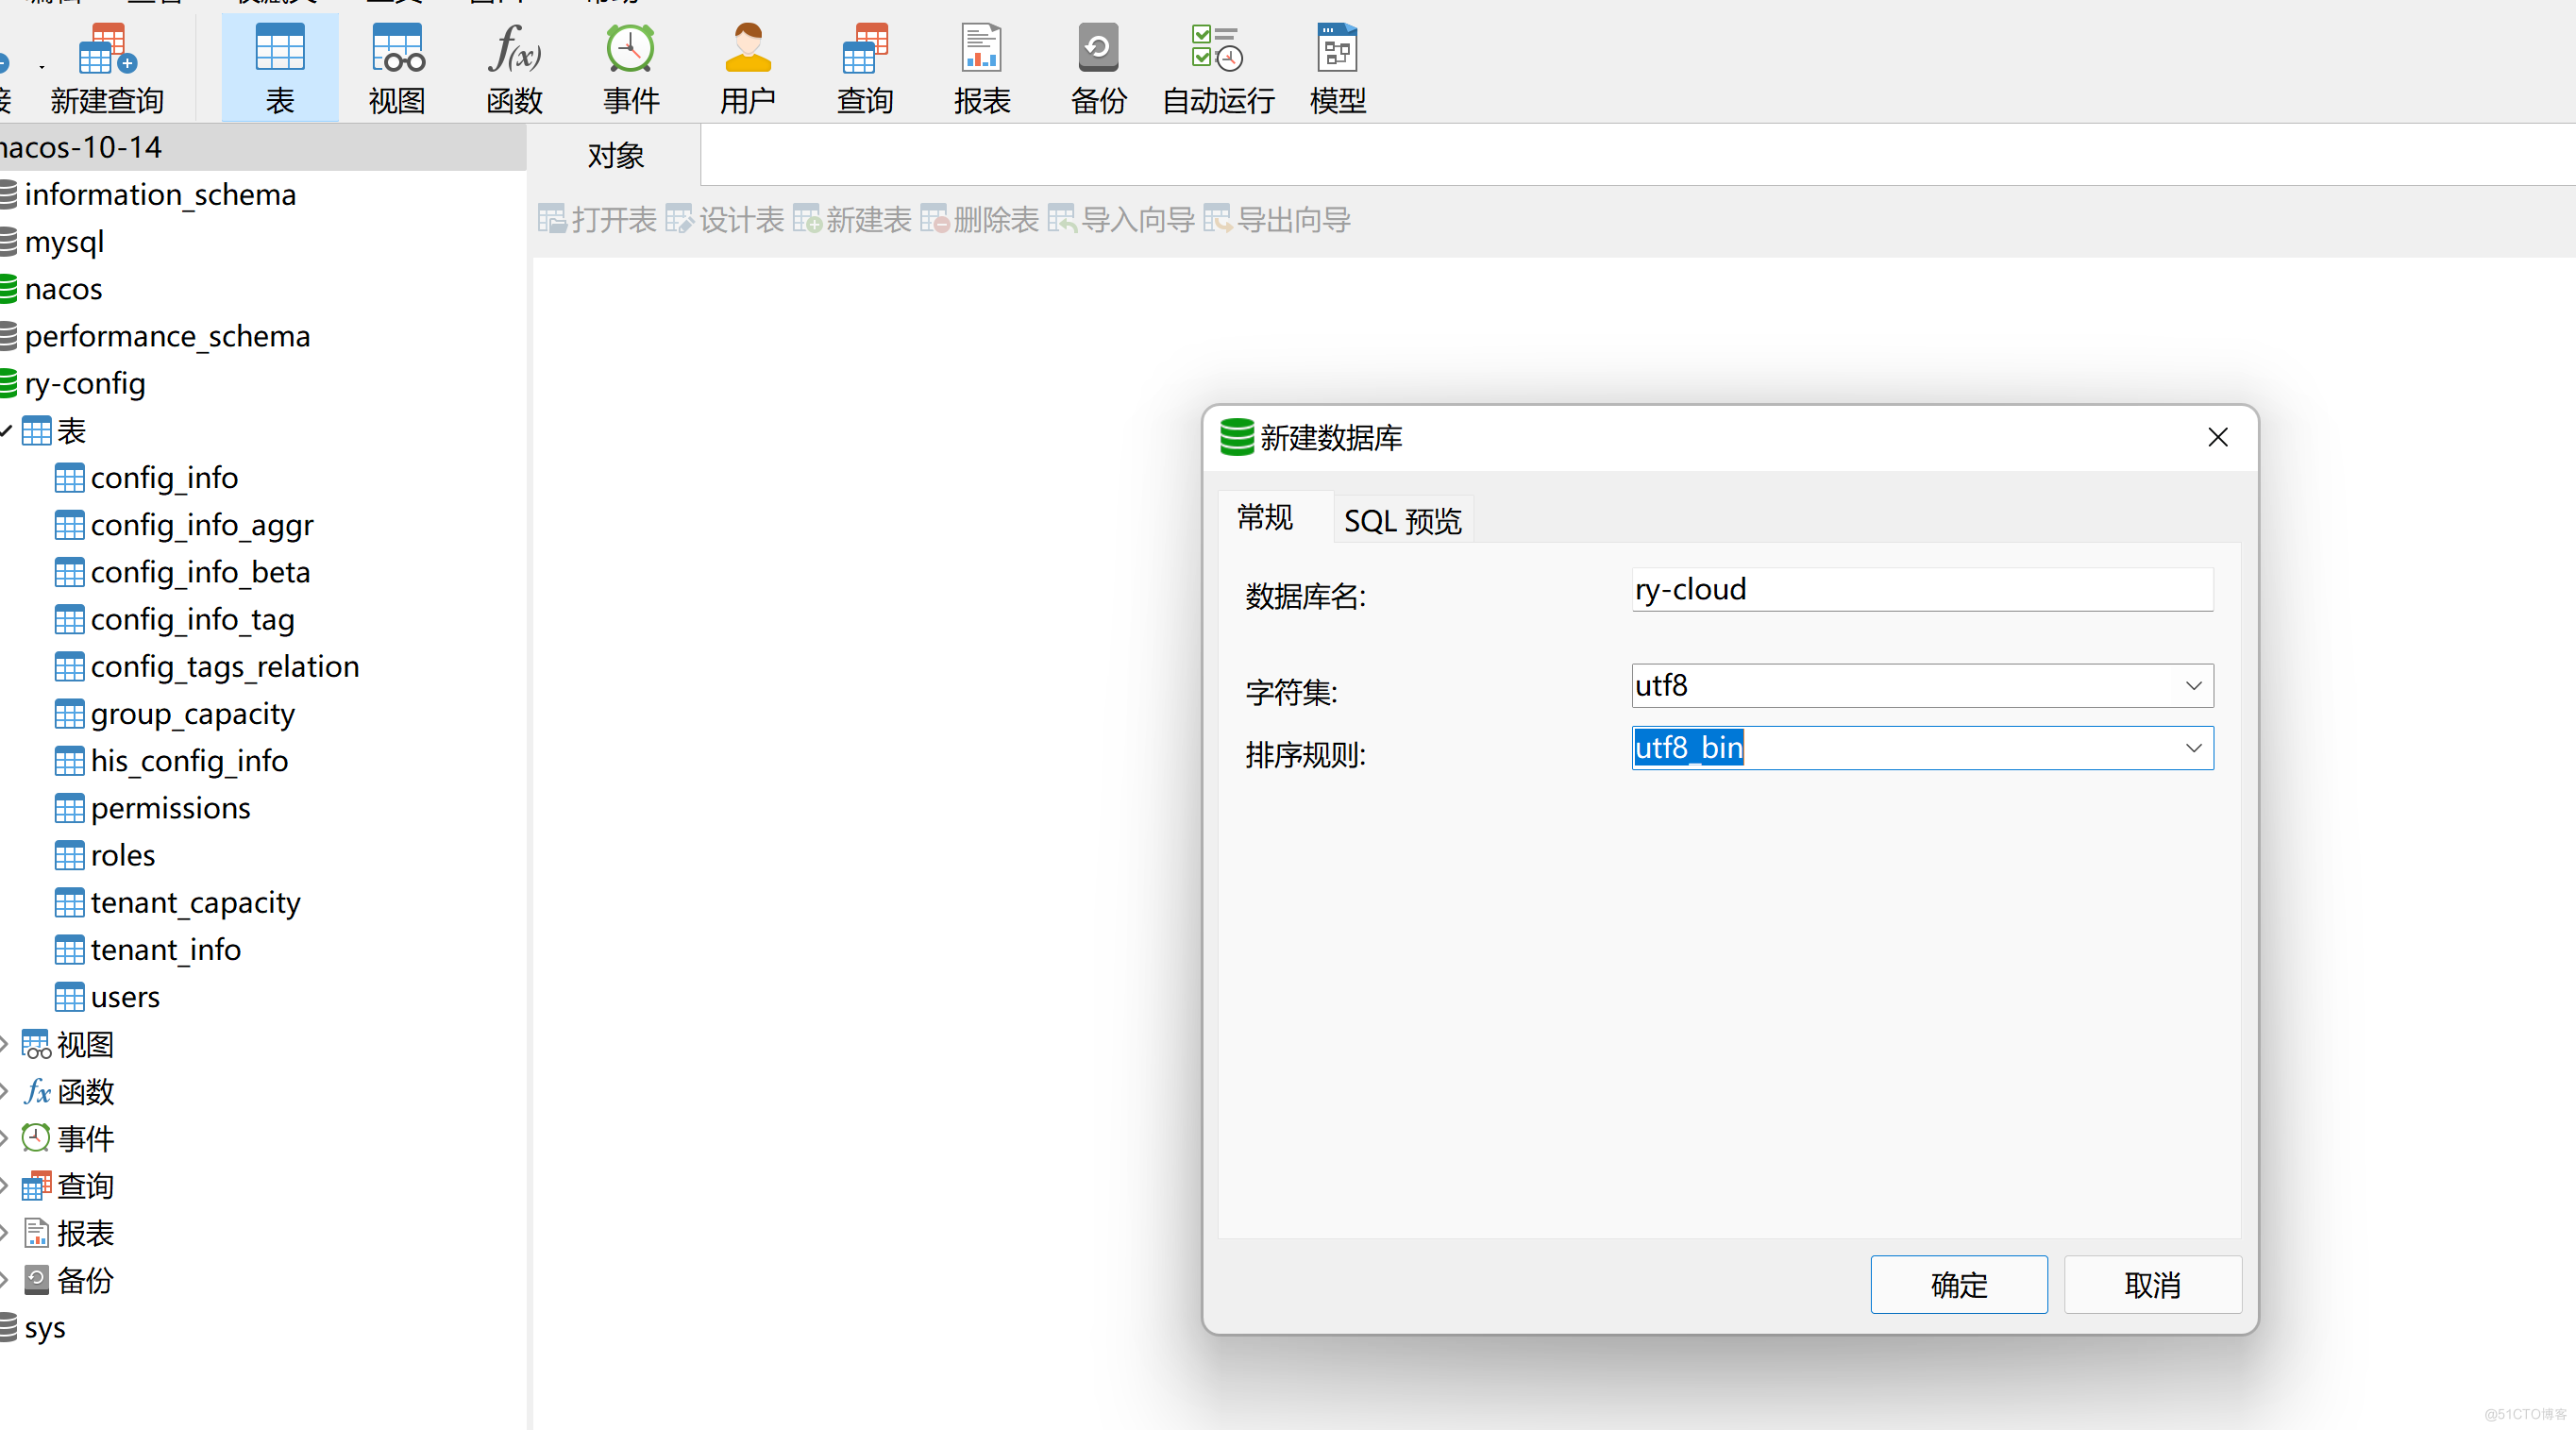
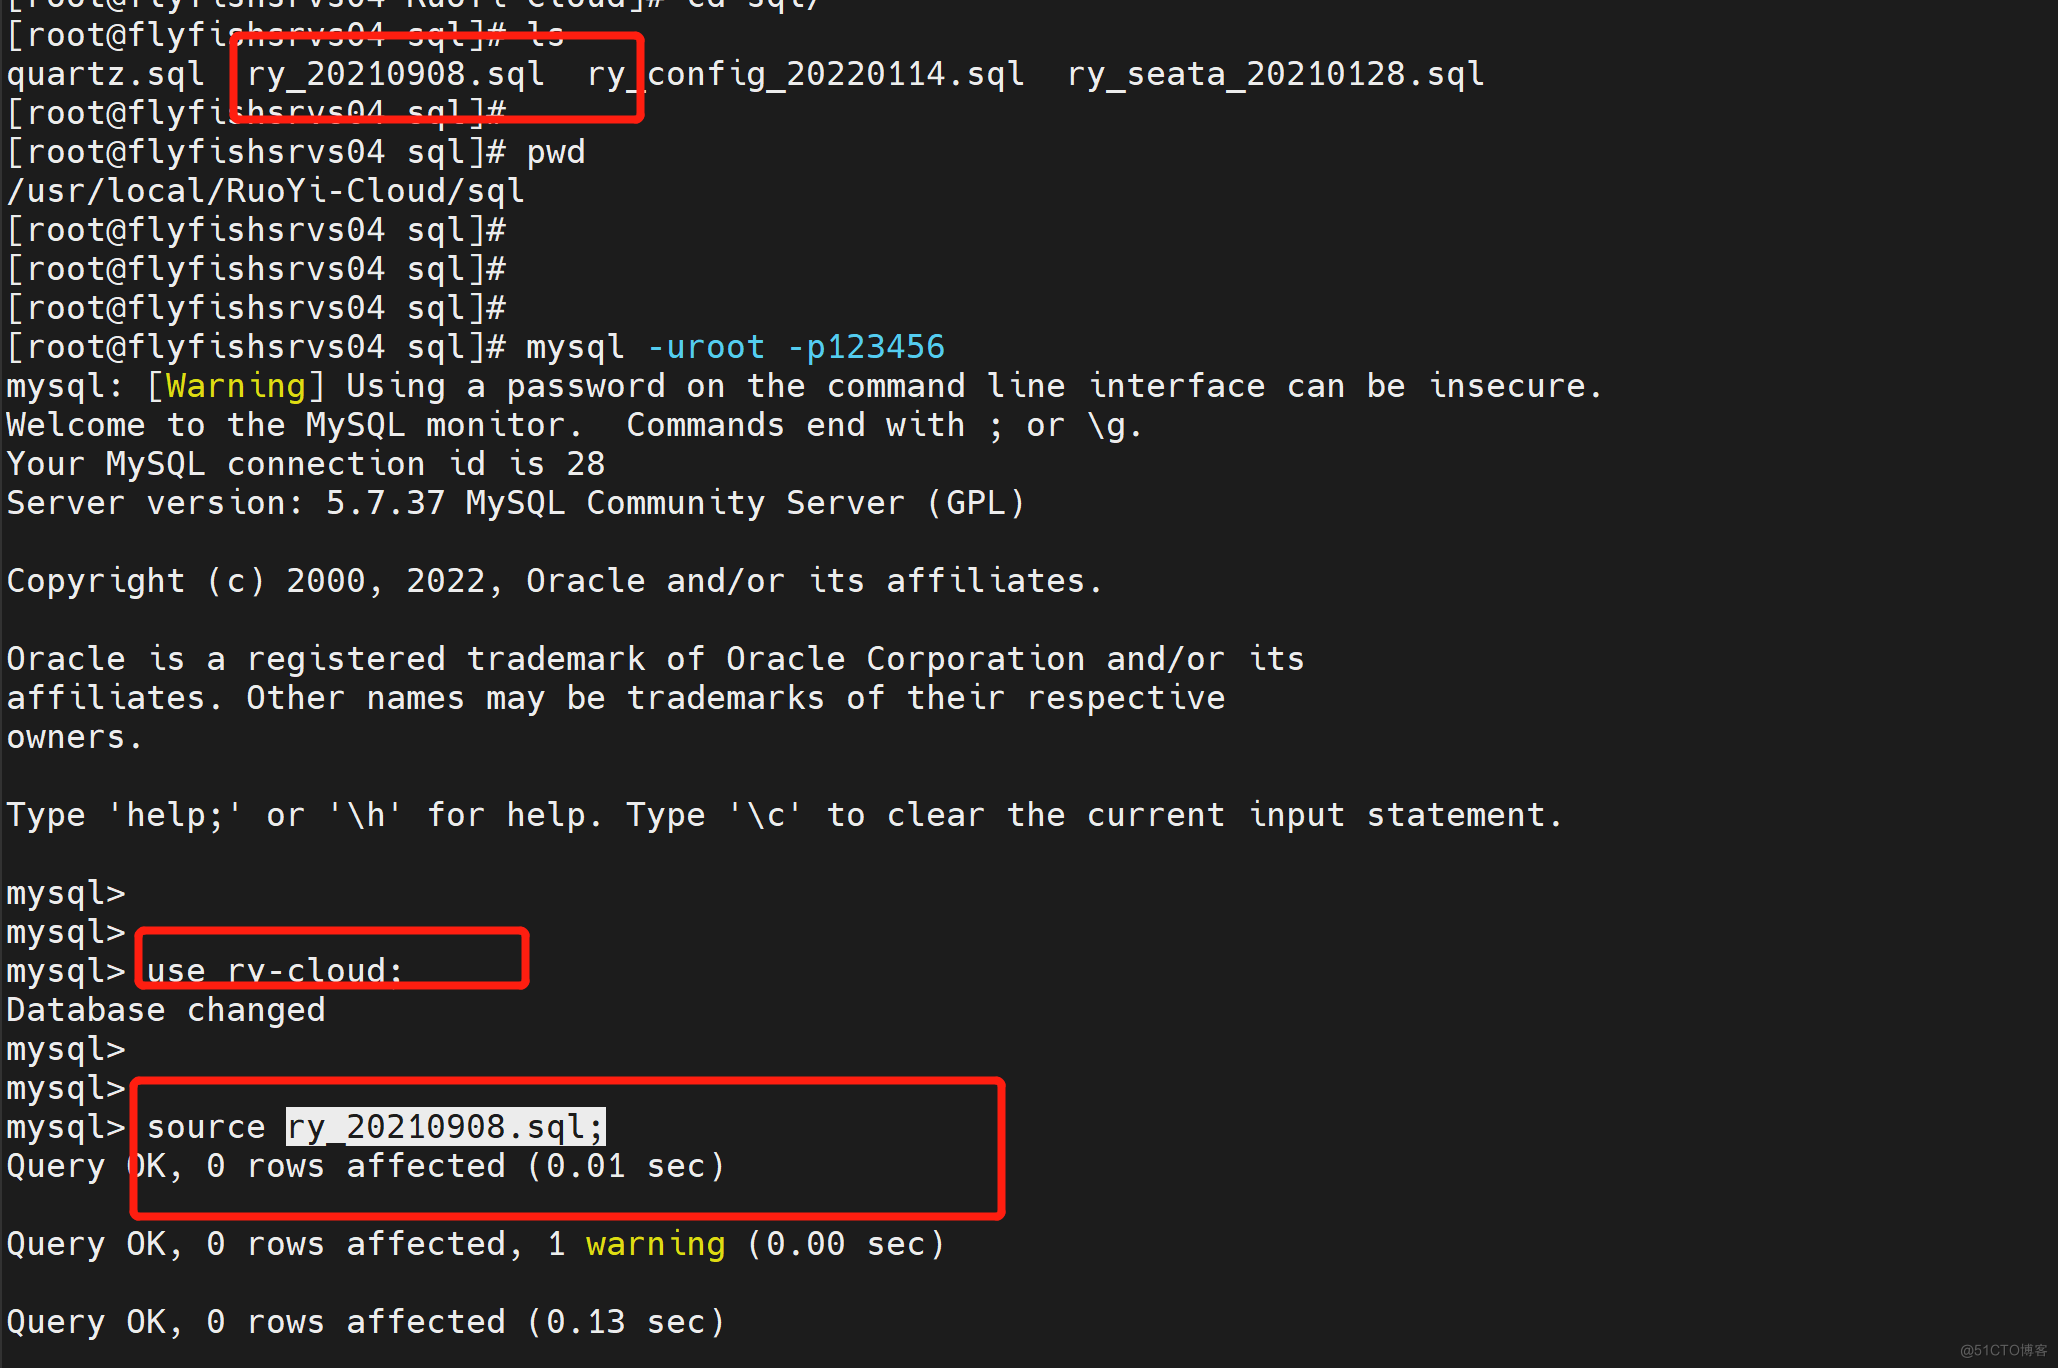
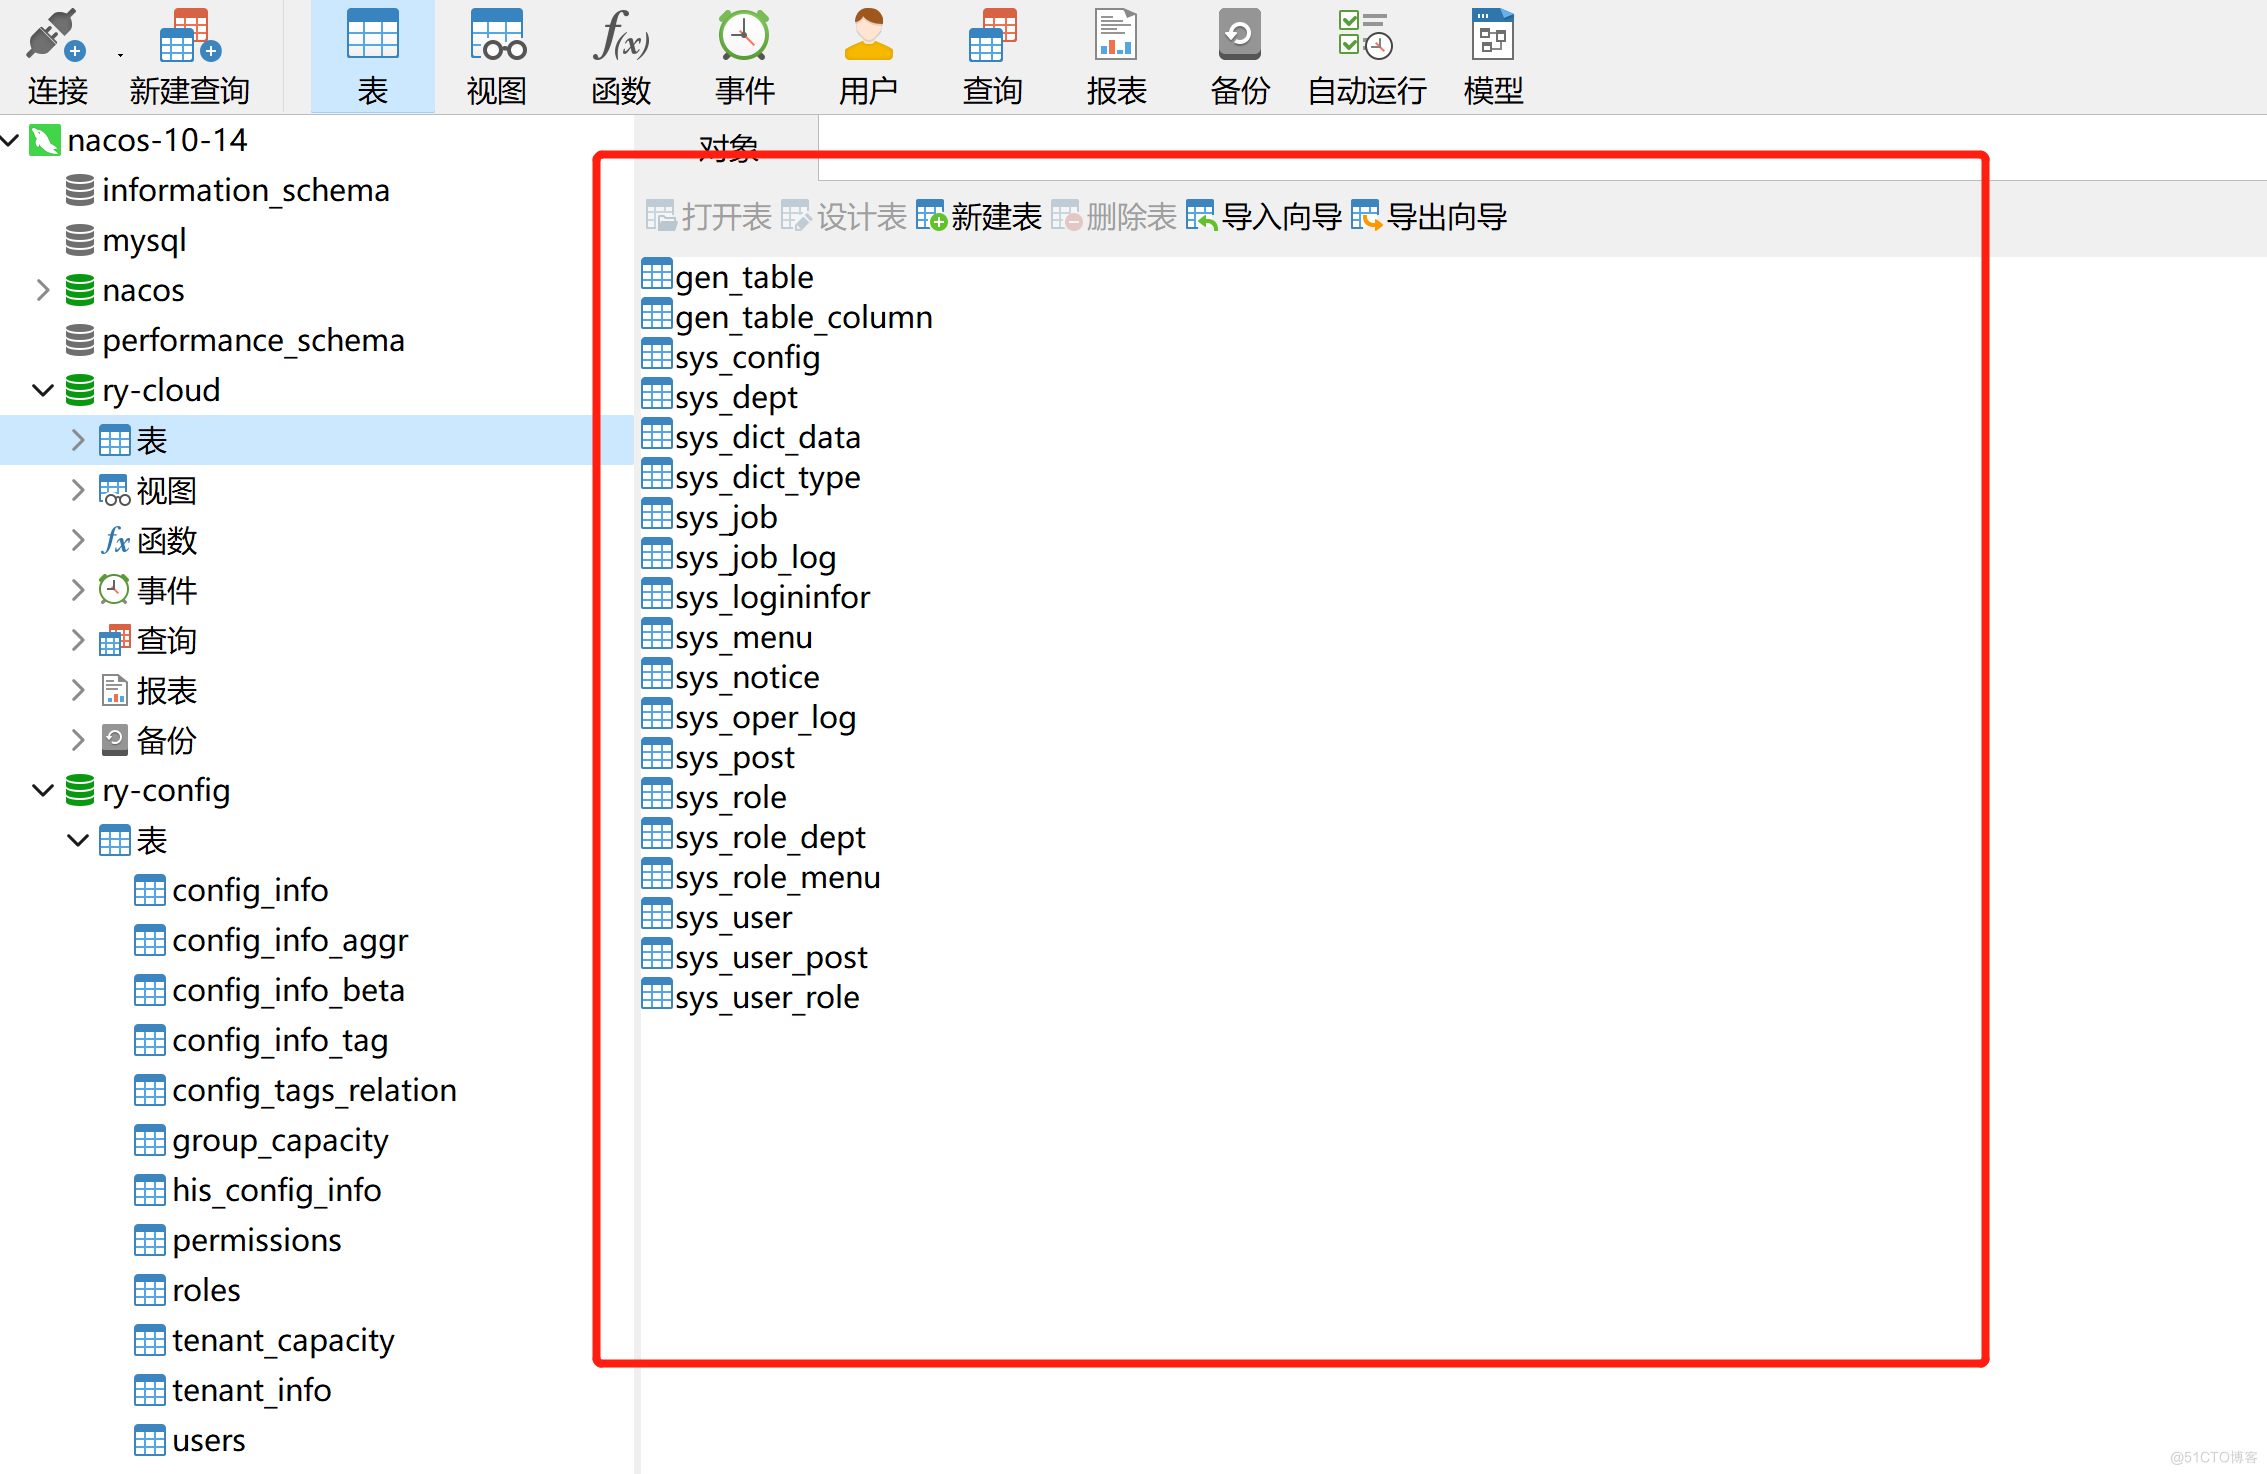
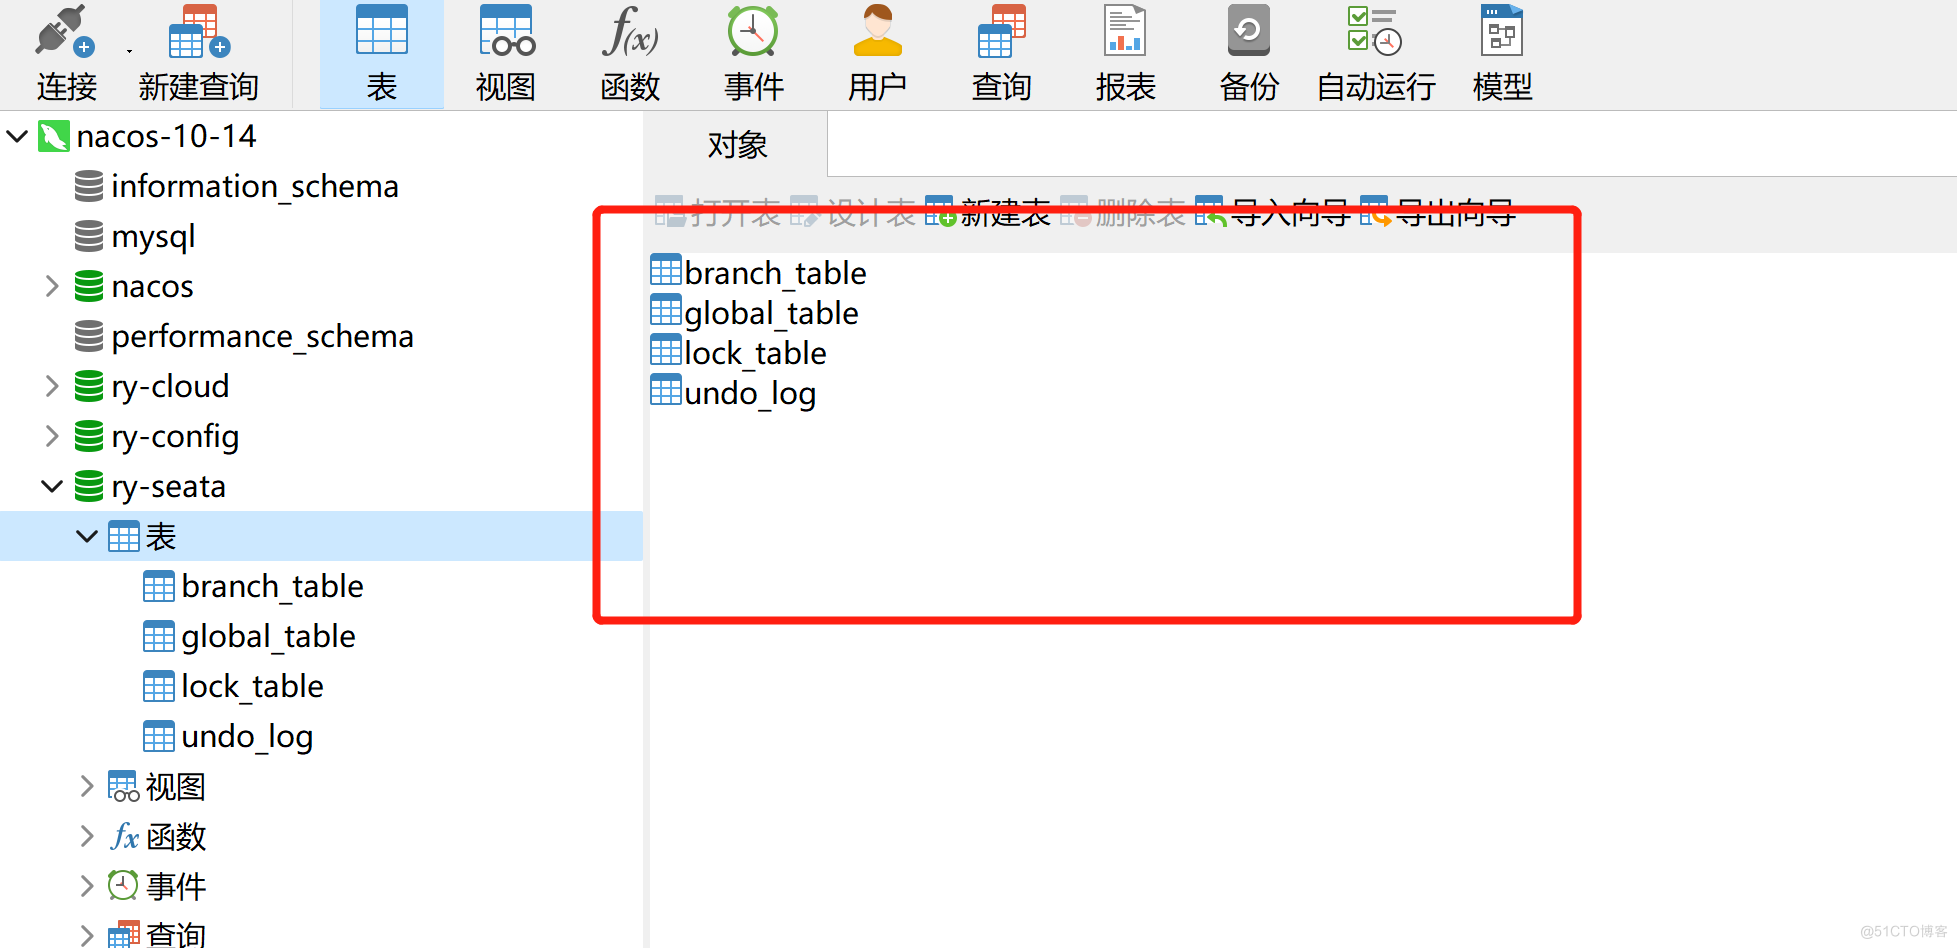
1.2.3 导入 nacos 的表
1.2.4 改nacos 配置文件
cd /usr/local/nacos/conf vim application.properties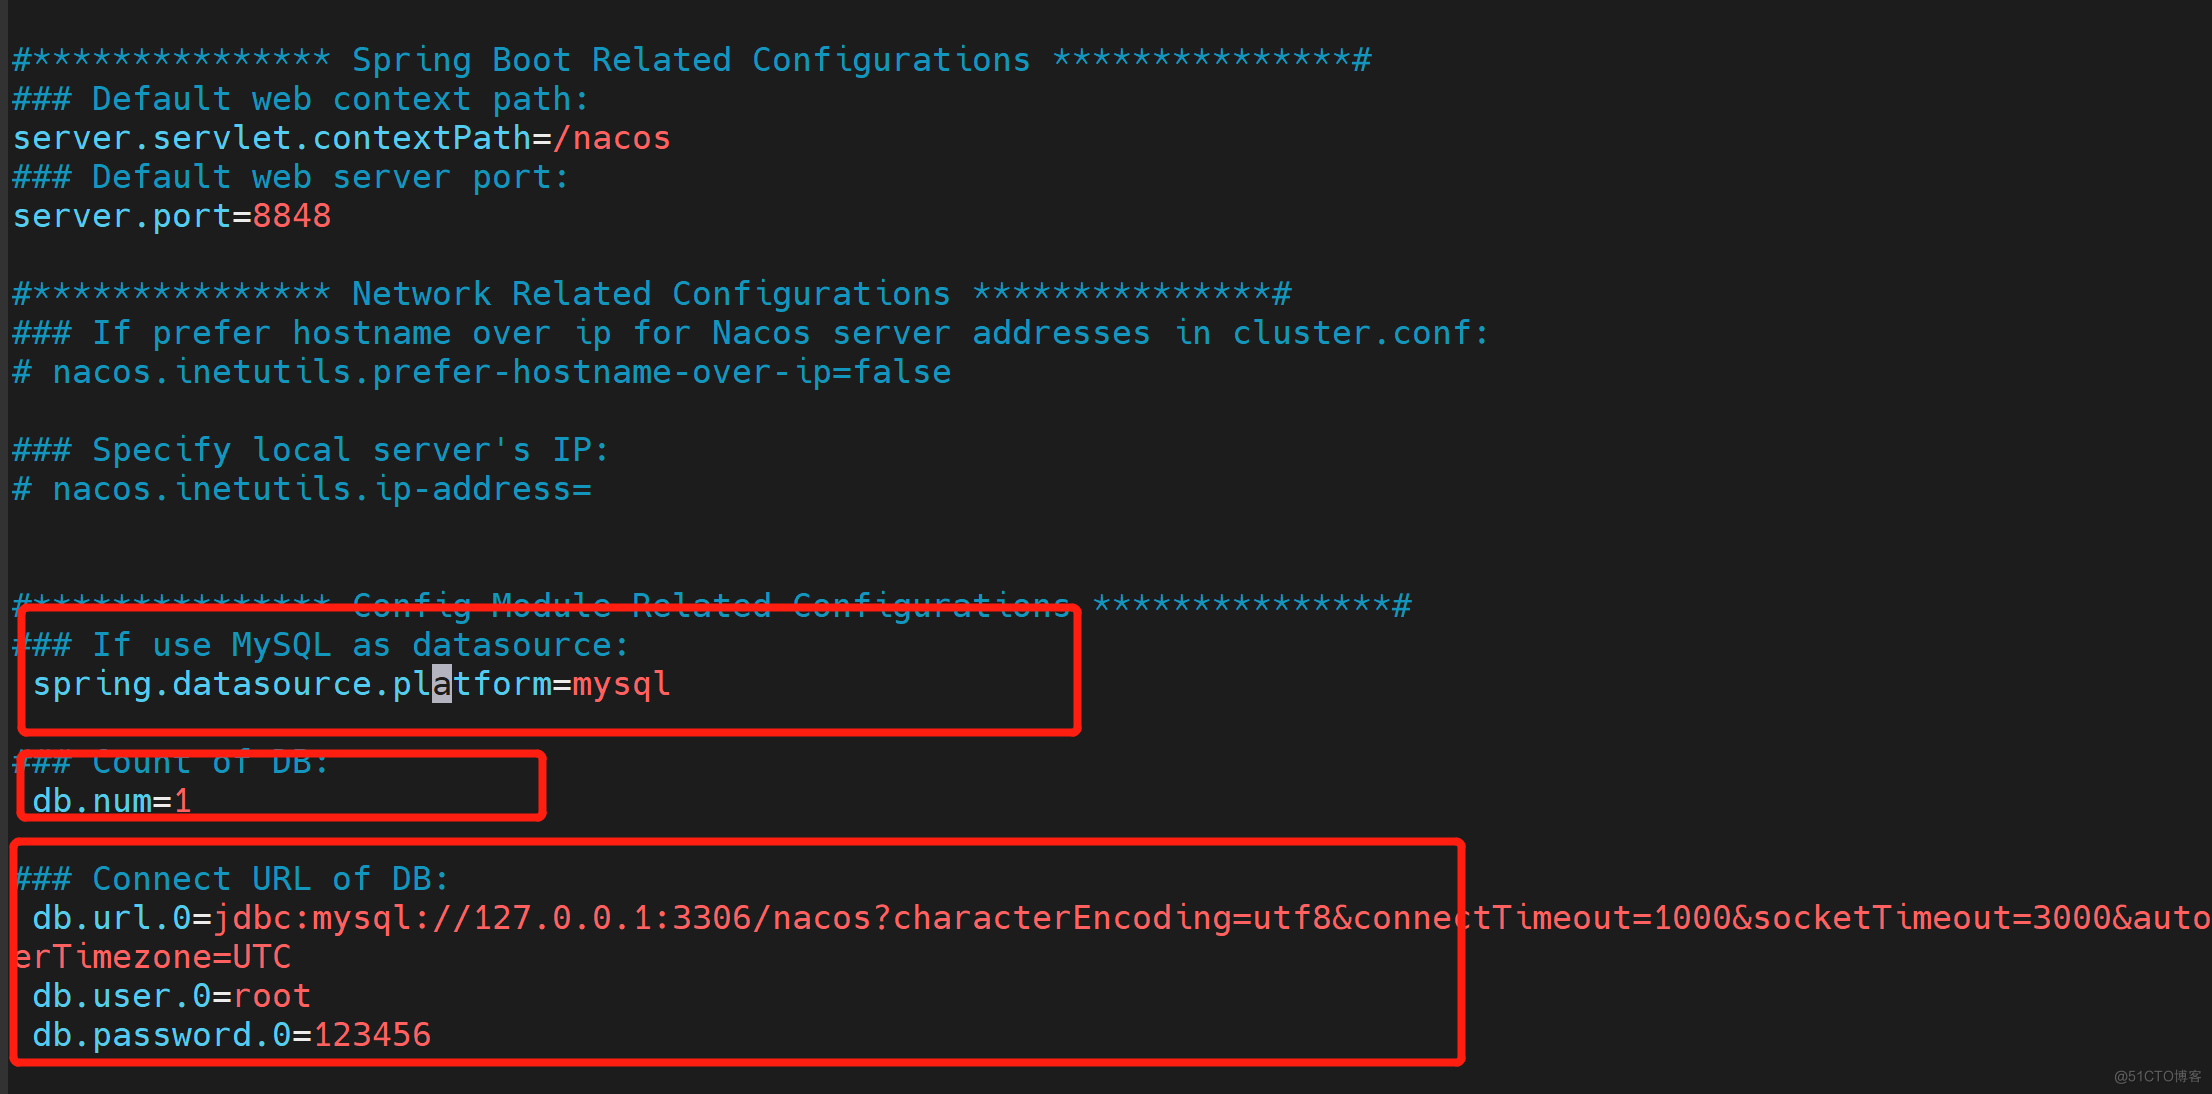
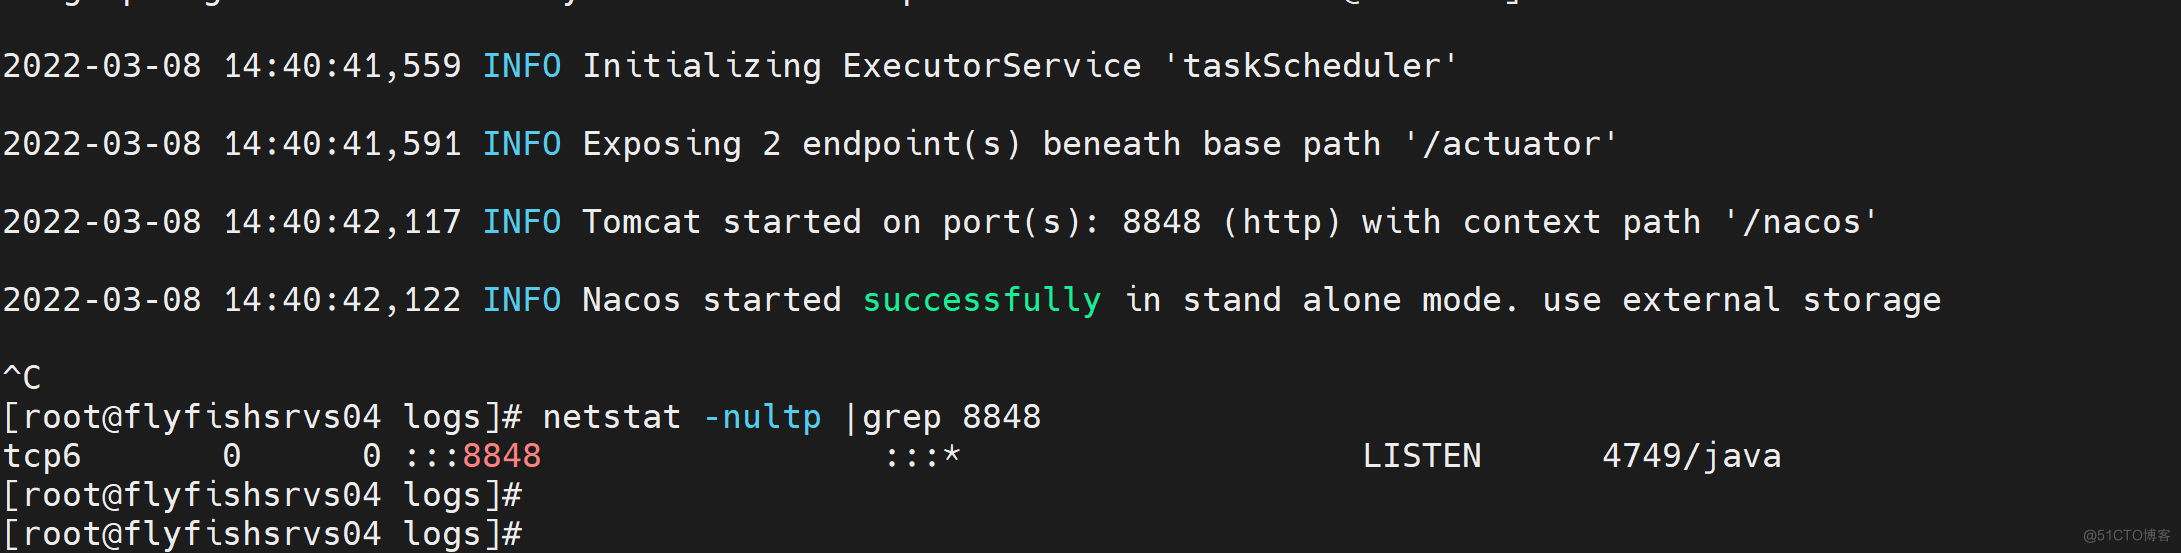
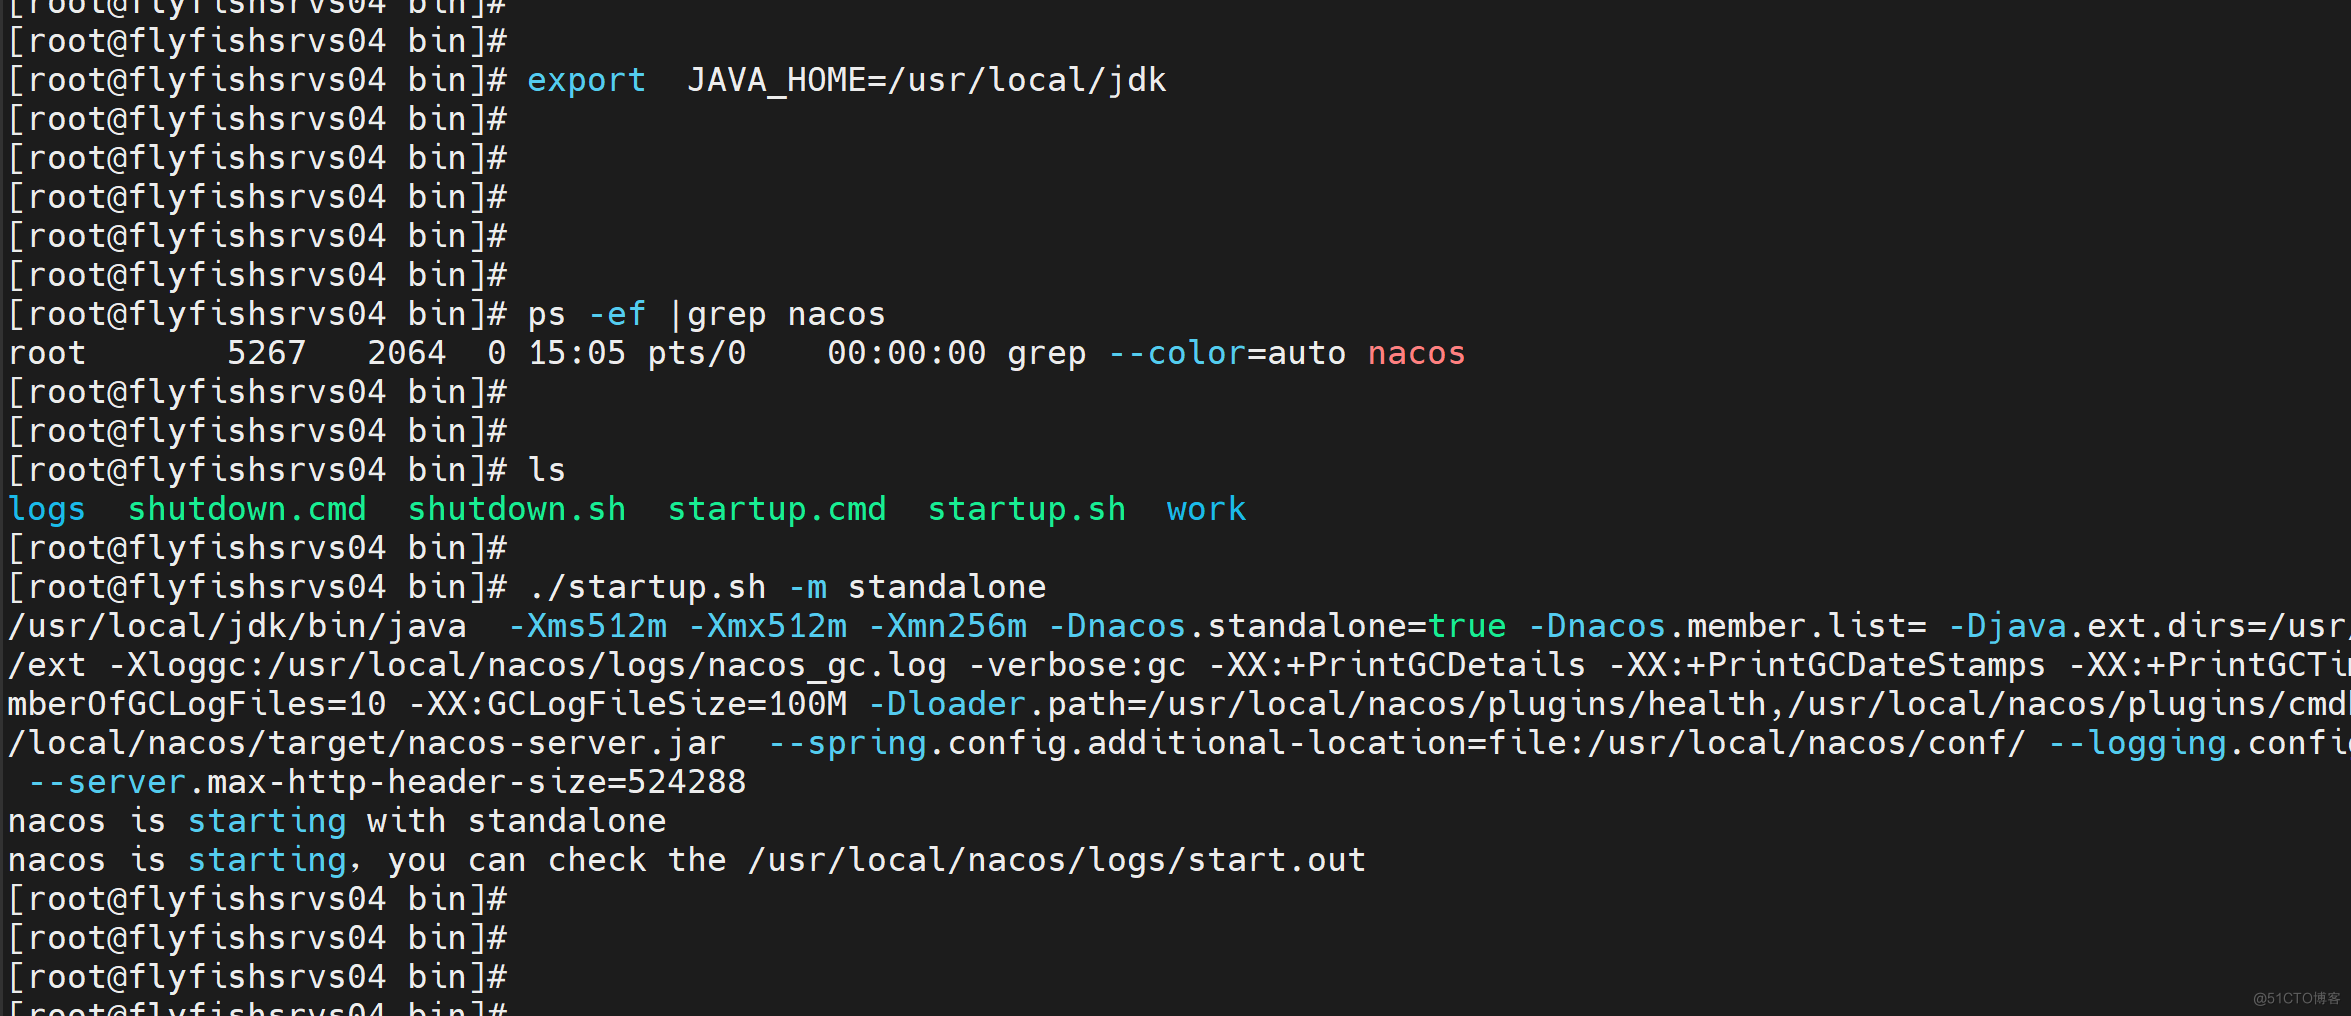
1.2.5 启动nacos
cd /usr/local/nacos/bin ./startup.sh -m standalone netstat -nultp |grep 8848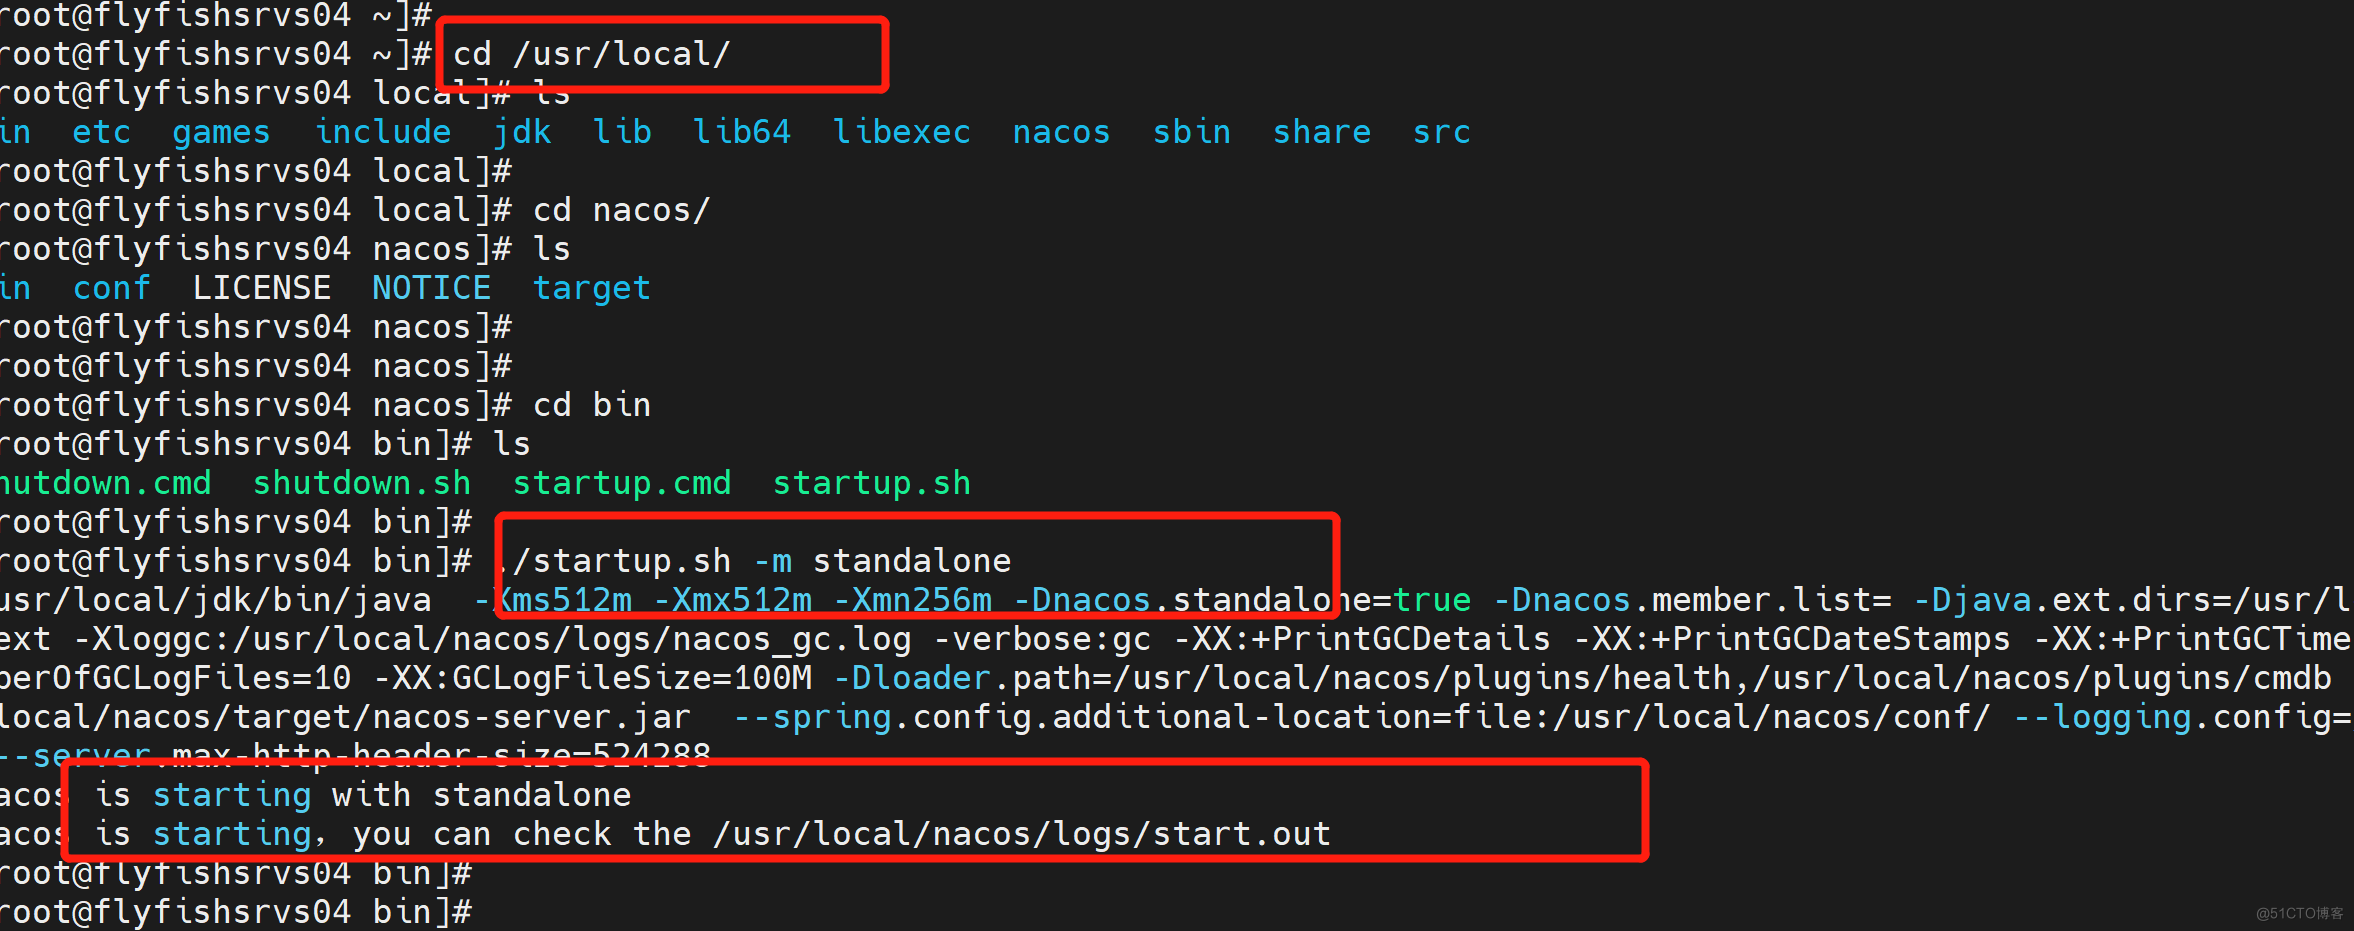

1.3 部署ruoyi-cloud
1.3.1 部署 ruoyi-cloud
git clone https://gitee.com/y_project/RuoYi-Cloud
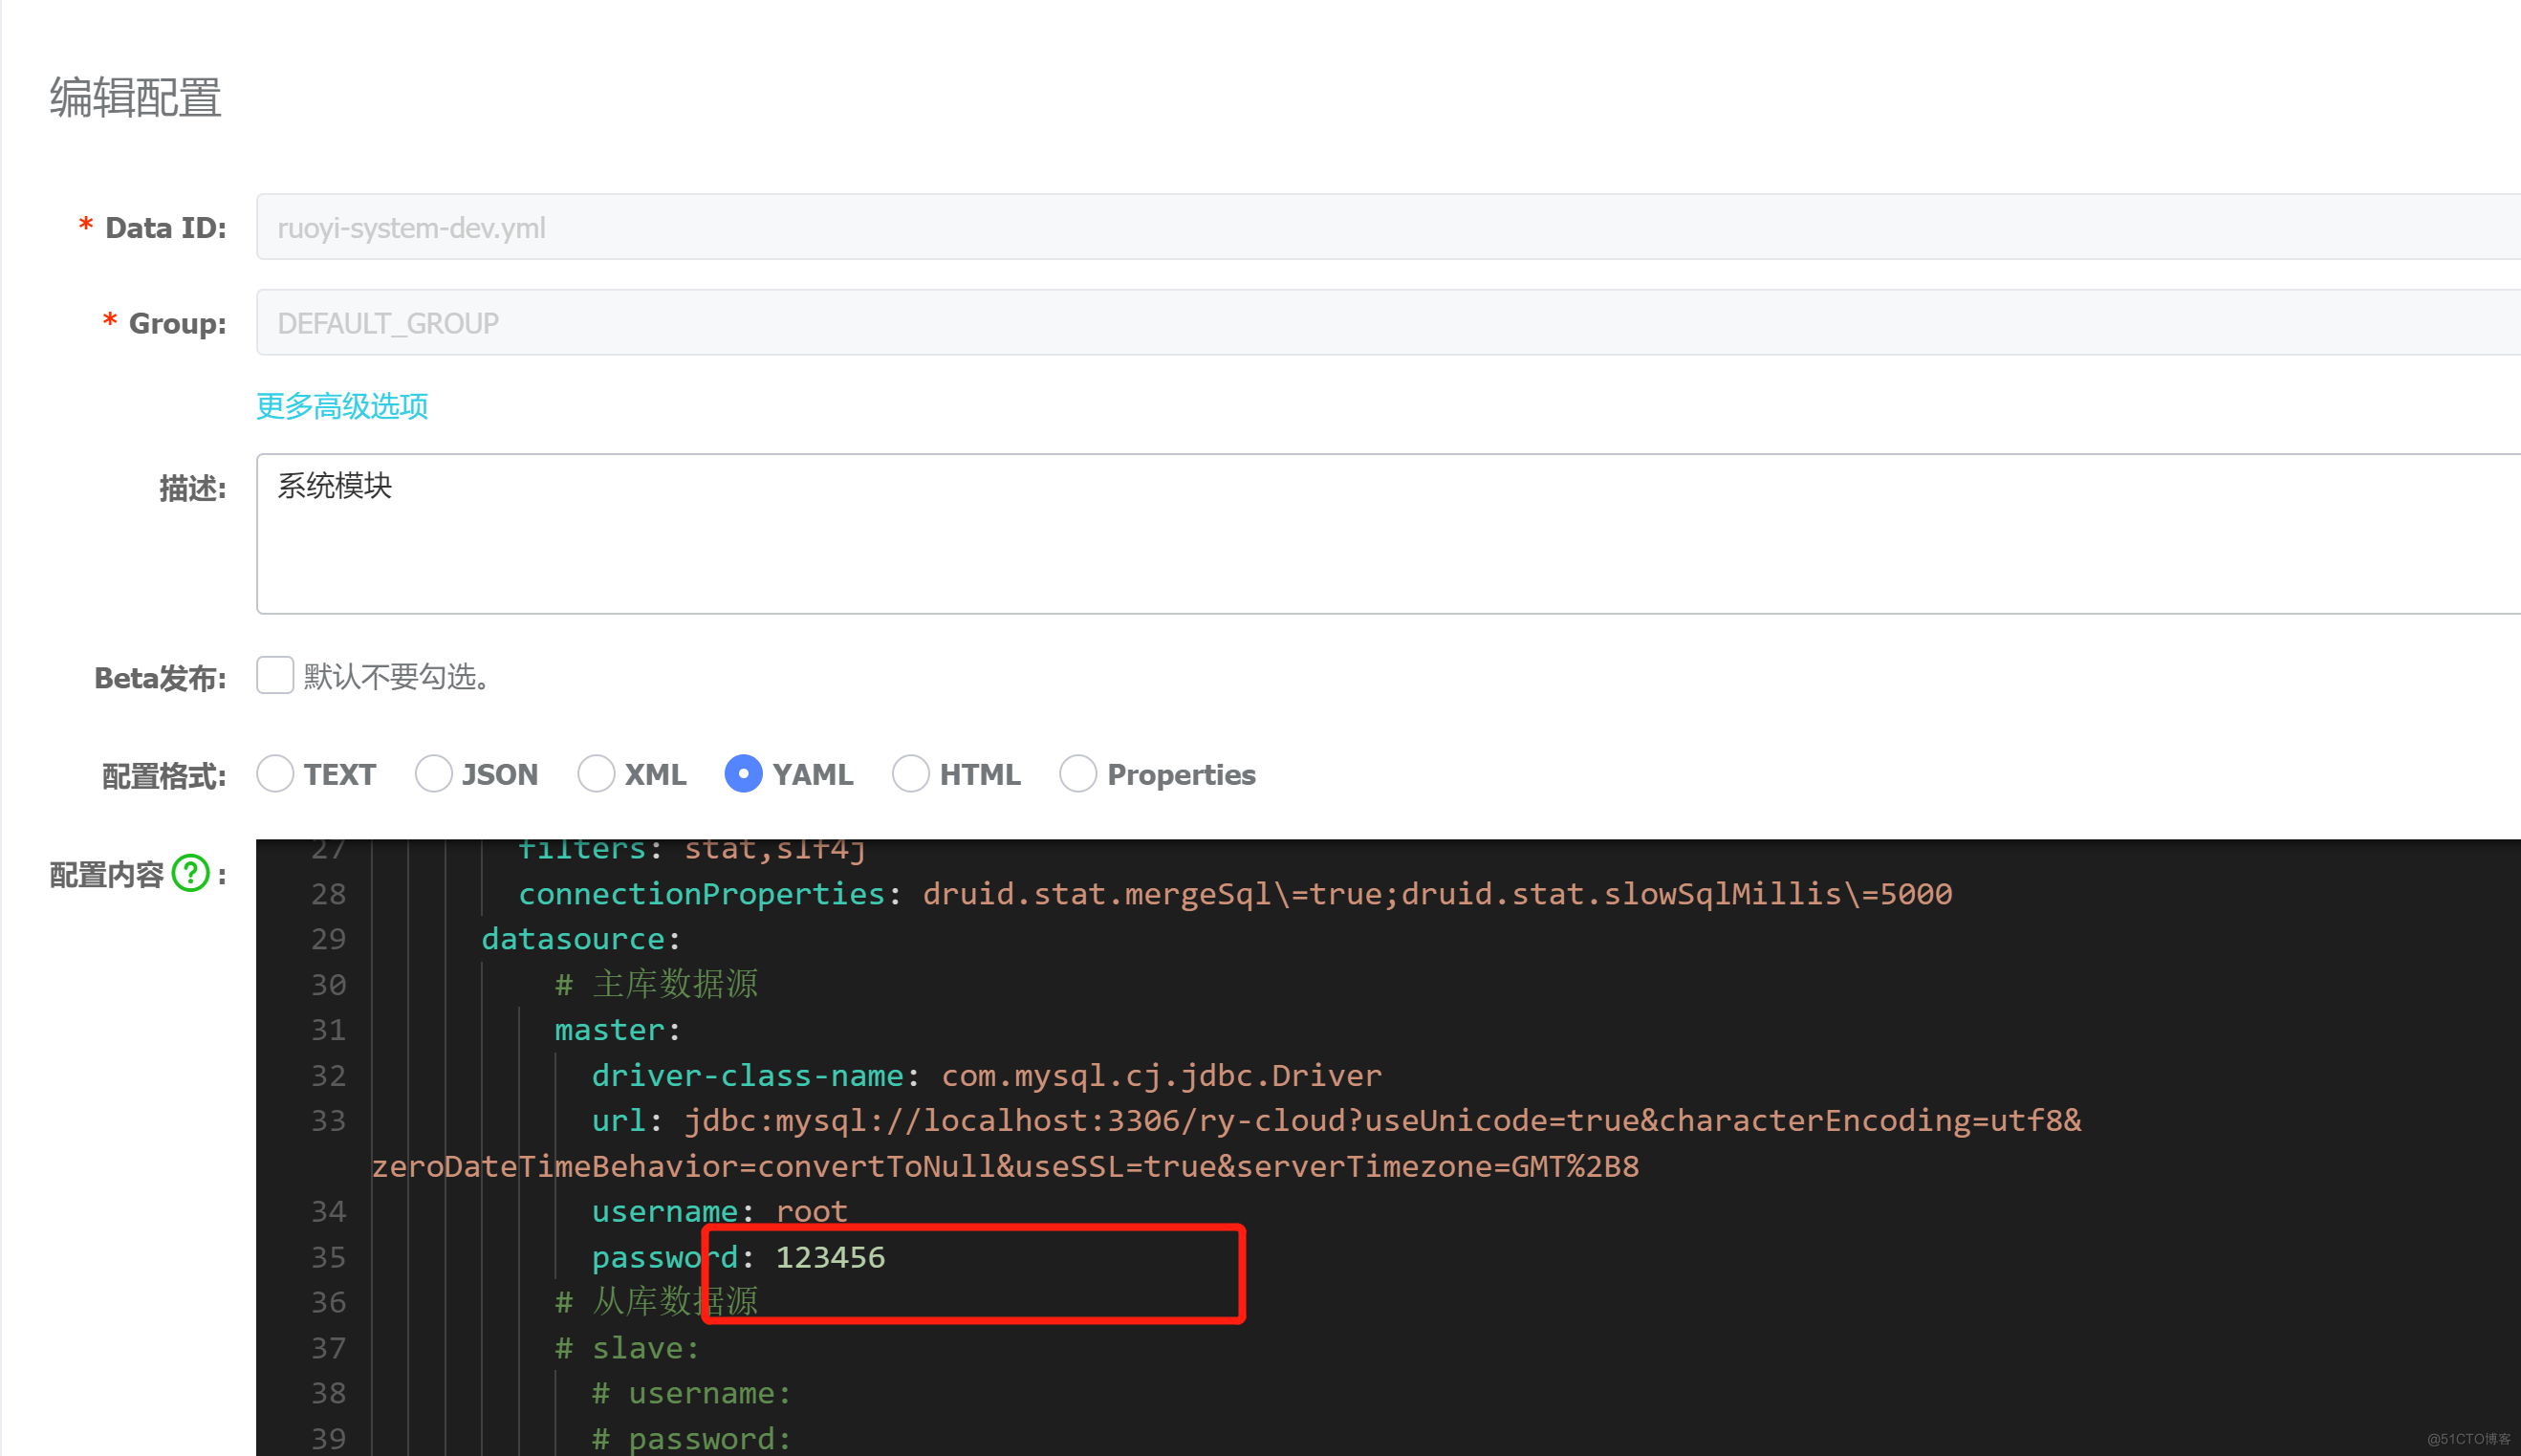
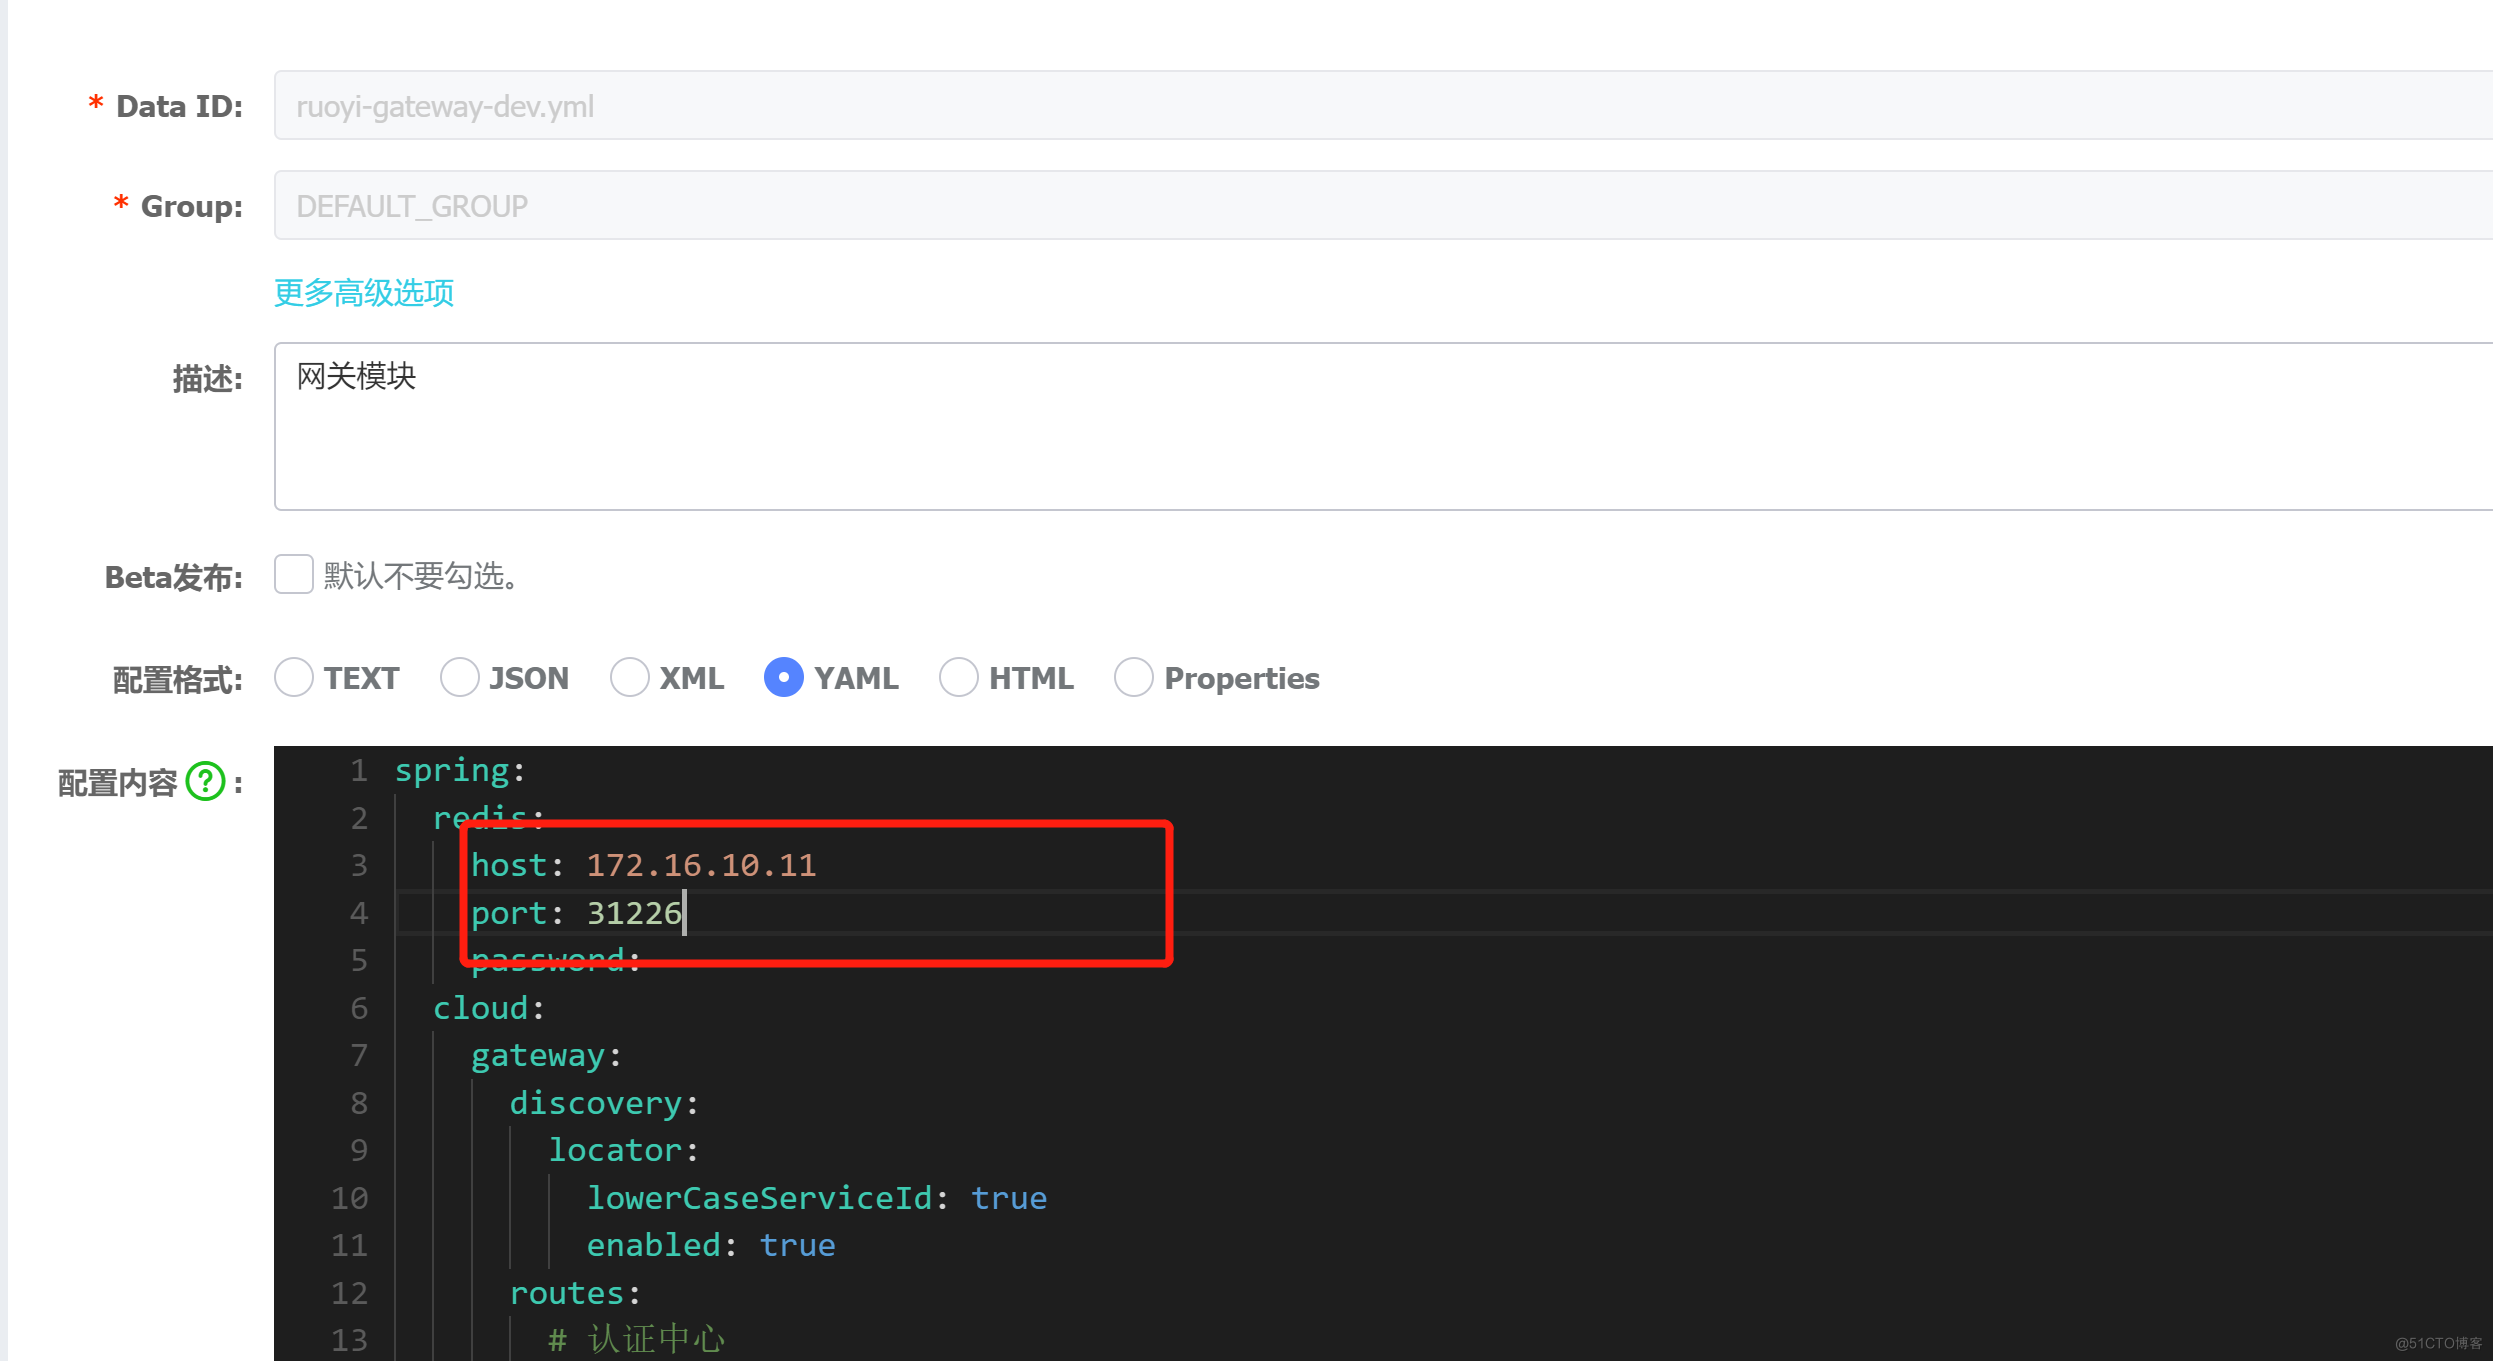
1.3.2 修改 nacos 配置
数据库连接为ry-config 从新启动nacos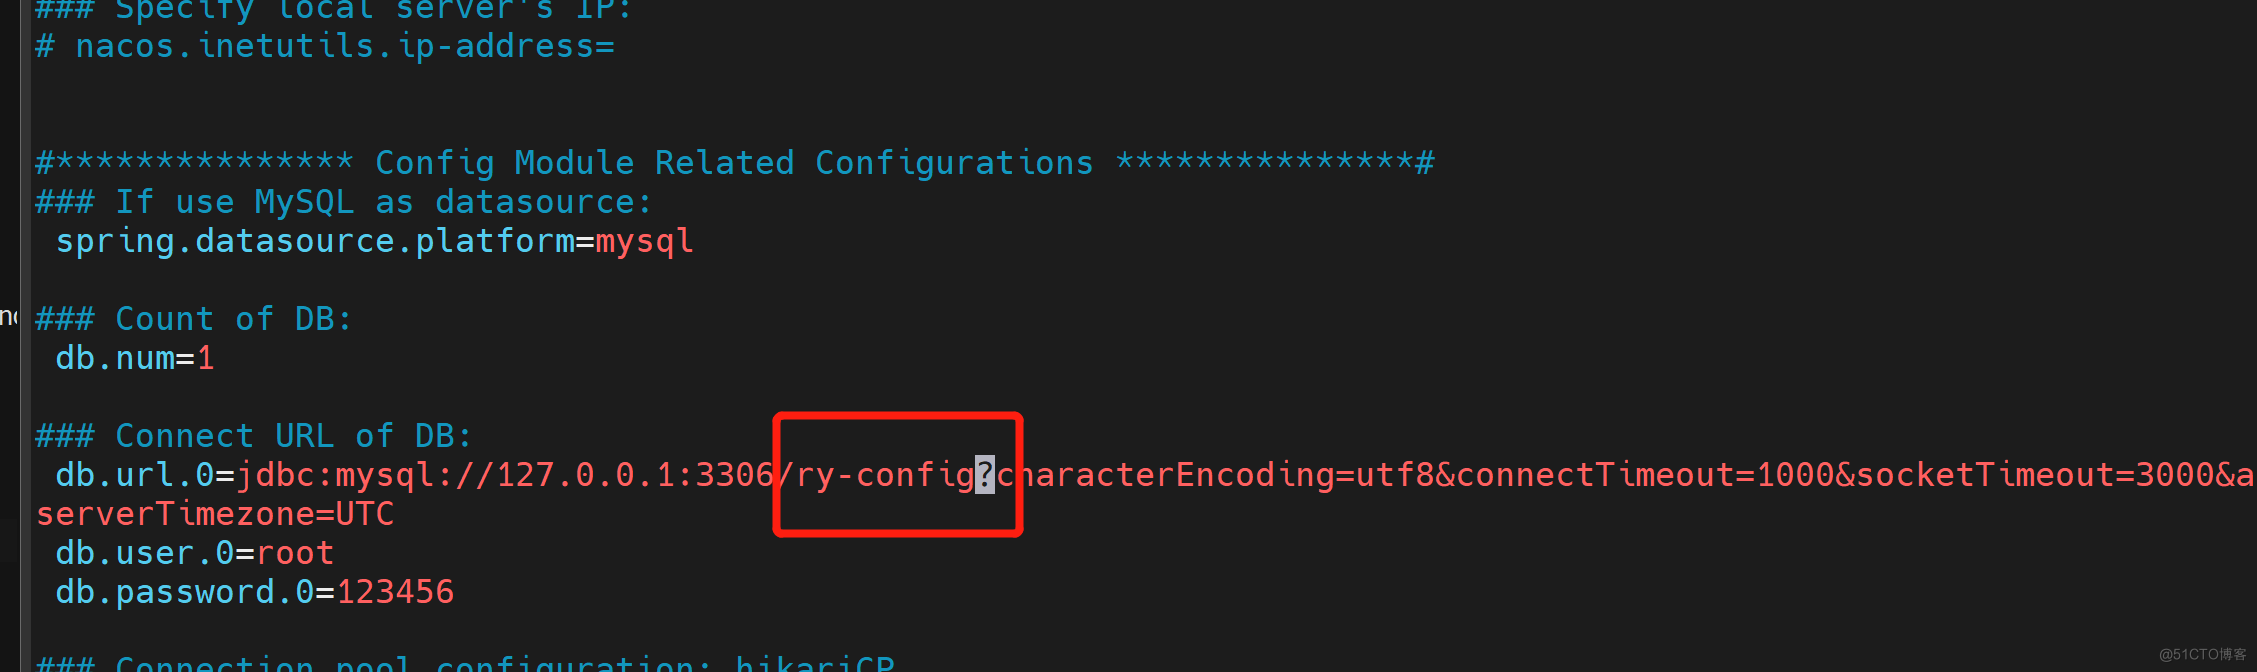
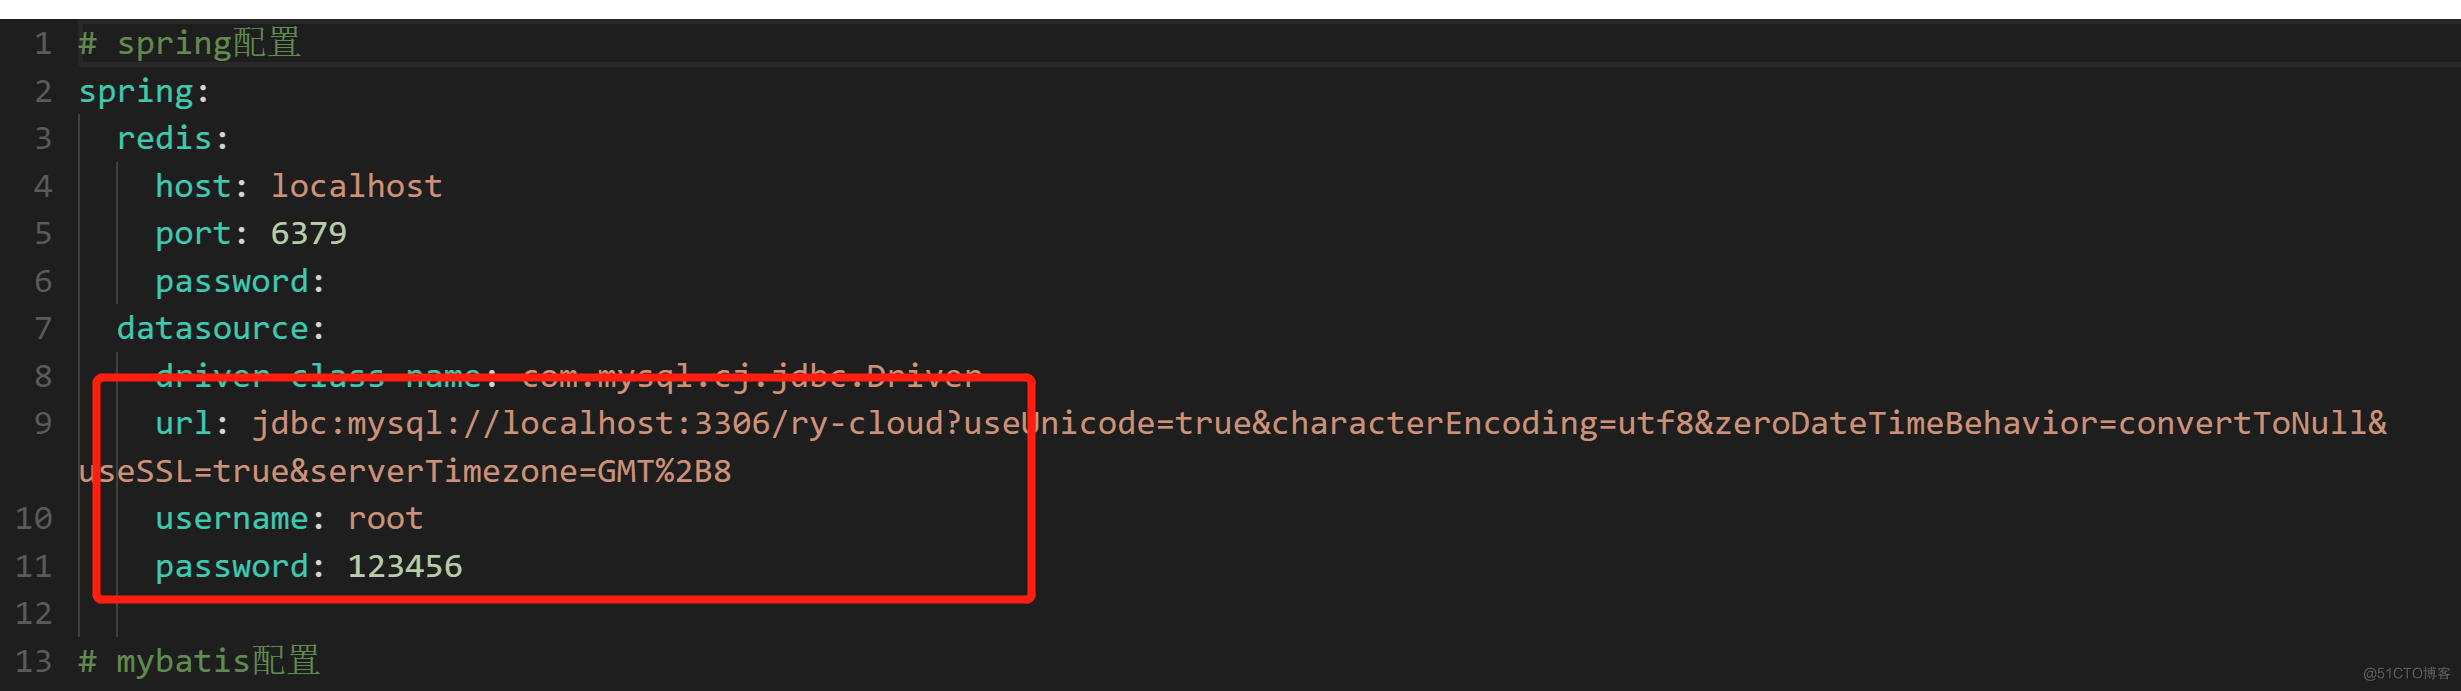
1.3.3 配置 ruoyi-cloud 的本地库
1.3.4 修改注册中心的MySQL 配置

1.4 配置 ruoyi-cloud 的前端
1.4.1 配置nodejs
下载: http://nodejs.cn/download/ 安装: tar -xvf node-v16.14.0-linux-x64.tar.xz mv node-v16.14.0-linux-x64 /usr/local/node vim /etc/profile ----- ###nodejs PATH=$PATH:/usr/local/node/bin ---- source /etc/profile node -v
1.4.2 安装前端的依赖
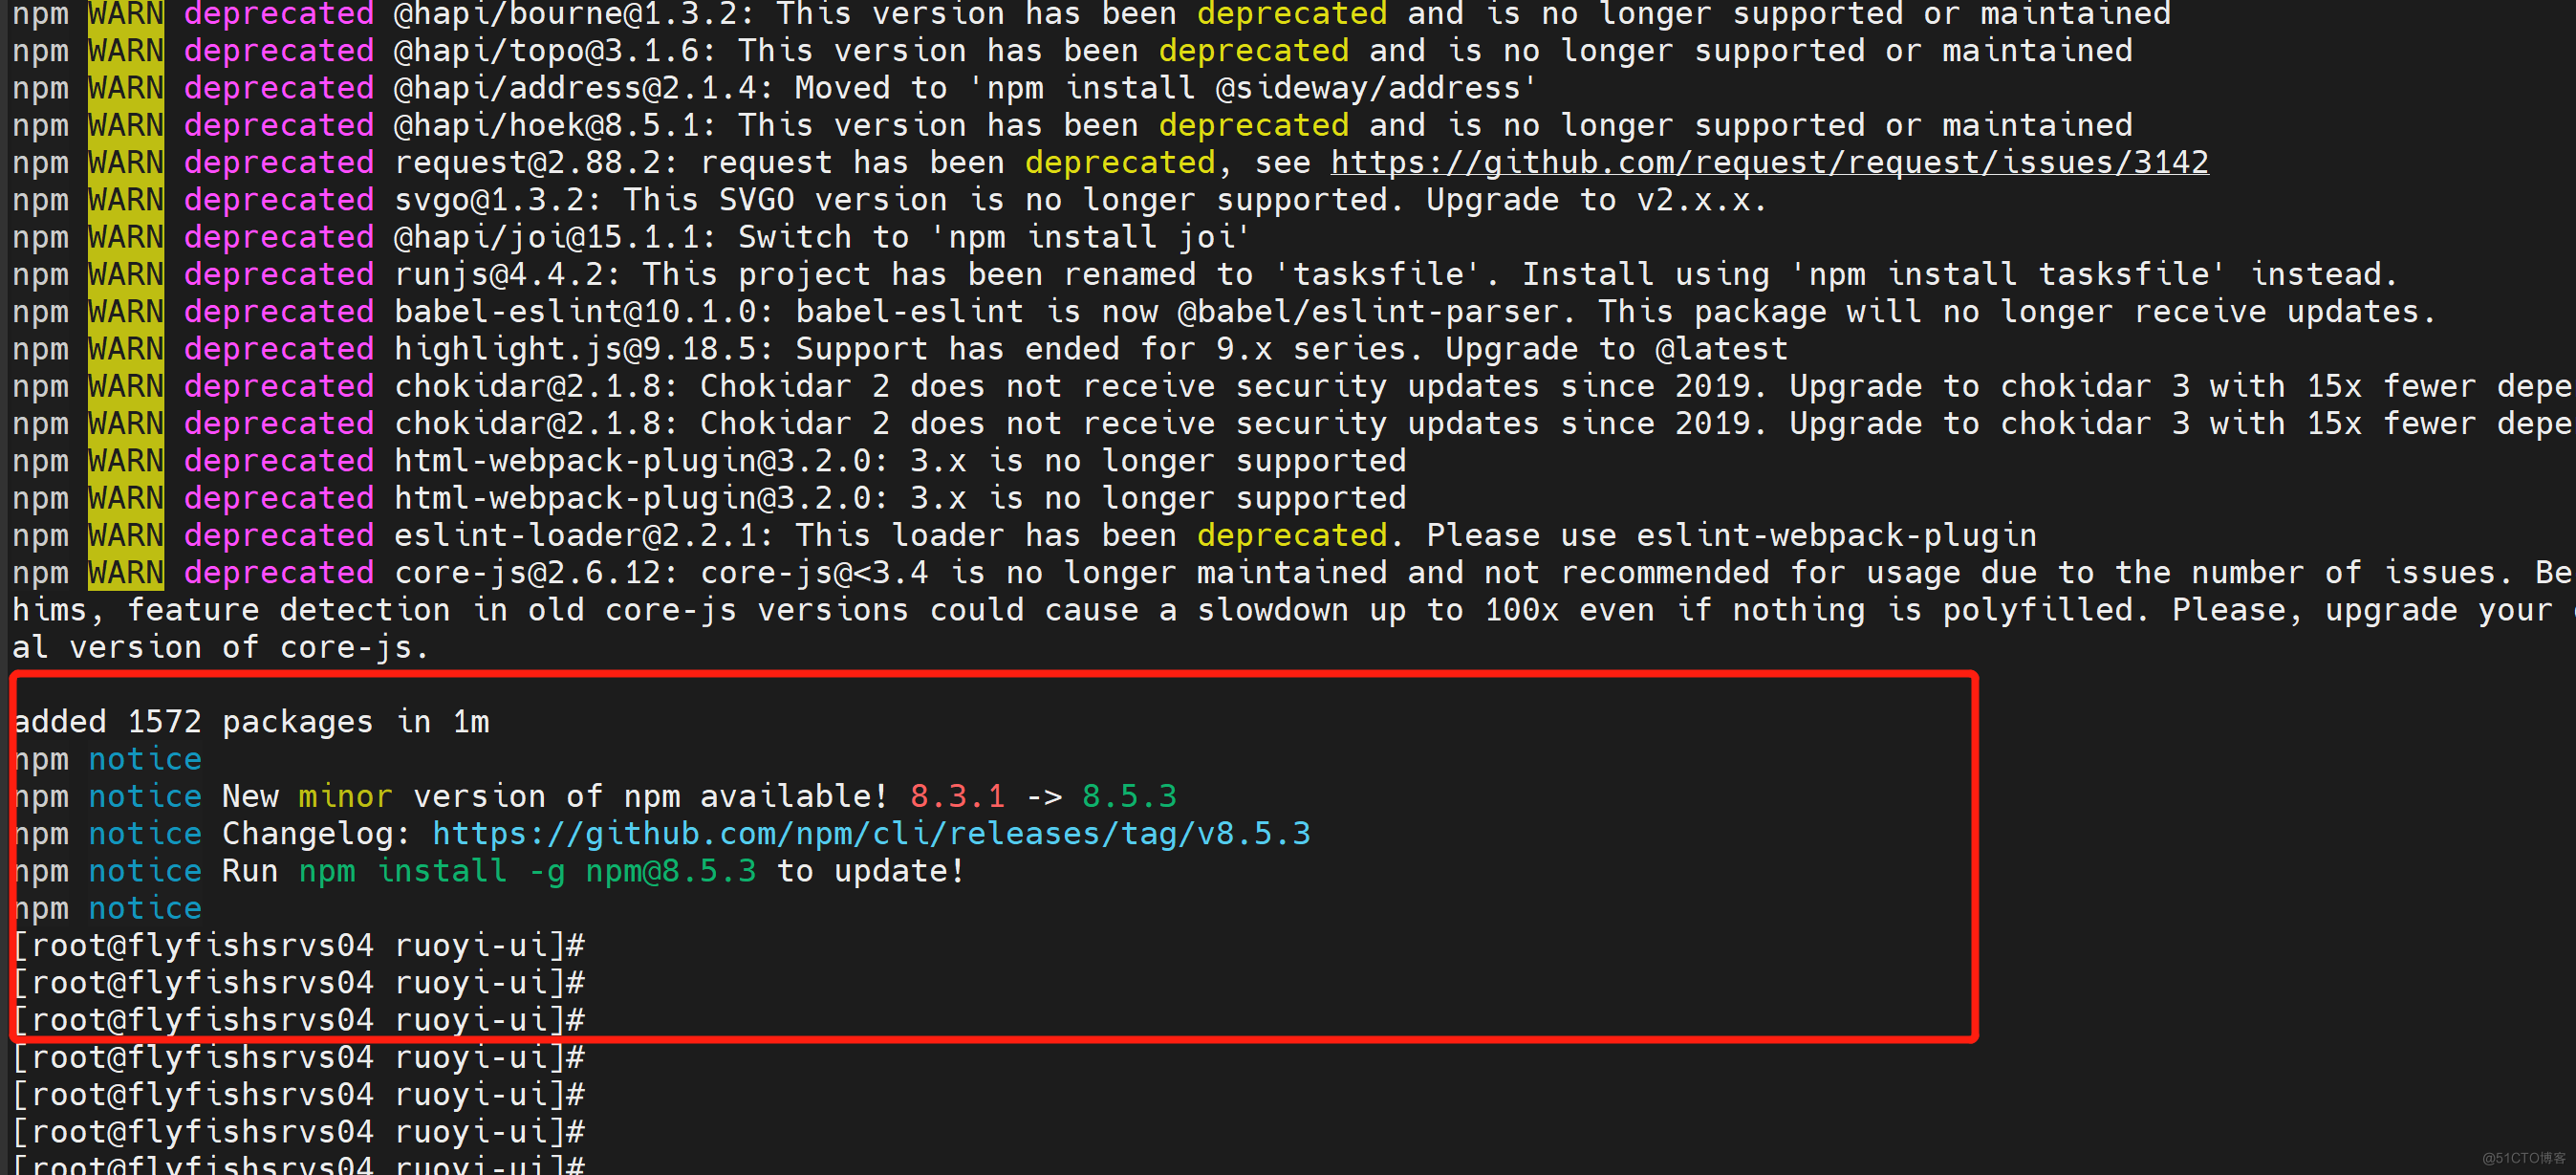
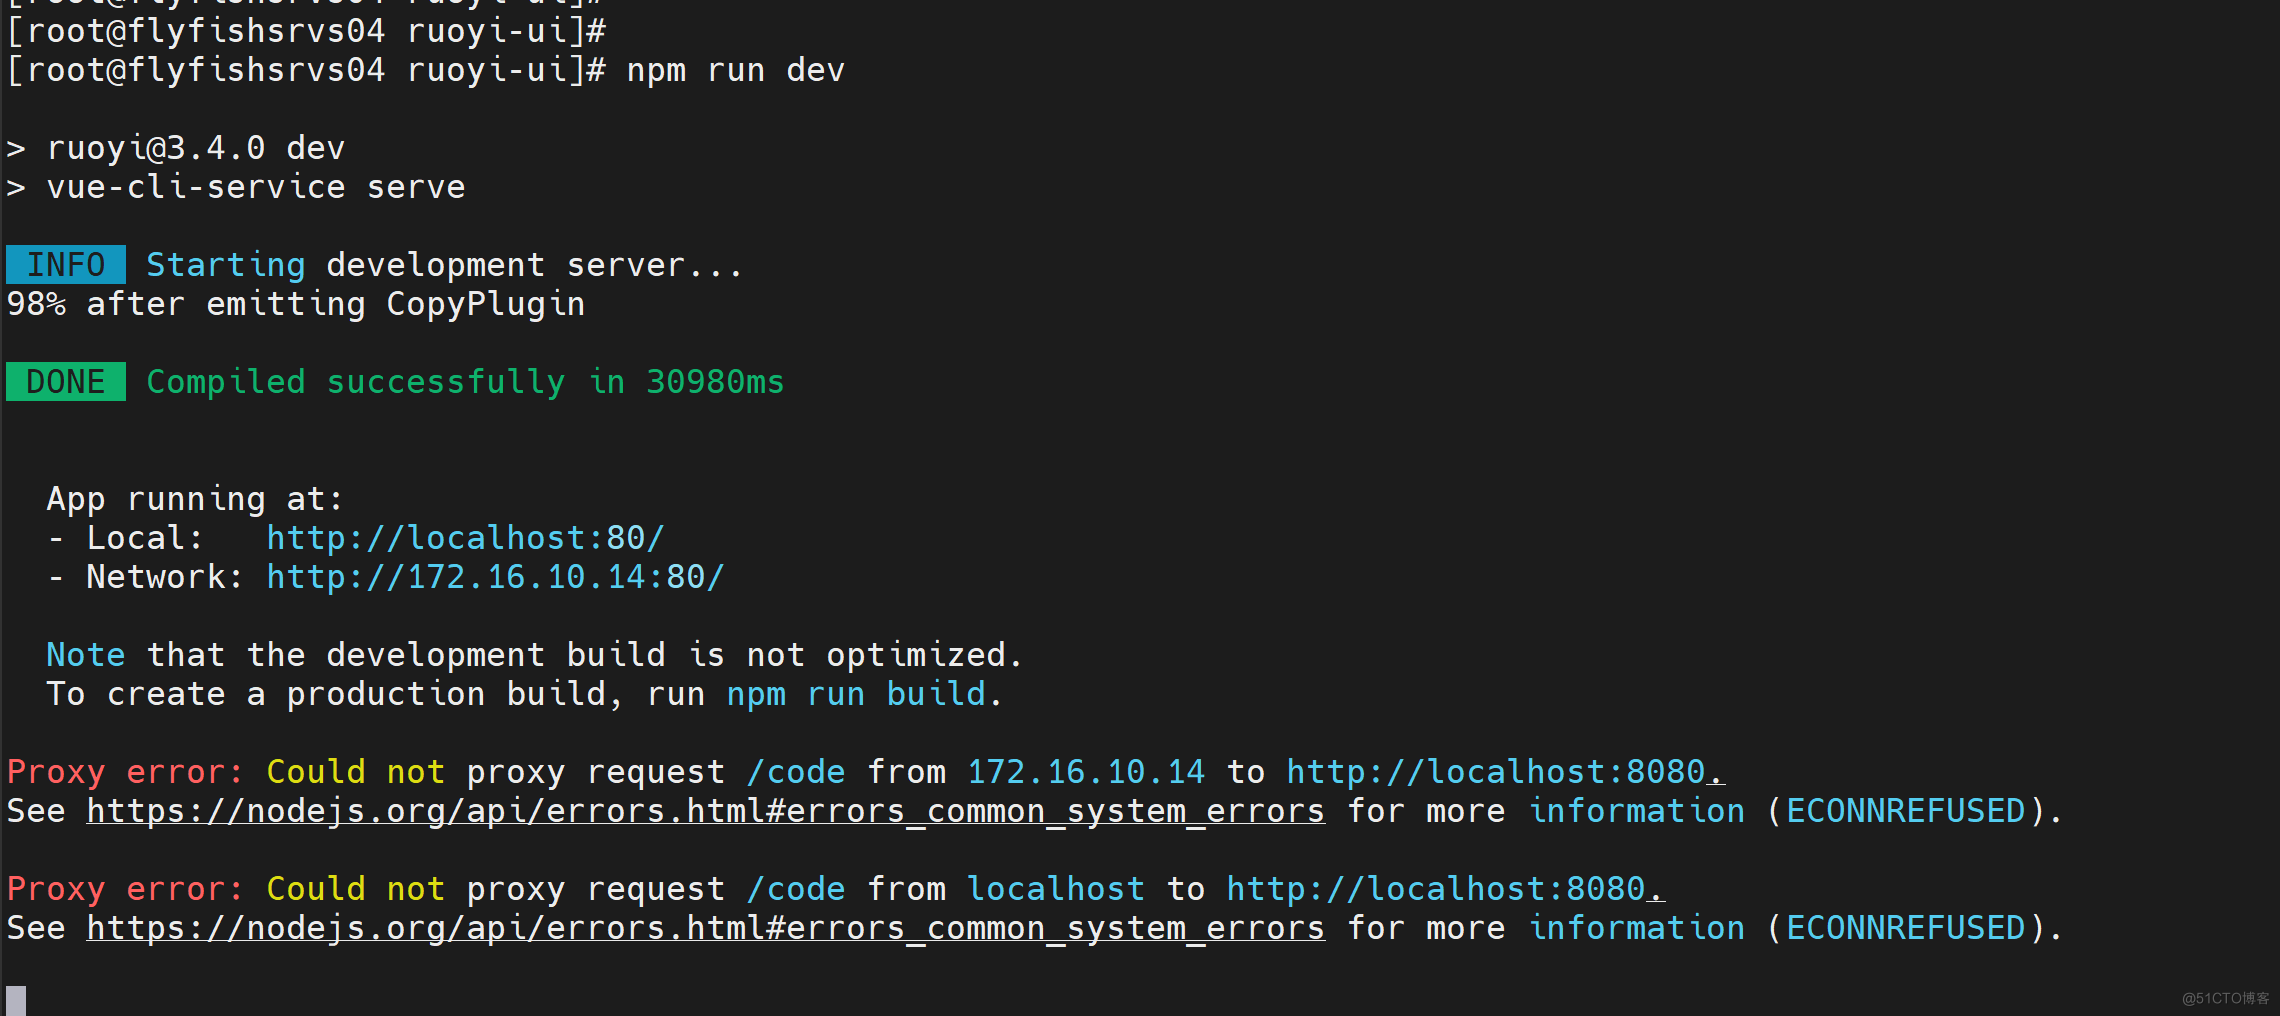
cd /usr/local/RuoYi-Cloud/ruoyi-ui # 克隆项目 git clone https://gitee.com/y_project/RuoYi-Vue # 进入项目目录 cd ruoyi-ui # 安装依赖 npm install # 建议不要直接使用 cnpm 安装依赖,会有各种诡异的 bug。可以通过如下操作解决 npm 下载速度慢的问题 npm install --registry=https://registry.npm.taobao.org # 启动服务 npm run dev
1.4.3 配置maven 打包工具
tar -zxvf apache-maven-3.6.3-bin.tar.gz mv apache-maven-3.6.3 /usr/local/maven vim /etc/profile ------ #### maven PATH=$PATH:/usr/local/maven/bin ------ source /etc/profile mvn -version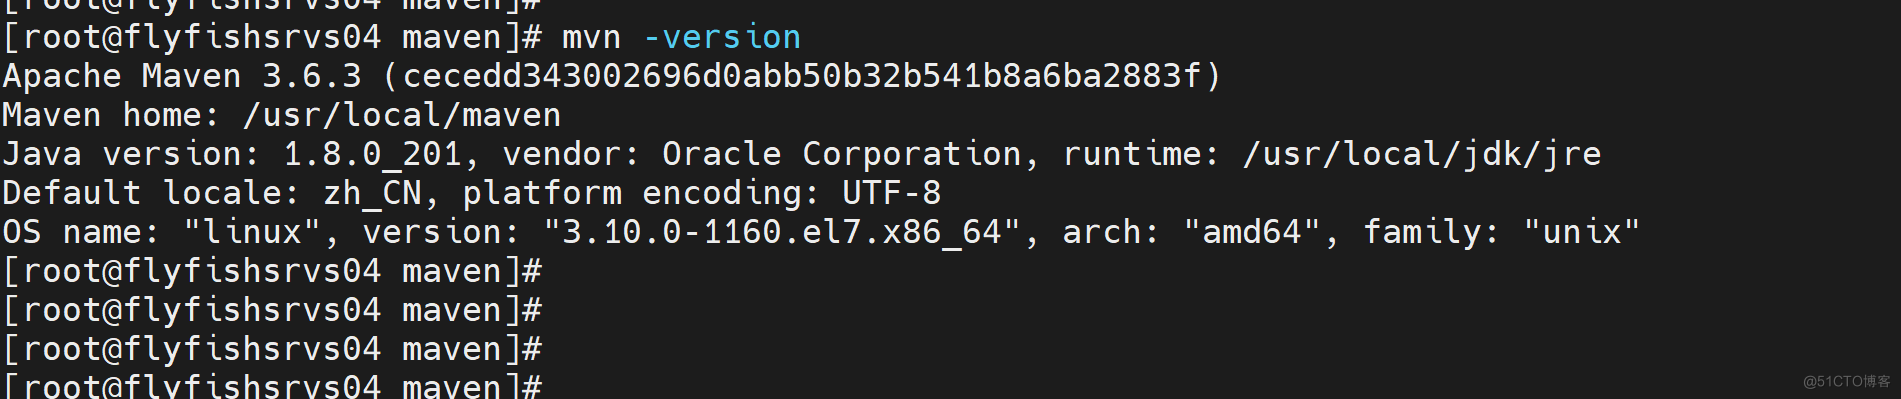
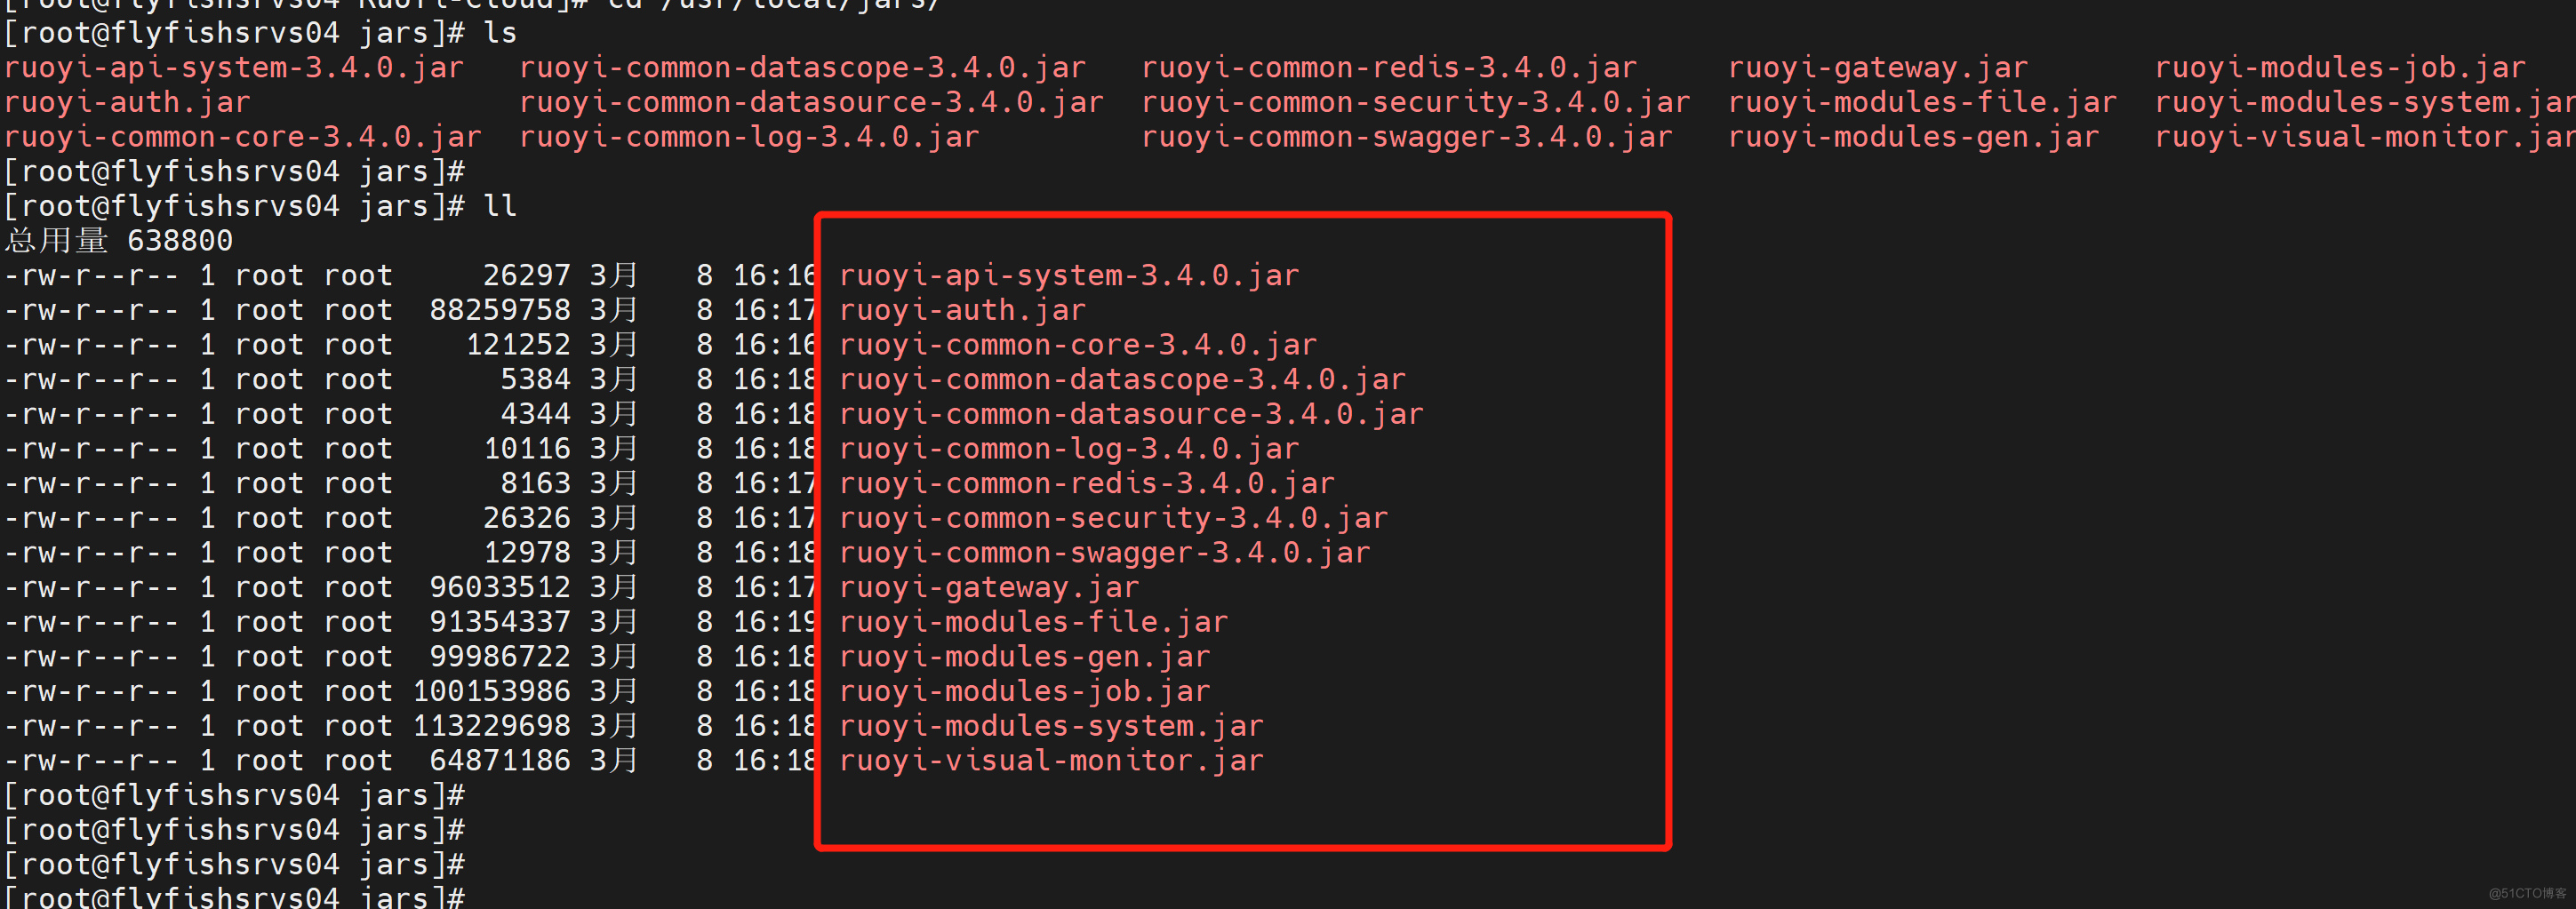
1.4.5 打包整个ruoyi-cloud 后端
cd /usr/local/RuoYi-Cloud mvn install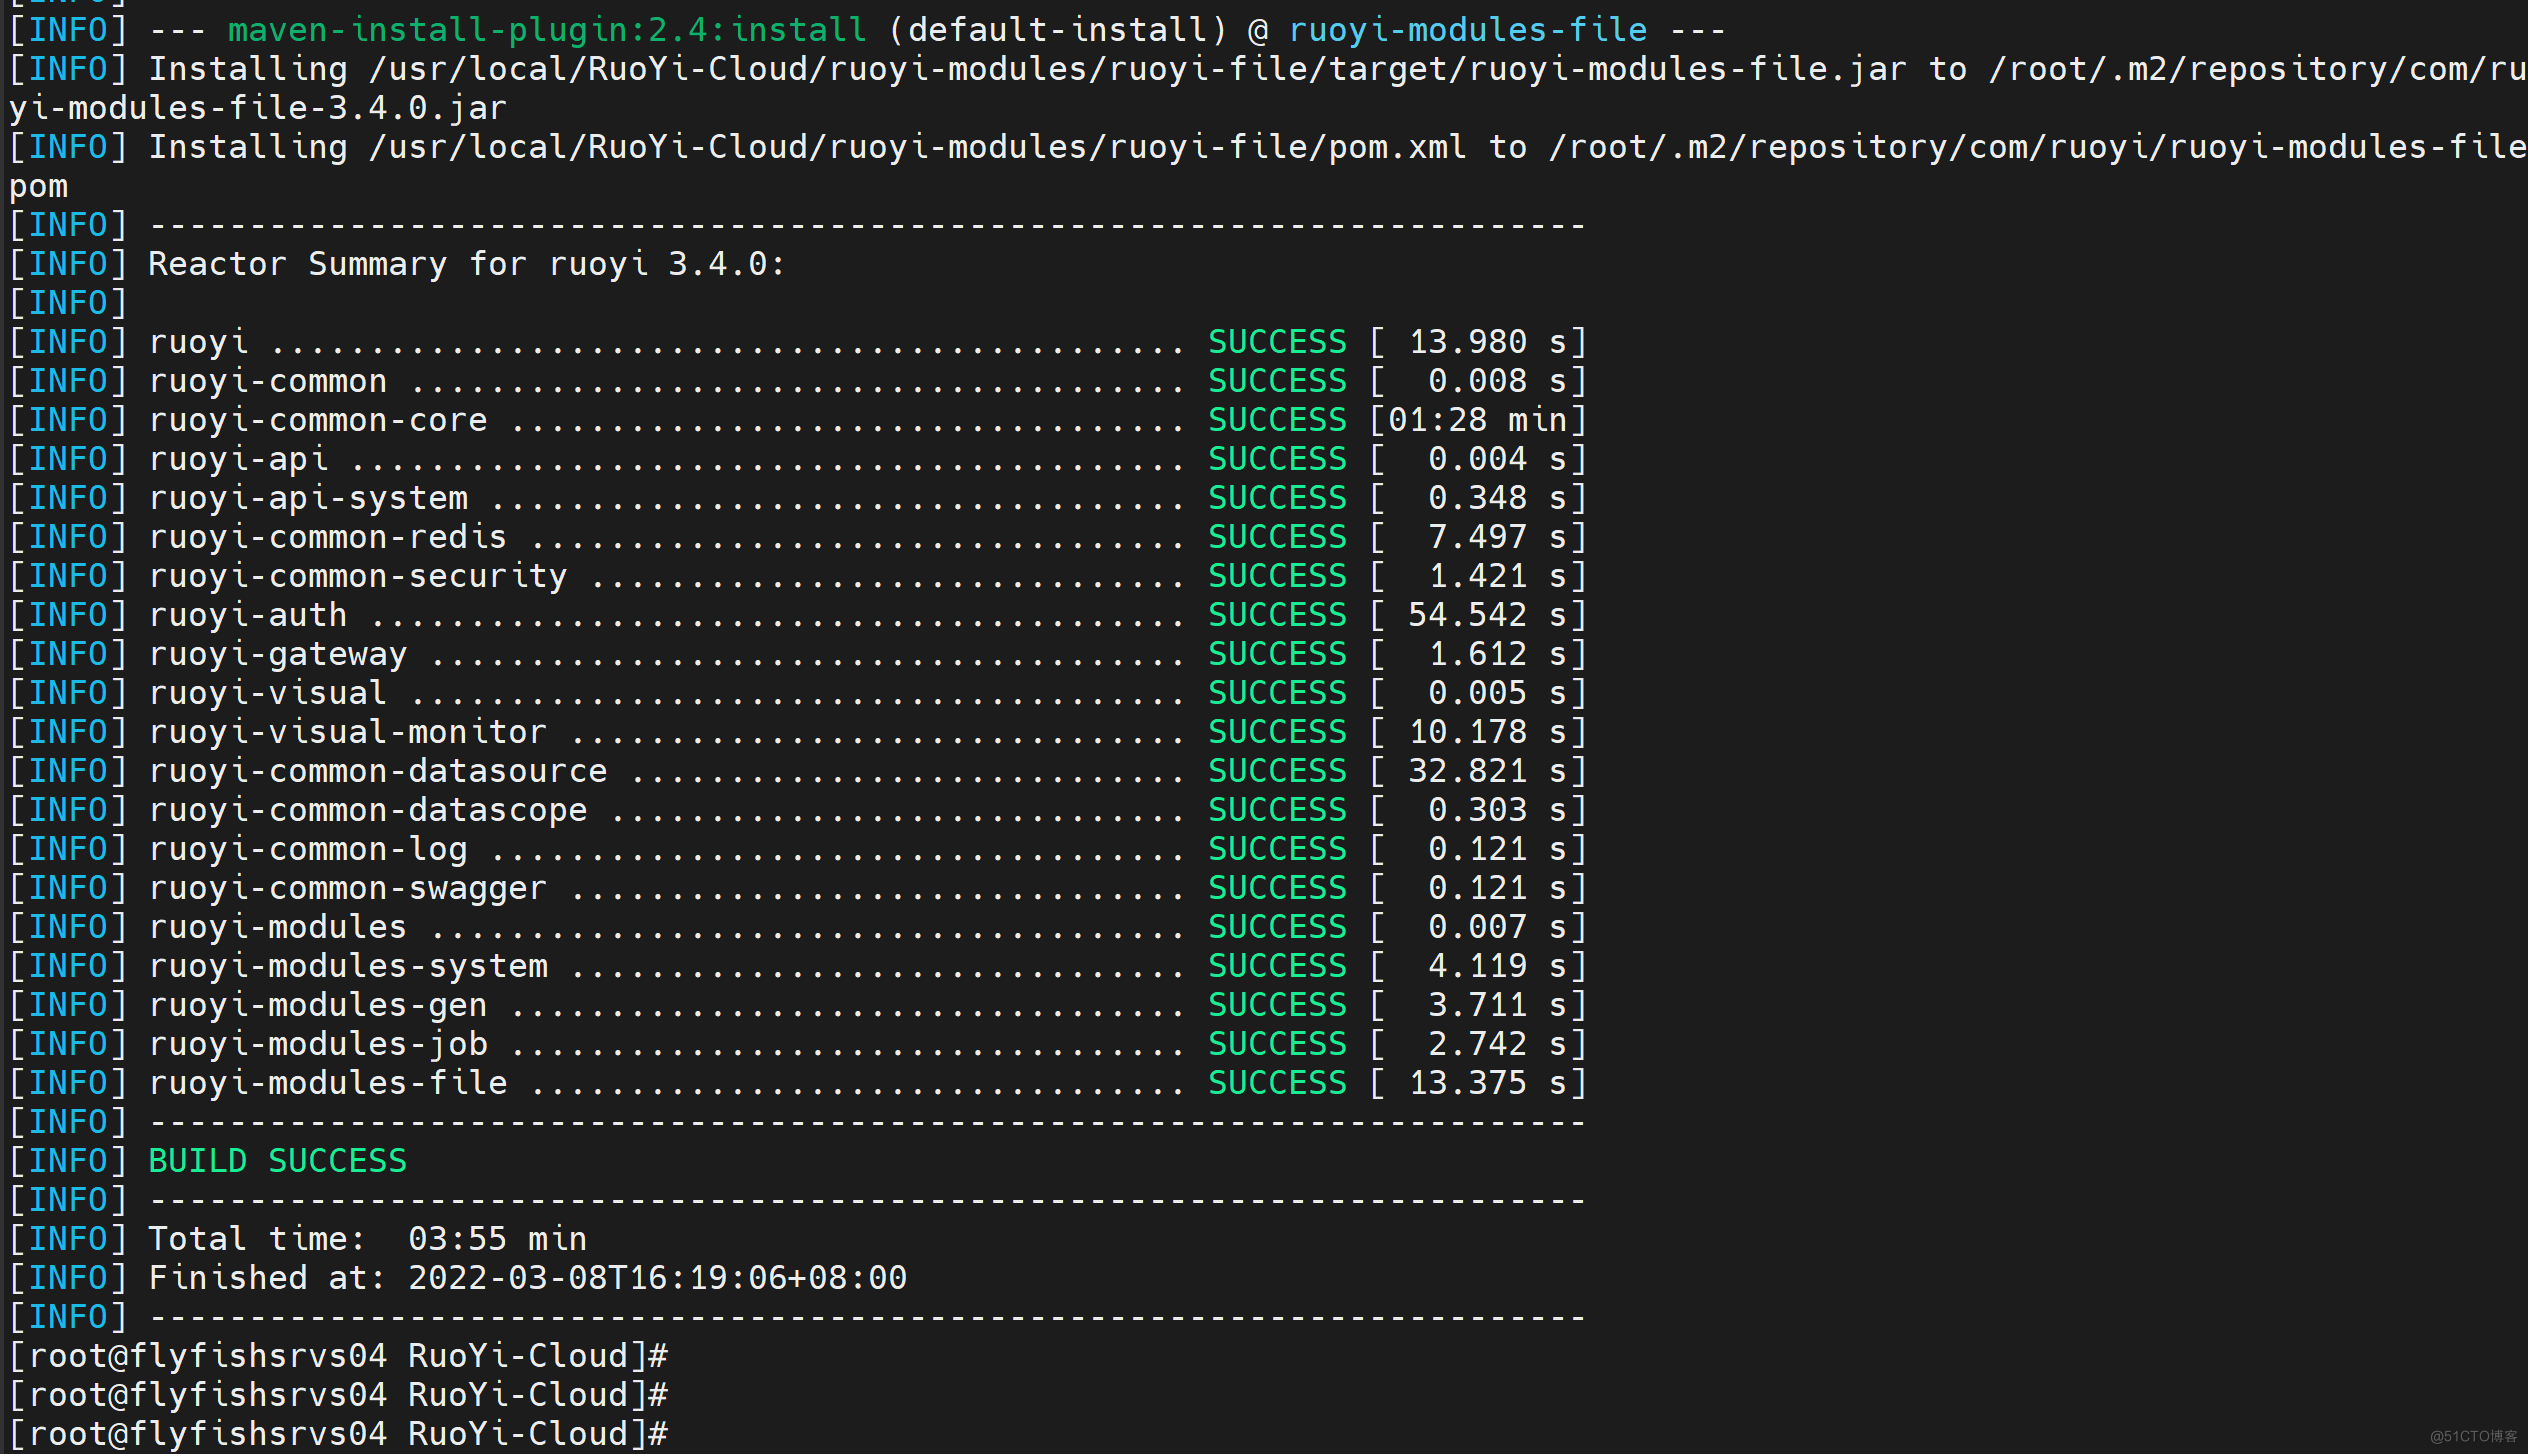
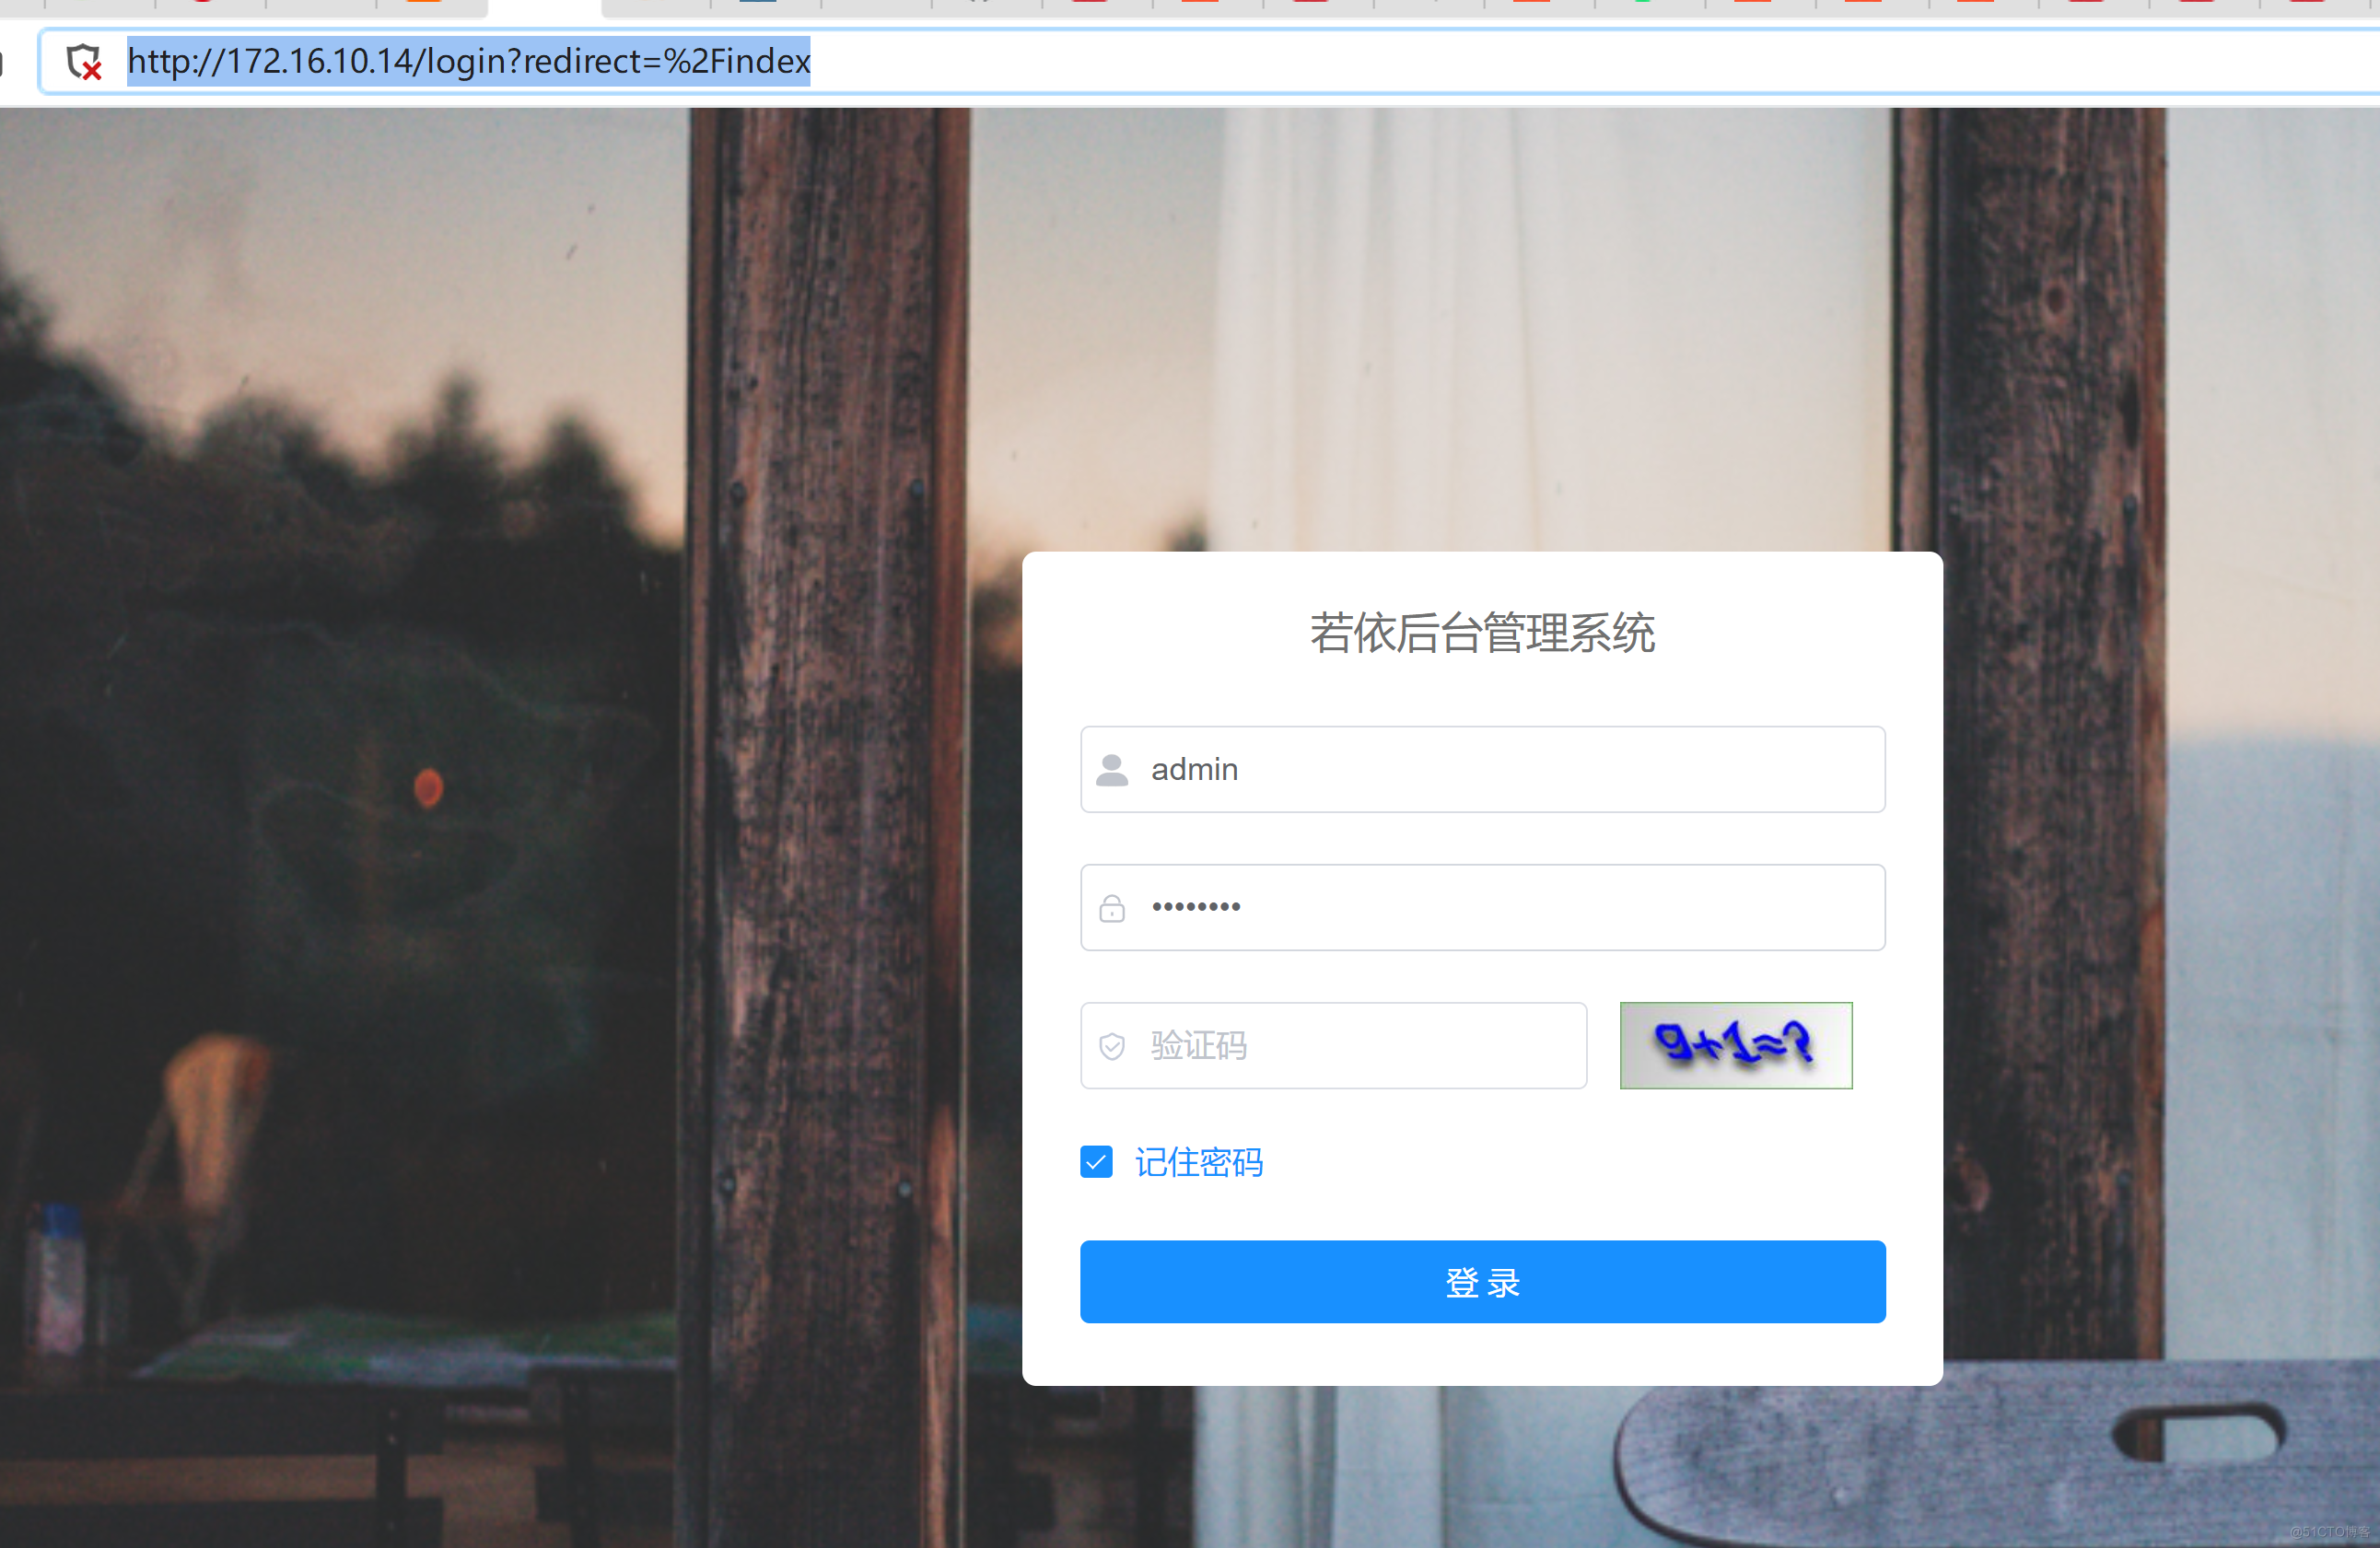
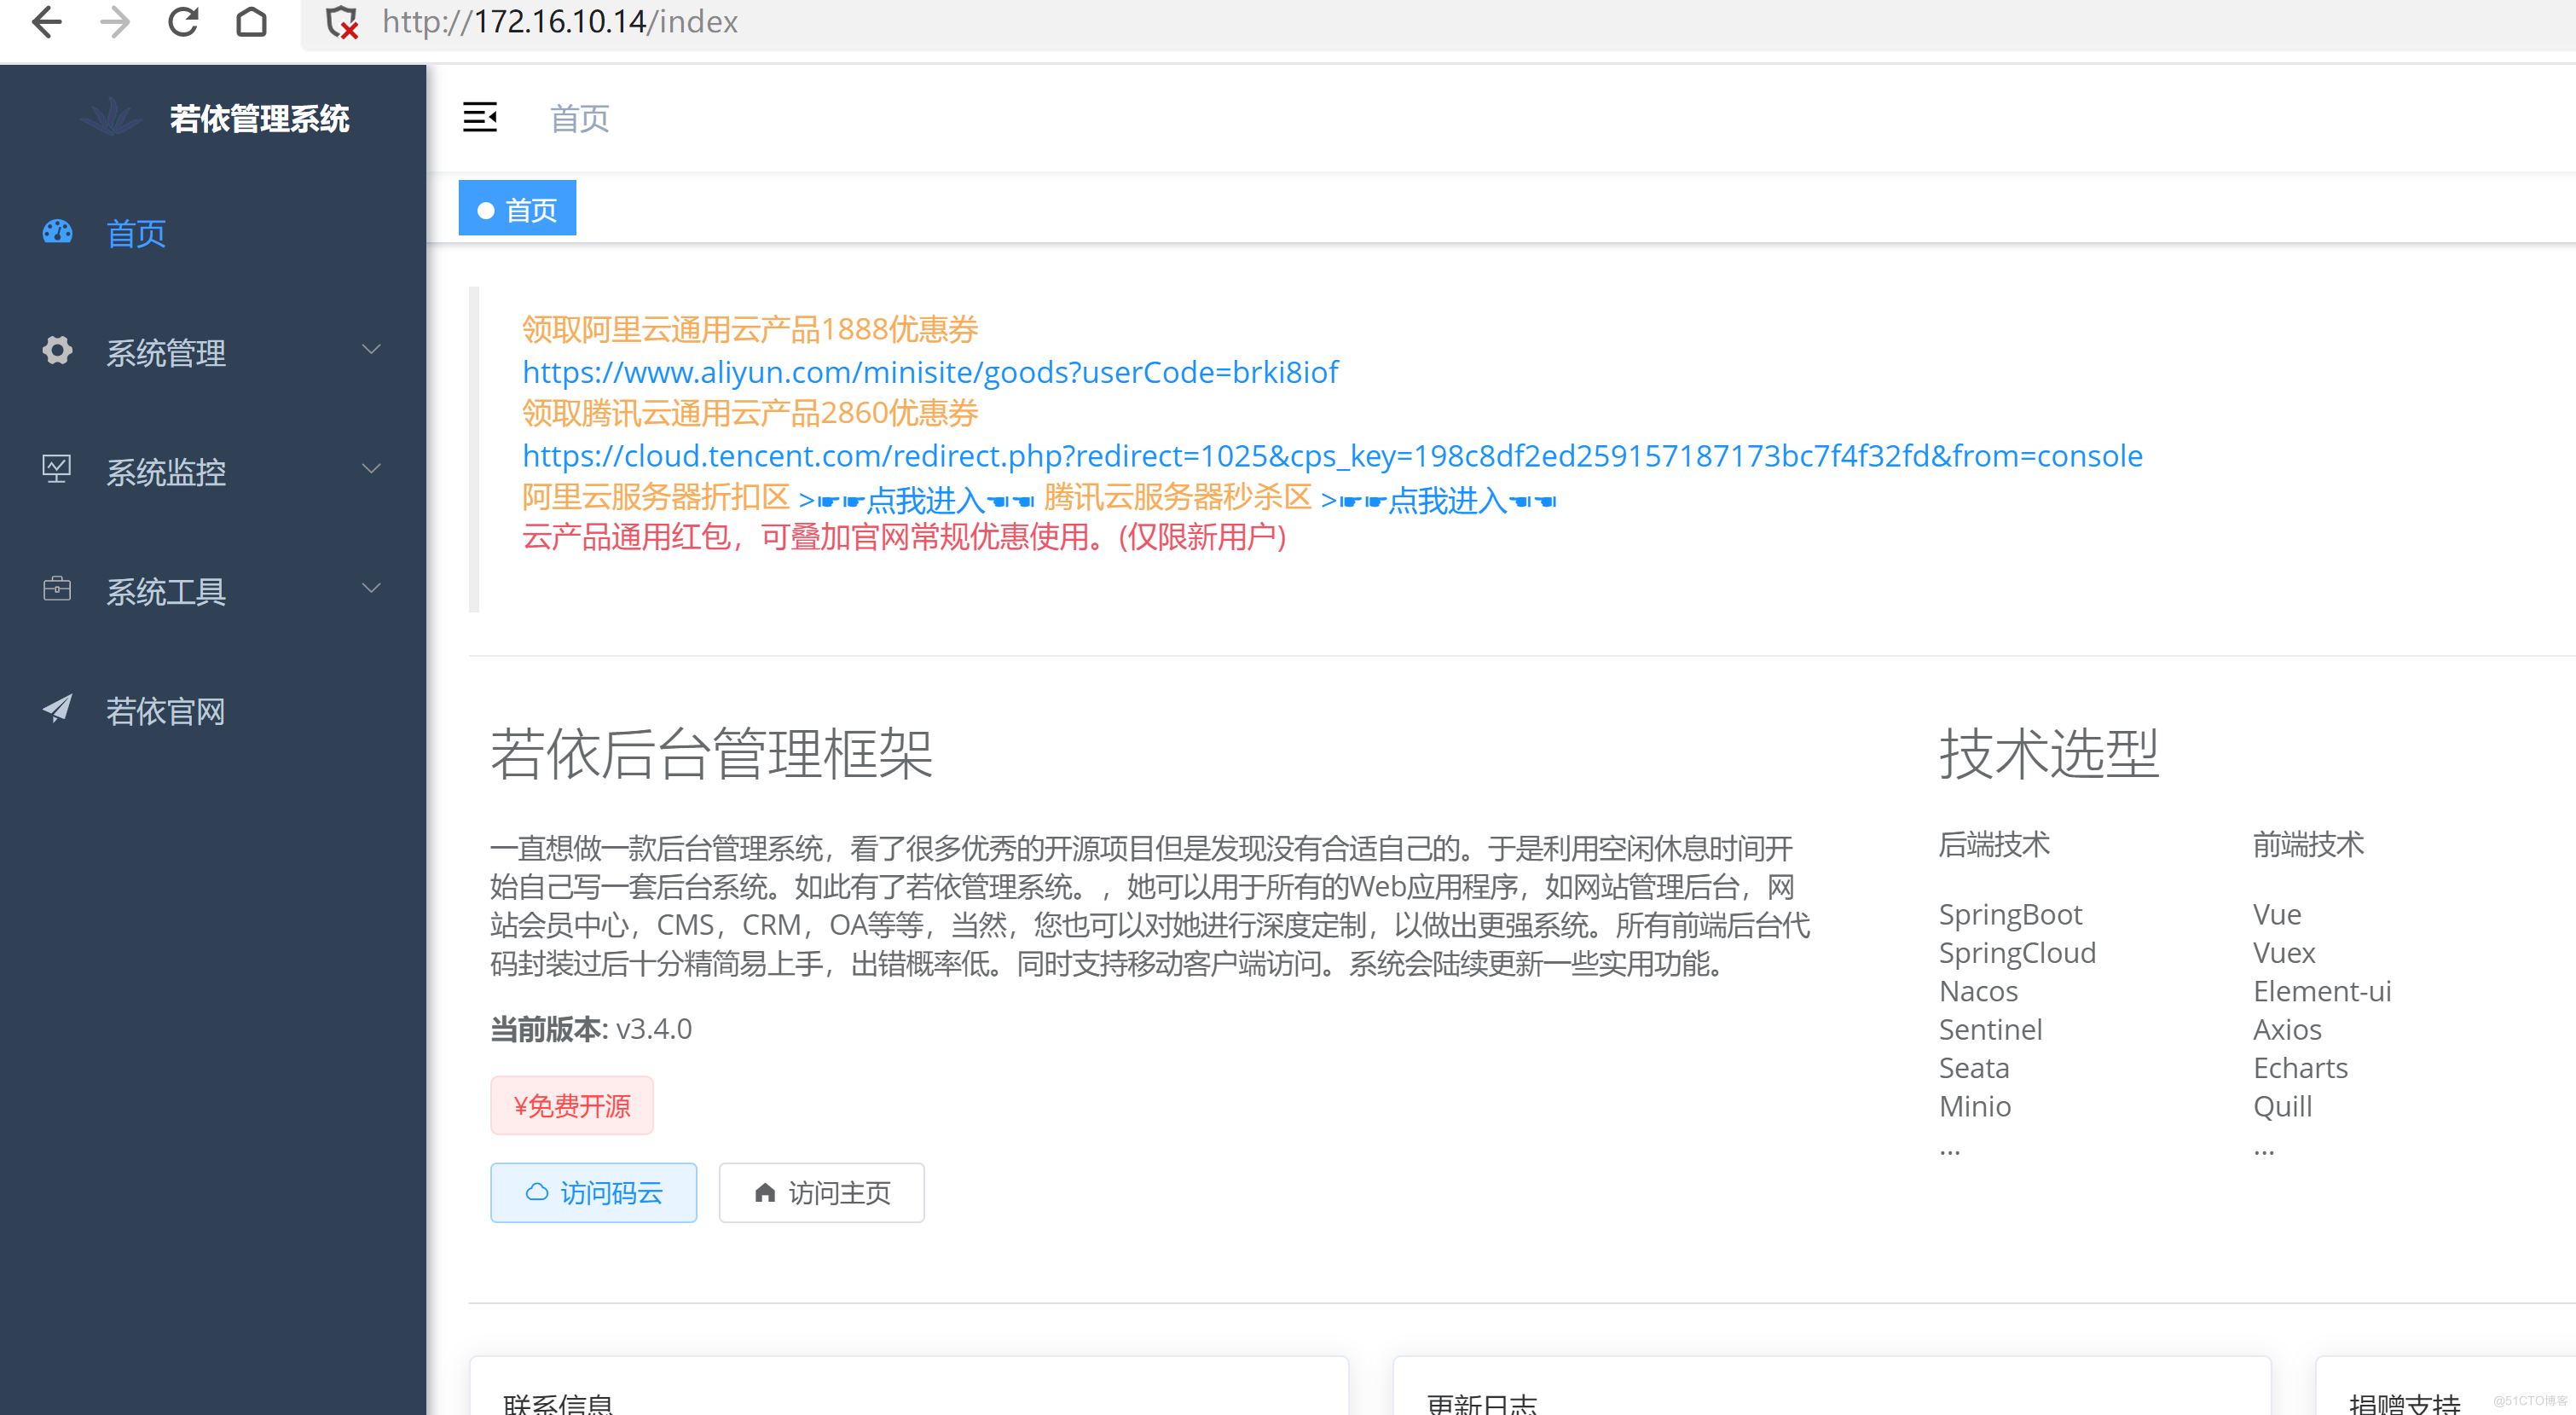
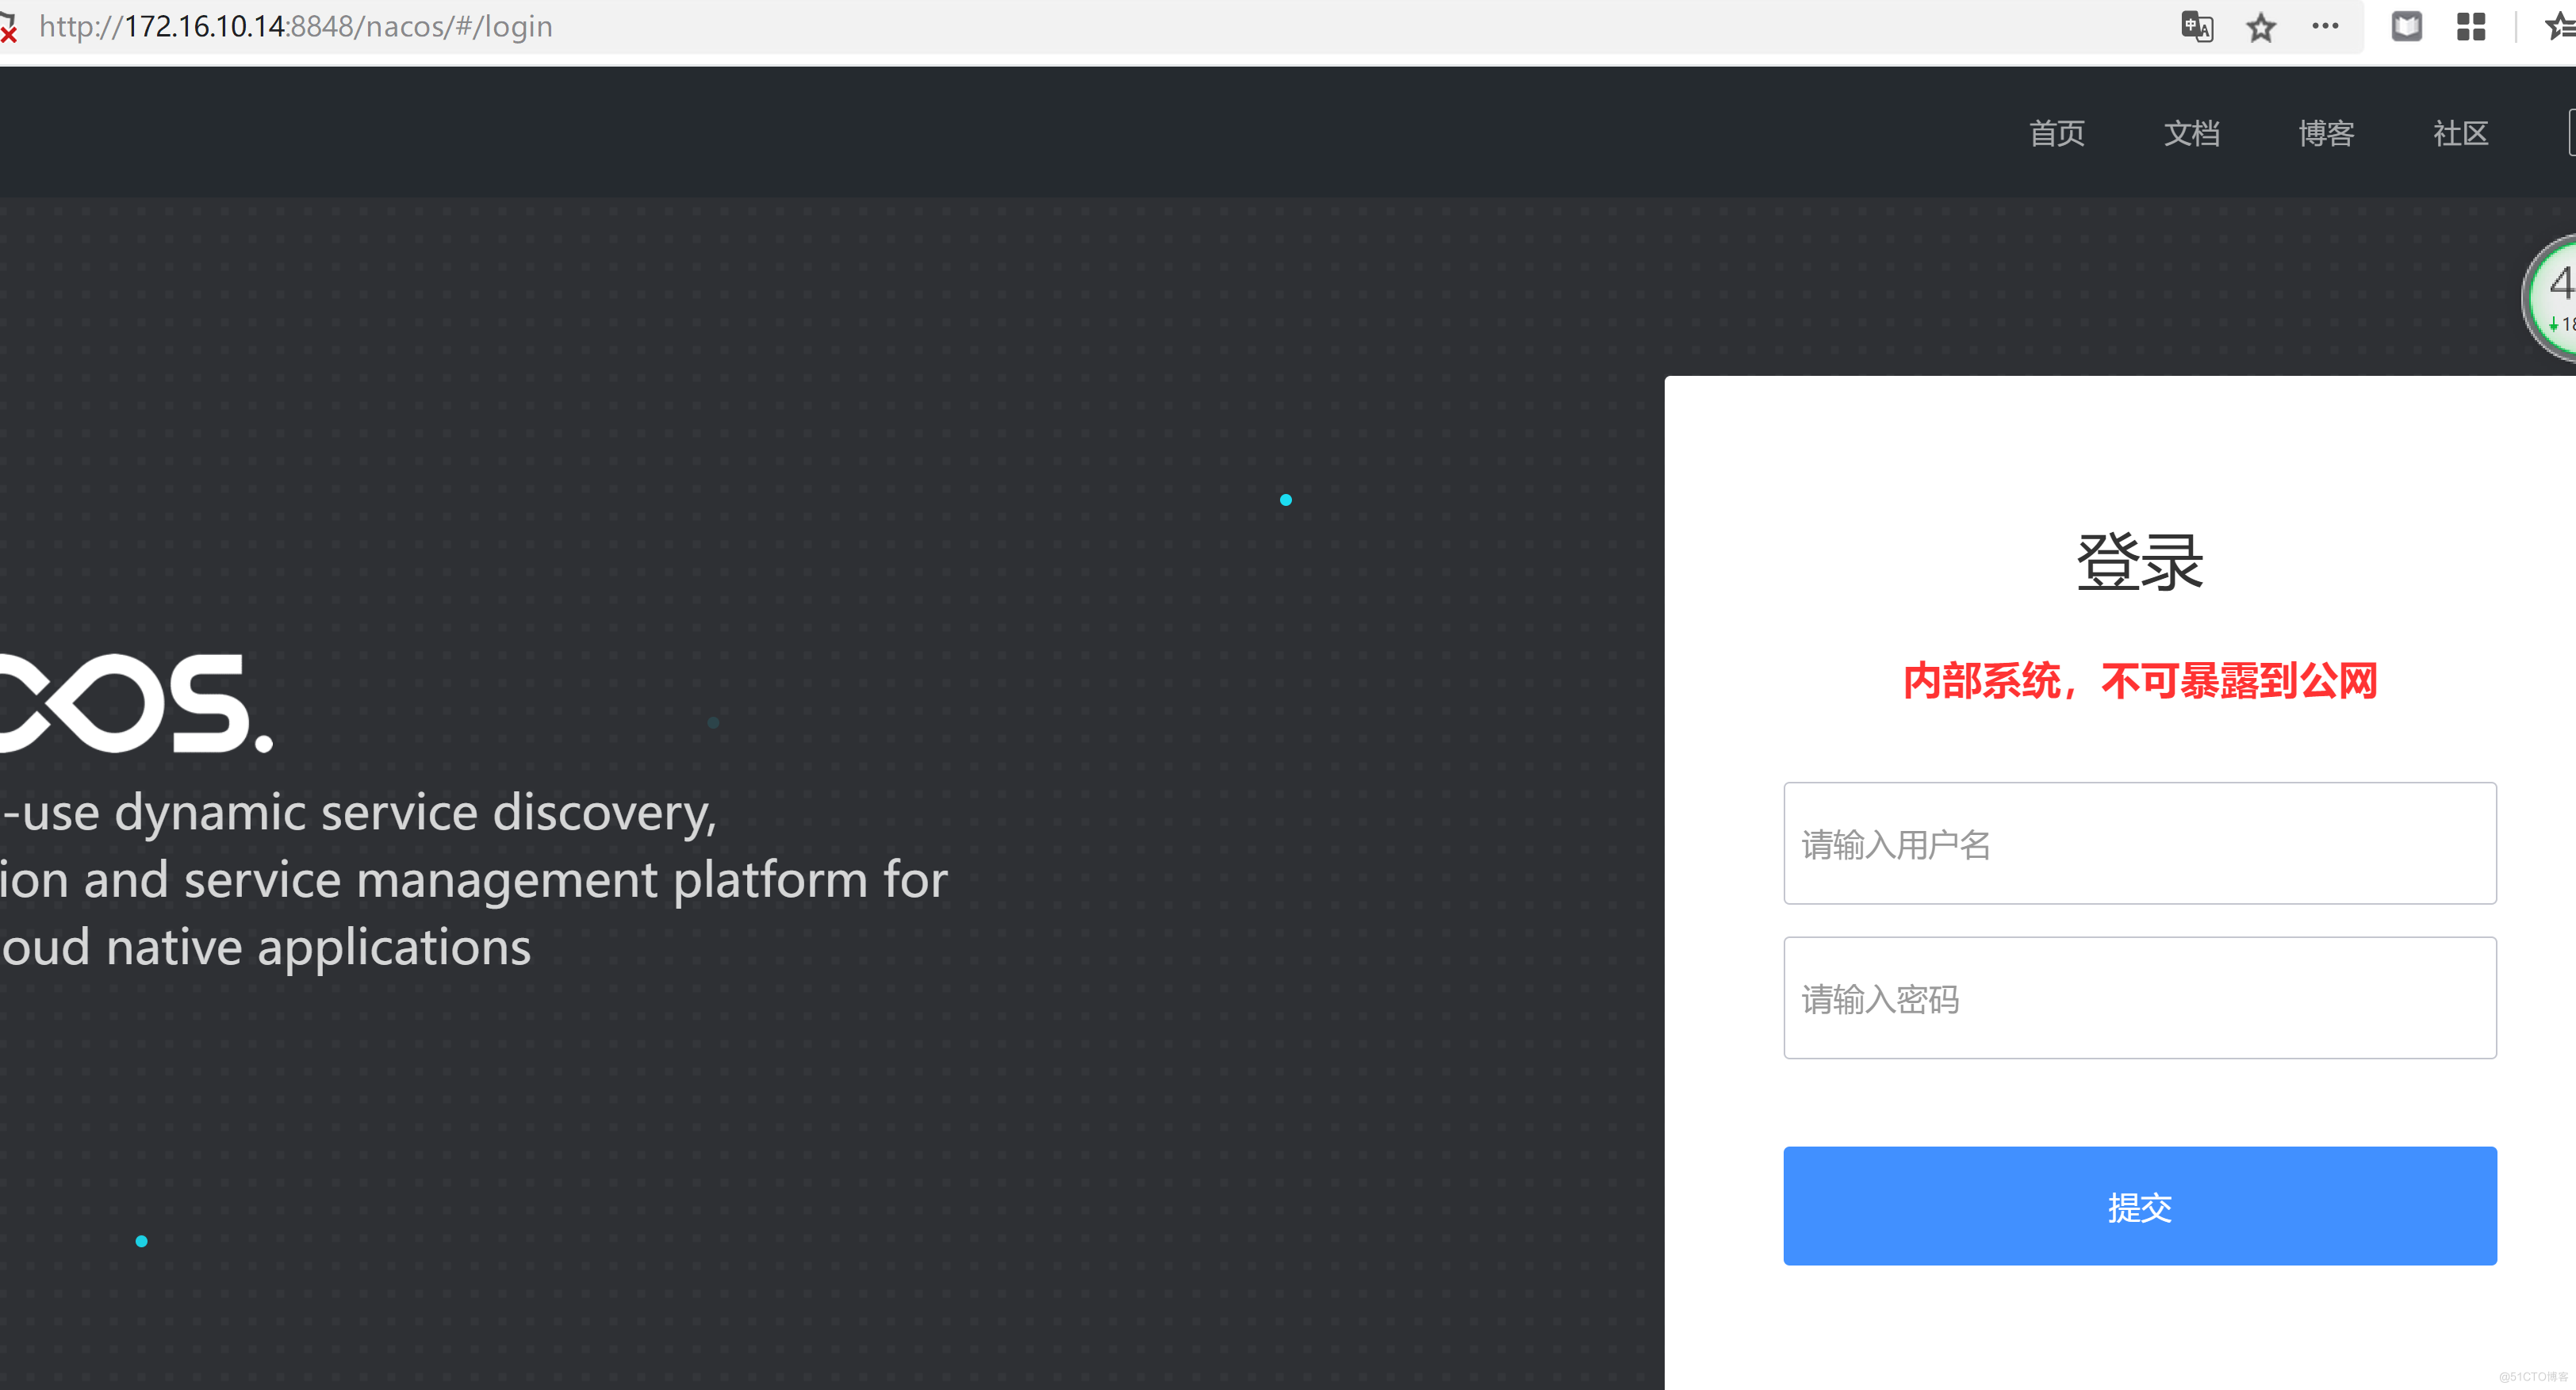
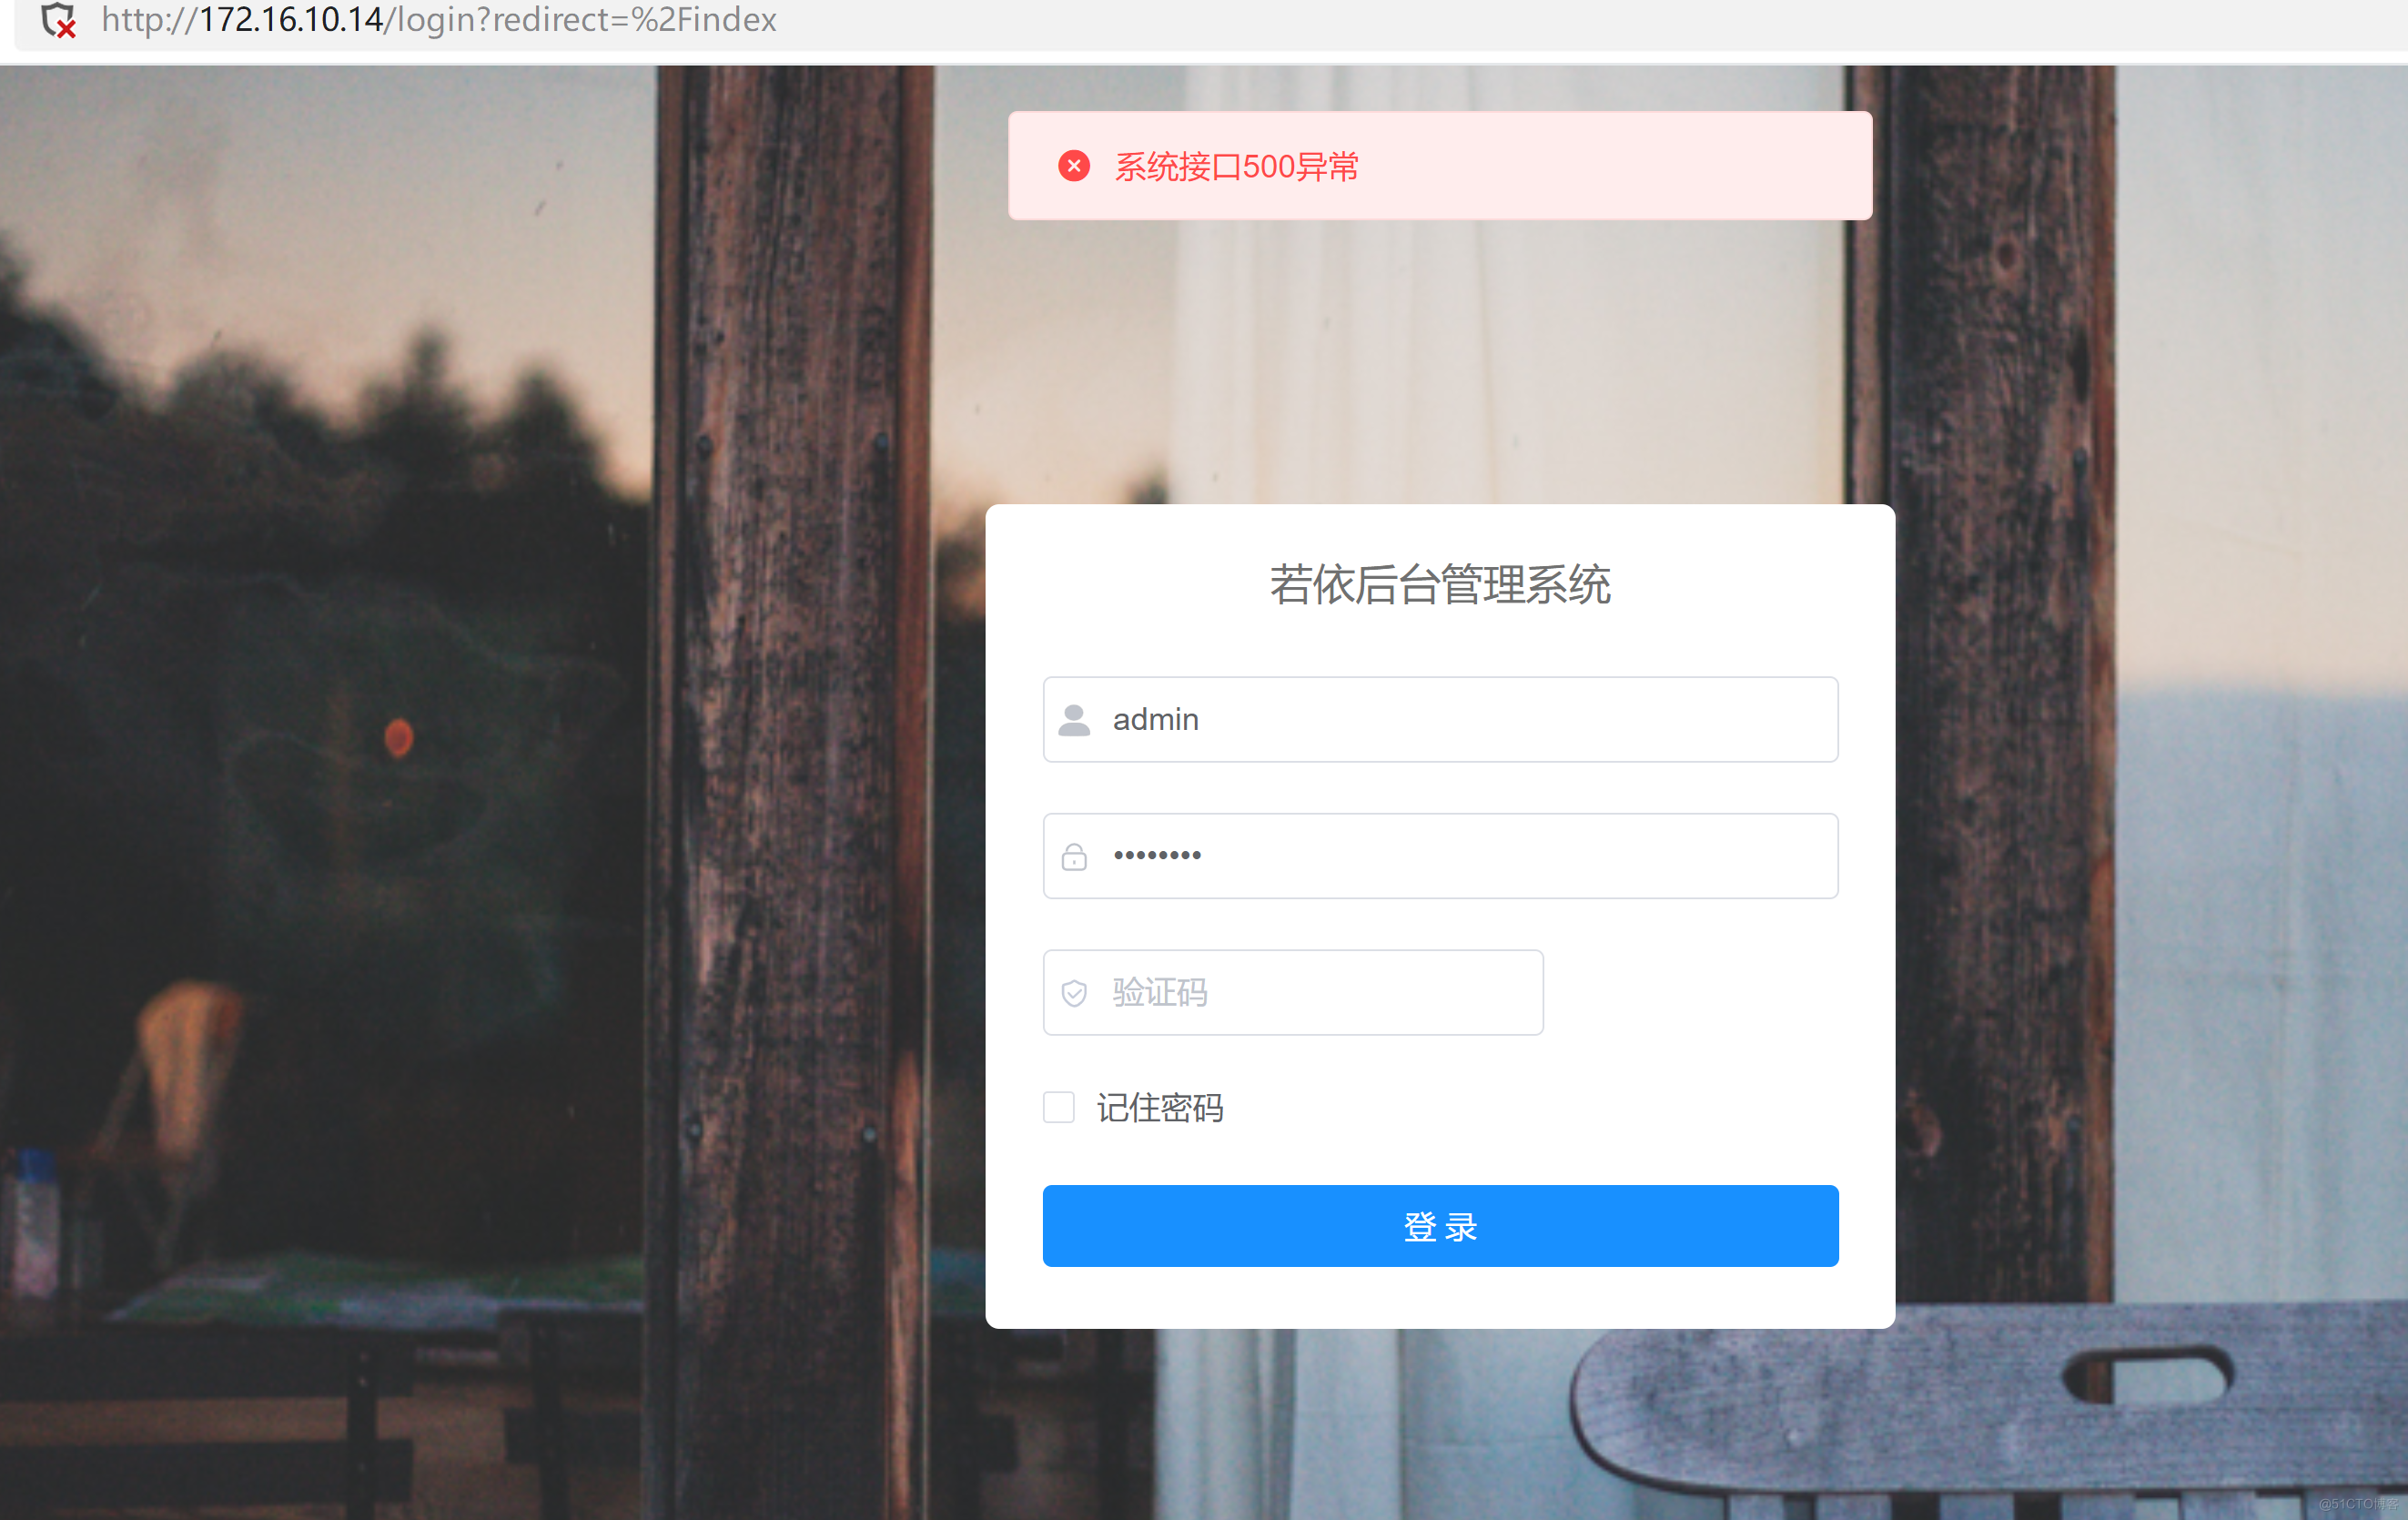
1.4.6 登录ruoyi-cloud
http://172.16.10.14/login?redirect=%2Findex 用户名、密钥 admin/admin123