写着个题目是为了给自己信心,哇,要在五天内学好Linux,题目出来警示自己要读他人负责不能啥赖皮。那这个系列的内容大部分是参考rehat的官方文档。英文好的同学完全可以去看他们
下面进入快乐的redhat之旅;
了解一个系统,跟了解一个人一样,先得了解他的过去,历史;及未来-他的发展方向。这一块的话,同学们自己了解哈。
在linux的行列里,redhat 是做得最专业的,否则也不会这么成功。所以要明确一点,这个系统是收费了。其代替品,可以采用centos,但其承诺不给予任何责任。
所以本文使用包括,实验的话都是用没有花钱注册的RHEL6.2版本。
准备:下载镜像,本文采用版本RHEL6.2, 镜像大小3.4G。
 [root@kikupotter Documents]# ls rhel-server-6.2-x86_64-dvd.iso rhel-server-6.2-x86_64-dvd.iso[root@kikupotter Documents]# du -sh rhel-server-6.2-x86_64-dvd.iso 3.4G rhel-server-6.2-x86_64-dvd.iso[root@kikupotter Documents]#
 架构方面,我之列出了我电脑能支持的,采用BISO-base,也就是普通的pc机,就可以了。那支持的安装方法有,dvd,启动的方法有cd,usb。
重点要说明一下什么是install,什么是boot
install(安装方法):步骤上是排在boot发放后面的,只有启动了了才能安装。
boot(启动方法): 装任何的系统都需要有能从裸设备,启动安装程序的介质。
Architectur
Installation DVD
Boot CD or boot DVD
Boot USB flash drive
BIOS-based 32-bit
x86
x86 DVD ISO
p_w_picpath file
rhel-variant-version-
i386-boot.iso
rhel-variant-version-
i386-boot.iso
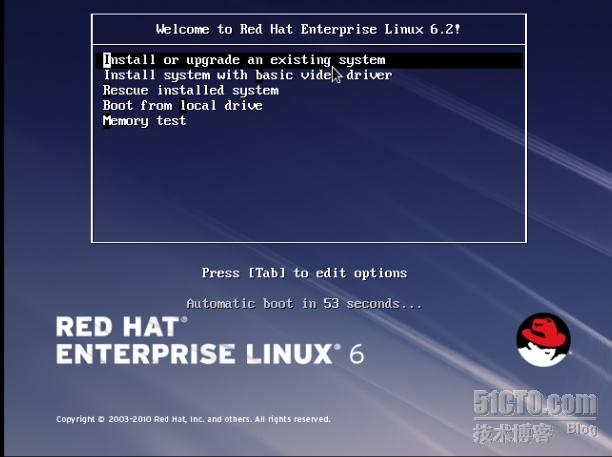
如上解释后,我们采用一种启动方法和一种安装方法。即DVD。
第一步:将iso刻入DVD哦!制作安装DVD
windows下可以用 Nero Burning ROM工具刻录 ,或者linux可以用s Brasero and K3工具刻录.
如果有需求的话要制作启动的usb。可以参考一下命令
[root@kikupotter ~]# blkid -L Ubuntu-Serv/dev/sdb4
[root@kikupotter ~] # dd if=/dev/zero of=/dev/sda4 bs=1M count=100
#dd if=path/p_w_picpath_name.iso of=/dev/sdb4 //我没有做,我的U盘都是材料TT。不敢。
准备完之后,开始我们的启动,和安装了。
 linux text
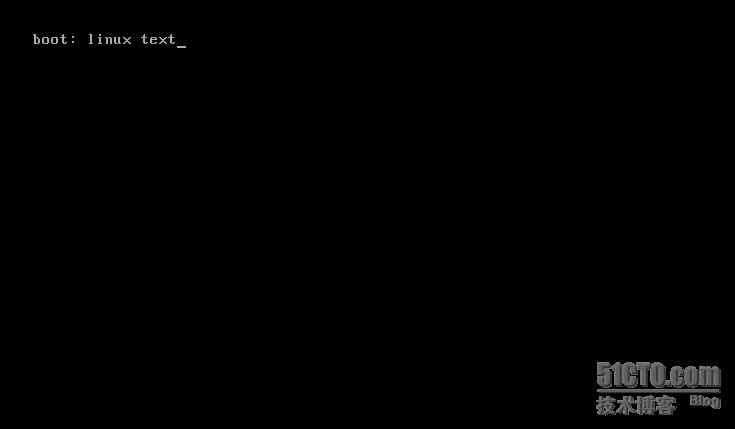
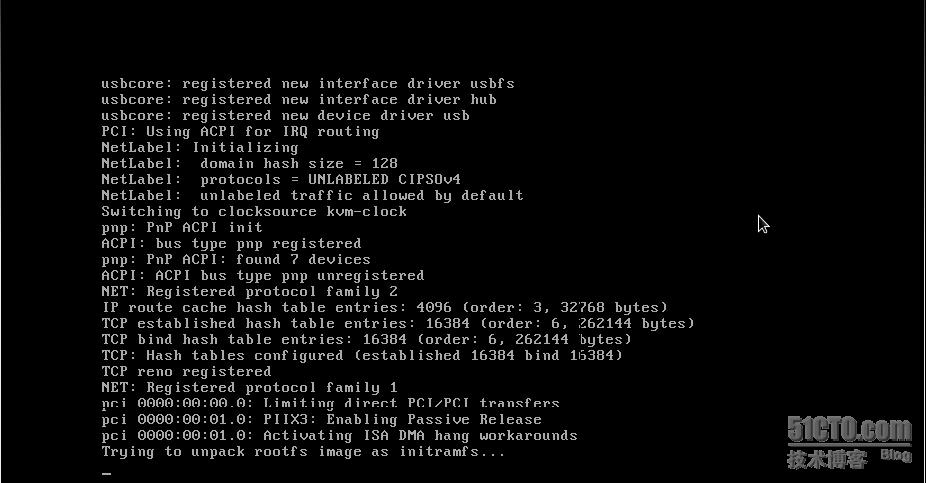
这里是检测光盘的完整性。

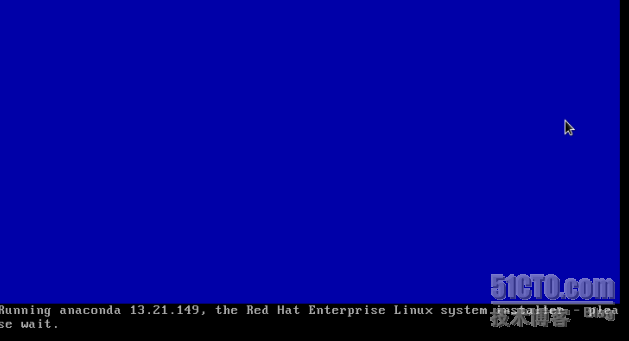
启动安装程序,anaconda。
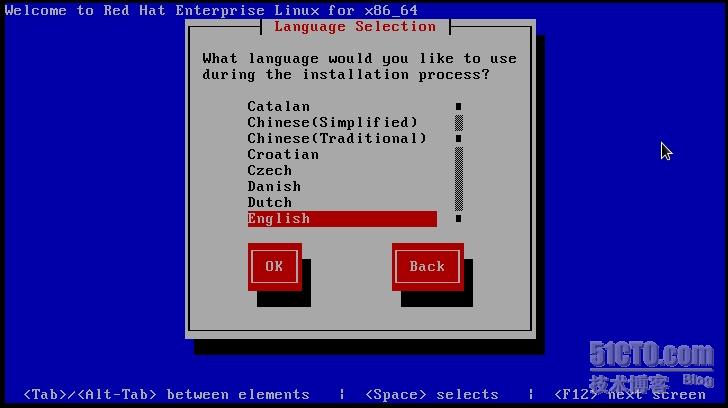
(设置安装语言)
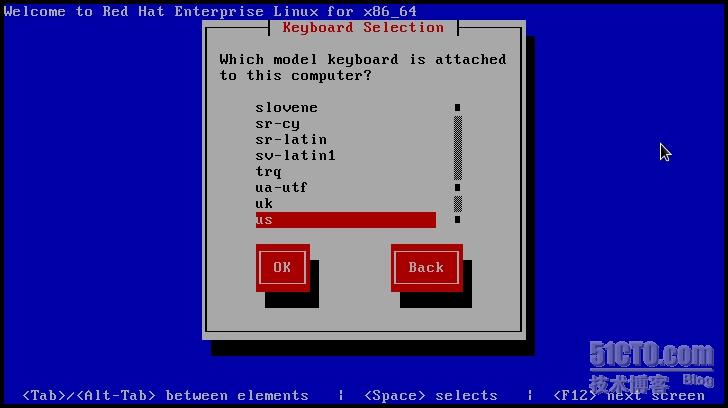
(设置键盘)
 (时区Asia/shanghai)
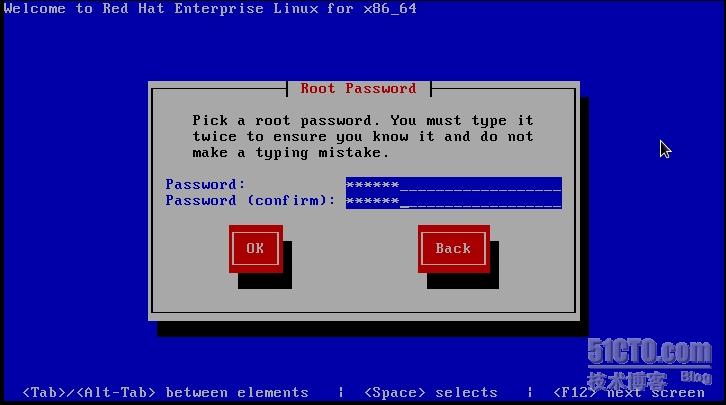
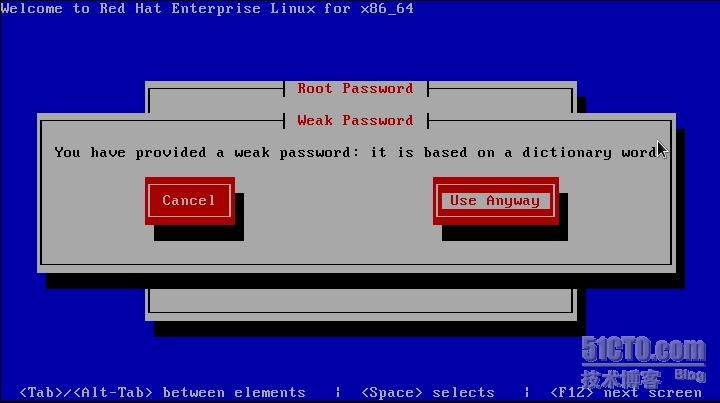
因为redhat是字典密码,容易被破解所以提示你是弱密码,我还是use anyway,但是真实的服务器的话,你一定要记住:数字+字母(大小写)+特殊字符。这样的组合,还要定期更改,切忌不要用自己的生日,电话号码等。容易被社会工程学的。
分区这一部分要重点介绍,那本文的话,就仅仅分了两个分区。/ 根分区,swap交换分区。
在以上的步骤完了之后运行命令://这个过程过后会详细发一份分区方案的,希望不会给他加阅读带来不便。
fdisk /dev/sda //fdisk这个命令是专门又来分区的。
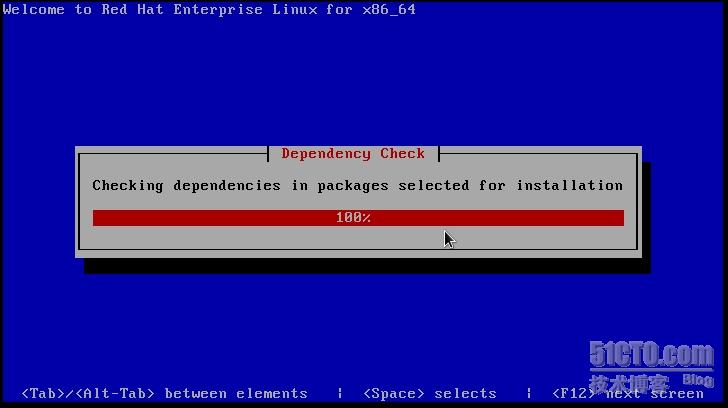
( 收集包的信息)
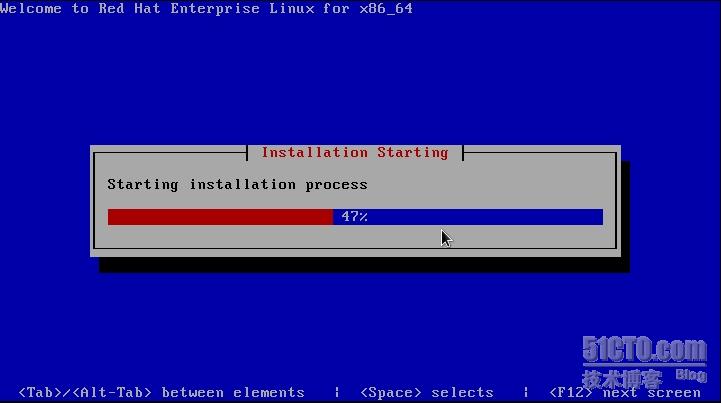
( 启动安装进程)

等待进度条安装满了以后,系统自动会安装完成,然后提示重启系统,这是才能取出关盘!!