文章目录 使用 debootstrap 制作 ARM64 rootfs.cpio 1. 安装依赖 2. 制作文件系统 3. 进入文件系统 4. 定制文件系统 4.1 配置网络 4.2 更换
文章目录
- 使用 debootstrap 制作 ARM64 rootfs.cpio
- 1. 安装依赖
- 2. 制作文件系统
- 3. 进入文件系统
- 4. 定制文件系统
- 4.1 配置网络
- 4.2 更换国内镜像源
- 4.3 配置 root 用户密码
- 4.4 建立一个普通用户
- 4.5 安装依赖
- 4.6 设置主机名和以太网
- 5. 退出文件系统
- 6. 得到 roofs.cpio
使用 debootstrap 制作 ARM64 rootfs.cpio
Debian 9,配合 Raspberry Pi 4 Model B
1. 安装依赖
$ sudo apt-get install debian-archive-keyring$ sudo apt-get install qemu qemu-user-static binfmt-support debootstrap
2. 制作文件系统
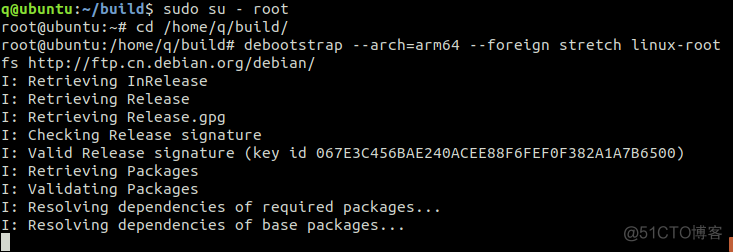
$ mkdir ~/build && cd ~/build# 切换到 root
$ sudo su - root
# 构建文件系统
$ debootstrap --arch=arm64 --foreign stretch linux-rootfs http://ftp.cn.debian.org/debian/
# --arch: 指定制作的文件系统的架构
# --foreign: 在与主机架构不同时需要指定此参数,作为初始化的解包
# stretch: Debian9的发行版号,Debian10为buster
# linux-rootfs: 存放文件系统的文件夹

3. 进入文件系统
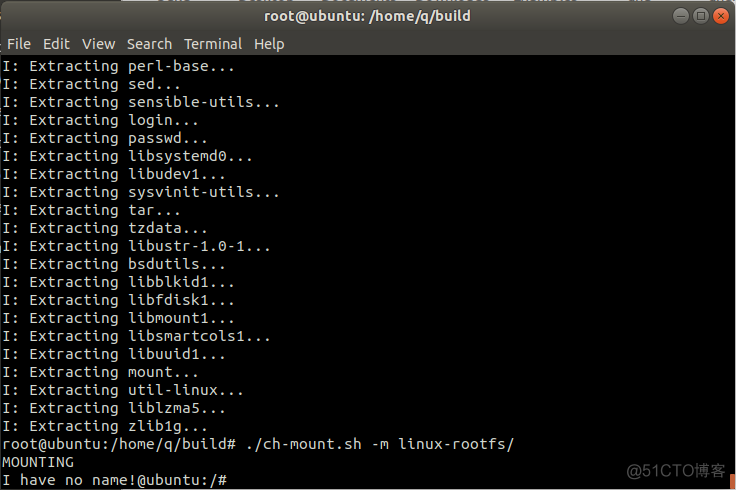
# # 此脚本有两个参数 -u 是取消挂载 -m 是挂载$ ./ch-mount.sh -m linux-rootfs
# 执行脚本后,没有报错会进入文件系统,显示I have no name
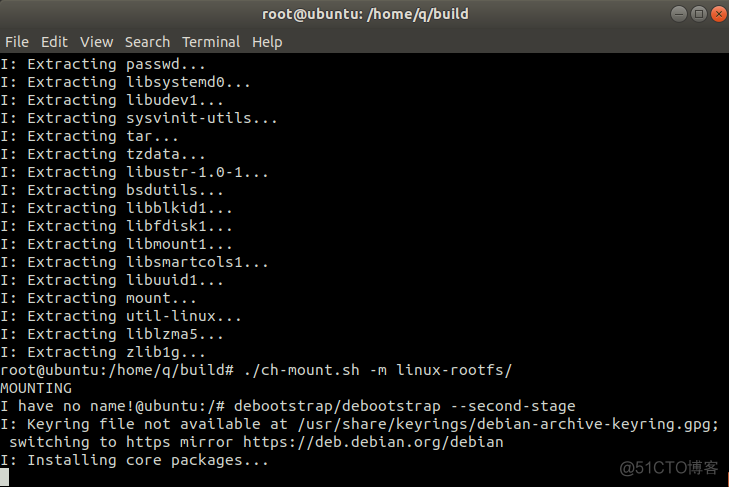
# 执行第二步,初始化文件系统,会把一个系统的基础包初始化
$ debootstrap/debootstrap --second-stage
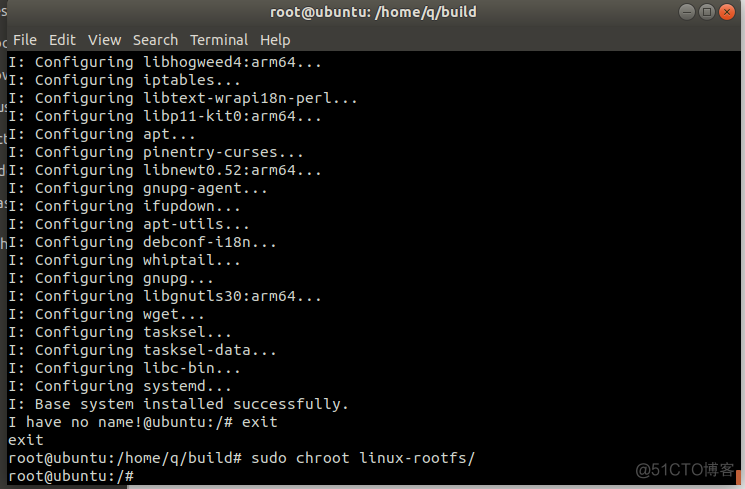
# 初始化完毕后,退出文件系统,再次进入后显示root
$ exit
# 再次进入时,执行如下命令即可
$ sudo chroot linux-roofs


# ch-mount.sh
function mnt() {
echo "MOUNTING"
sudo mount -t proc /proc ${2}proc
sudo mount -t sysfs /sys ${2}sys
sudo mount -o bind /dev ${2}dev
sudo mount -o bind /dev/pts ${2}dev/pts
sudo chroot ${2}
}
function umnt() {
echo "UNMOUNTING"
sudo umount ${2}proc
sudo umount ${2}sys
sudo umount ${2}dev/pts
sudo umount ${2}dev
}
if [ "$1" == "-m" ] && [ -n "$2" ] ;
then
mnt $1 $2
elif [ "$1" == "-u" ] && [ -n "$2" ];
then
umnt $1 $2
else
echo ""
echo "Either 1'st, 2'nd or both parameters were missing"
echo ""
echo "1'st parameter can be one of these: -m(mount) OR -u(umount)"
echo "2'nd parameter is the full path of rootfs directory(with trailing '/')"
echo ""
echo "For example: ch-mount -m /media/sdcard/"
echo ""
echo 1st parameter : ${1}
echo 2nd parameter : ${2}
fi
4. 定制文件系统
4.1 配置网络
要确保进入文件系统后有网络,可以将 /etc/resolv.conf 文件拷贝到 linux-rootfs/etc/resolv.conf。
4.2 更换国内镜像源
# 若是遇到没法拉取 https 源的状况,请先使用 http 源并安装$ apt install apt-transport-https
$ cp /etc/apt/source.list /etc/apt/source.list_bak
# 这里用的vim.tiny是构建文件系统是自带的,跟vim同样也能够编辑文件,把文件内容所有替换为如下内容
$ vim.tiny /etc/apt/source.list
# 默认注释了源码镜像以提升 apt update 速度,若有须要可自行取消注释
deb https://mirrors.tuna.tsinghua.edu.cn/debian/ stretch main contrib non-free
# deb-src https://mirrors.tuna.tsinghua.edu.cn/debian/ stretch main contrib non-free
deb https://mirrors.tuna.tsinghua.edu.cn/debian/ stretch-updates main contrib non-free
# deb-src https://mirrors.tuna.tsinghua.edu.cn/debian/ stretch-updates main contrib non-free
deb https://mirrors.tuna.tsinghua.edu.cn/debian/ stretch-backports main contrib non-free
# deb-src https://mirrors.tuna.tsinghua.edu.cn/debian/ stretch-backports main contrib non-free
deb https://mirrors.tuna.tsinghua.edu.cn/debian-security stretch/updates main contrib non-free
# deb-src https://mirrors.tuna.tsinghua.edu.cn/debian-security stretch/updates main contrib non-free
4.3 配置 root 用户密码
$ passwd4.4 建立一个普通用户
# 这两个环境变量能够自行修改$ USER=pi
$ HOST=raspberry
$ useradd -G sudo -m -s /bin/bash $USER
$ passwd $USER
4.5 安装依赖
# 安装音频管理$ apt-get install alsa-utils libasound2-dev
# 安装 vim 和 ssh
$ apt-get install vim ssh
# 安装网络管理工具
$ apt-get install ifupdown net-tools
# 安装其余依赖,若是还有其余依赖须要安装能够继续向后加入
$ apt-get install udev sudo wget curl
4.6 设置主机名和以太网
$ echo $HOST > /etc/hostname$ echo "127.0.0.1 localhost.localdomain localhost" > /etc/hosts
$ echo "127.0.0.1 $HOST" >> /etc/hosts
$ echo "auto eth0" > /etc/network/interfaces.d/eth0
$ echo "iface eth0 inet dhcp" >> /etc/network/interfaces.d/eth0
5. 退出文件系统
所有以上完成后,根文件系统基本制作完毕,调用脚本取消挂载。
$ exit$ ./ch-mount -u linux-rootfs
6. 得到 roofs.cpio
需要在 root 环境下,rootfs.cpio 大约240M+。
find linux-rootfs/ -print | cpio -o >rootfs.cpio
