目录结构 代码样例 # coding: utf-8 # !/usr/bin/python """ @File : figure.py @Author : jiaming @Modify Time: 2020/1/27 13:25 @Contact : @Version : 1.0 @Desciption : None """ import os , sys import numpy as np import cv2 from matplotli
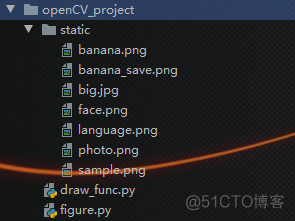
目录结构

代码样例
# coding: utf-8# !/usr/bin/python
"""
@File : figure.py
@Author : jiaming
@Modify Time: 2020/1/27 13:25
@Contact :
@Version : 1.0
@Desciption : None
"""
import os, sys
import numpy as np
import cv2
from matplotlib import pyplot as plt
rawPath = os.path.abspath(__file__)
currentFile = os.path.basename(sys.argv[0]) # figure.py
dataPath = rawPath[:rawPath.find(currentFile)] + r'static\\'
def read_img1():
"""
先创建图片,后建立窗口
cv2.imread(path,kwargs) cv2.IMREAD_COLOR:默认,读入一幅彩色图像,图像的透明度会被忽略
cv2.IMREAD_GRAYSCALE,以灰度模式读入图像
cv2.IMREAD_UNCHANGED,读入一幅图像,并且包括图像的 alpha 通道
cv2.imshow() 加载彩色图片时是 BGR 模式
cv2.imwrite()
:return:
"""
img = cv2.imread(dataPath+'banana.png', cv2.IMREAD_GRAYSCALE)
# image:窗口名字,可以创建多个窗口,但是名字需不同
cv2.imshow('image', img)
# 键盘绑定函数,时间尺度是毫秒。如果按下任意按键,这个函数会返回按键的ASCII值,如果没有键盘输入,会返回
# -1,如果参数为 0,将会无限等待, 有值输入后会继续执行。
# print(cv2.waitKey(0))
cv2.waitKey(0)
cv2.destroyAllWindows()
def read_img2():
"""
先创建窗口,后加载图片
:return:
"""
img = cv2.imread(dataPath + 'banana.png', cv2.IMREAD_GRAYSCALE)
cv2.namedWindow('image', cv2.WINDOW_NORMAL)
cv2.imshow('image', img)
cv2.waitKey(0)
cv2.destroyAllWindows()
def read_img3():
"""
加载灰度图,显示图片,按下 s 保存退出、按下 ESC 退出不保存
:return:
"""
img = cv2.imread(dataPath + 'banana.png', 0)
cv2.imshow('image', img)
k = cv2.waitKey(0)
if k == 27:
cv2.destroyAllWindows()
elif k == ord('s'):
cv2.imwrite(dataPath + 'banana_save.png', img)
cv2.destroyAllWindows()
def read_img4():
"""
使用 matplotlib 显示图片,加载彩色图片时是 RGB模式
:return:
"""
img = cv2.imread(dataPath+'banana.png', 0)
plt.imshow(img, cmap='gray', interpolation='bicubic')
plt.xticks([])
plt.yticks([])
plt.show()
if __name__ == "__main__":
read_img4()

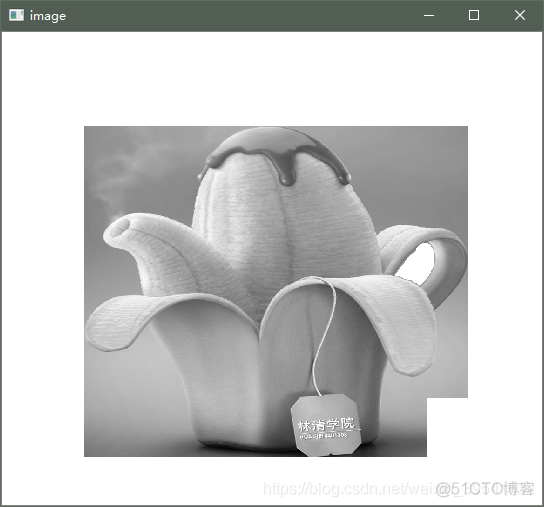
opencv 显示图片
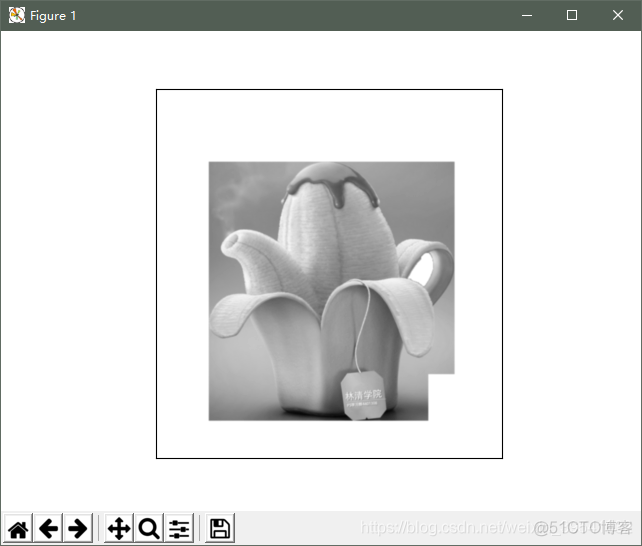
matplotlib 显示图片
