一些同学们想要在PPT中实现形状抠图,你们都了解操作的方法吗?今日在这里就带来了PPT中实现形状抠图的具体操作步骤。 首先在PPT中插入你需要扣的图, 然后在插入—形状—椭圆,按
一些同学们想要在PPT中实现形状抠图,你们都了解操作的方法吗?今日在这里就带来了PPT中实现形状抠图的具体操作步骤。

首先在PPT中插入你需要扣的图,

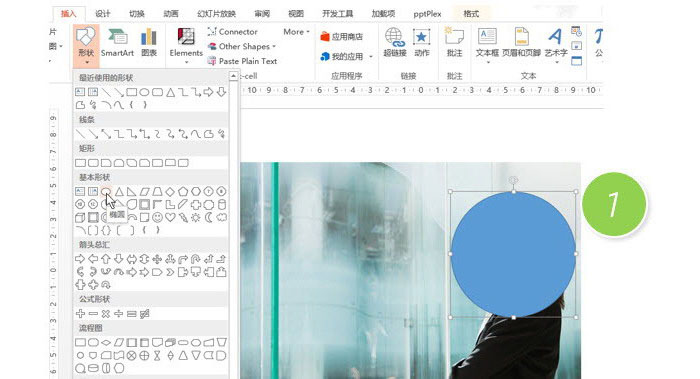
然后在插入—形状—椭圆,按住shift键盘,拖拽出一个圆形。并盖住需要抠图的部分。本例是需要留下图片里姑娘的头。下图1处
接下来关键的步骤来了,注意顺序。
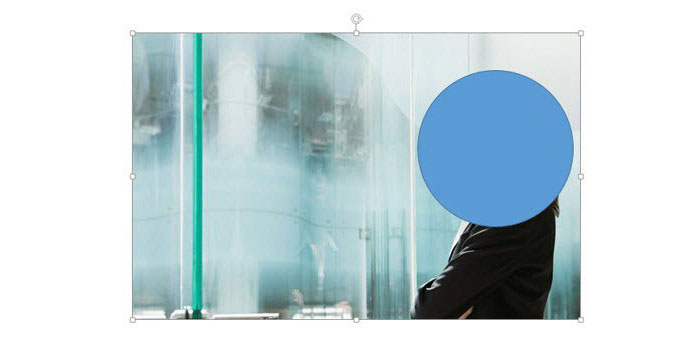
首先选中图片,注意下图,图片被选中。
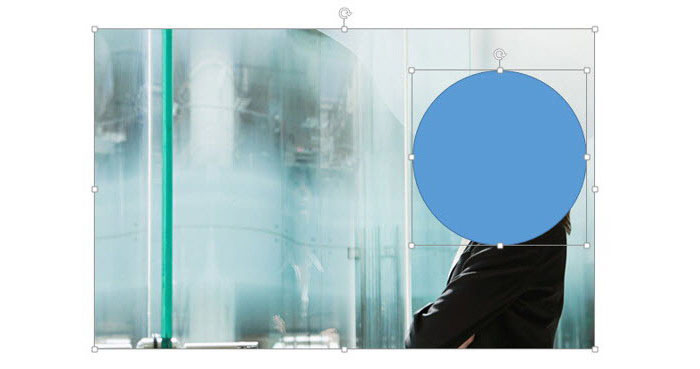
紧接着,按住Ctrl键,单击选中“圆形”,切记一定要按这个顺序,不能偷懒同时选中图片和圆形。
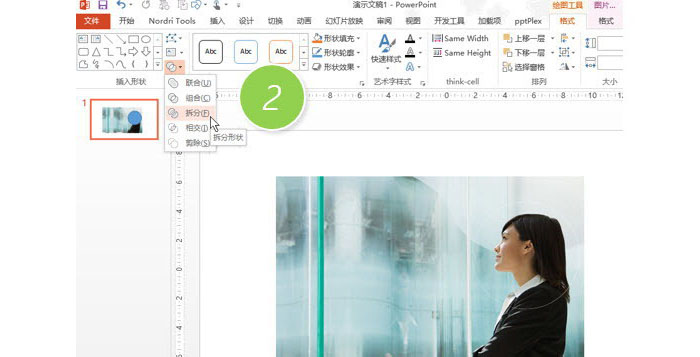
接下来赶紧单击绘图工具—合并形状—拆分按钮。(下图2处)
后选中图片,按delete键盘,即可删除圆形以为的部分。效果如下:

根据上文呈现的PPT中实现形状抠图的具体操作步骤,你们是不是都学会啦!