一、项目搭建 1、可以在新建项目的使用Spring MVC框架。或者创建一个简单的项目之后再用Add Framework Support来添加Spring MVC框架。 2、删除自动生成的lib的jar包,使用pom文件来进行管理包。
一、项目搭建
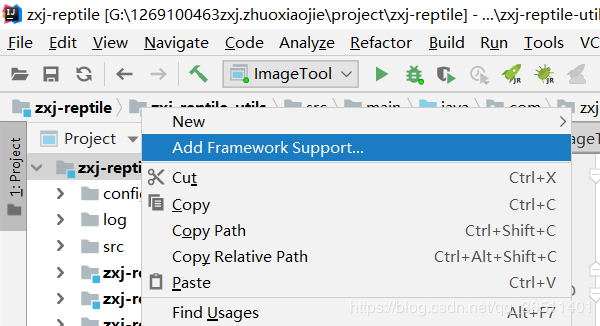
1、可以在新建项目的使用Spring MVC框架。或者创建一个简单的项目之后再用Add Framework Support来添加Spring MVC框架。
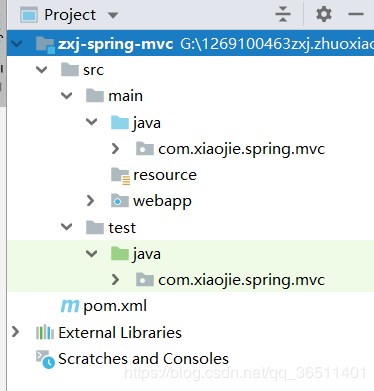
2、删除自动生成的lib的jar包,使用pom文件来进行管理包。目录结构如下图。
3、pom文件。加载完成之后才能进行下一步。
<?xml version="1.0" encoding="UTF-8"?>
<project xmlns="http://maven.apache.org/POM/4.0.0" xmlns:xsi="http://www.w3.org/2001/XMLSchema-instance"
   xsi:schemaLocation="http://maven.apache.org/POM/4.0.0 http://maven.apache.org/xsd/maven-4.0.0.xsd">
 <modelVersion>4.0.0</modelVersion>

 <groupId>com.zxj</groupId>
 <artifactId>zxj-spring-mvc</artifactId>
 <version>1.0-SNAPSHOT</version>

 <name>zxj-spring-mvc</name>
 <url>http://www.example.com</url>
 <packaging>war</packaging>

 <properties>
  <project.build.sourceEncoding>UTF-8</project.build.sourceEncoding>
  <maven.compiler.source>1.7</maven.compiler.source>
  <maven.compiler.target>1.7</maven.compiler.target>
  <spring.version>4.3.18.RELEASE</spring.version>
 </properties>

 <dependencies>
  <!--测试-->
  <dependency>
   <groupId>junit</groupId>
   <artifactId>junit</artifactId>
   <version>4.12</version>
   <scope>test</scope>
  </dependency>
  <dependency>
   <groupId>org.springframework</groupId>
   <artifactId>spring-test</artifactId>
   <version>${spring.version}</version>
   <scope>test</scope>
  </dependency>

  <!--Spring-->
  <dependency>
   <groupId>org.springframework</groupId>
   <artifactId>spring-context</artifactId>
   <version>${spring.version}</version>
  </dependency>
  <dependency>
   <groupId>org.springframework</groupId>
   <artifactId>spring-aop</artifactId>
   <version>${spring.version}</version>
  </dependency>
  <dependency>
   <groupId>org.springframework</groupId>
   <artifactId>spring-aspects</artifactId>
   <version>${spring.version}</version>
  </dependency>

  <!--spring mvc-->
  <dependency>
   <groupId>org.springframework</groupId>
   <artifactId>spring-web</artifactId>
   <version>${spring.version}</version>
  </dependency>
  <dependency>
   <groupId>org.springframework</groupId>
   <artifactId>spring-webmvc</artifactId>
   <version>${spring.version}</version>
  </dependency>
  <dependency>
   <groupId>javax.servlet.jsp.jstl</groupId>
   <artifactId>jstl-api</artifactId>
   <version>1.2</version>
  </dependency>
 </dependencies>

 <build>
  <finalName>${project.artifactId}</finalName>
  <plugins>
   <plugin>
    <artifactId>maven-clean-plugin</artifactId>
    <version>3.1.0</version>
   </plugin>
   <plugin>
    <artifactId>maven-install-plugin</artifactId>
    <version>2.5.2</version>
   </plugin>
  </plugins>
 </build>
</project>
4、Project Structure的编辑,创建一下包名。

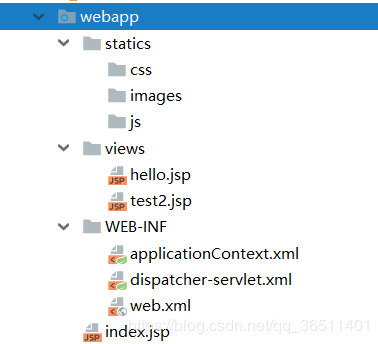
二、webapp的编辑
1、目录结构。
2、web.xml。
<?xml version="1.0" encoding="UTF-8"?>
<web-app xmlns="http://xmlns.jcp.org/xml/ns/javaee"
   xmlns:xsi="http://www.w3.org/2001/XMLSchema-instance"
   xsi:schemaLocation="http://xmlns.jcp.org/xml/ns/javaee http://xmlns.jcp.org/xml/ns/javaee/web-app_4_0.xsd"
   version="4.0">

 <!--welcome pages-->
 <welcome-file-list>
  <welcome-file>index.jsp</welcome-file>
 </welcome-file-list>

 <context-param>
  <param-name>contextConfigLocation</param-name>
  <param-value>/WEB-INF/applicationContext.xml</param-value>
 </context-param>
 <listener>
  <listener-class>org.springframework.web.context.ContextLoaderListener</listener-class>
 </listener>
 <servlet>
  <servlet-name>dispatcher</servlet-name>
  <servlet-class>org.springframework.web.servlet.DispatcherServlet</servlet-class>
  <init-param>
   <param-name>contextConfigLocation</param-name>
   <param-value>/WEB-INF/dispatcher-servlet.xml</param-value>
  </init-param>
  <load-on-startup>1</load-on-startup>
 </servlet>
 <servlet-mapping>
  <servlet-name>dispatcher</servlet-name>
  <url-pattern>/</url-pattern>
 </servlet-mapping>
</web-app>
3、applicationContent.xml。
<?xml version="1.0" encoding="UTF-8"?>
<beans xmlns="http://www.springframework.org/schema/beans"
  xmlns:context="http://www.springframework.org/schema/context"
  xmlns:xsi="http://www.w3.org/2001/XMLSchema-instance"
  xsi:schemaLocation="
   http://www.springframework.org/schema/beans
   http://www.springframework.org/schema/beans/spring-beans.xsd
   http://www.springframework.org/schema/context
   http://www.springframework.org/schema/context/spring-context.xsd">

 <context:component-scan base-package="com.xiaojie.spring.mvc"/>
</beans>
4、dispatcher-servlet.xml。
<?xml version="1.0" encoding="UTF-8"?>
<beans xmlns="http://www.springframework.org/schema/beans"
  xmlns:context="http://www.springframework.org/schema/context"
  xmlns:mvc="http://www.springframework.org/schema/mvc"
  xmlns:xsi="http://www.w3.org/2001/XMLSchema-instance"
  xsi:schemaLocation="
   http://www.springframework.org/schema/beans
   http://www.springframework.org/schema/beans/spring-beans.xsd
   http://www.springframework.org/schema/context
   http://www.springframework.org/schema/context/spring-context.xsd
   http://www.springframework.org/schema/mvc
   http://www.springframework.org/schema/mvc/spring-mvc.xsd">

 <context:component-scan base-package="com.xiaojie.spring.mvc"/>
 <context:annotation-config/>

 <!-- 配置注解驱动 可以将request参数与绑定到controller参数上 -->
 <mvc:annotation-driven/>
 <!--这句要加上,要不然可能会访问不到静态资源-->
 <mvc:default-servlet-handler />
 <!--静态资源映射如下-->
 <mvc:resources mapping="/css/**" location="/statics/css/"/>
 <mvc:resources mapping="/js/**" location="/statics/js/"/>
 <mvc:resources mapping="/image/**" location="/statics/images/"/>
 <bean class="org.springframework.web.servlet.view.InternalResourceViewResolver">
  <property name="prefix" value="/views/"/>
  <property name="suffix" value=".jsp"/>
 </bean>
</beans>
5、index.jsp默认页面。
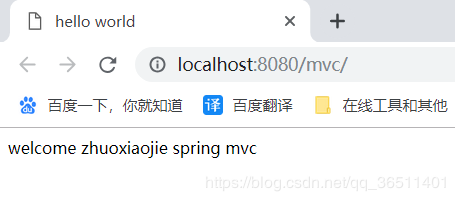
<%@ page contentType="text/html;charset=UTF-8" language="java" %>
<html>
<head>
 <title>hello world</title>
</head>
<body>
welcome zhuoxiaojie spring mvc
</body>
</html>
6、hello.jsp。
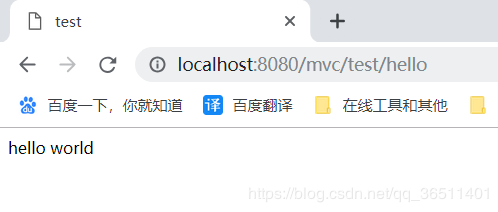
<%@ page contentType="text/html;charset=UTF-8" language="java" %>
<html>
<head>
 <title>test</title>
</head>
<body>
hello world
</body>
</html>
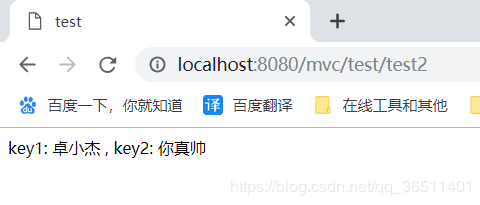
7、test2.jsp。
<%@ page contentType="text/html;charset=UTF-8" language="java" %>
<html>
<head>
 <title>test</title>
</head>
<body>
key1: ${key1} , key2: ${key2}
</body>
</html>
三、Controller层
package com.xiaojie.spring.mvc.controller;

import org.springframework.stereotype.Controller;
import org.springframework.ui.Model;
import org.springframework.web.bind.annotation.GetMapping;
import org.springframework.web.bind.annotation.RequestMapping;
import org.springframework.web.servlet.ModelAndView;

@Controller
@RequestMapping("/test")
public class TestController {

 @RequestMapping("/hello")
 public ModelAndView test1(Model model) {
  return new ModelAndView("hello");
 }

 @GetMapping("/test2")
 public ModelAndView test2(Model model) {
  model.addAttribute("key1", "卓小杰");
  model.addAttribute("key2", "你真帅");
  return new ModelAndView("test2");
 }
}
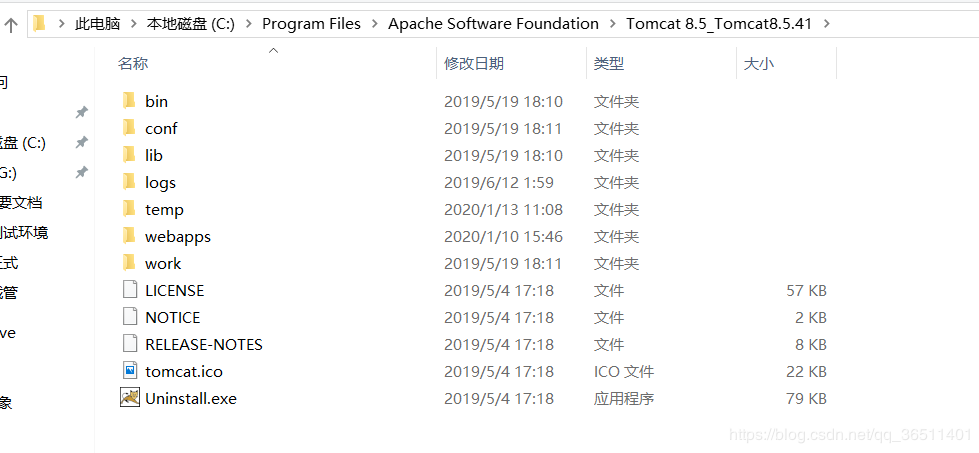
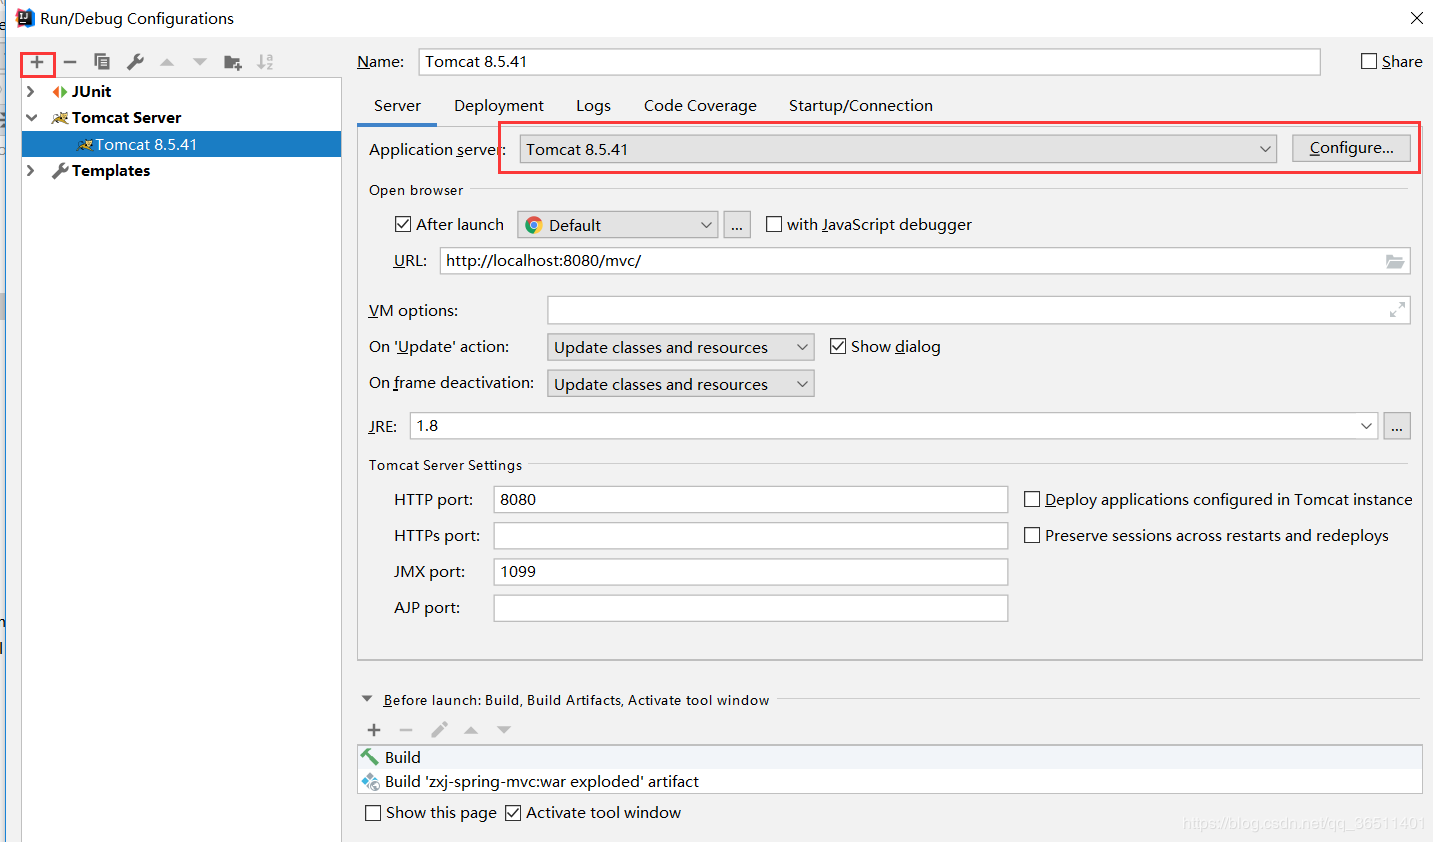
四、Tomcat的配置
1、下载Tomcat8。自己去百度教程下载。
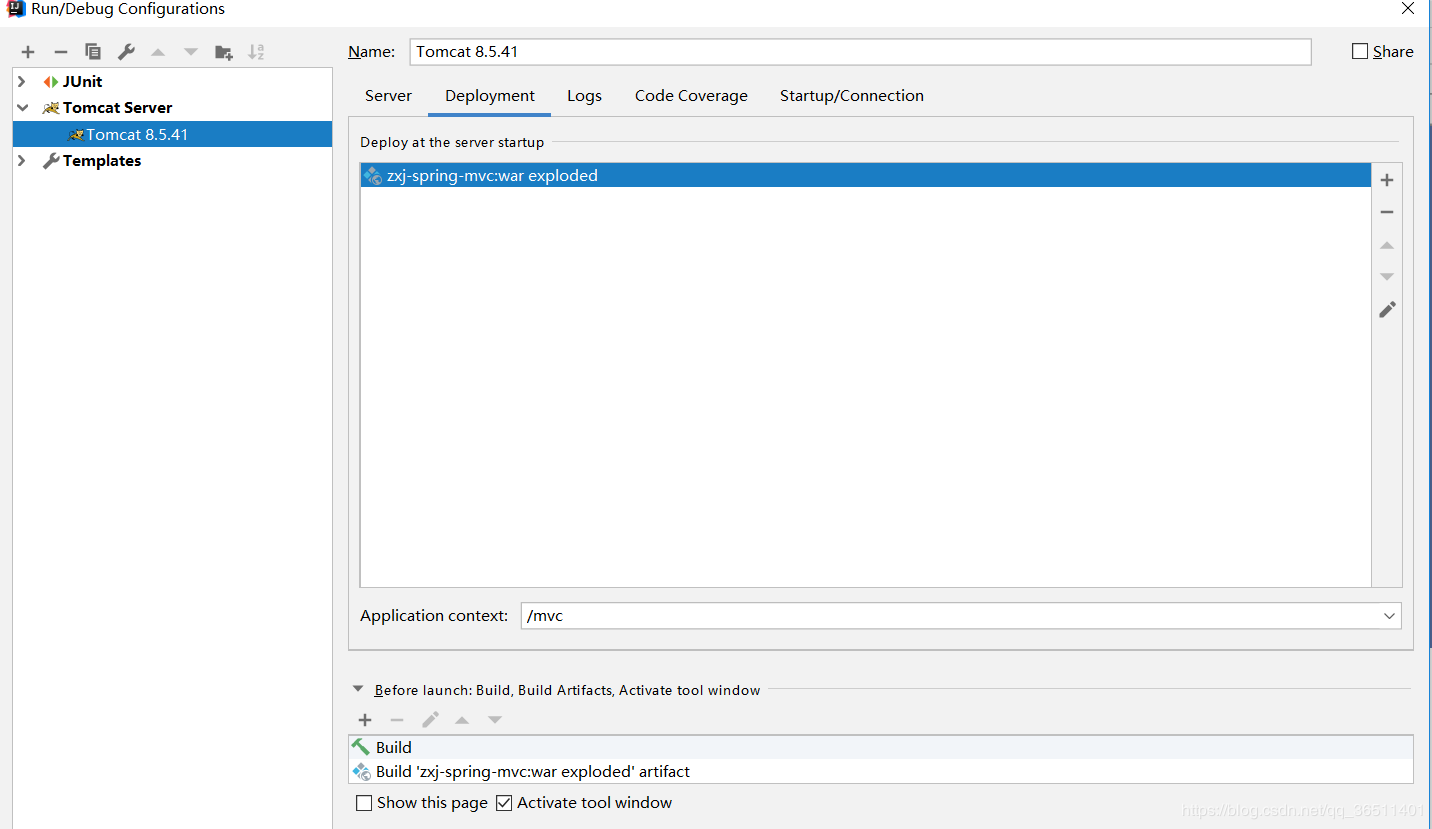
2、用Tomcat进行启动项目的配置。然后启动项目。
- war模式:将web工程以war包的形式上传到服务器
- war exploed模式:将web工程以当前文件夹的位置关系上传到服务器
五、测试结果
1、启动之后的默认界面index.jsp。
2、hello.jsp界面。
3、test2.jsp界面。带参数。
以上就是本文的全部内容,希望对大家的学习有所帮助,也希望大家多多支持易盾网络。