这个时候,与其说整合jdbc,倒不如说使用整合jdbc。 因为我们在书本上,或者网上可以赫然看到spring体系的一个产品: spring-jdbc。 好吧,因为前面有了两篇相似的还算是整合的例子,可
这个时候,与其说整合jdbc,倒不如说使用整合jdbc。 因为我们在书本上,或者网上可以赫然看到spring体系的一个产品: spring-jdbc。 好吧,因为前面有了两篇相似的还算是整合的例子,可以做对比,因此就继续贴出来练习练习。
先看这个时候的依赖:
<?xml version="1.0" encoding="UTF-8"?><project xmlns="http://maven.apache.org/POM/4.0.0"
xmlns:xsi="http://www.w3.org/2001/XMLSchema-instance"
xsi:schemaLocation="http://maven.apache.org/POM/4.0.0 http://maven.apache.org/xsd/maven-4.0.0.xsd">
<modelVersion>4.0.0</modelVersion>
<groupId>com.automannn.springZhenghe</groupId>
<artifactId>spirngZhenhe</artifactId>
<version>1.0-SNAPSHOT</version>
<dependencies>
<dependency>
<groupId>org.springframework</groupId>
<artifactId>spring-context</artifactId>
<version>5.0.1.RELEASE</version>
</dependency>
<dependency>
<groupId>mysql</groupId>
<artifactId>mysql-connector-java</artifactId>
<version>5.1.44</version>
</dependency>
<dependency>
<groupId>org.apache.commons</groupId>
<artifactId>commons-dbcp2</artifactId>
<version>2.4.0</version>
</dependency>
<dependency>
<groupId>org.springframework</groupId>
<artifactId>spring-jdbc</artifactId>
<version>5.0.1.RELEASE</version>
</dependency>
</dependencies>
</project>
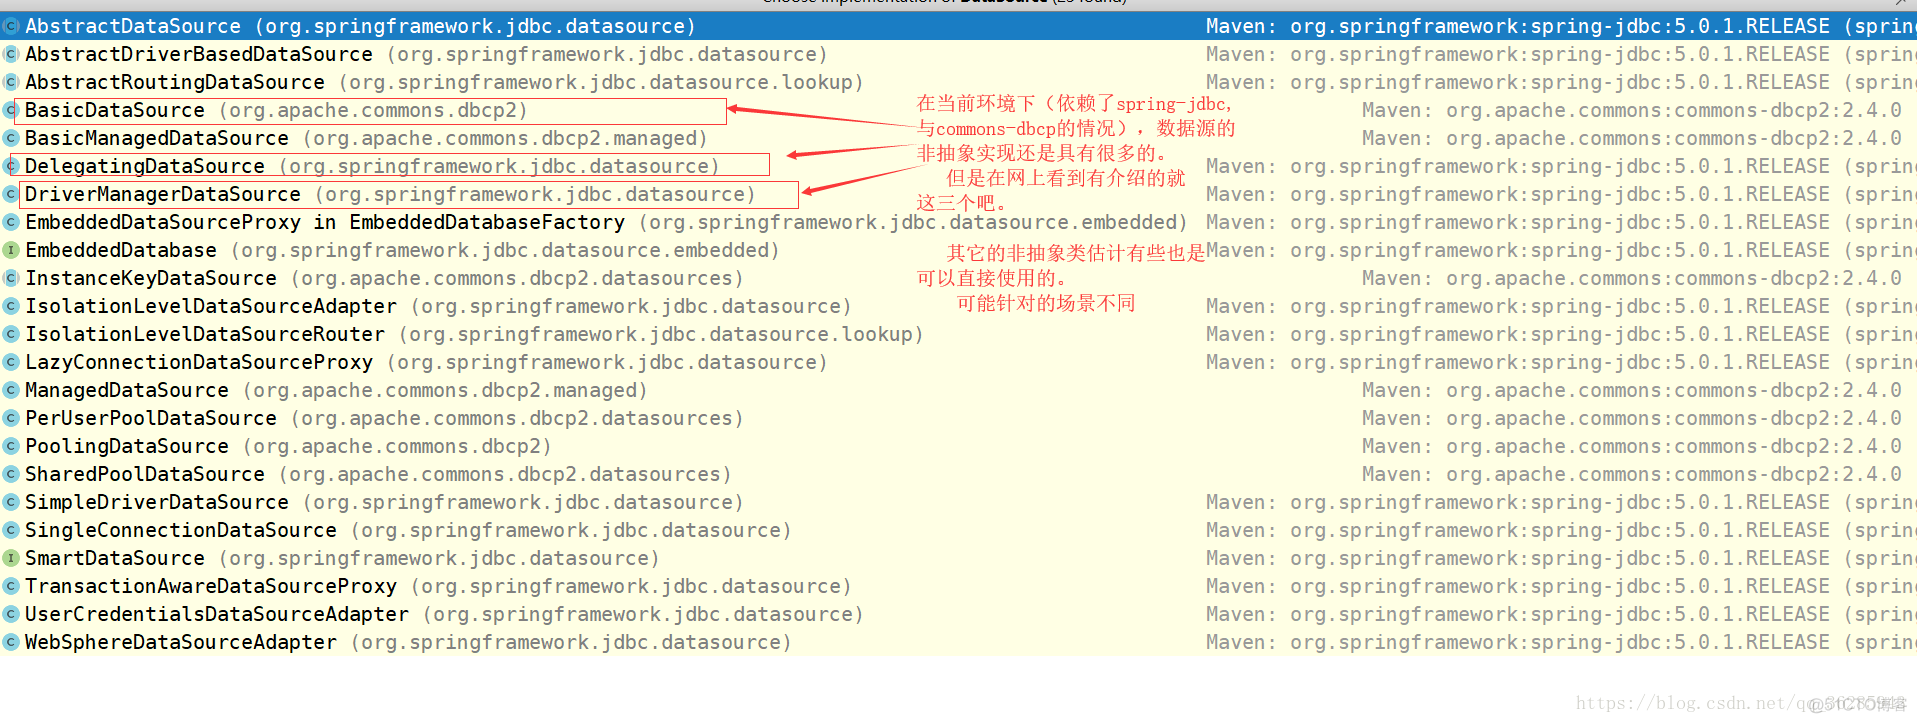
这个时候我们引入了spring-jdbc。 还记得我在第一例中说过关于数据源实现的事情吗? 并且我们也知道了spring-jdbc是依赖了c3p0的。 因此这个时候我们不妨去看看数据源的实现:

可见,它自己还是封装了很多的数据源实现,正如Druid一样。 总之吧,以后谁在跟我说数据源,我能有信息一口气给他说出来好几个。
看一看它的使用:
package com.automannn.springZhenhe.dao;import org.springframework.jdbc.core.support.JdbcDaoSupport;
/**
*
* @time 2018/10/16 12:43
*/
public class JDBCTemplatePersonDao extends JdbcDaoSupport {
public void savePerson(String sql){
this.getJdbcTemplate().execute(sql);
}
}
注意,这个地方的JdbcDaoSupport是由spring-jdbc提供的一个模板。 我们直接使用jdbc模板进行相关的操作。 它的背后大概就是上一个例子样子吧,没有具体的去看。
它的配置文件:
<?xml version="1.0" encoding="UTF-8" ?><beans xmlns="http://www.springframework.org/schema/beans"
xmlns:xsi="http://www.w3.org/2001/XMLSchema-instance" xmlns:tx="http://www.springframework.org/schema/tx"
xmlns:aop="http://www.springframework.org/schema/aop"
xsi:schemaLocation="http://www.springframework.org/schema/beans http://www.springframework.org/schema/beans/spring-beans.xsd http://www.springframework.org/schema/tx http://www.springframework.org/schema/tx/spring-tx.xsd http://www.springframework.org/schema/aop http://www.springframework.org/schema/aop/spring-aop.xsd">
<!--
引入properties配置文件
-->
<bean class="org.springframework.beans.factory.config.PropertyPlaceholderConfigurer">
<property name="locations">
<value>classpath:jdbc.properties</value>
</property>
</bean>
<bean id="dataSource" destroy-method="close" class="org.apache.commons.dbcp2.BasicDataSource">
<property name="driverClassName" value="${jdbc.driverClassName}" />
<property name="url" value="${jdbc.url}" />
<property name="username" value="${jdbc.username}" />
<property name="password" value="${jdbc.password}" />
</bean>
<bean id="jdbcTemplatePersonDao" class="com.automannn.springZhenhe.dao.JDBCTemplatePersonDao">
<property name="dataSource">
<ref bean="dataSource"/>
</property>
</bean>
</beans>
它的使用:
package com.automannn.springZhenhe;import com.automannn.springZhenhe.dao.*;
import com.automannn.springZhenhe.entity.Person;
import org.springframework.context.ApplicationContext;
import org.springframework.context.support.ClassPathXmlApplicationContext;
/**
* @author automannn@163.com
* @time 2018/10/16 11:31
*/
public class App {
public static void main(String[] args) throws Exception {
ApplicationContext context = new ClassPathXmlApplicationContext("config.xml");
JDBCTemplatePersonDao jdbcTemplatePersonDao = (JDBCTemplatePersonDao) context.getBean("jdbcTemplatePersonDao");
jdbcTemplatePersonDao.savePerson("insert into person(pid,pname) values(5,'ccc')");
}
}
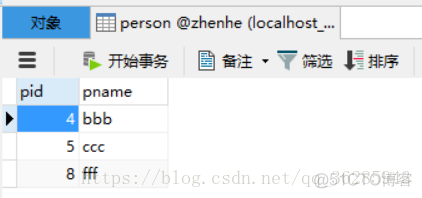
运行它:

