最近项目中要用到分布式事务功能,调研了DTM和Cap,最终确定用Cap来实现,Cap支持最终一致性,项目中采用MQ作为消息中间件,数据库用的mysql,集成步骤如下: 1、在需要发布消息的服务
最近项目中要用到分布式事务功能,调研了DTM和Cap,最终确定用Cap来实现,Cap支持最终一致性,项目中采用MQ作为消息中间件,数据库用的mysql,集成步骤如下:
1、在需要发布消息的服务中引入如下的包,我是放在了api层
    <PackageReference Include="DotNetCore.CAP" Version="5.2.0" />
    <PackageReference Include="DotNetCore.CAP.Dashboard" Version="5.2.0" />
    <PackageReference Include="DotNetCore.CAP.MySql" Version="5.2.0" />
    <PackageReference Include="DotNetCore.CAP.RabbitMQ" Version="5.2.0" />
2、编写Cap扩展服务
public static class CapExtensions
    {
        public static void AddMyCap(this IServiceCollection services, IConfiguration configuration)
        {

            services.AddCap(
                a => {
                    a.UseEntityFramework<QualificationDbContext>();
                    a.UseMySql(configuration.GetConnectionString("Default"));
                    //仅用于测试,正式使用后要换成可配置项
                    a.UseRabbitMQ(rb =>
                    {
                        rb.HostName = "118.111.111.111";
                        rb.UserName = "root";
                        rb.Password = "123456";
                        rb.Port = 5672;
                        rb.VirtualHost = "/";

                    });

                    // 添加cap后台监控页面(人工处理);页面地址为“/cap”;如:http://www.site.com/cap
                    a.UseDashboard();
                    // 配置定时器重试策略
                    a.FailedRetryInterval = 10; //重试间隔时间(秒),使用默认的就可以,可不用配置
                    a.FailedRetryCount = 5; //重试次数

                }
                );
            services.AddDbContext<QualificationDbContext>();
        }
    }
3、在配置文件中增加服务
context.Services.AddMyCap(configuration);
4、在控制器中注册ICapPublisher类就可以发布消息了
namespace Qualification.Controllers
{
    [Route("api/Test")]

    public class TestController : AbpController
    {
        private readonly ICapPublisher capPublisher;
        public TestController(ICapPublisher _capPublisher)
        {
            this.capPublisher = _capPublisher;
        }
        /// <summary>
        /// 测试cap功能:创建证照时发布消息,在服务平台进行订阅
        /// </summary>
        /// <returns></returns>
        [HttpPost("CreateQualification")]
        public async Task<IActionResult> CreateQualification()
        {
            try
            {
                this.capPublisher.Publish<CreateQualificationCapDto>("Qualification.Create.Success", new CreateQualificationCapDto { Name = "Qualification", Count = 10 });
                return Ok("创建产品证照成功");
            }
            catch (Exception ex)
            {

                throw;
            }

        }
    }

    public class CreateQualificationCapDto
        {
           public string Name { get; set; }
           public int Count { get; set; }
        }
}
3、在订阅的程序b中同样引用cap的依赖包

4、同样写Cap服务的扩展程序,和服务a是一样的,这里就不再重复了
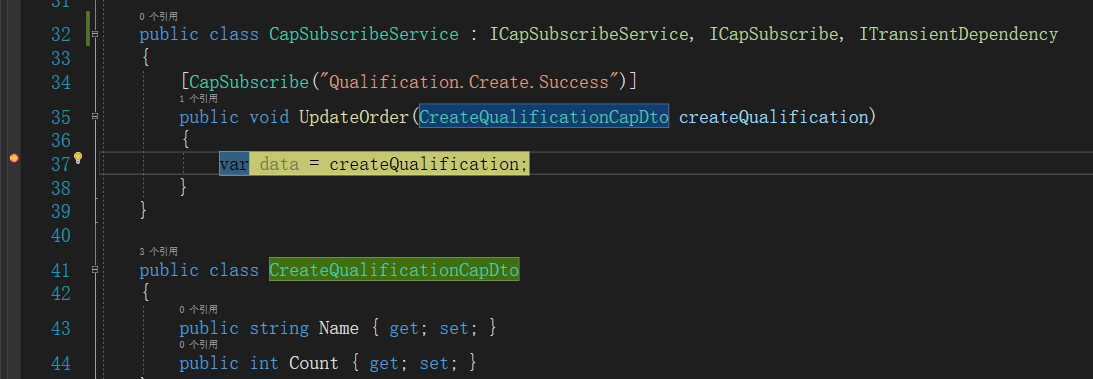
5、在订阅服务类中继承ICapSubscribe,因为我是用的ABP框架,所以继承了ITransientDependency接口,为了是注入服务实体,如果你不是用这个框架,请在手动注入服务:services.AddSingleton<Controllers.CapSubscribeService>();否则,订阅不到数据。
public interface ICapSubscribeService
    {
        public void UpdateOrder(CreateQualificationCapDto createQualification);
    }

    public class CapSubscribeService : ICapSubscribeService, ICapSubscribe, ITransientDependency
    {
        [CapSubscribe("Qualification.Create.Success")]
        public void UpdateOrder(CreateQualificationCapDto createQualification)
        {
            var data = createQualification;
        }
    }

    public class CreateQualificationCapDto
    {
        public string Name { get; set; }
        public int Count { get; set; }
    }
6、同时启动两个系统数据库中会自动生成两个表

7、服务a中发布一个消息后在服务b中会自动订阅到
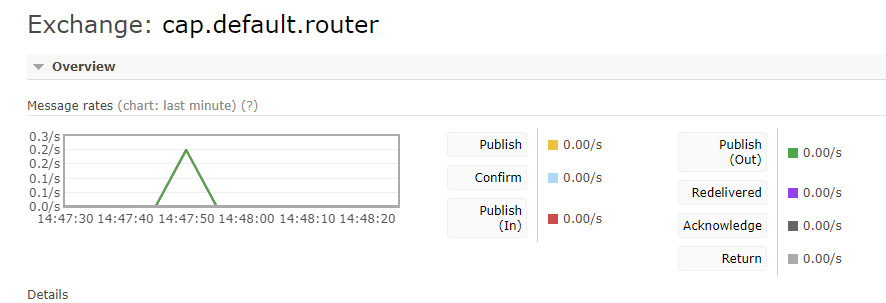
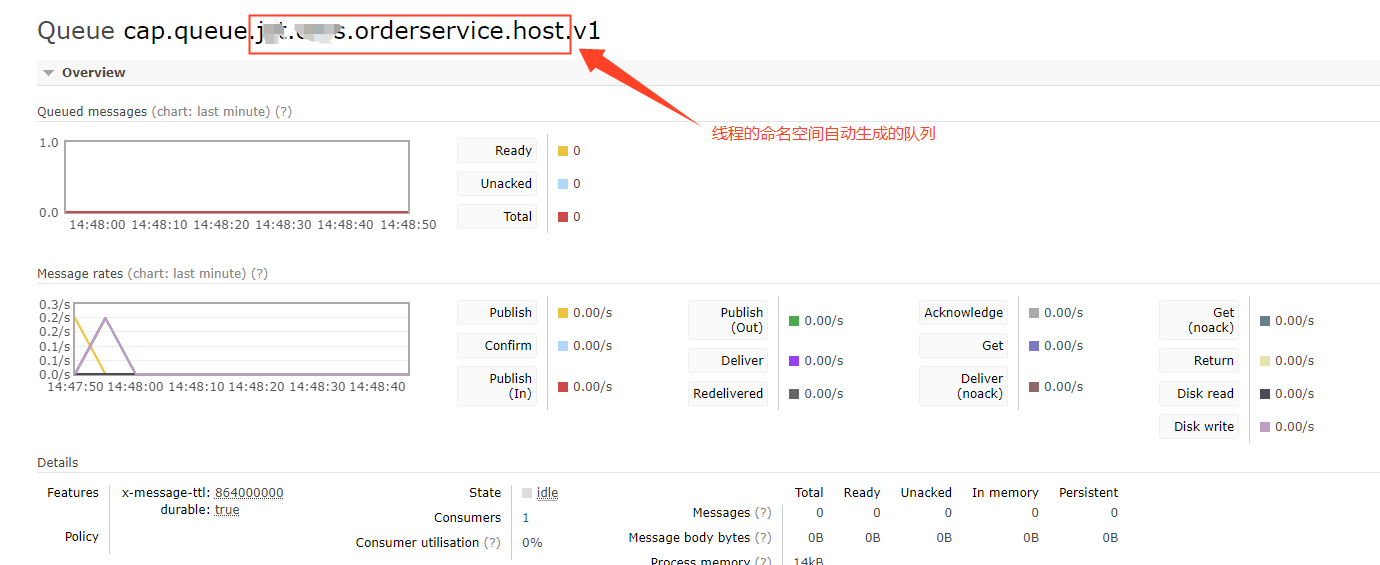
8、系统为我们默认生成了交换机和队列,并且可以查看到发了信息
9、后续还会加上发布消息时与业务代码处理放在一个事务中,发布与订阅错误时回调方法。