默认情况下,刚刚安装的win10电脑是没有分区的,只有一个系统C盘,看起来很孤独,也不便于储存文件。 win10系统磁盘分区的教程 1、首先在电脑桌面上我们右键选择此电脑,在出现的菜单栏
默认情况下,刚刚安装的win10电脑是没有分区的,只有一个系统C盘,看起来很孤独,也不便于储存文件。
win10系统磁盘分区的教程
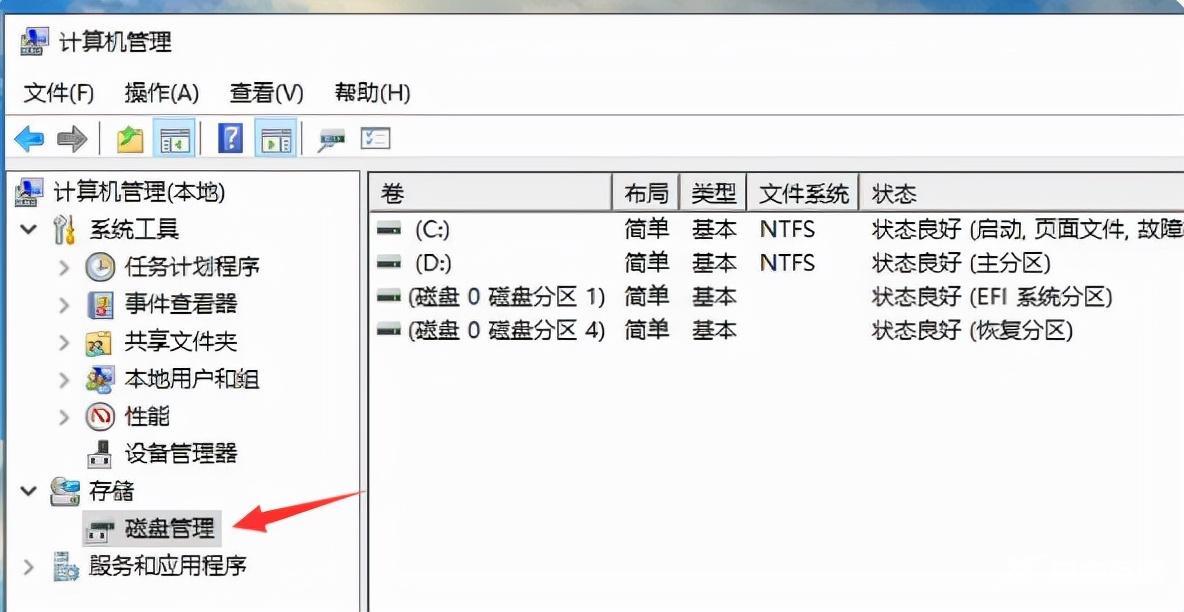
1、首先在电脑桌面上我们右键选择“此电脑”,在出现的菜单栏中选择“管理”。

2、点击左侧的“磁盘管理”。
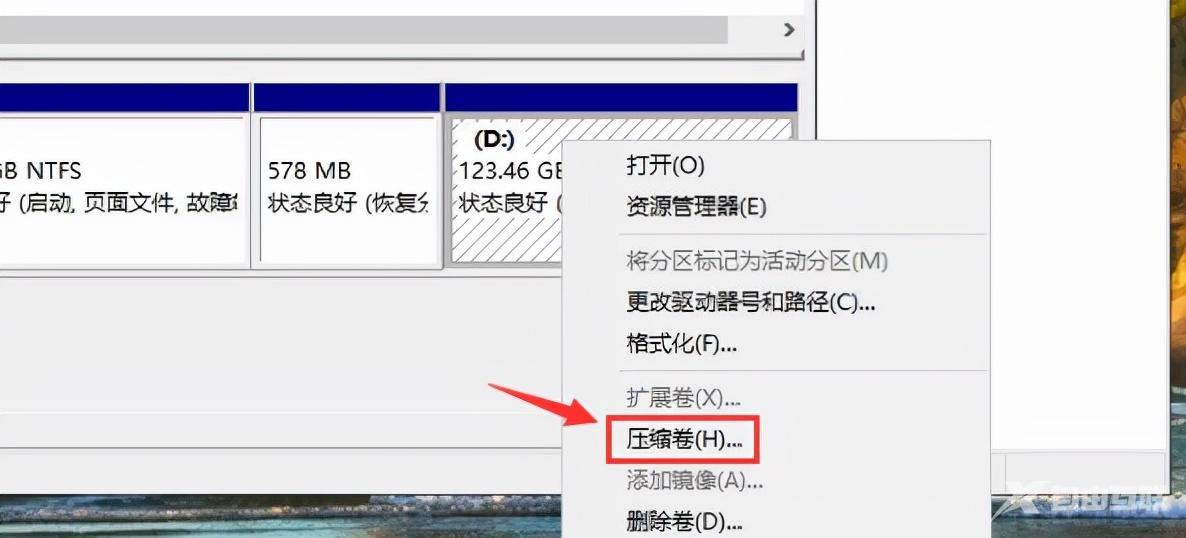
3、选择一个剩余空间比较大的分区后,右键选择“压缩卷”这个选项。
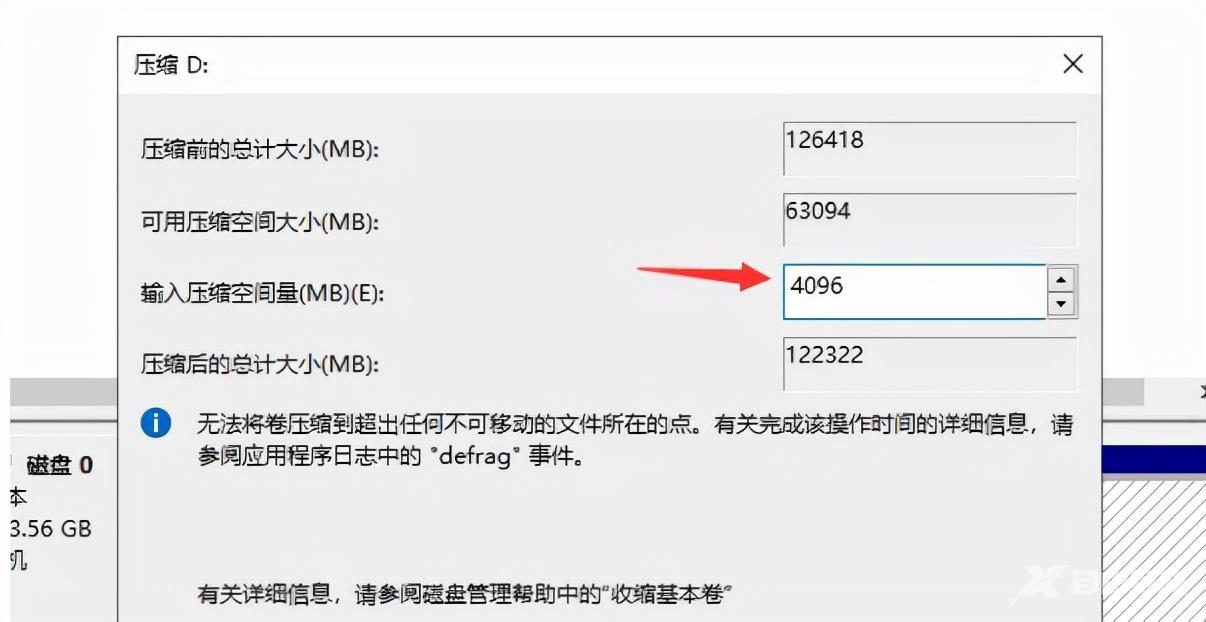
4、“输入压缩空间量”就是划分给新分区的空间容量大小,这时注意不要将当前分区的可用空间全部划出。确定新分区大小后点击压缩即可。
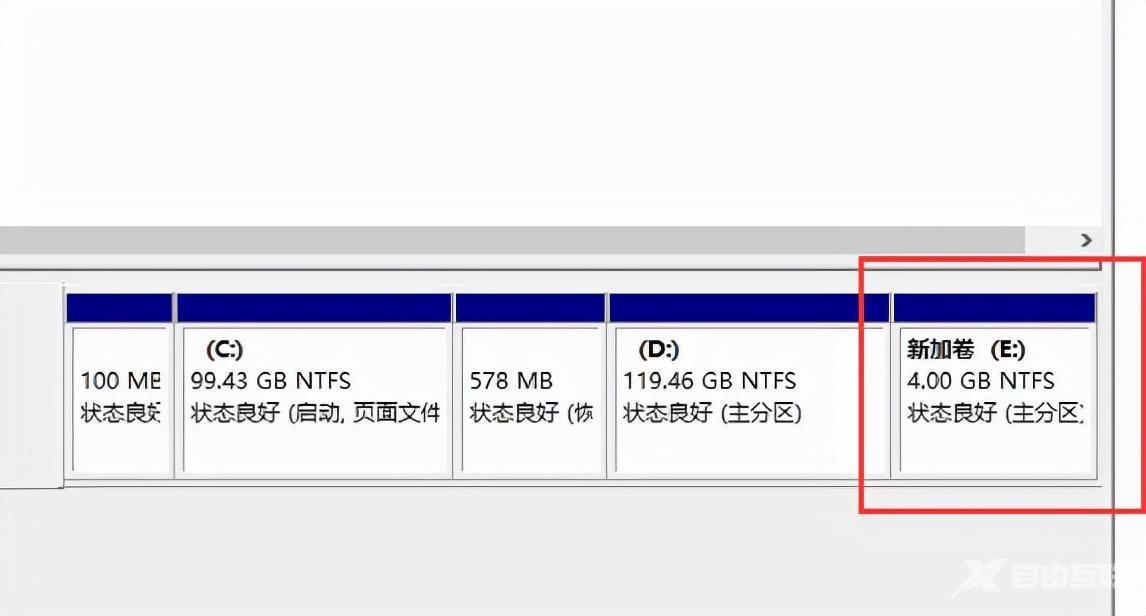
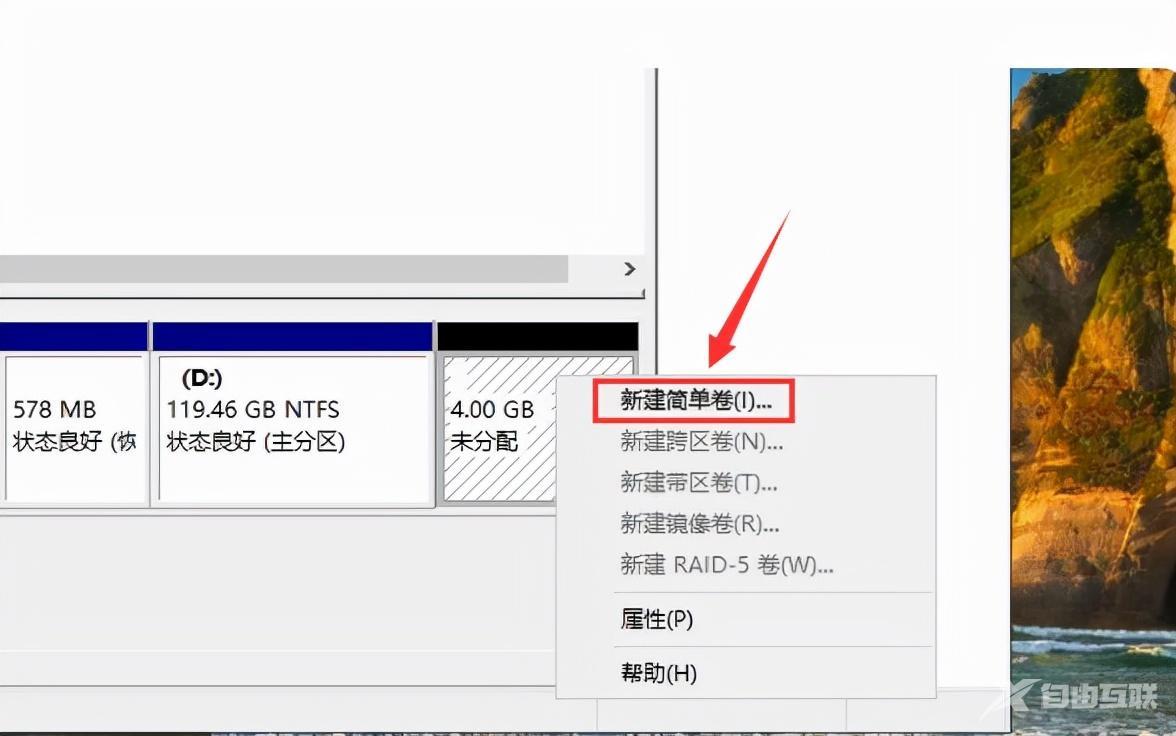
5、当我们压缩完成后下面就会出现一个大小和刚刚划分一致的未分配空间,接着我们在其右键选择“新建简单卷”选项。
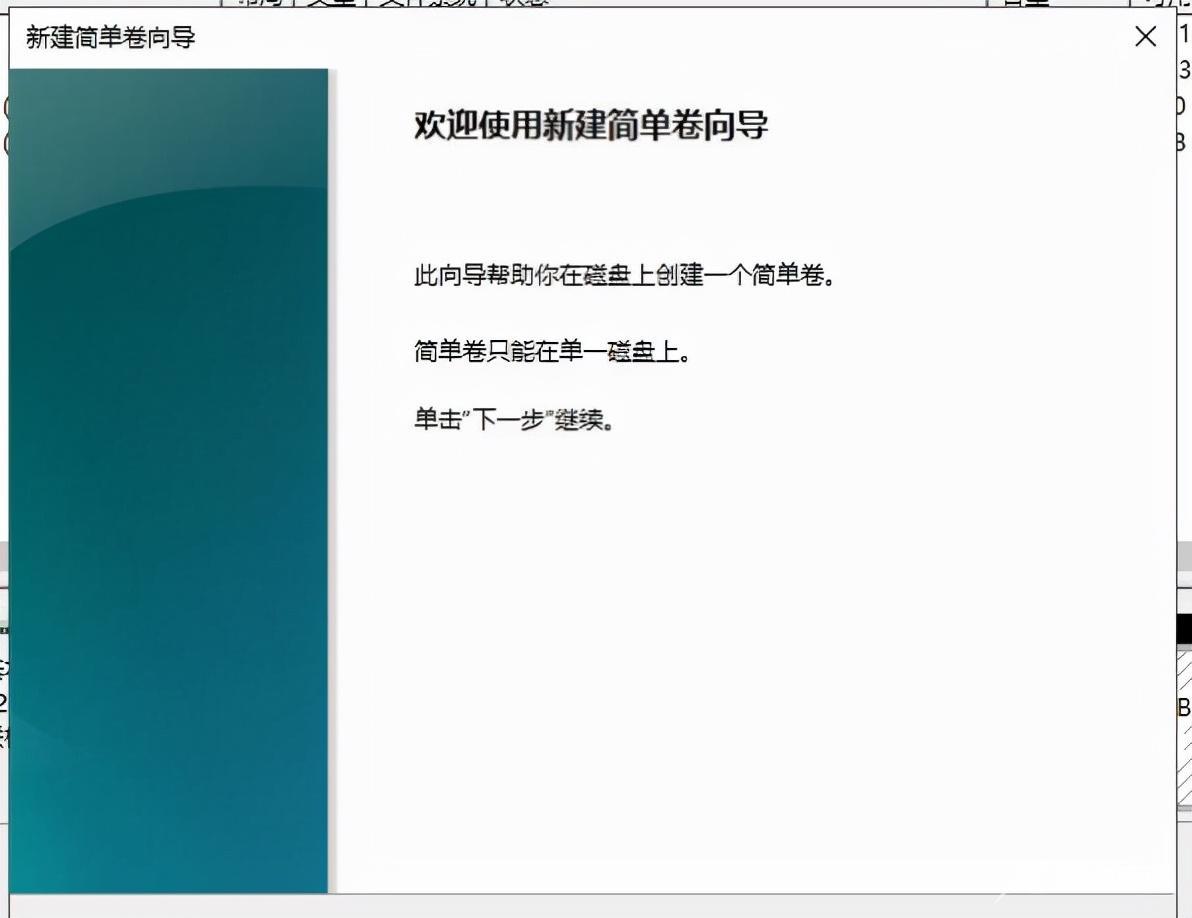
6、接下来会出现设置向导,我们只需按照系统默认的设置一直点击“下一步”即可。
7、最后点击“完成”。

8、然后我们电脑新的分区就完成建立啦。