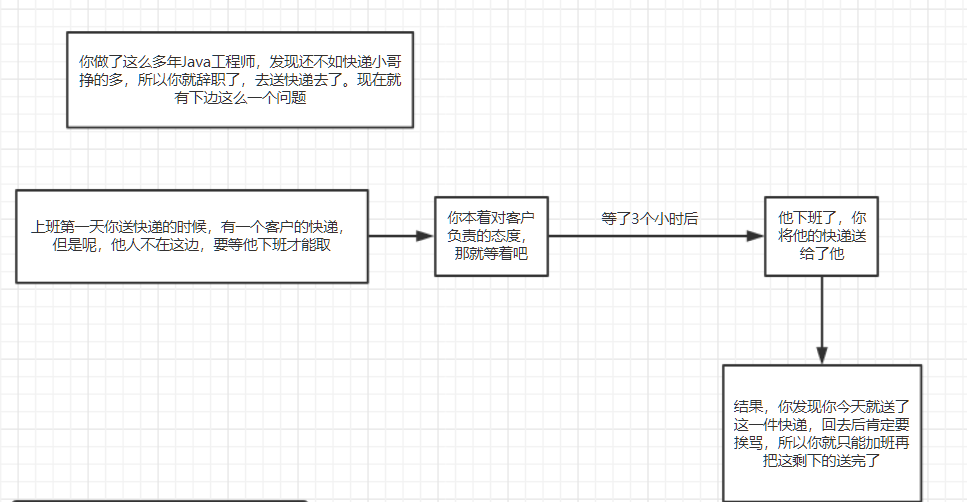
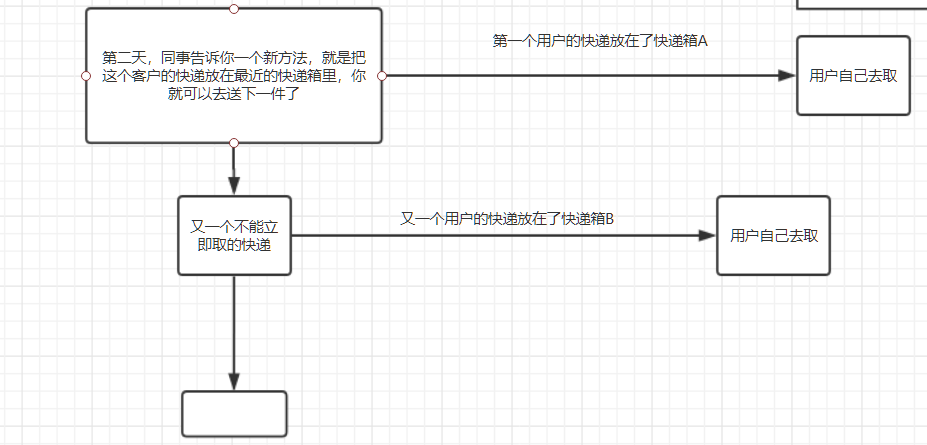
先来说一说我们为什么要用这个东西啊! 比如,我们现在有这样了个问题要解决: 这样,我们就要用到中间消息间了 然后我们就说一下什么是中间消息间吧。 采用消息传送机制/消息
先来说一说我们为什么要用这个东西啊!
比如,我们现在有这样了个问题要解决:

这样,我们就要用到中间消息间了

然后我们就说一下什么是中间消息间吧。
采用消息传送机制/消息队列 的中间件技术,进行数据交流,用在分布式系统的集成。
Java中对Jms有了定义,这是Java消息的统一接口。什么是ActiveMq呢?这是这个接口的一种实现,相当于数据库连接驱动一样,不同厂商有自己不同的实现,我们尽快看怎么用代码实现吧。
消息一共有两种接收和发送形式:点对点和发布定阅模式,也就是“一对一”和“一对多”。
1.导包(maven):
  <dependency>
      <groupId>org.apache.activemq</groupId>
      <artifactId>activemq-client</artifactId>
      <version>5.13.4</version>
    </dependency>
2.开始写类,提供者(发送者)和消费者(接收者)是两个不同的项目,我们先创建普通的maven项目,而不是web项目点对点的方式(消息只能被消费一次,如果同时有多个消费者,谁先抢到就是谁的)
消息提供者
 public static void main(String[] args) throws JMSException {

    //创建连接工厂,这个参数就是自己的activeMQ的地址
    ConnectionFactory connectionFactory = new ActiveMQConnectionFactory("tcp://192.168.25.180:61616");

    //2.创建连接
    Connection connection = connectionFactory.createConnection();

    //3.启动连接
    connection.start();

    //4.获取session(会话对象)
    /*
    arg0 是否启用事务
    arg1 消息的确认方式 自动确认
     */
    Session session = connection.createSession(false,Session.AUTO_ACKNOWLEDGE);

    //5.创建一个队列对象,名称
    Queue firstQueue = session.createQueue("firstQueue");

    //6.创建一个消息的生产者对象
//    Destination destination = ;//目标对象
    MessageProducer producer = session.createProducer(firstQueue);

    //7.创建一个消息
    TextMessage textMessage = session.createTextMessage("欢迎来到奇的天喻软件");

    //8.发送消息
    producer.send(textMessage);
    //9.关闭资源
    producer.close();
    session.close();
    connection.close();

  }
消息消费者
前几步是一样的,都是创建连接,只有第6步不一样,创建的是一个消费者
public static void main(String[] args) throws JMSException, IOException {
    ConnectionFactory connectionFactory = new ActiveMQConnectionFactory("tcp://192.168.25.180:61616");

    //2.创建连接
    Connection connection = connectionFactory.createConnection();

    //3.启动连接
    connection.start();

    //4.获取session(会话对象)
    /*
    arg0 是否启用事务
    arg1 消息的确认方式 自动确认
     */
    Session session = connection.createSession(false,Session.AUTO_ACKNOWLEDGE);

    //5.创建一个队列对象,名称
    Queue firstQueue = session.createQueue("firstQueue");


    //6.创建消息消费者对象
    MessageConsumer consumer = session.createConsumer(firstQueue);

    //7.设置监听
    consumer.setMessageListener(new MessageListener() {
      @Override
      public void onMessage(Message message) {
        TextMessage textMessage = (TextMessage)message;
        try {
          System.out.println("提取的消息是"+textMessage.getText());
        } catch (JMSException e) {
          e.printStackTrace();
        }
      }
    });

    //8.等待键盘输入
    //目的是为了让程序停止来看效果
    System.in.read();


    //9.关闭资源
    consumer.close();
    session.close();
    connection.close();
  }
发布订阅模式(发布消息后,只有在之前运行的消费者才能收到,消息被任何一个消费者消费后,以后启动的消费者不能消费之前的消息)
消息提供者
 //创建连接工厂
    ConnectionFactory connectionFactory = new ActiveMQConnectionFactory("tcp://192.168.25.180:61616");

    //2.创建连接
    Connection connection = connectionFactory.createConnection();

    //3.启动连接
    connection.start();

    //4.获取session(会话对象)
    /*
    arg0 是否启用事务
    arg1 消息的确认方式 自动确认
     */
    Session session = connection.createSession(false,Session.AUTO_ACKNOWLEDGE);

    //5
    Topic topic = session.createTopic("first-topic");


    //6.创建一个消息的生产者对象
//    Destination destination = ;//目标对象
    MessageProducer producer = session.createProducer(topic);

    //7.创建一个消息
    TextMessage textMessage = session.createTextMessage("欢迎来到奇的天喻软件");

    //8.发送消息
    producer.send(textMessage);


    //9.关闭资源
    producer.close();
    session.close();
    connection.close();
消费者
    ConnectionFactory connectionFactory = new ActiveMQConnectionFactory("tcp://192.168.25.180:61616");

    //2.创建连接
    Connection connection = connectionFactory.createConnection();

    //3.启动连接
    connection.start();

    //4.获取session(会话对象)
    /*
    arg0 是否启用事务
    arg1 消息的确认方式 自动确认
     */
    Session session = connection.createSession(false,Session.AUTO_ACKNOWLEDGE);

    //5
    Topic topic = session.createTopic("first-topic");


    //6.创建消息消费者对象
    MessageConsumer consumer = session.createConsumer(topic);

    //7.设置监听
    consumer.setMessageListener(new MessageListener() {
      @Override
      public void onMessage(Message message) {
        TextMessage textMessage = (TextMessage)message;
        try {
          System.out.println("提取的消息是"+textMessage.getText());
        } catch (JMSException e) {
          e.printStackTrace();
        }
      }
    });
    //8.等待键盘输入
    //目的是为了让程序停止来看效果
    System.in.read();
    //9.关闭资源
    consumer.close();
    session.close();
    connection.close();
总结,是不是发现上边代码都很相似,那么完全可以用Spring来管理了啊
以上就是本文的全部内容,希望对大家的学习有所帮助,也希望大家多多支持自由互联。
