首先要去邮箱打开POP3/SMTP权限: 然后会提供个授权码,用来发送邮件。忘记了,可以点生成授权码再次生成。 1、引入spring boot自带的mail依赖,这里版本用的:spring-boot.version1.4.3.RELEA
首先要去邮箱打开POP3/SMTP权限:

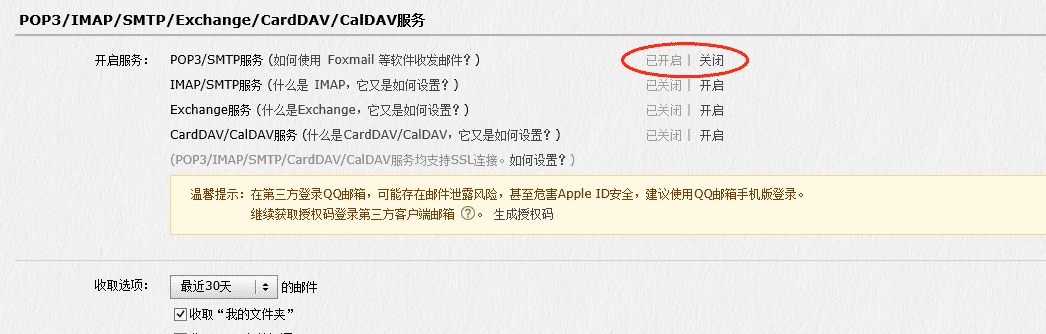
然后会提供个授权码,用来发送邮件。忘记了,可以点生成授权码再次生成。

1、引入spring boot自带的mail依赖,这里版本用的:<spring-boot.version>1.4.3.RELEASE</spring-boot.version>
<dependency>
  <groupId>org.springframework.boot</groupId>
  <artifactId>spring-boot-starter-mail</artifactId>
  <version>${spring-boot.version}</version>
  <scope>provided</scope>
</dependency>
2、spring boot配置文件添加邮箱参数信息
spring.mail.host=smtp.qq.com
spring.mail.username=你的qq号码@qq.com
spring.mail.password=qq邮箱开启SMTP提供的授权码(注意:不是你的qq邮箱密码)#下面一般不用动
spring.mail.default-encoding=${spring.http.encoding.charset}
spring.mail.properties.mail.smtp.connectiontimeout=5000
spring.mail.properties.mail.smtp.timeout=3000
spring.mail.properties.mail.smtp.writetimeout=5000
spring.mail.properties.mail.smtp.auth=true
spring.mail.properties.mail.smtp.starttls.enable=true
spring.mail.properties.mail.smtp.starttls.required=true
3、测试发送
@Autowired
        private JavaMailSender mailSender;

        @Value("${spring.mail.username}")
        private String from;


SimpleMailMessage smm = new SimpleMailMessage();
            smm.setFrom(from);
            smm.setTo("发送方邮件地址");
            smm.setSubject("springboot测试邮件");
            smm.setText("简单文本邮件测试发送!");
            mailSender.send(smm);
以上就是本文的全部内容,希望对大家的学习有所帮助,也希望大家多多支持自由互联。