目录
- @SpringBootApplication
- @SpringBootConfiguration
- @EnableAutoConfiguration
- @ComponentScan
@SpringBootApplication
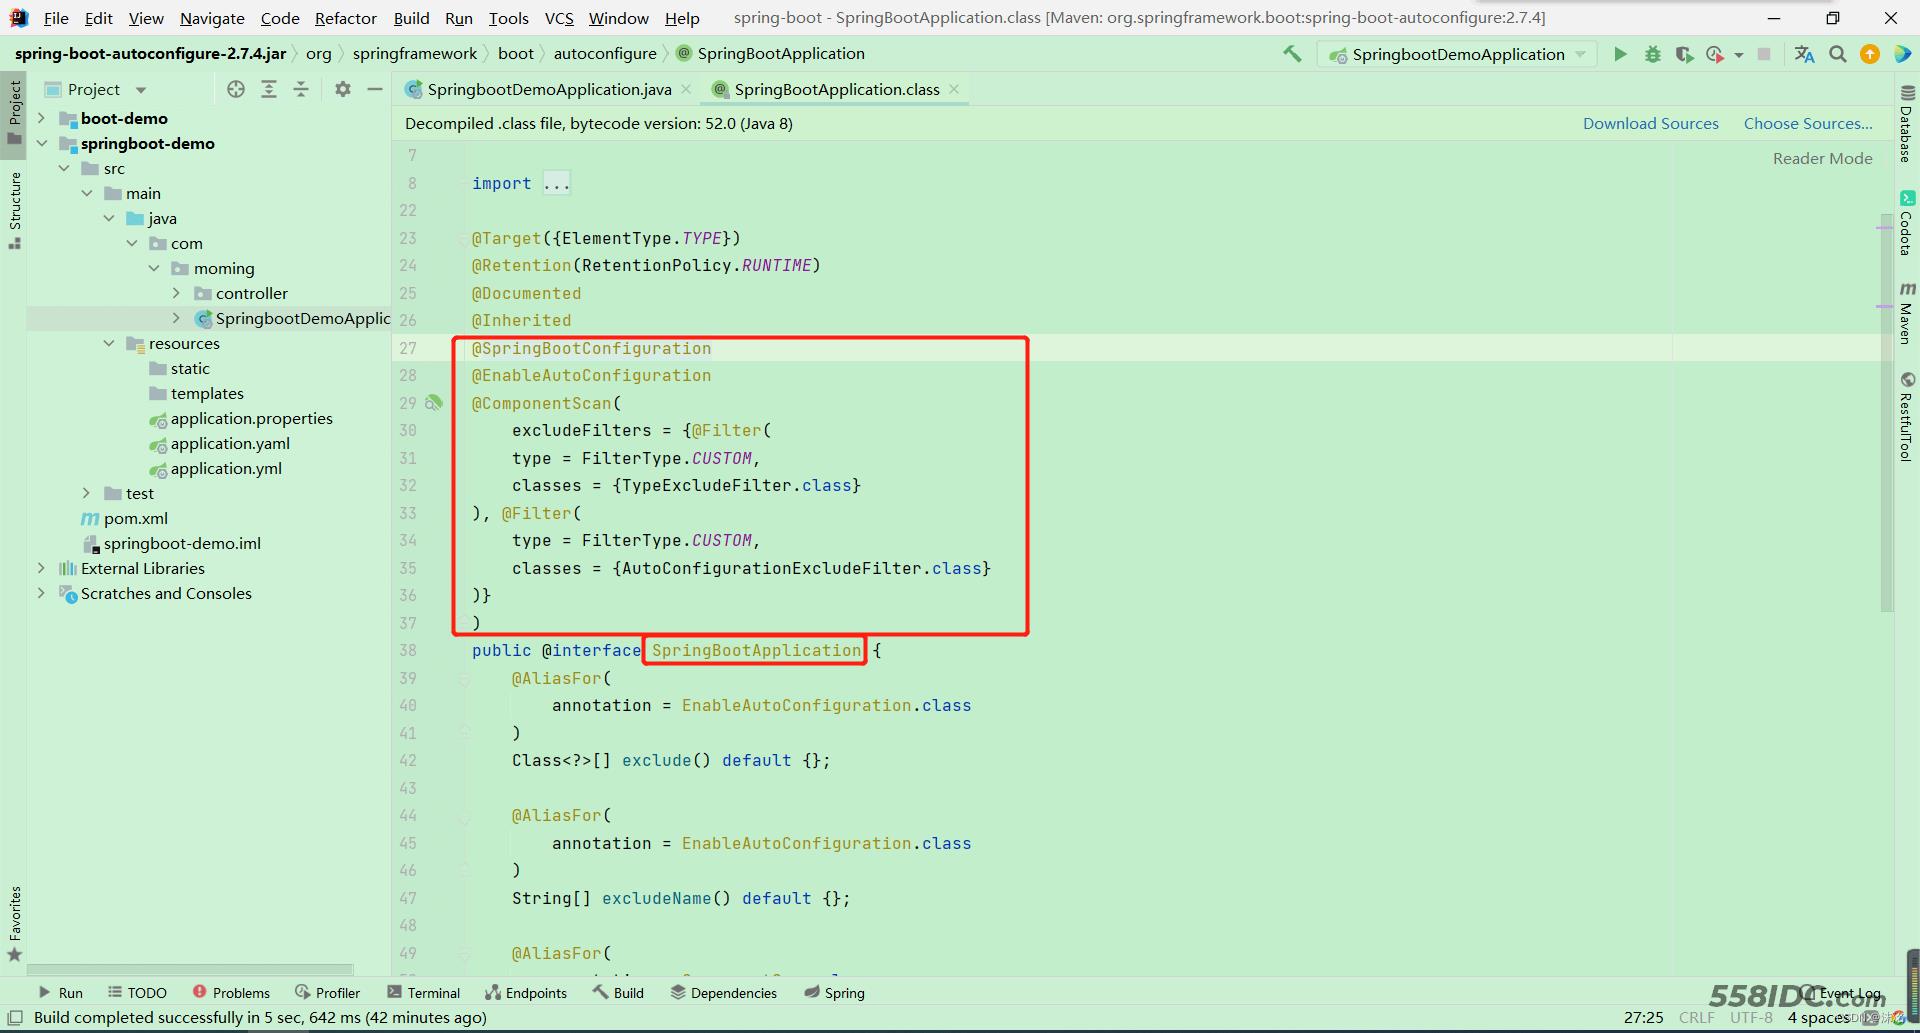
@SpringBootApplication 是一个“三体”结构,实际上它是一个复合 Annotation:

@Target({ElementType.TYPE})
@Retention(RetentionPolicy.RUNTIME)
@Documented
@Inherited
@SpringBootConfiguration
@EnableAutoConfiguration
@ComponentScan(
    excludeFilters = {@Filter(
    type = FilterType.CUSTOM,
    classes = {TypeExcludeFilter.class}
), @Filter(
    type = FilterType.CUSTOM,
    classes = {AutoConfigurationExcludeFilter.class}
)}
)
虽然它的定义使用了多个 Annotation 进行元信息标注,但实际上对于 SpringBoot 应用来说,重要的只有三个 Annotation,而“三体”结构实际上指的就是这三个 Annotation:
- @SpringBootConfiguration
- @EnableAutoConfiguration
- @ComponentScan
所以,如果我们使用如下的 SpringBoot 启动类,整个 SpringBoot 应用依然可以与之前的启动类功能对等:
//@SpringBootApplication
@SpringBootConfiguration
@EnableAutoConfiguration
@ComponentScan
public class SpringbootDemoApplication {
    public static void main(String[] args) {
        SpringApplication.run(SpringbootDemoApplication.class, args);
    }
}
但每次都写三个 Annotation 显然过于繁琐,所以写一个 @SpringBootApplication 这样的一站式复合 Annotation 显然更方便些。
@SpringBootConfiguration
@Target({ElementType.TYPE})
@Retention(RetentionPolicy.RUNTIME)
@Documented
@Configuration
@Indexed
public @interface SpringBootConfiguration {
    @AliasFor(
        annotation = Configuration.class
    )
    boolean proxyBeanMethods() default true;
}
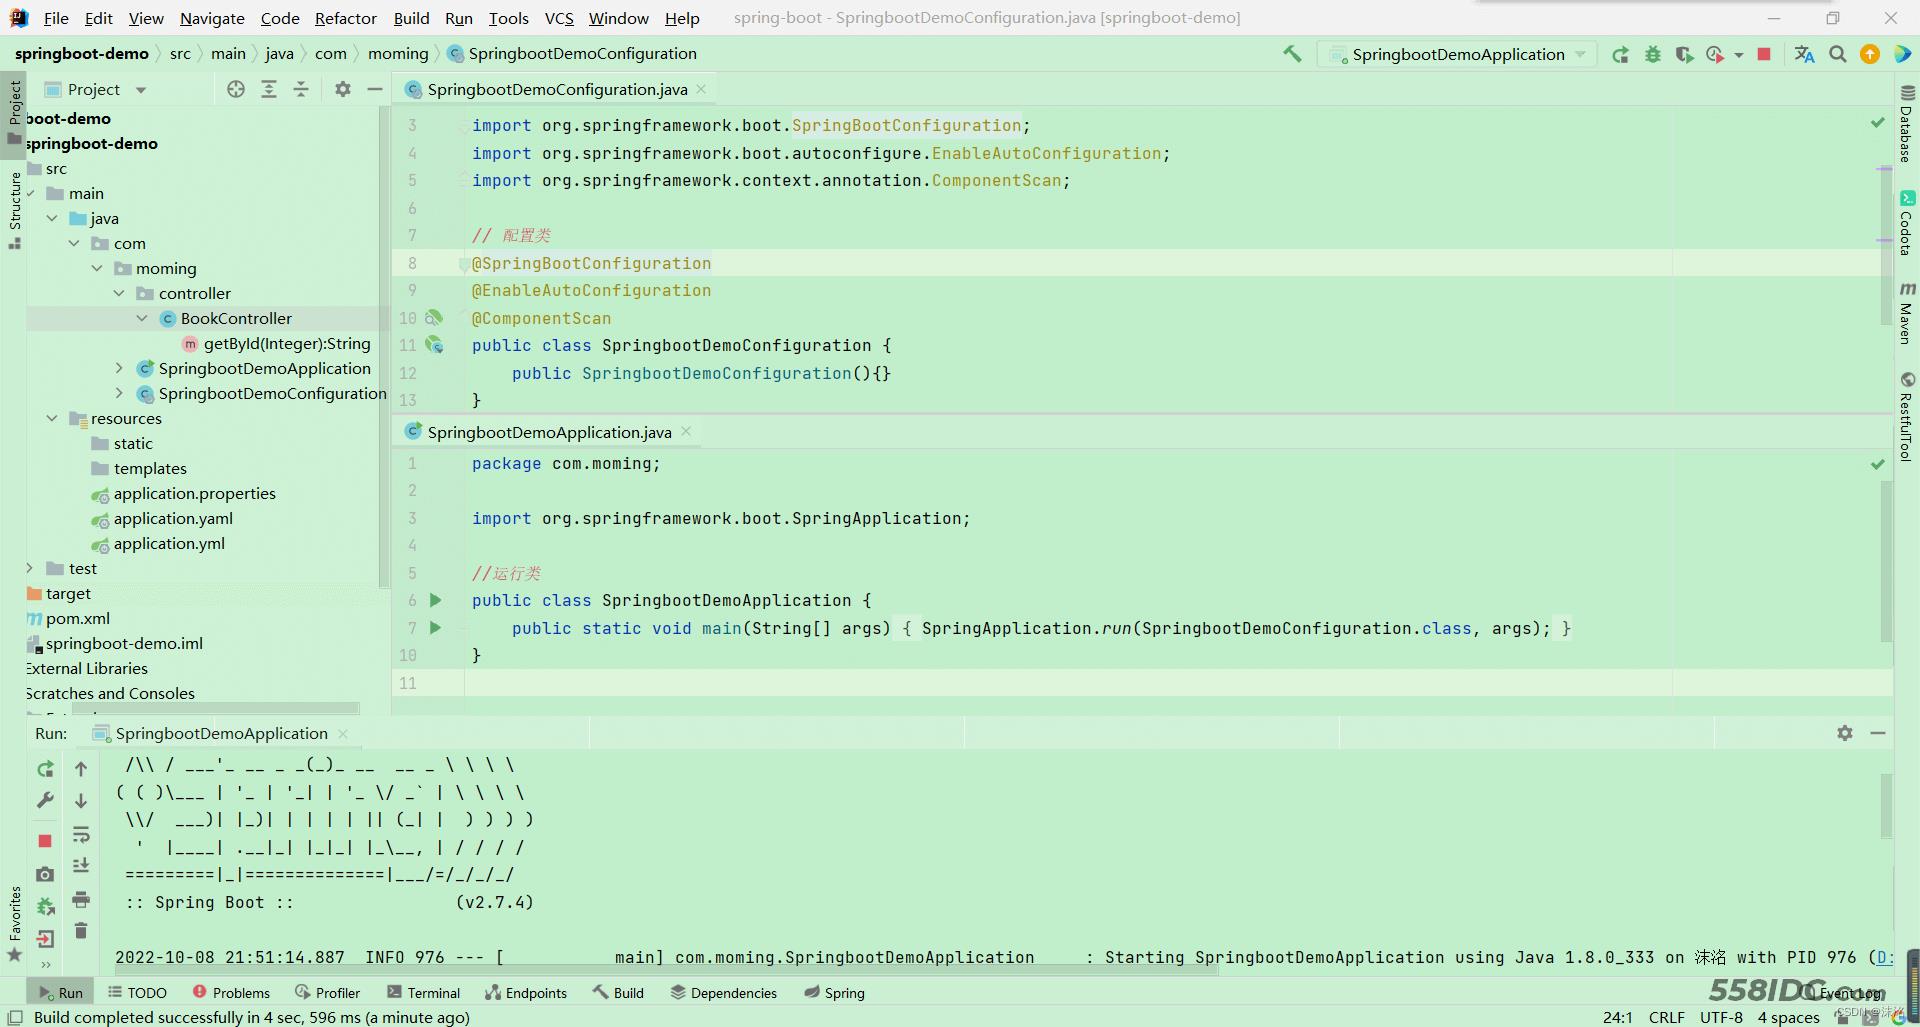
这里的 @Configuration 对我们来说并不陌生,它就是 JavaConfig 形式的 Spring IoC 容器的配置类使用的那个 @Configuration,既然 SpringBoot 应用骨子里就是一个 Spring 应用,那么,自然也需要加载某个 IoC 容器的配置,而 SpringBoot 社区推荐使用基于 JavaConfig 的配置形式,所以,很明显,这里的启动类标注了 @SpringBootConfiguration 之后,本身其实也是一个 IoC 容器的配置类!很多 SpringBoot 的代码示例都喜欢在启动类上直接标注 @SpringBootConfiguration或者 @SpringBootApplication,对于初接触 SpringBoot 的开发者来说,其实这种做法不便于理解,如果我们将上面的 SpringBoot 启动类拆分为两个独立的 Java 类,整个形势就明朗了:
// 配置类
@SpringBootConfiguration
@EnableAutoConfiguration
@ComponentScan
public class SpringbootDemoConfiguration {
   public SpringbootDemoConfiguration(){}
}
//运行类
public class SpringbootDemoApplication {
    public static void main(String[] args) {
        SpringApplication.run(SpringbootDemoConfiguration.class, args);
    }
}

所以,启动类 SpringbootDemoApplication其实就是一个标准的 Standalone(单独) 类型 Java 程序的 main 函数启动类,没有什么特殊的。而 @SpringBootConfiguration标注的 SpringbootDemoConfiguration 定义其实也是一个普通的 JavaConfig 形式的 IoC 容器配置类。
@EnableAutoConfiguration
是借助 @Import 的帮助,将所有符合自动配置条件的 bean 定义加载到 IoC 容器,仅此而已!
@EnableAutoConfiguration 作为一个复合 Annotation,其自身定义关键信息如下:
@Target({ElementType.TYPE})
@Retention(RetentionPolicy.RUNTIME)
@Documented
@Inherited
@AutoConfigurationPackage
@Import({AutoConfigurationImportSelector.class})
public @interface EnableAutoConfiguration {
    String ENABLED_OVERRIDE_PROPERTY = "spring.boot.enableautoconfiguration";
    Class<?>[] exclude() default {};
    String[] excludeName() default {};
}
其中,最关键的要属 @Import(AutoConfigurationImportSelector.class}),借助 AutoConfigurationImportSelector,@EnableAutoConfiguration 可以帮助 SpringBoot 应用将所有符合条件的 @SpringBootConfiguration配置都加载到当前 SpringBoot 创建并使用的 IoC 容器.
借助于 Spring 框架原有的一个工具类:SpringFactoriesLoader 的支持,@EnableAutoConfiguration 可以“智能”地自动配置功效才得以大功告成
@ComponentScan
@ComponentScan 是可有可无的
因为原则上来说,作为 Spring 框架里的“老一辈”,@ComponentScan 的功能其实就是自动扫描并加载符合条件的组件或 bean 定义,最终将这些 bean 定义加载到容器中。加载 bean 定义到 Spring 的 IoC 容器,我们可以手工单个注册,不一定非要通过批量的自动扫描完成,所以说 @ComponentScan 是可有可无的。
对于 SpringBoot 应用来说,同样如此,比如启动类:
@SpringBootConfiguration
@EnableAutoConfiguration
@ComponentScan
public class SpringbootDemoApplication {
   public static void main(String[] args) {
      SpringApplication.run(SpringbootDemoApplication.class, args);
   }
}
如果我们当前应用没有任何 bean 定义需要通过 @ComponentScan 加载到当前 SpringBoot 应用对应使用的 IoC 容器,那么,除去 @ComponentScan 的声明,当前 SpringBoot 应用依然可以照常运行,功能对等
到此这篇关于SpringBoot Application的文章就介绍到这了,更多相关SpringBoot Application内容请搜索自由互联以前的文章或继续浏览下面的相关文章希望大家以后多多支持自由互联!
