AForge引用 1.创建WPF项目, 在NuGet安装AForge相关SDK包: 2.项目引用 2.1.由于在WPF当中使用AForge,需要通过WindowsFormsHost嵌入在WPF当中使用, 所以需要给项目添加相关引用: 2.2.页面添加命名空间
AForge引用
1.创建WPF项目, 在NuGet安装AForge相关SDK包:

2.项目引用
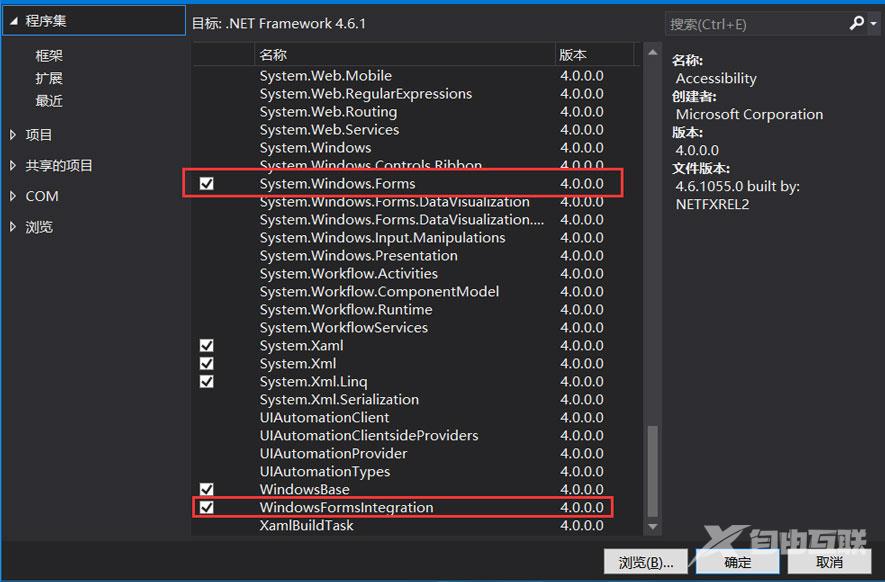
2.1.由于在WPF当中使用AForge,需要通过WindowsFormsHost嵌入在WPF当中使用, 所以需要给项目添加相关引用:
2.2.页面添加命名空间
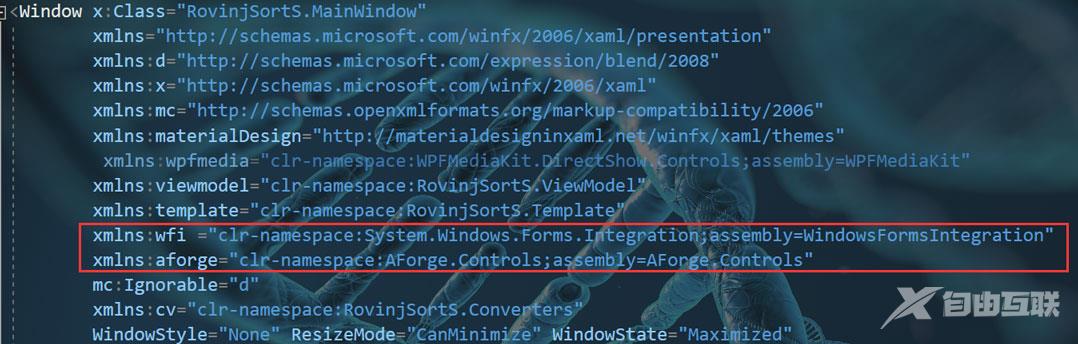
.xaml文件中,添加以下命名空间:
        xmlns:wfi ="clr-namespace:System.Windows.Forms.Integration;assembly=WindowsFormsIntegration"
        xmlns:aforge="clr-namespace:AForge.Controls;assembly=AForge.Controls
3.创建控件
为XAML中添加一个WindowsFormsHost 嵌入一个VideoSourcePlayer
 <wfi:WindowsFormsHost >
   <aforge:VideoSourcePlayer x:Name="player" Dock="Fill" />
 </wfi:WindowsFormsHost>
初始化
在后台代码中, 添加初始化代码, 以下代码模拟设置的第一个摄像头, FilterInfoCollection实际为一个集合。
            FilterInfoCollection videoDevices = new FilterInfoCollection(FilterCategory.VideoInputDevice);
            if (videoDevices.Count > 0)
            {
                var videoDevice = new VideoCaptureDevice(videoDevices[0].MonikerString);
                videoDevice.VideoResolution = videoDevice.VideoCapabilities[0];  //设置分辨率
                player.VideoSource = videoDevice; //设置源
                player.Start(); //启动
            }
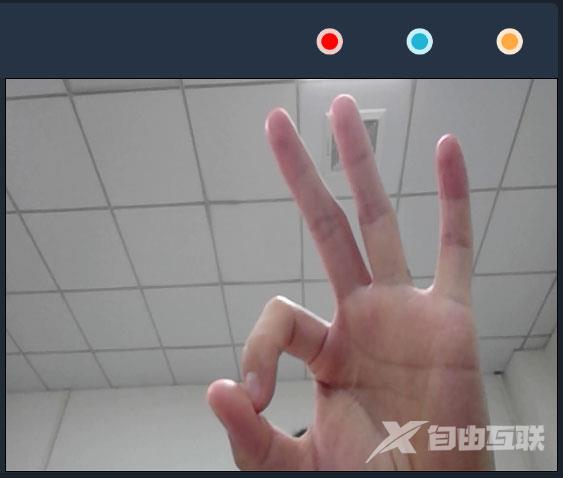
实际效果(演示):
拍照
player.GetCurrentVideoFrame();
到此这篇关于WPF使用AForge调用摄像头的文章就介绍到这了。希望对大家的学习有所帮助,也希望大家多多支持自由互联。