前言
通过浏览器访问的形式,进行接口方法访问进而验证方法的正确与否。显然在服务或者接口比较少时,这么做没有啥问题,但一旦一个项目稍微复杂或者接口方法比较多时,这么验证就有点不符合程序猿的懒人的特性了。所以这章节,讲述下SpringBoot中的单元测试及基于Contiperf压测工具进行性能测试相关方面的知识点。
单元测试
是指对软件中的最小可测试单元进行检查和验证。一般上在开发阶段或者程序发布时,都会利用像Maven这样的打包工具进行打包前的测试,避免不必要的bug程序被打包部署。
题外话:在开发阶段,都应该要求编写单元测试,核心的模块还需要进行覆盖测试,覆盖率至少要95%以上。
SpringBoot的单元测试
对于java开发者而言,Junit应该无人不知了。所以SpringBoot也是基于Junit进行单位测试的。
- 0.加入pom依赖。
- 1.这里为了演示,编写了一个简单的测试接口及编写对应的测试类。
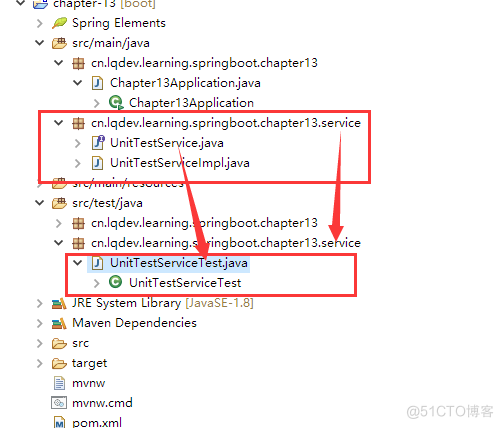
UnitTestService.java
/** * 测试接口类 * @author oKong * */ public interface UnitTestService { public String process(String msg); }实现类:UnitTestServiceImpl.java
@Service public class UnitTestServiceImpl implements UnitTestService{ /** * 为了测试,这里直接返回传入的值 */ @Override public String process(String msg) { // TODO Auto-generated method stub return msg; } }测试类:UnitTestServiceTest.java
题外话:个人建议,每个测试类都应该和对应的被测试类包路径一致。同时测试类的名称是被测试的类名+Test,如本例所示的:
- 运行右击,选择 run As –> Junit Test 或者需要debug时,选择Debug As –> Junit Test,运行即可。
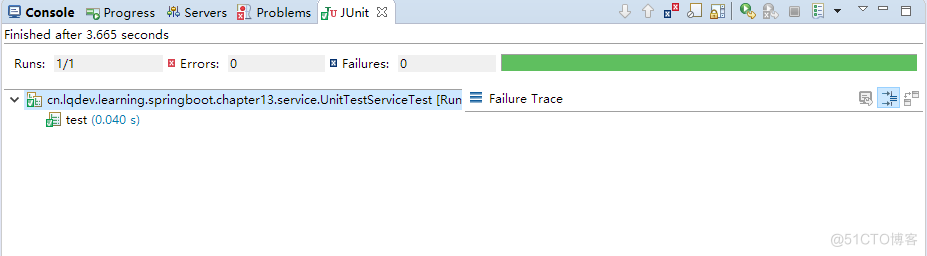
3.至此,一个简单的单元测试就结束了。**简单来说,写一个单元测试是容易的,但写好一个单元测试是难的。**毕竟,每个程序猿都觉得自己的代码是没有问题的,难道不是吗?哈哈!
RESTful API 单元测试
对于服务类而言,编写单元测试是相对简单的,只需要像控制层自动引入接口类一样。但编写控制层即RESTful API 单元测试时,一般上就需要利用Mock技术进行测试了。当然也可以使用像Swagger或者PostMan这样的api测试工具进行测试(或者使用RestTemplate测试也是可行的),它可进行自动化测试,关于Postman会在之后的章节进行更新,作者也没有过多研究过,也只是用到了它的最基本的发起http请求的功能,之后会整理相关资料的。
- 0.创建一个RESTful接口服务。
- 1.编写对应测试类
- 2.运行右击,选择 run As –> Junit Test 或者需要debug时,选择Debug As –> Junit Test,运行即可。(也可以看见每次启动测试时,每次端口号都是不同的。)

由于配置了print()这个ResultHandler,所以控制台会打印相关参数信息。建议设置此属性,这样就算测试有问题,也能看下具体的参数信息。其他相关mock的用法,此处就不举例了,大家可自行搜索下,比较本章节只是简单示例下用法~

- 鉴于每次编写控制层测试类时,都需要创建MockMvc对象,故可创建一个基类,这样省得每次都写。
BaseMockTest.java
/** * mock 基类 * @author oKong * */ public abstract class BaseMockTest { @Autowired private WebApplicationContext wc; protected MockMvc mockMvc; @Before public void beforeSetUp() { this.mockMvc = MockMvcBuilders.webAppContextSetup(wc).build(); } }这样编写mock测试类时,还需要继承此基类即可。
Junit常用注解说明
- @Test 加在待测试的方法前面
- @Before 带上@Test的方法执行前会执行该方法
- @After 带上@Test的方法执行完毕后会执行该方法
- @BeforeClass 加上这个注解,则该方法会第一个执行(在所有方法中),且方法要加上关键词static,是一个static方法
- @AfterClass 加上这个注解,则该方法最后一个执行(在所有方法中),同样,方法要加上关键词static,是一个static方法
详细的使用,大家可自行谷歌下,毕竟常用的也就前面三个了,(┬_┬)
基于ContiPerf的性能测试
ContiPerf是一个轻量级的测试工具,基于JUnit 4 开发,可用于效率测试等。可以指定在线程数量和执行次数,通过限制最大时间和平均执行时间来进行性能测试。
性能测试示例
- 0.加入pom依赖包。
- 1.改写UnitTestServiceTest测试类,进入ContiPerfRule。 题外话:@Rule是Junit提供的一个扩展接口注解,其接口类为:org.junit.rules.MethodRule,注意在Junit5中,已经被TestRule所以替代了。这里只是简单提下,因为具体的也不是很清楚,也没有深入了解过。
- 控制台会有性能报告,同时访问:target/contiperf-report/index.html,会有图表提示。
控制台输出:
cn.lqdev.learning.springboot.chapter13.service.UnitTestServiceTest.test samples: 100 max: 403 average: 41.5 median: 15测试报告:
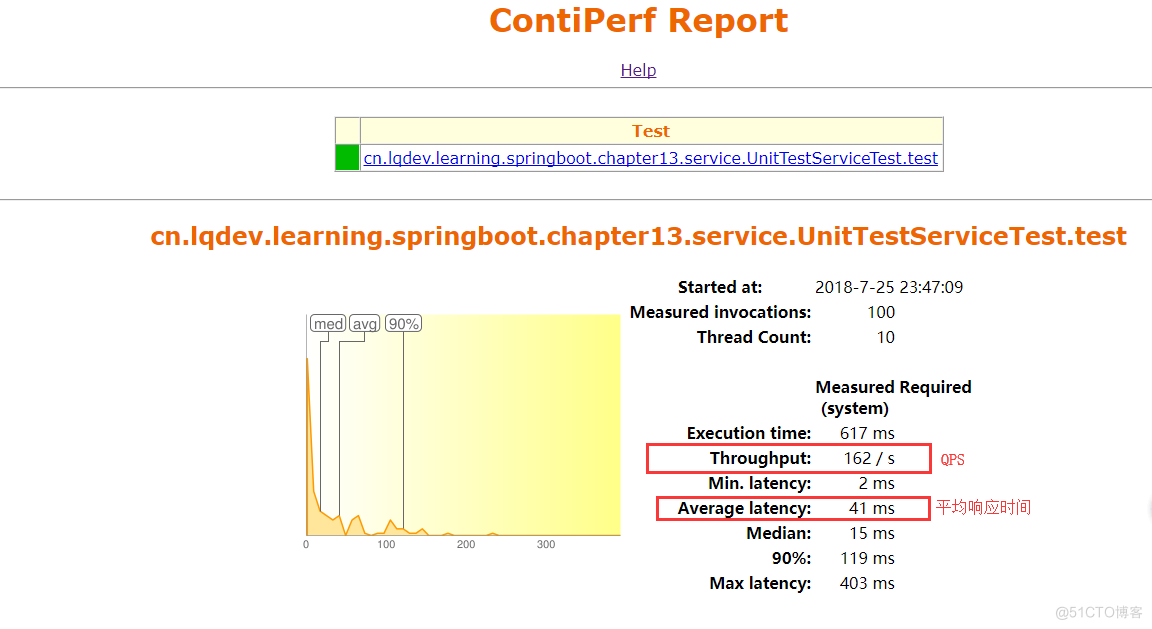 测试报告
测试报告
注解参数说明
@PerfTest
- invocations:执行次数n,与线程数量无关,默认值为1
- threads:线程池数量n,并发执行n个线程
- duration:重复地执行时间n,测试至少执行n毫秒
@Required
- throughput:吞吐要求n,要求每秒至少执行n个测试
- average:平均执行时间n,要求平均执行时间不超过n毫秒
- max:最大执行时间n,要求最大的执行时间不超过n毫秒
- totalTime:总执行时间n,要求总的执行时间不超过n毫秒
- median:50%平均执行时间n,要求所有执行的50%测试平均执行时间不超过n毫秒
- percentile90:90%平均执行时间n,要求所有执行的90%测试平均执行时间不超过n毫秒
- percentile95:95%平均执行时间n,要求所有执行的95%测试平均执行时间不超过n毫秒
- percentile99:99%平均执行时间n,要求所有执行的99%测试平均执行时间不超过n毫秒
- percentiles:表达式”a:n,b:m”,要求a%的测试不超过n毫秒,b%的测试不超过m毫秒
总结
本章节主要是对Junit和ContiPerf的使用简单的示例,像MockMvc的详细用法并没有深入,大家可自行搜索下,毕竟我也用的不多呀。
最后
原文出处: oKong