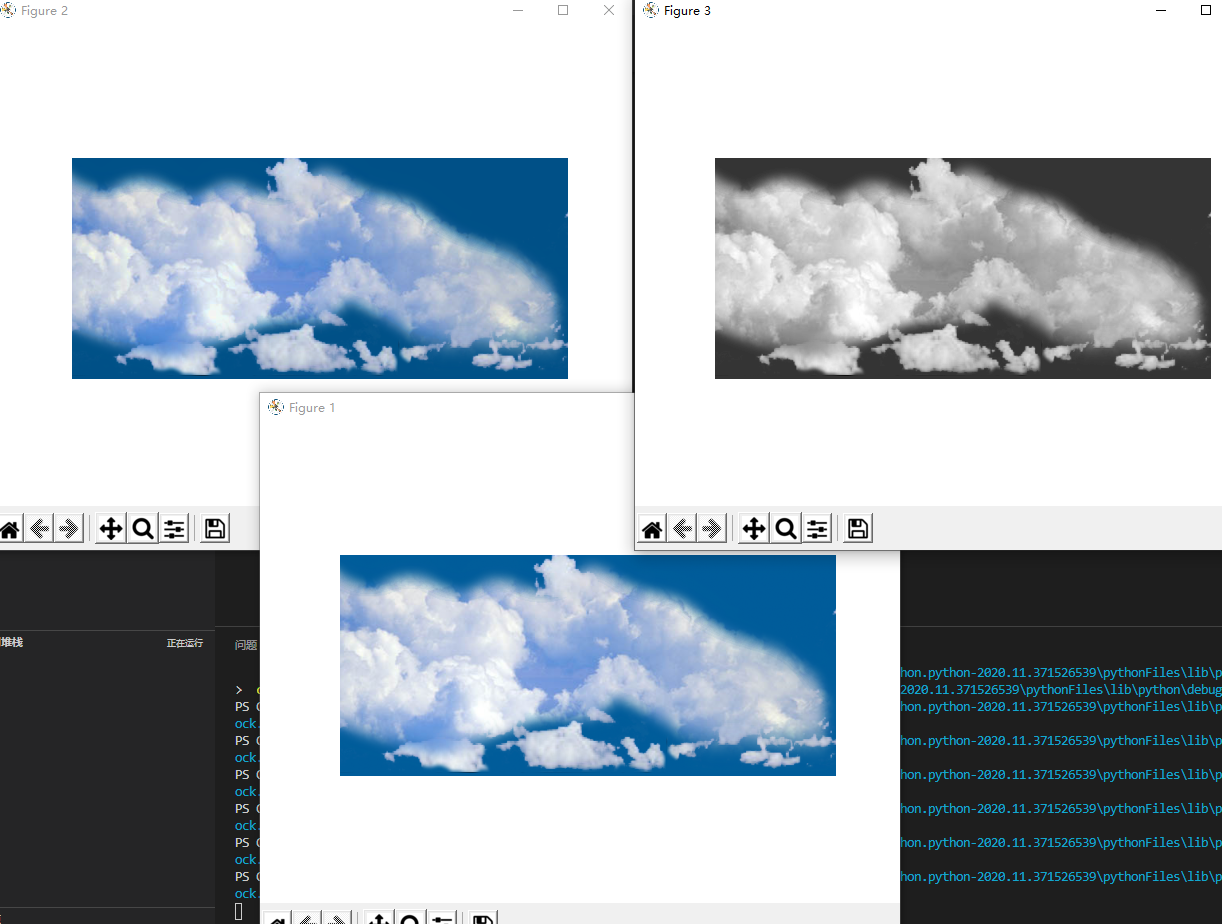
实现效果 实现代码 import matplotlib.pyplot as pltfrom skimage import iofile_name='D:/2020121173119242.png'img=io.imread(file_name)Increment = -10.0img = img * 1.0 I = (img[:, :, 0] + img[:, :, 1] + img[:, :, 2])/3.0 + 0.001mask_1 =
实现效果

实现代码
import matplotlib.pyplot as plt
from skimage import io

file_name='D:/2020121173119242.png'
img=io.imread(file_name)

Increment = -10.0

img = img * 1.0
I = (img[:, :, 0] + img[:, :, 1] + img[:, :, 2])/3.0 + 0.001

mask_1 = I > 128.0

r = img [:, :, 0]
g = img [:, :, 1]
b = img [:, :, 2]

rhs = (r*128.0 - (I - 128.0) * 256.0) / (256.0 - I)
ghs = (g*128.0 - (I - 128.0) * 256.0) / (256.0 - I)
bhs = (b*128.0 - (I - 128.0) * 256.0) / (256.0 - I)

rhs = rhs * mask_1 + (r * 128.0 / I) * (1 - mask_1)
ghs = ghs * mask_1 + (g * 128.0 / I) * (1 - mask_1)
bhs = bhs * mask_1 + (b * 128.0 / I) * (1 - mask_1)

I_new = I + Increment - 128.0

mask_2 = I_new > 0.0

R_new = rhs + (256.0-rhs) * I_new / 128.0
G_new = ghs + (256.0-ghs) * I_new / 128.0
B_new = bhs + (256.0-bhs) * I_new / 128.0

R_new = R_new * mask_2 + (rhs + rhs * I_new/128.0) * (1-mask_2)
G_new = G_new * mask_2 + (ghs + ghs * I_new/128.0) * (1-mask_2)
B_new = B_new * mask_2 + (bhs + bhs * I_new/128.0) * (1-mask_2)

Img_out = img * 1.0

Img_out[:, :, 0] = R_new
Img_out[:, :, 1] = G_new
Img_out[:, :, 2] = B_new

Img_out = Img_out/255.0

# 饱和处理
mask_1 = Img_out < 0
mask_2 = Img_out > 1

Img_out = Img_out * (1-mask_1)
Img_out = Img_out * (1-mask_2) + mask_2

plt.figure()
plt.imshow(img/255.0)
plt.axis('off')

plt.figure(2)
plt.imshow(Img_out)
plt.axis('off')

plt.figure(3)
plt.imshow(I/255.0, plt.cm.gray)
plt.axis('off')

plt.show()
以上就是python 调整图片亮度的示例的详细内容,更多关于python 调整图片亮度的资料请关注易盾网络其它相关文章!
