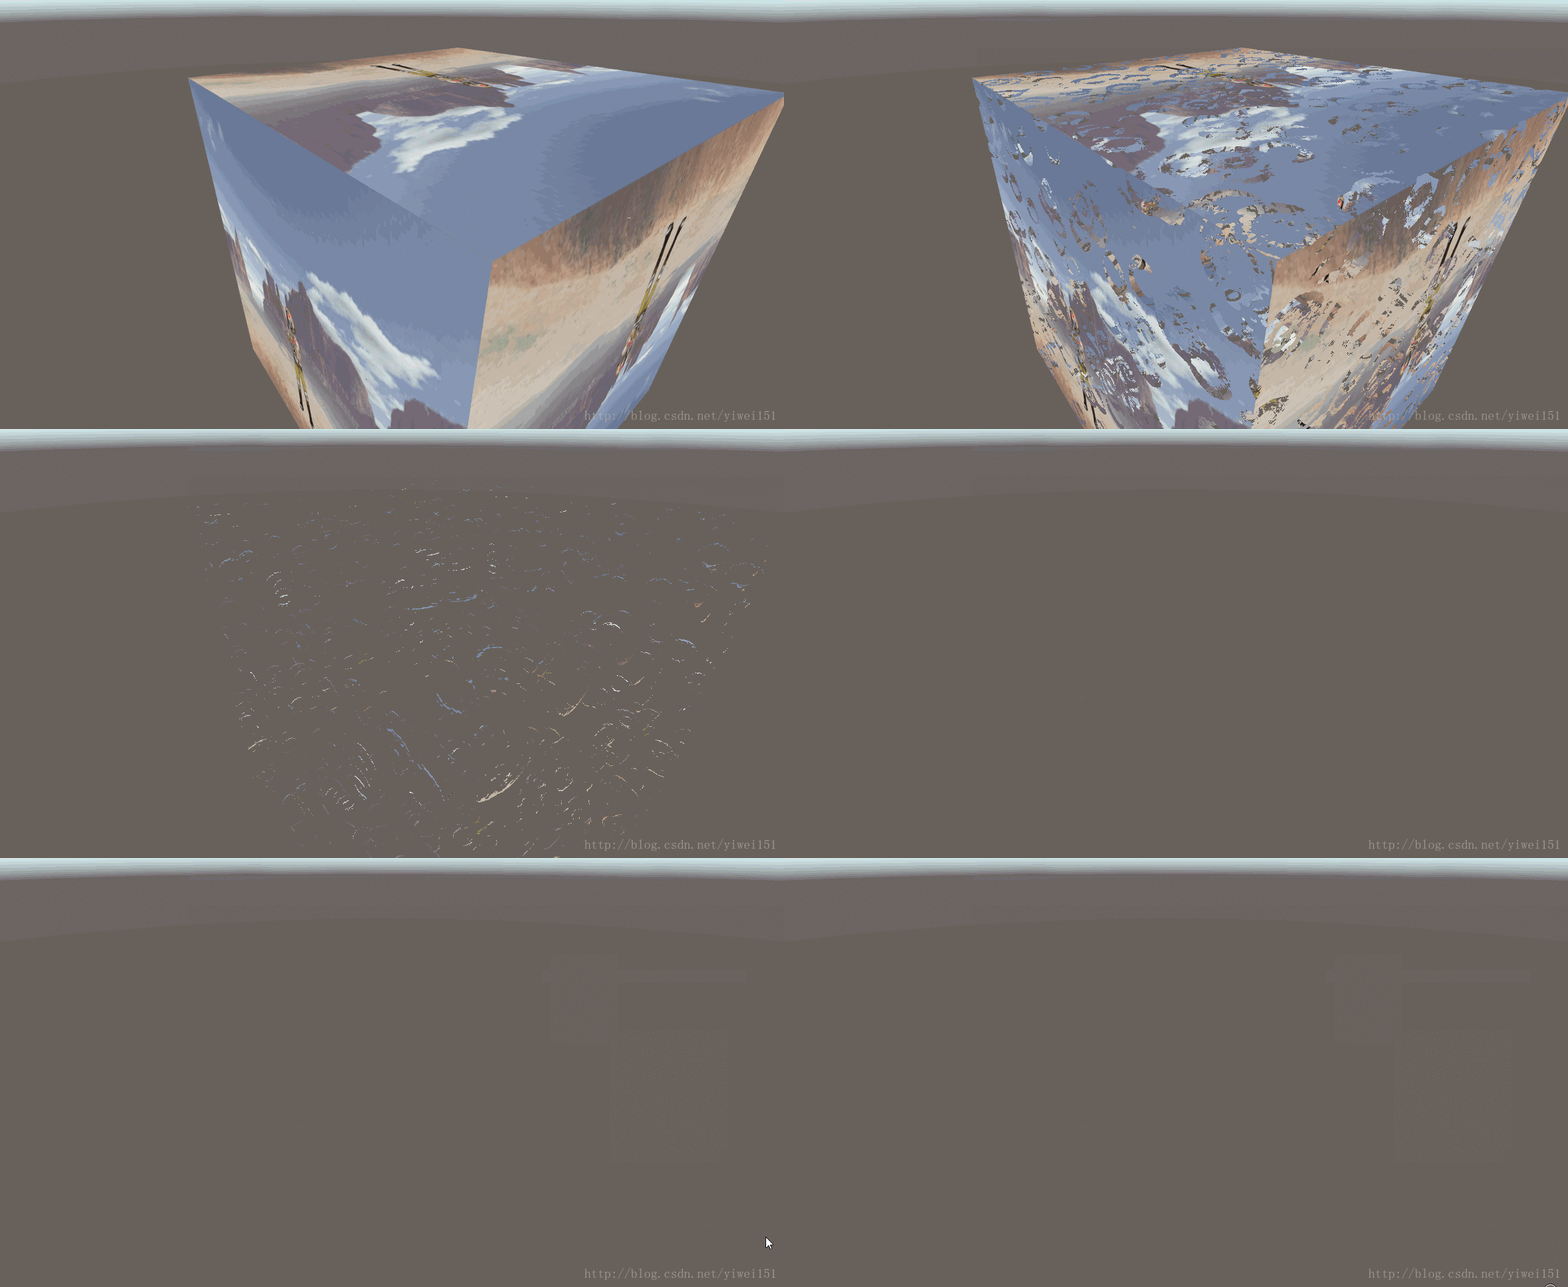
本文实例为大家分享了Unity shader实现消融效果的具体代码,供大家参考,具体内容如下 效果图: shader代码: // Upgrade NOTE: replaced 'mul(UNITY_MATRIX_MVP,*)' with 'UnityObjectToClipPos(*)'Shader "Custom
本文实例为大家分享了Unity shader实现消融效果的具体代码,供大家参考,具体内容如下
效果图:

shader代码:
// Upgrade NOTE: replaced 'mul(UNITY_MATRIX_MVP,*)' with 'UnityObjectToClipPos(*)'

Shader "Custom/EdgeColo" {
Properties
 {
 _MainTex ("Texture", 2D) = "white" {}
 _NoiseTex("Noise", 2D) = "white" {}
 _Threshold("Threshold", Range(0.0, 1.0)) = 0.5
 _EdgeLength("Edge Length", Range(0.0, 0.2)) = 0.1
 _EdgeColor("Edge Color", Color) = (1,1,1,1)
 }
 SubShader
 {
 Tags { "Queue"="Geometry" "RenderType"="Opaque" }

 Pass
 {
 Cull Off //要渲染背面保证效果正确

 CGPROGRAM
 #pragma vertex vert
 #pragma fragment frag

 #include "UnityCG.cginc"

 struct appdata
 {
 float4 vertex : POSITION;
 float2 uv : TEXCOORD0;
 };

 struct v2f
 {
 float4 vertex : SV_POSITION;
 float2 uvMainTex : TEXCOORD0;
 float2 uvNoiseTex : TEXCOORD1;
 };

 sampler2D _MainTex;
 float4 _MainTex_ST;
 sampler2D _NoiseTex;
 float4 _NoiseTex_ST;
 float _Threshold;
 float _EdgeLength;
 fixed4 _EdgeColor;

 v2f vert (appdata v)
 {
 v2f o;
 o.vertex = UnityObjectToClipPos(v.vertex);
 o.uvMainTex = TRANSFORM_TEX(v.uv, _MainTex);
 o.uvNoiseTex = TRANSFORM_TEX(v.uv, _NoiseTex);
 return o;
 }

 fixed4 frag (v2f i) : SV_Target
 {
 //镂空
 fixed cutout = tex2D(_NoiseTex, i.uvNoiseTex).r;
 clip(cutout - _Threshold);

 //边缘颜色
 if(cutout - _Threshold < _EdgeLength)
 return _EdgeColor;

 fixed4 col = tex2D(_MainTex, i.uvMainTex);
 return col;
 }
 ENDCG
 }
}
}
使用方法:建一个材质球,选择此shader,然后选择一个噪声图(即:Noise),最后修改Threshold和EdgeLength参数即可看到效果。
以上就是本文的全部内容,希望对大家的学习有所帮助,也希望大家多多支持易盾网络。
