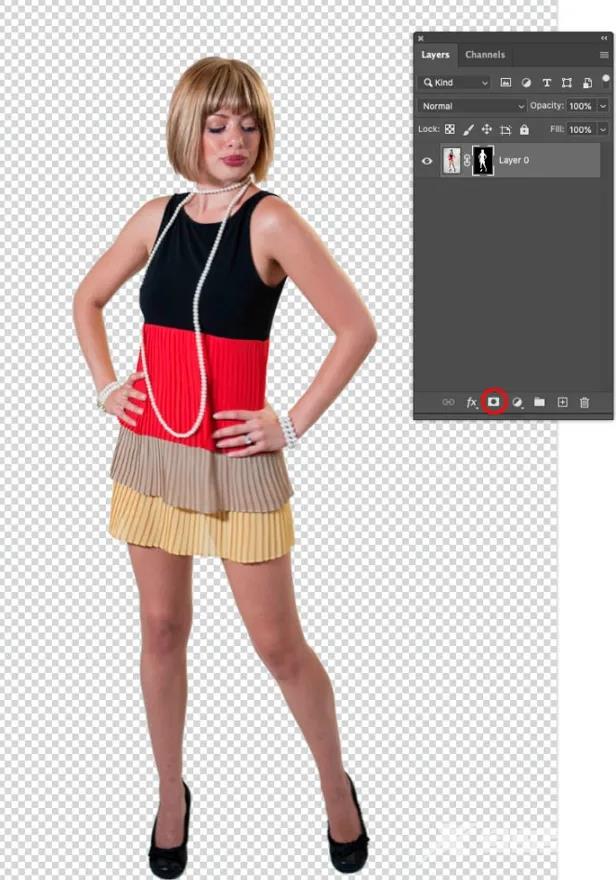
Photoshop经常被用于抠图,但是有用户反应自己抠出来的图每次都是坑坑洼洼的,看起来非常不美观,有什么办法可以让图边缘变得平滑吗?下面就来看看小编为大家整理的解决办法吧。
步骤1:
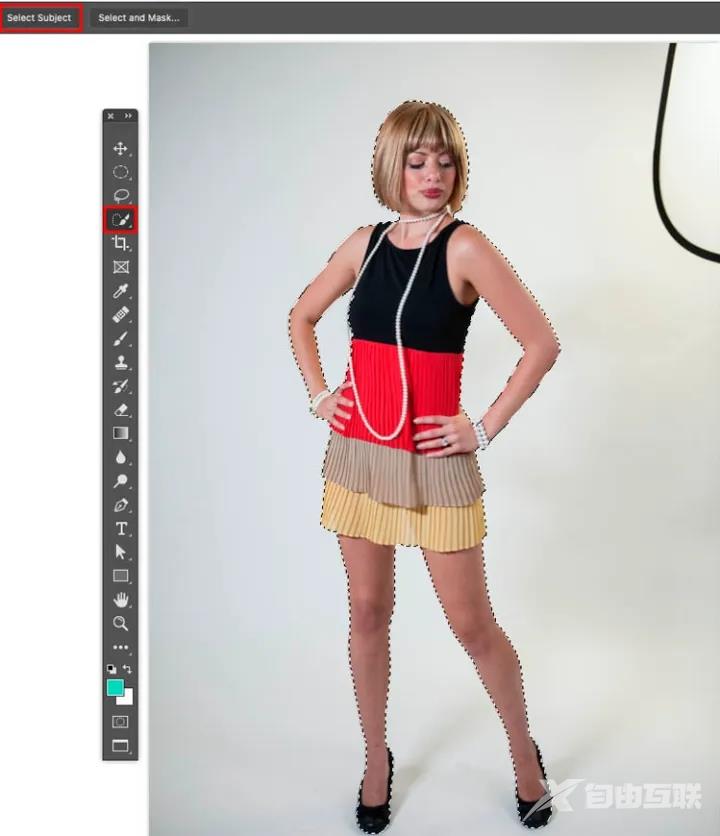
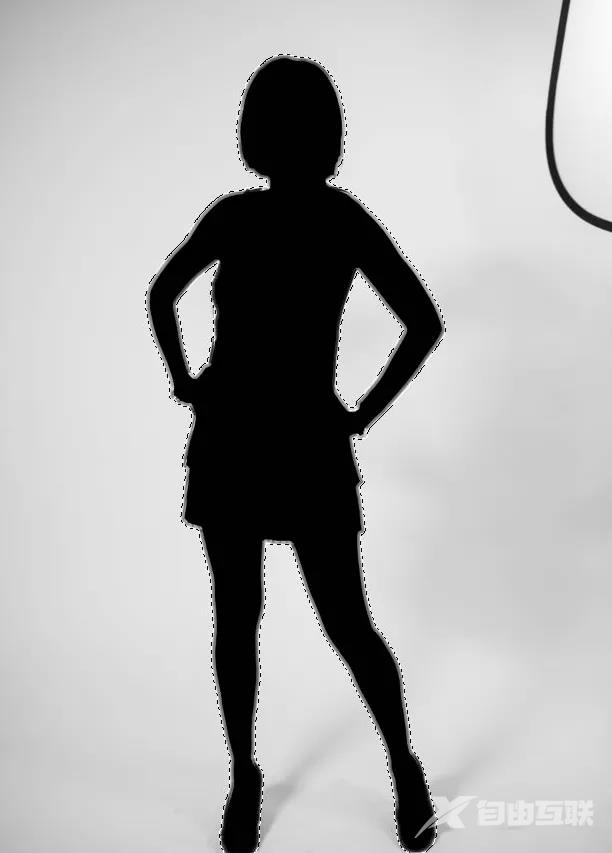
在主题周围进行选择。在CC2019或更高版本中(我们在这里使用Photoshop 2020)选择快速选择工具,然后单击选择主题。在早期版本的Photoshop中,可以使用快速选择,魔术棒或任何可用的工具围绕主题进行选择。
步骤2:
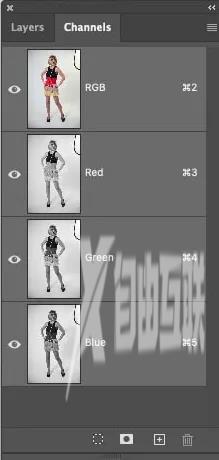
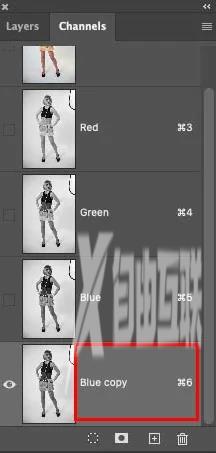
转到频道面板。
步骤3:
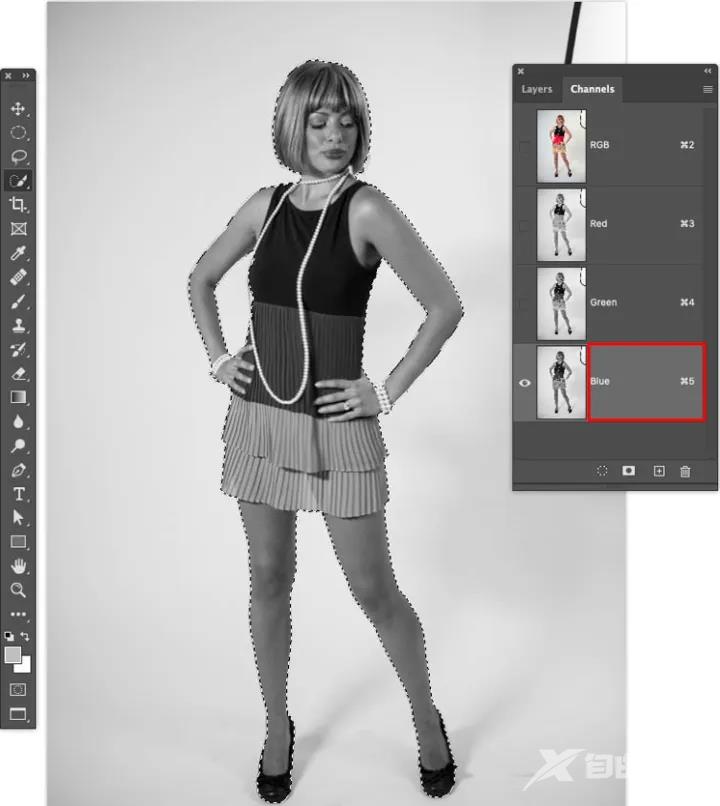
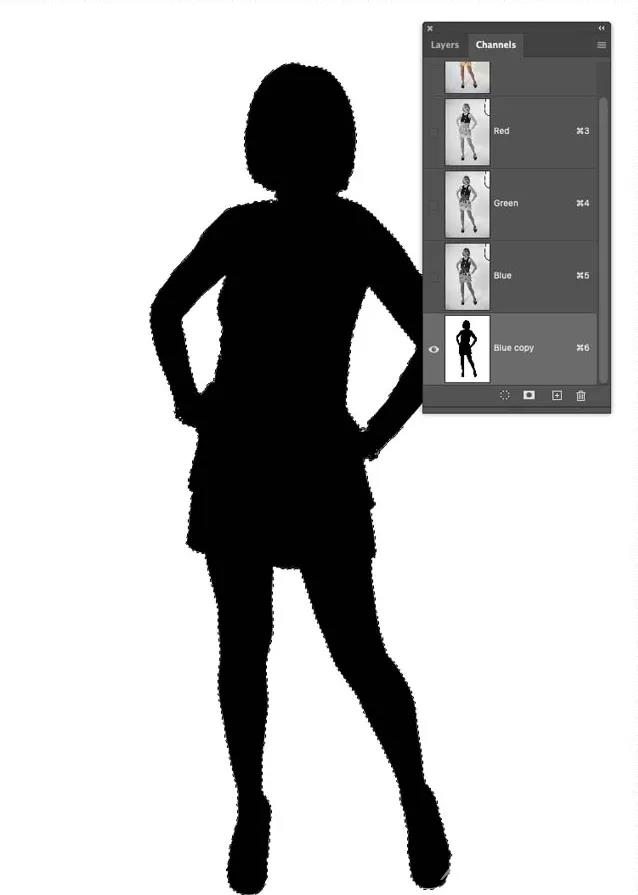
选择对比度最高的通道。(蓝色通道)单击蓝色。
步骤4:
将蓝色通道拖到底部的新通道图标(带有加号的正方形)中,
这将为我们制作该通道的副本。
步骤5:
选择选择>修改>合同,然后输入10-15像素。
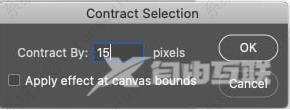
这会将选择范围缩小到图像内部。

步骤6:
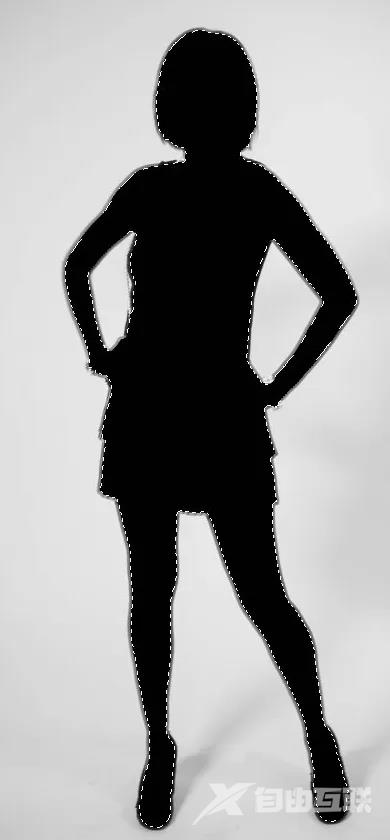
用黑色填充选择。按D键重设颜色。Alt / Option + Delete将填充前景色。
步骤7:
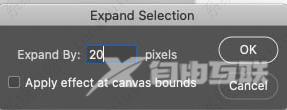
选择选择>修改>扩展20-30像素,具体取决于图像分辨率。
步骤8:
按Cmd / Ctrl + Shift + I反转选择。
步骤9:
用白色填充选择。Ctrl / Cmd + Delete将填充前景色。
按Ctrl / Cmd + D取消选择。

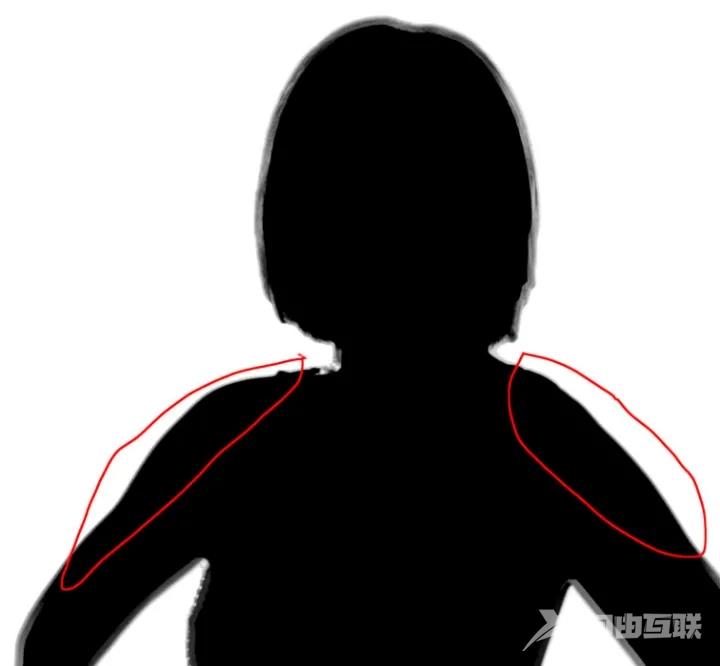
注意,我们现在有一个薄边缘。这是我们将其平滑以获得完美切口的地方。

步骤10:
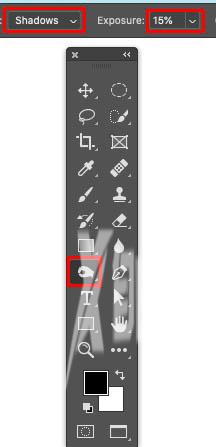
选择刻录工具,并将范围设置为阴影,并将曝光度设置为15%。
步骤11:
围绕边缘工作,请注意如何使用刻录工具以良好的平滑方式使边缘变暗。
步骤12:
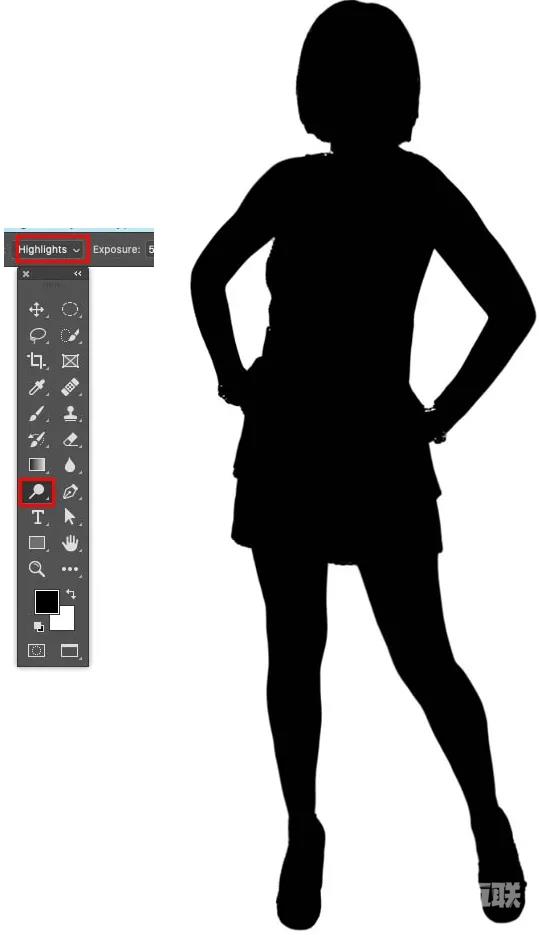
完成暗边处理后,切换到道奇工具
将其设置为高光,并在需要变亮的任何边缘周围绘画。
通常,您会同时使用闪避和灼伤头发。
步骤13:
Cmd / Ctrl +单击通道缩略图以进行选择。所有白色区域都将被选中。
步骤14:
单击RGB以重新打开通道。
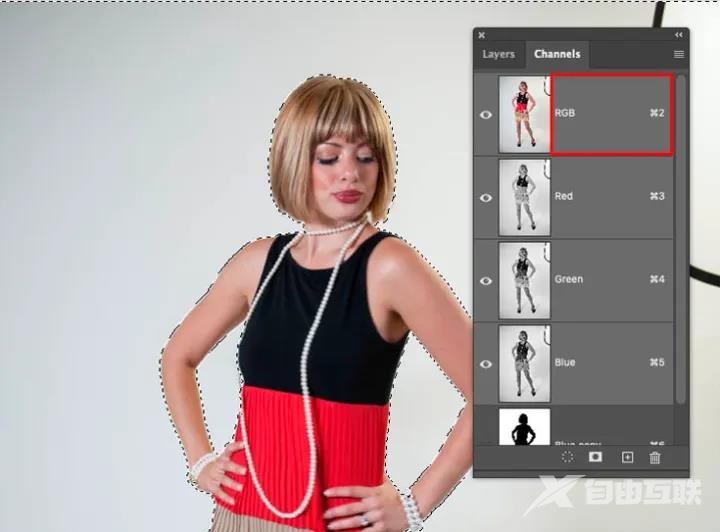
步骤15:
按住Alt / Option并单击新的图层蒙版按钮。
您将有一个不错的联络员。您可以通过在图层蒙版上用黑色或白色绘画来对其进行修饰。