如何用ps做出钢印效果?我们在使用ps的时候怎样制作一个逼真的钢印呢?下面小编带来了ps制作钢印的教程一起看看吧。 如何用ps做出钢印效果 1、打开PS软件,选择一个想要制作钢印效
如何用ps做出钢印效果?我们在使用ps的时候怎样制作一个逼真的钢印呢?下面小编带来了ps制作钢印的教程一起看看吧。
如何用ps做出钢印效果
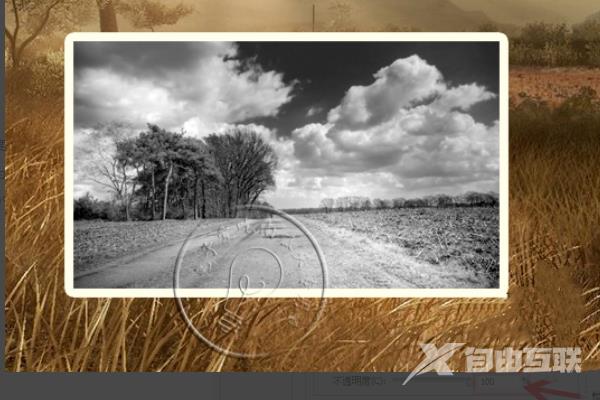
1、打开PS软件,选择一个想要制作钢印效果的图片。

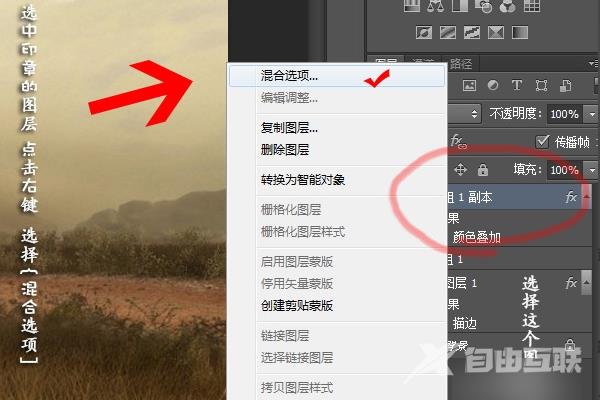
2、然后,选中印章的图层点击右键 选择【混合选项】。
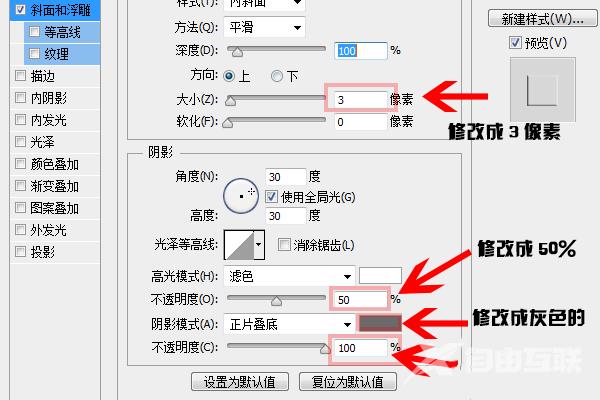
3、然后我们点击【斜面浮雕】选项进行数值调整,大小改为3像素,高光模式不透明度设置为50%,阴影模式颜色改为灰色,不透明度改为100%即可。
4、然后我们点击【混合选项;自定】选项, 填充不透明度改为 0% 即可。

5、然后我们就制作成功了一张钢印图片。