怎样使用Xscan软件扫描文件?x-scan扫描工具通过特殊方法扫描特定IP地址范围或独立计算机的网络漏洞,支持各种插件,是一款免费的综合扫描器之一。那么具体要怎么使用x-scan扫描工具对文件进行扫描呢?来看下具体的使用教程吧。
怎样使用Xscan软件扫描文件?
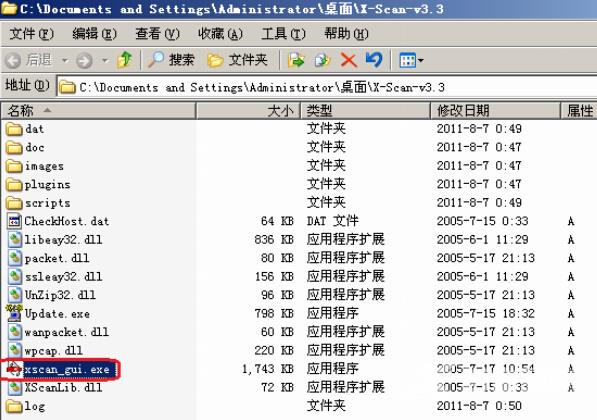
1,双击运行‘xscan_gui.exe’;
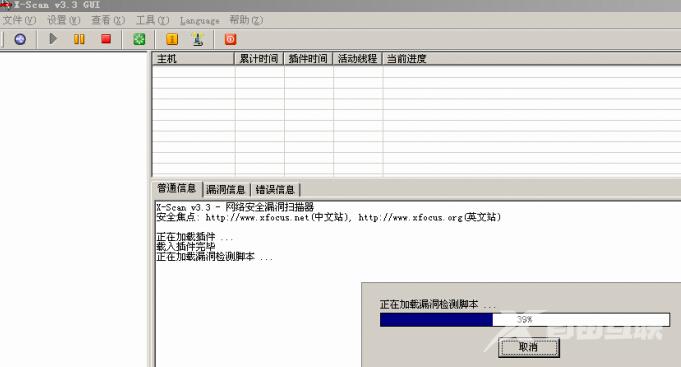
2,运行xscan之后随即加载漏洞检测样本;
3,设置扫描参数;

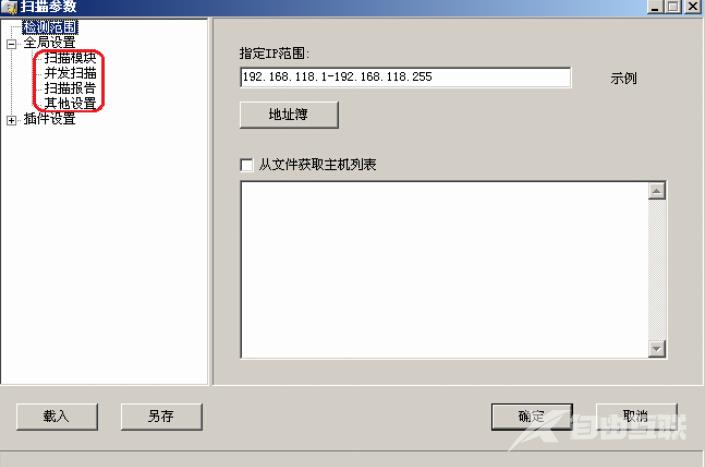
4,扫描参数界面需要制定IP范围,这里可以是一个IP地址,可以是IP地址范围,可以是一个URL网址;

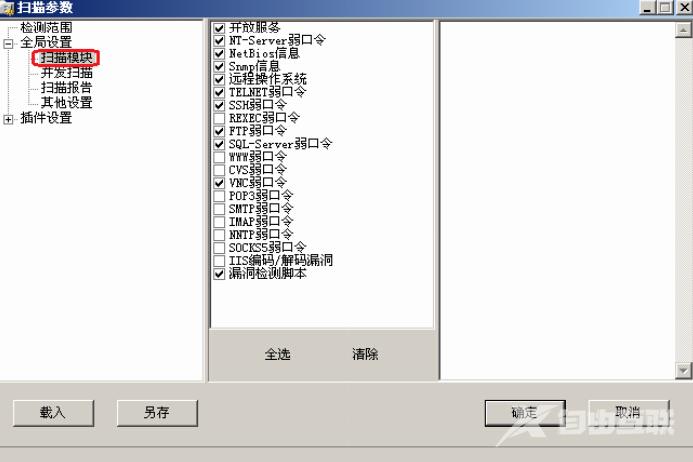
5,点开‘全局设置’前面的‘+’号;展开后会有4个模块,分别是扫描模块、并发扫描、扫描报告、其他设置。
6,点击扫描模块在右边的边框中会显示相应的参数选项,如果我们是扫描少数几台计算机的话可以全选,如果扫描的主机比较多的话,我们要有目标的去扫描,只扫描主机开放的特定服务就可以,这样会提高扫描的效率。
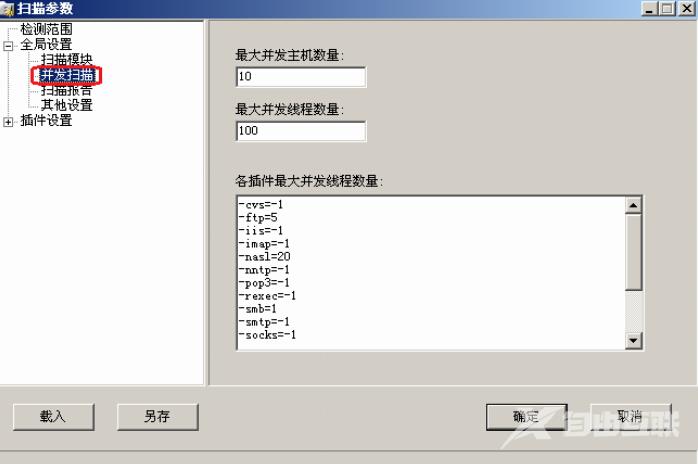
7,选择并发扫描,可以设置要扫描的最大并发主机数,和最大的并发线程数。
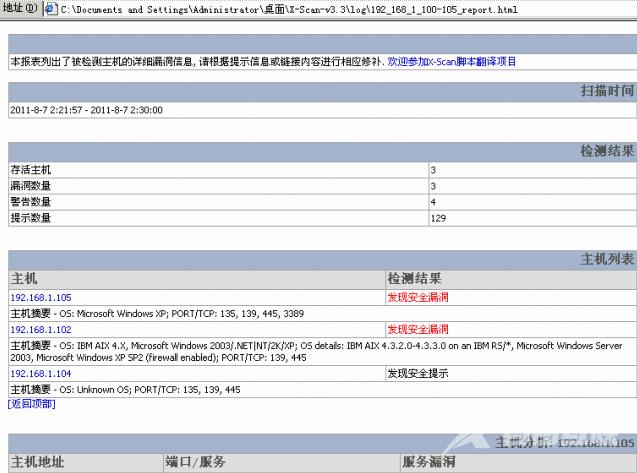
8,选择‘扫描报告’,点击后会显示在右边的窗格中,它会生成一个检测IP或域名的报告文件,同时报告的文件类型可以有3种选择,分别是HTML、TXT、XML。

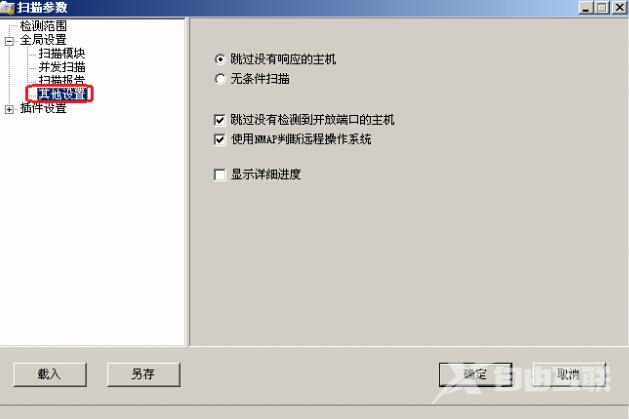
9,选择‘其他设置’,有2种条件扫描:1,‘跳过没有响应的主机’,2,‘无条件扫描’。如果设置了‘跳过没有响应的主机’,对方禁止了PING或防火墙设置使对方没有响应的话,X-SCAN会自动跳过,自动检测下一台主机。如果用‘无条件扫描’的话,X-SCAN会对目标进行详细检测,这样结果会比较详细也会更加准确。但扫描时间会更长(有时候会发现扫描的结果只有自己的主机,这是可以选‘无条件扫描’就能看到别的主机的信息了)。‘跳过没有检测到开放端口的主机’和‘使用NMAP判断远程操作系统’这两项需要勾选,‘显示详细进度’项可以根据自己的实际情况选择(可选)。
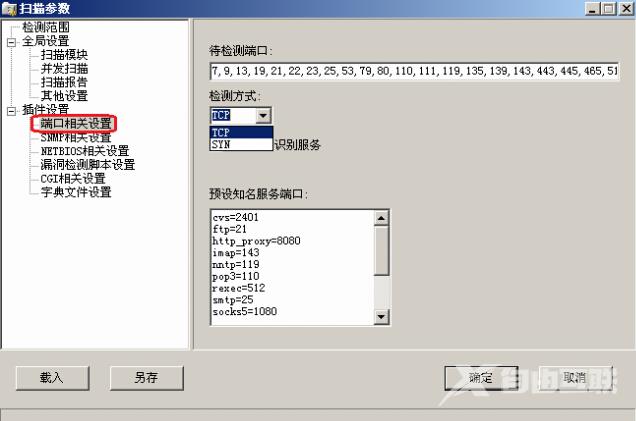
10,在‘端口相关设置’中可以自定义一些需要检测的端口。检测方式TCP、SYN两种,TCP方式容易被对方发现,准确性要高一些,SYN则相反。
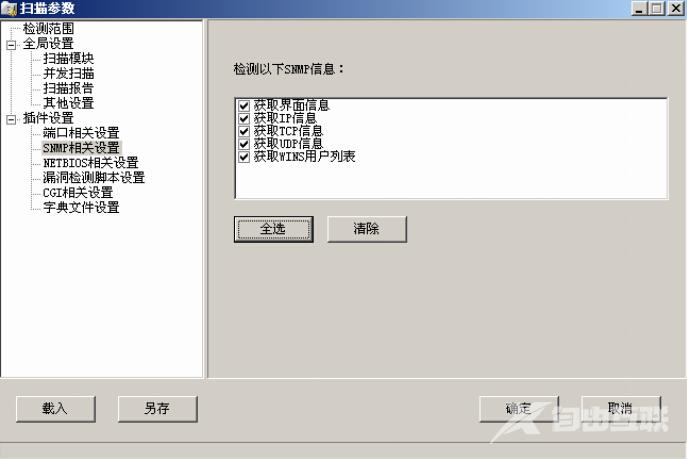
11,‘SNMP相关设置’用来针对SNMP信息的一些检测设置,在监测主机数量不多的时候可以全选;
12,NETBIOS相关设置是针对WINDOWS系统的NETBIOS信息的检测设置,包括的项目有很多种,根据实际需要进行选择。

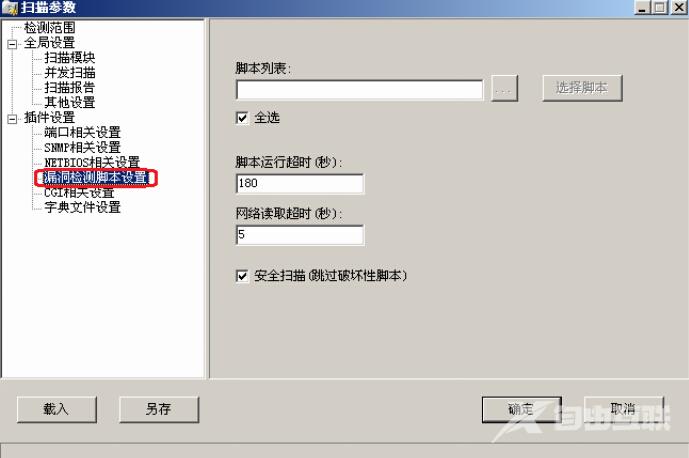
13,如需同时检测很多主机的话,要根据实际情况选择特定的漏洞检测脚本。
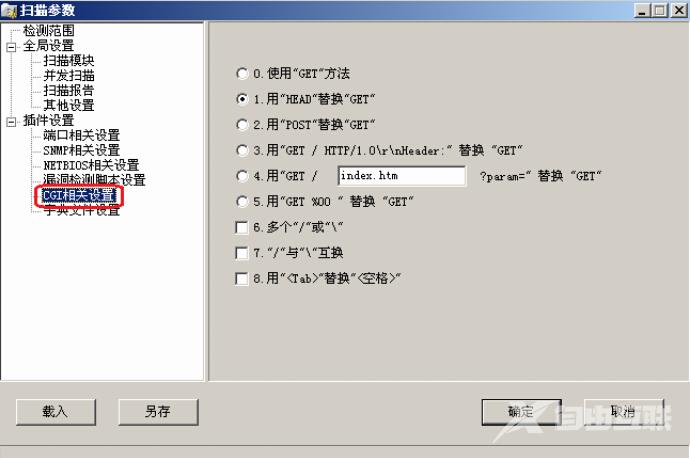
14, ‘CGI相关设置’,默认就可以。
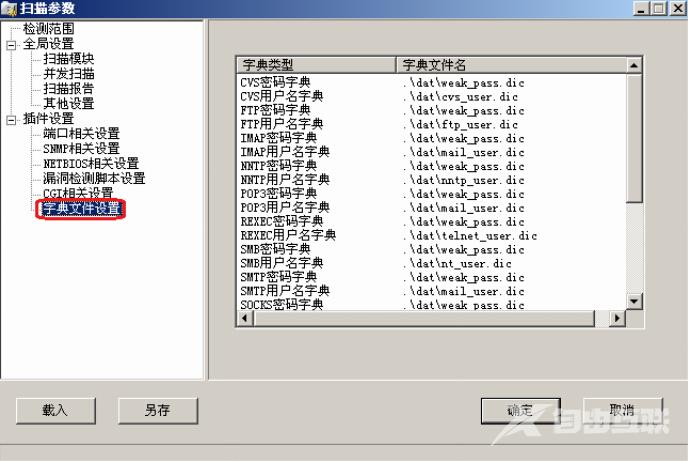
15,‘字典文件设置’是X-SCAN自带的一些用于破解远程账号所用的字典文件,这些字典都是简单或系统默认的账号等。我们可以选择自己的字典或手工对默认字典进行修改。默认字典存放在DAT文件夹中。字典文件越大,探测时间越长,此处无需设置。
16,在‘全局设置’和‘插件设置’2个模块设置好以后,点‘确定’保存设置,然后点击‘开始扫描’就可以了。X-SCAN会对对方主机进行详细的检测。如果扫描过程中出现错误的话会在错误信息中看到。

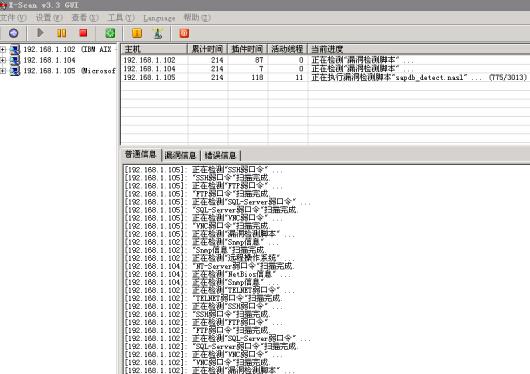
17,扫描过程ing。。。。。
18,扫描结束以后会自动弹出检测报告,包括漏洞的风险级别和详细的信息,以便我们对对方主机进行详细的分析。