有很多小伙伴们不知道Photoshop怎么制作炫酷彩色字体,今天小编就带来Photoshop制作炫酷彩色字体方法,一起来看看吧。 Photoshop怎么制作炫酷彩色字体?Photoshop制作炫酷彩色字体方法 1、
Photoshop怎么制作炫酷彩色字体?Photoshop制作炫酷彩色字体方法
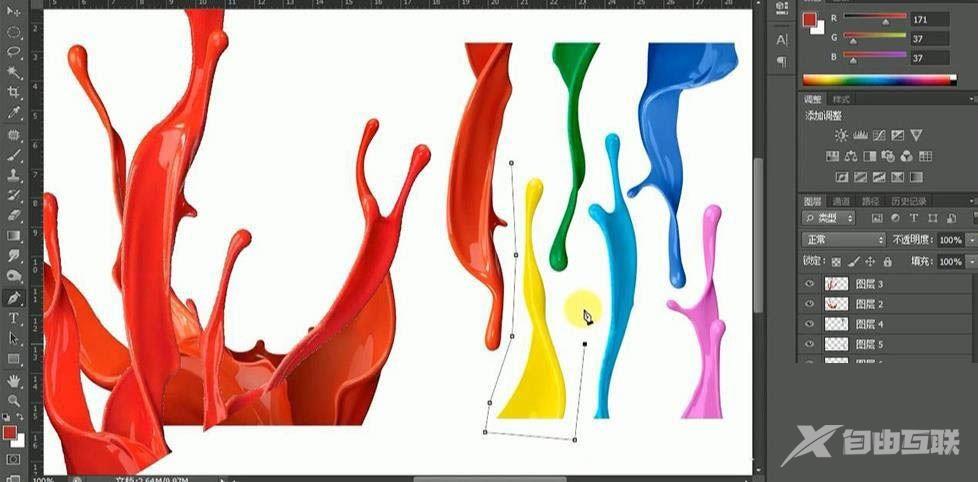
1、首先打开【ps】,新建【1280*720】画布,打开素材,使用【魔棒工具】选取白色部份,【ctrl+shift+i】反向,拖入画布中,调整位置和大小。

2、然后使用【钢笔工具】抠选图形,【ctrl+enter】转换为选区,【ctrl+j】复制,重复至所有油漆,调整大小和位置。
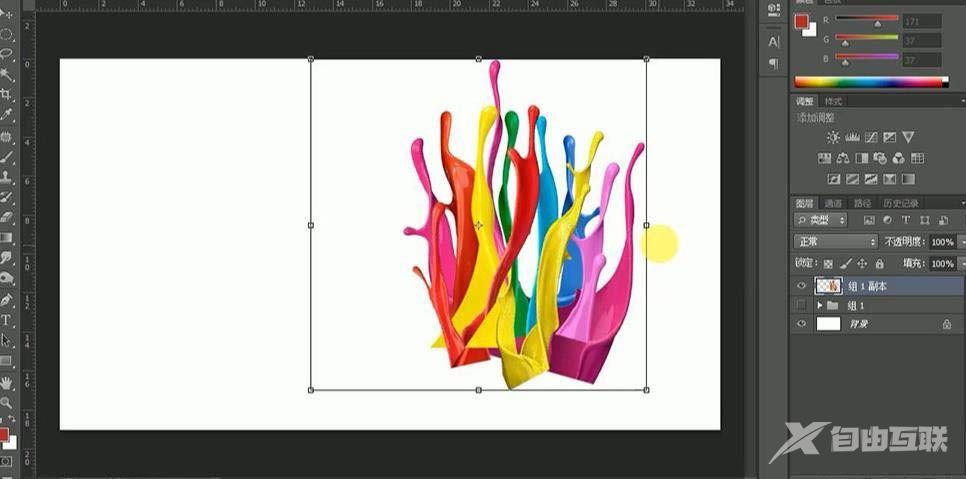
3、【ctrl+u】调整色相饱和度,丰富色彩,【ctrl+e】合并所有图层,【ctrl+t】变换拉长,右键【扭曲】。
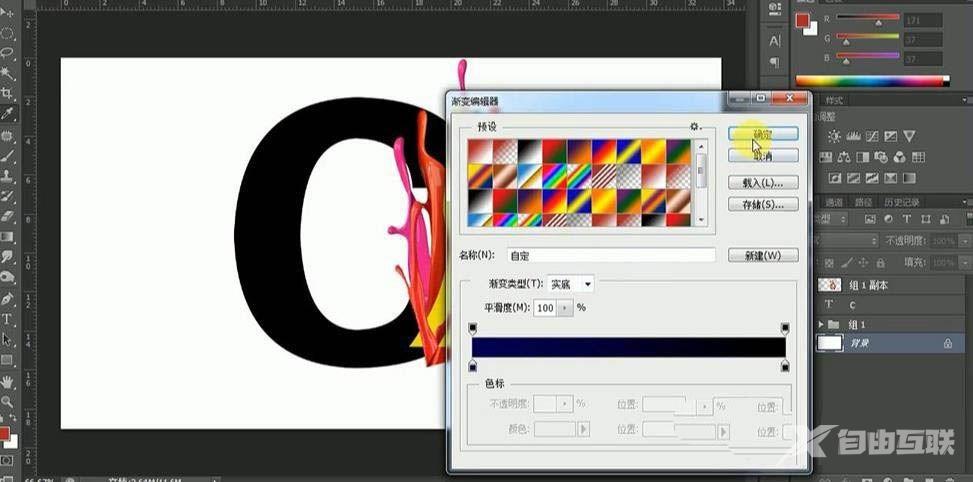
4、输入文案“C”,使用【径向渐变工具】拉制渐变,填充背景。
5、接着将油漆效果按照笔画走向变形,复制,【ctrl+u】调整色相饱和度产生不同色彩丰富度,重复操作步骤,效果如图。
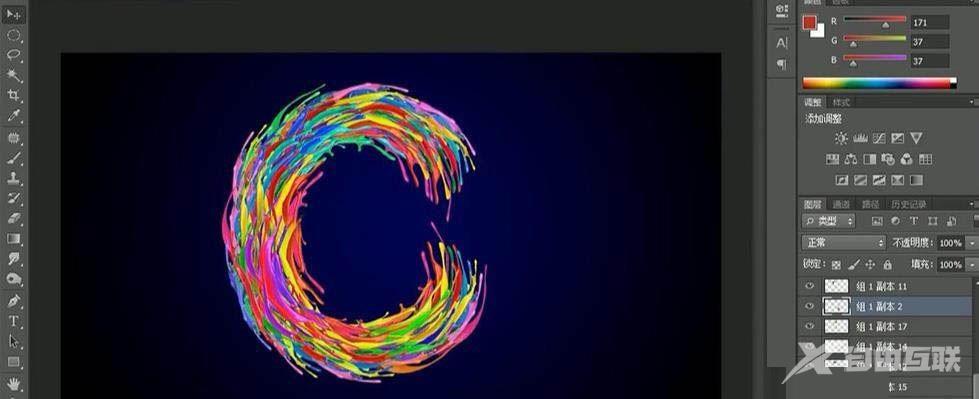
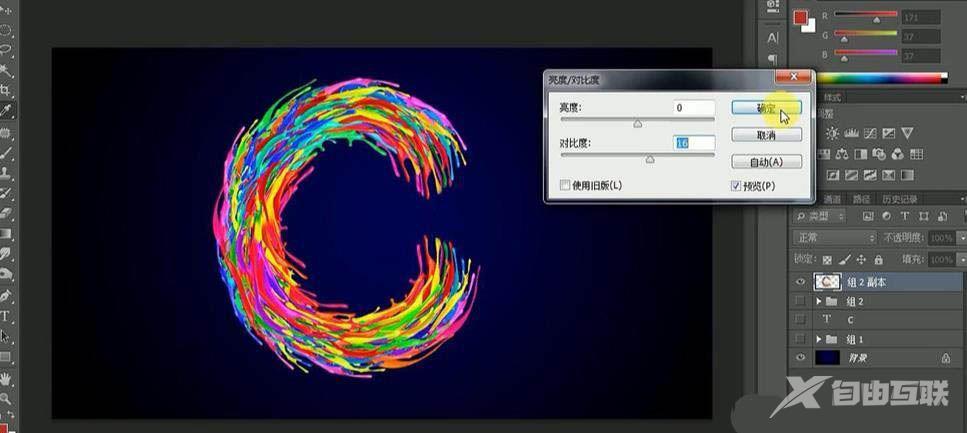
6、合并图层,【ctrl+u】调整色相0饱和度100,亮度对比度16。
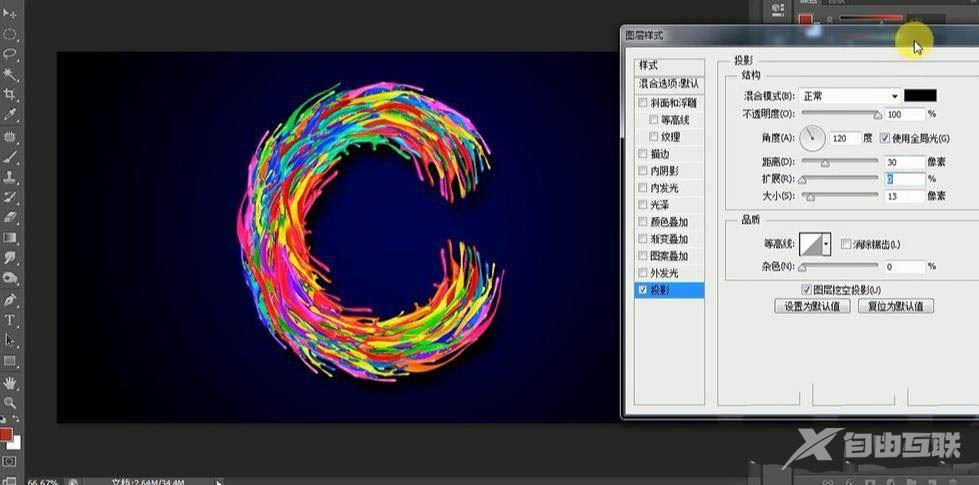
7、再打开【图层样式】-【投影】数据如图。
8、最后效果如图所示。

谢谢大家阅读观看,希望本文能帮到大家!
【文章原创作者:香港显卡服务器 http://www.558idc.com/hkgpu.html 网络转载请说明出处】