昨日,苹果官网上架了新款16GB iPod touch5,此次新版本除了容量不一样,还增加了500万像素的iSight后置摄像头,此外其余地方与32GB 和64GB版本的 iPod touch 基本相同。来看一下国外知名拆解网站iFixit的详尽拆解过程吧。

首先,我们了解一下设备的基本配置:

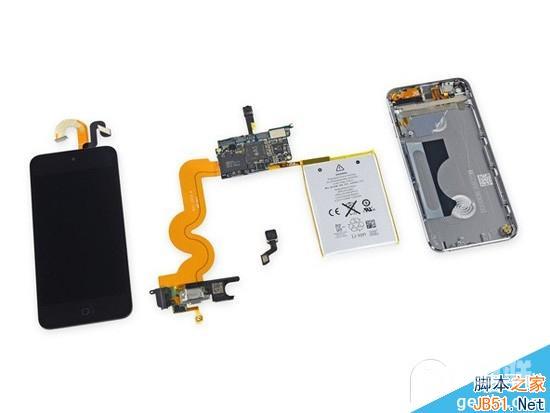
touch_02.jpg
4寸 Retina 显示屏,支持多点触控 IPS 技术
802.11a/b/g/n Wi-Fi + 蓝牙4.0
500万像素,1080p iSight 相机,支持 LED 闪光灯,光圈 f/2.4。前置 FaceTime 120万相机,支持录制30帧每秒的720p视频
三轴陀螺仪+加速度传感器
16GB 闪存
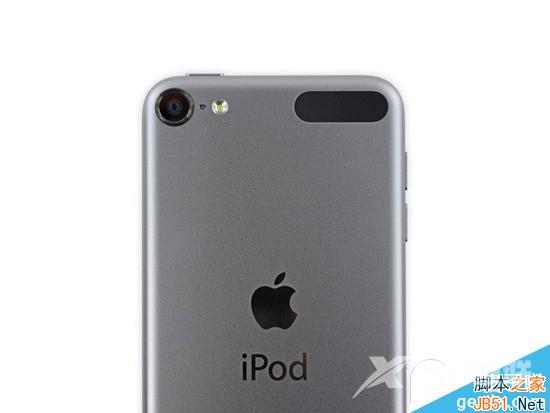
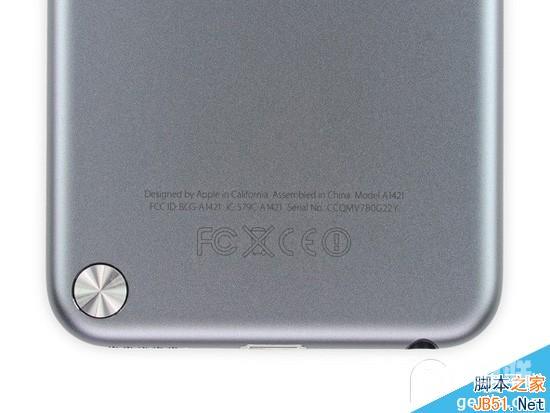
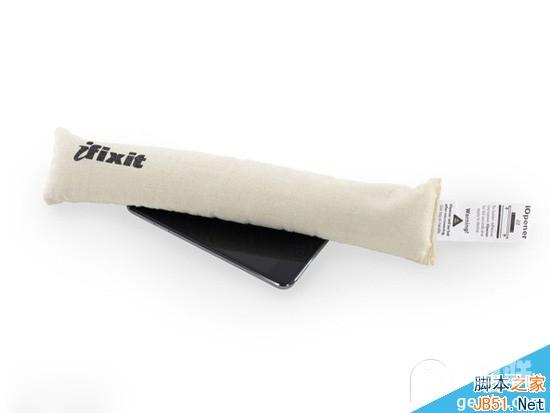
2014款16GB 第五代 iPod touch 开始支持腕带,不过腕带需要单独购买。设备型号为 A1421。型号与32GB 和64GB 的 iPod touch 相同。
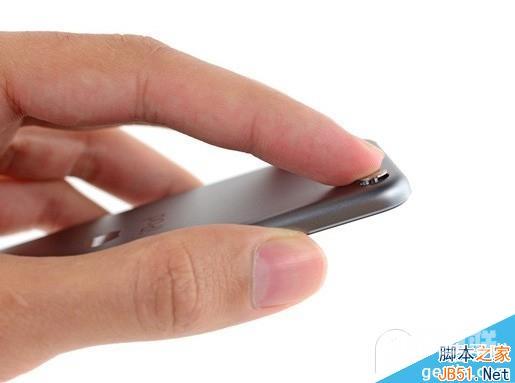
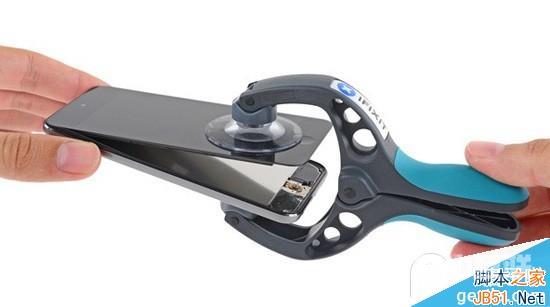
加热屏幕并通过专业设备打开
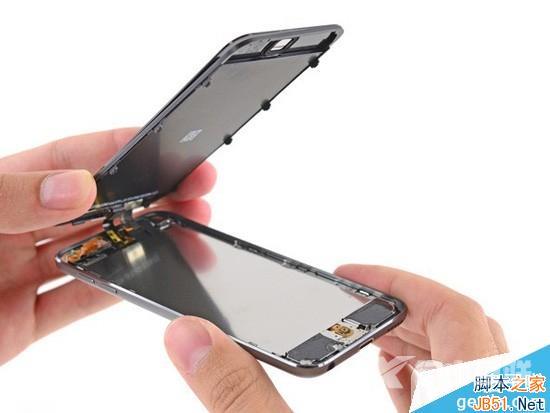
第一个改变:耳机插孔没有胶带覆盖。下面是大容量 iPod touch 中的胶带遮蔽
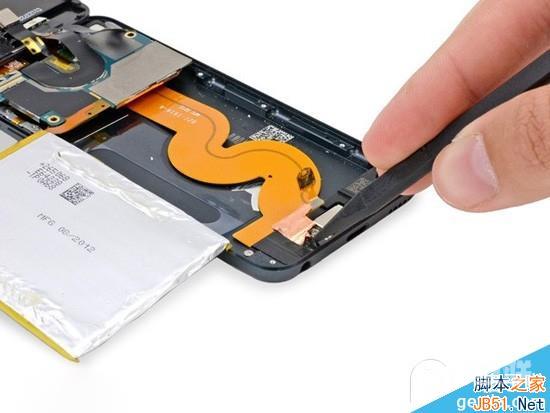
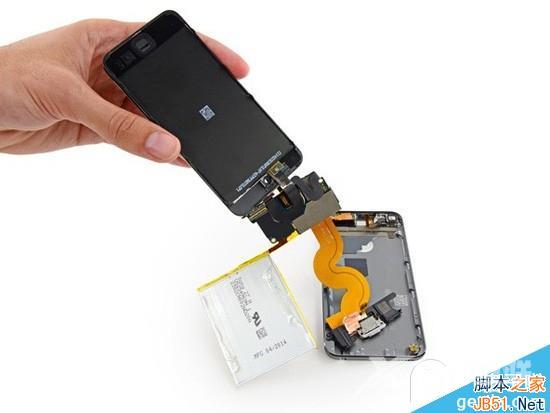
主板、前置摄像头、电池、Lightning 连接器、耳机孔、扬声器和 Home 键全部焊接在一起
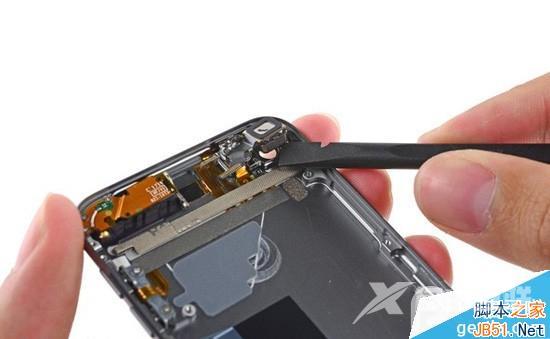
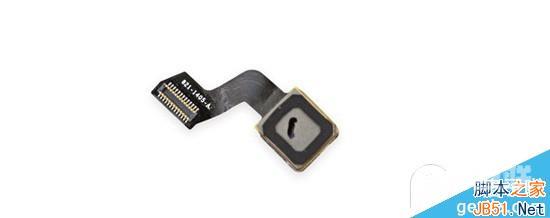
将 iPod touch 的摄像头组件拆下
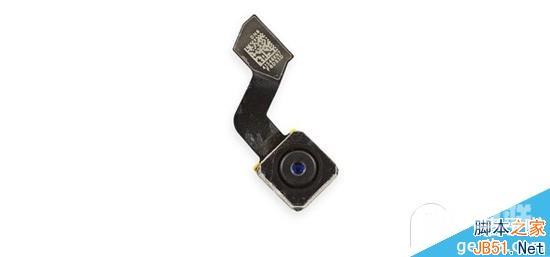
这款摄像头组件与其它 A1421设备相似,采用五组镜片和混合 IR 滤镜,光圈为 f/2.4。可以拍摄500万像素照片或者录制30帧每秒的1080p视频
这就是 iPod touch 的主板了,芯片包括:
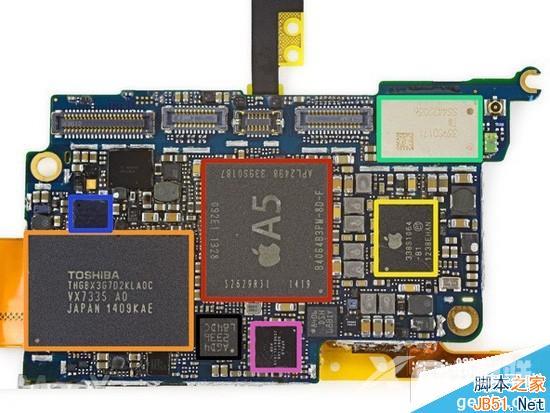
红色:苹果 A5双核处理器,4Gb(512MB)尔必达移动 DDR2内存
橙色:东芝 THGBX3G7D2KLA0C 128Gb(16GB)NAND 闪存
黄色:苹果338S1064-B1 电源管理 IC
绿色:Murata 339S0171 WiFi 模块
蓝色:博通 BCM5976 触控屏控制器
粉色:338S1146 苹果/Cirrus 音频解码器
黑色:意法半导体 AGD4 2336 L84DC 低能耗三轴陀螺仪
主板背面的芯片包括:
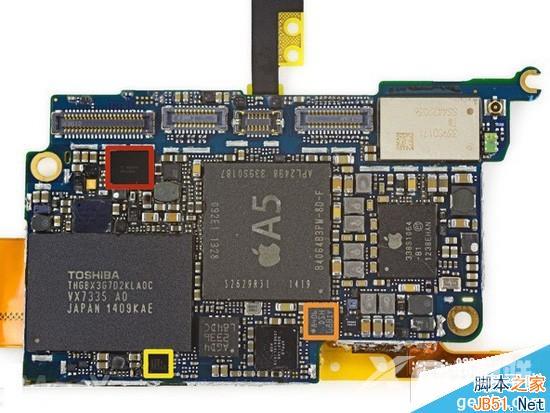
红色:德州仪器 343S0628 触控屏控制器
橙色:意法半导体 8406 DSH 08BIY
黄色:恩智浦 NXP 半导体 1608A1显示屏接口控制器
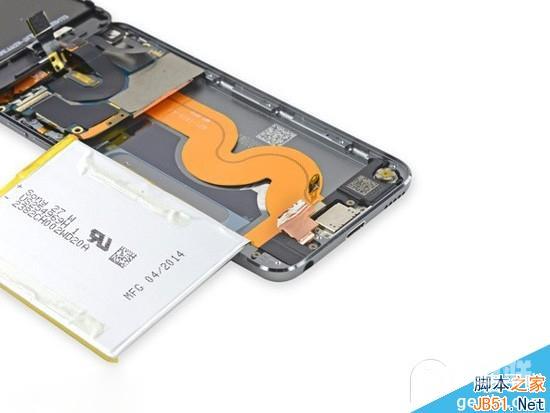
隐藏在 Lightning 连接器和耳机孔之间的是:
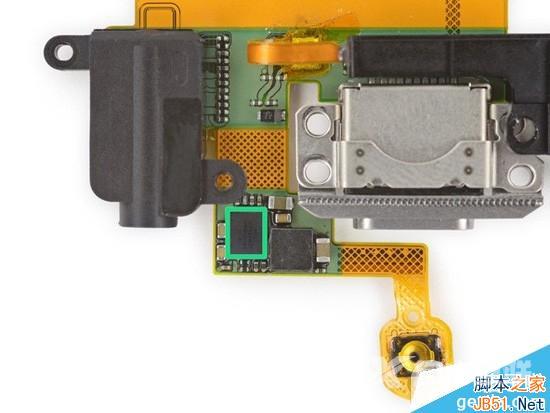
绿色:苹果338S1077 Cirrus 音频解码器
拆解完毕。 16GB 2014款第五代 iPod touch 内部没有太大改变,维修依然非常困难。当然更换组件并非不可能。很多组件都焊接在一起。iPod touch 外部没有任何螺丝,各种卡扣和粘合剂让设备组装在一起。