我们在word制作的时候,为了使其看起来更加美观一般就会为其增加背景图,但有时会出现背景图不适合需要更换的等等情况,那么wps便签壁纸如何设置背景呢?下面就让自由互联小编来
我们在word制作的时候,为了使其看起来更加美观一般就会为其增加背景图,但有时会出现背景图不适合需要更换的等等情况,那么wps便签壁纸如何设置背景呢?下面就让自由互联小编来告诉大家wps便签壁纸设置背景方法吧。
工具/原料:
系统版本:安卓系统
品牌型号:华为p40
方法/步骤:
进入个性主题设置:
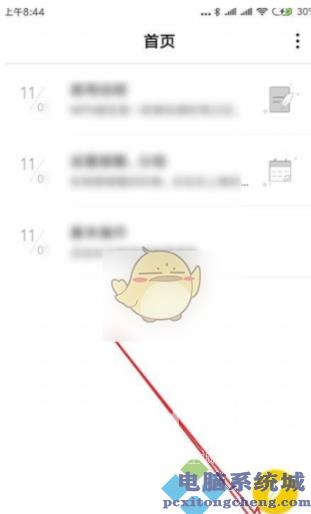
1、wps便签壁纸如何设置背景呢?首先打开的Wps便签主界面,点击右下角我的标签。
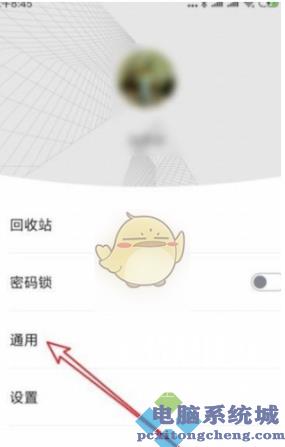
2、这时将会打开Wps便签我的详情页面,在页面中我们点击一下通用菜单项。
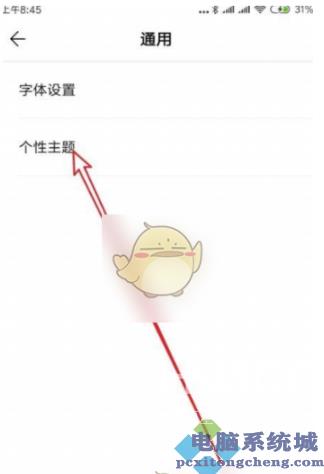
3、在打开的通用设置界面当中,即可看到一个个性主题的菜单项。
4、打开个性主题界面之后,即可看到所有的个性主题的列表,选择一个自己所喜欢的主题。
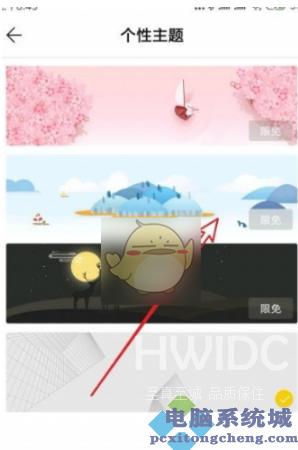
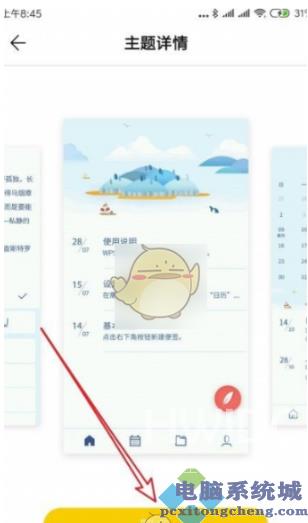
5、点击后即可查看到该主题的详情页面,如果想要使用该主题的话,点击下面的限免按钮即可。
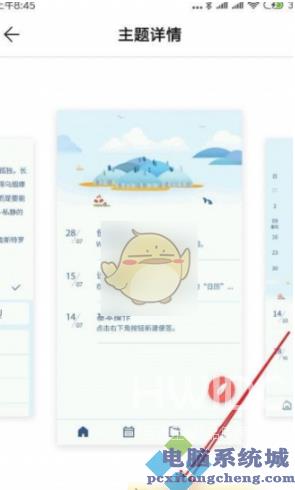
6、自动下载安装完成后,点击使用就可以啦。
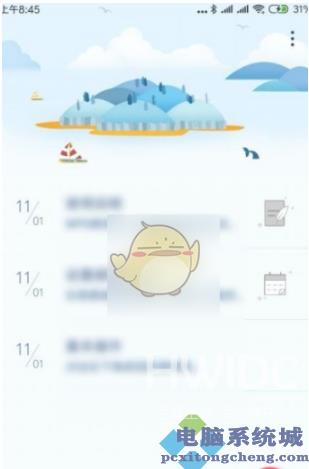
7、返回到Wps便签的主界面,可以看到当前的主题已修改为我们刚刚设置的主题了。
总结:
上述就是wps便签壁纸设置背景方法的全部内容,有需要的小伙伴可以参考以上教程。