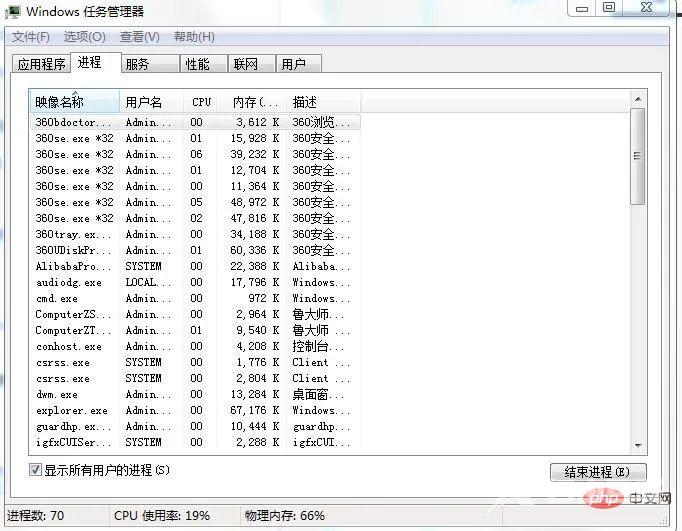
相信大家对任务管理器都不是很陌生了,Ctrl+Alt+Del即可打开,然后点击启动任务管理器,或者右击任务栏-启动任务管理器即可启动任务管理器,启动之后界面如下:

可以看出它列举出了一些重要的参数,比如进程数量,CPU使用率,物理内存,接下来我们就来一一列举出来。
编辑器:sublime text 3
模块:psutil tkinter
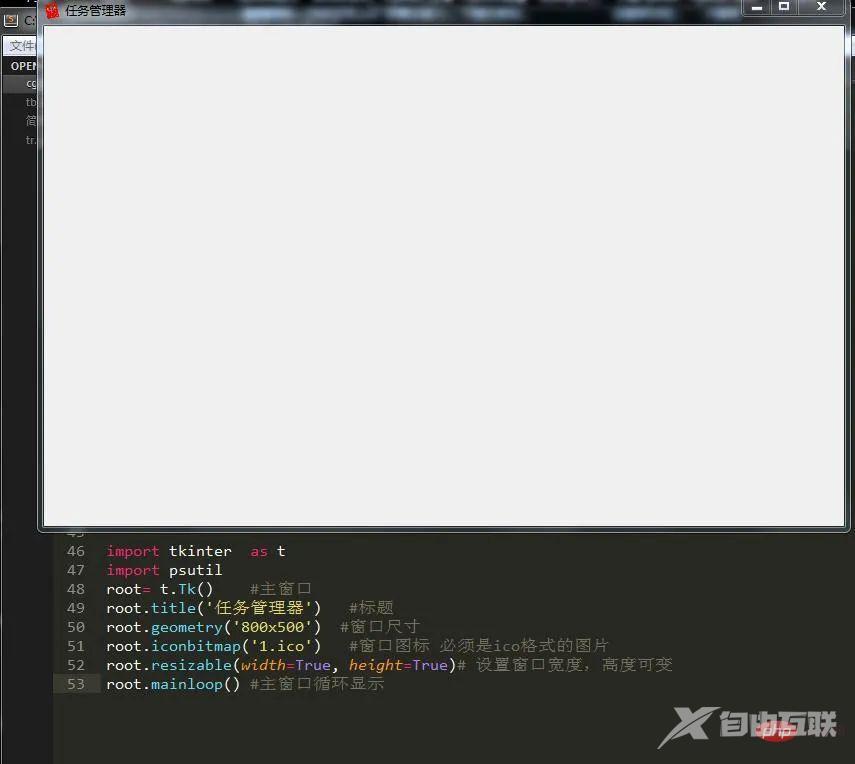
要想实现任务管理器,首先我们写一个界面出来,这里我们运用tkinter编写个界面出来:

我们先实现下它的菜单栏,这里用到tkinter的Menu模块,不知道大家有没有印象,那么开始吧。
1)首先我们需要创建一个主菜单,然后将各个子菜单装进去:m=t.Menu(root)登录后复制
#文件菜单
file=t.Menu(m,tearoff=False)
m.add_cascade(label='文件', menu=file)
file.add_command(label='新建任务',accelerator='(N)')
file.add_command(label='退出任务栏管理器',command=root.quit,accelerator='(x)')


#选项菜单
ii=t.IntVar()
ii.set(1)
o=t.Menu(m,tearoff=False)
m.add_cascade(label='选项',menu=o)
o.add_radiobutton(label='前端显示',variable=ii, value=0)
o.add_radiobutton(label='使用时最小化',variable=ii, value=1)
o.add_radiobutton(label='最小化时隐藏',variable=ii, value=2)


#查看菜单
v=t.Menu(m,tearoff=False)
m.add_cascade(label='查看',menu=v)
v.add_command(label='立即刷新')
#二级菜单
iv=t.IntVar()
iv.set(1)
s=t.Menu(v,tearoff=False)
v.add_cascade(label='更新速度',menu=s)
s.add_radiobutton(label='高',variable=iv, value=0)
s.add_radiobutton(label='普通',variable=iv, value=1)
s.add_radiobutton(label='低',variable=iv, value=2)
s.add_radiobutton(label='暂停',variable=iv, value=3)
v.add_command(label='选项列')


#帮助菜单
h=t.Menu(m,tearoff=False)
m.add_cascade(label='帮助',menu=h)
h.add_command(label='任务管理器帮助主体')
h.add_command(label='关于任务管理器')
登录后复制
root.configure(menu=m)登录后复制
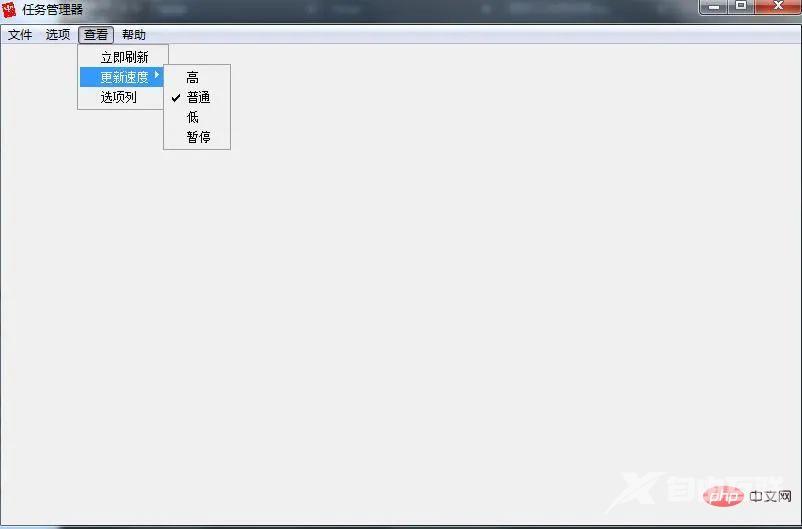
最后结果图,可以看到,基本和任务管理器差不多。

界面写完了我们该向界面添加组件了,由任务管理器那张图我们可以看到它有一个切换任务窗口的按钮:
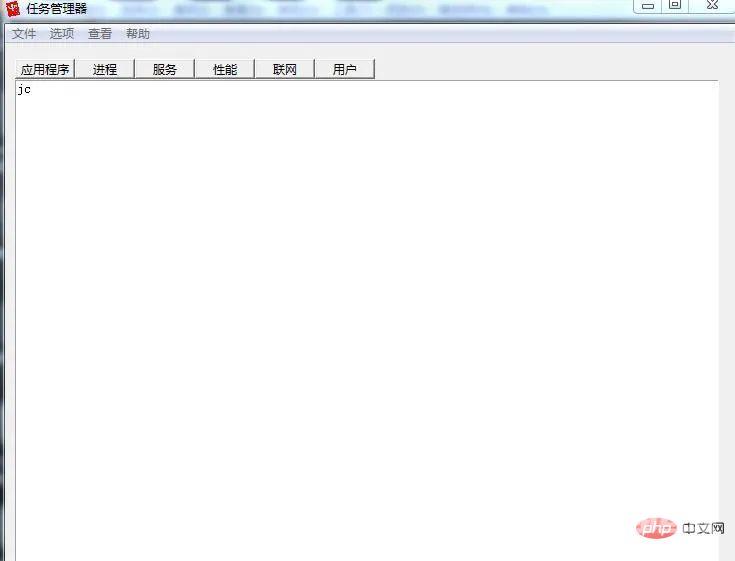
1)编写按钮b1=t.Button(root,text='应用程序',command=yy) b2=t.Button(root,text='进程',command=jc) b3=t.Button(root,text='服务',command=fw) b4=t.Button(root,text='性能',command=xn) b5=t.Button(root,text='联网',command=lw) b6=t.Button(root,text='用户',command=yh) #定位 b1.place(x=10,y=15,height=20,width=60) b2.place(x=70,y=15,height=20,width=60) b3.place(x=130,y=15,height=20,width=60) b4.place(x=190,y=15,height=20,width=60) b5.place(x=250,y=15,height=20,width=60) b6.place(x=310,y=15,height=20,width=60)登录后复制
text=t.Text(root,width=100,height=40)
text.place(x=10,y=36)
登录后复制
def yy():
    text.delete(1.0,'end')
    text.insert('insert','yy')
def jc():
    text.delete(1.0,'end')
    text.insert('insert','jc')
def fw():
    text.delete(1.0,'end')
    text.insert('insert','fw')
def xn():
    text.delete(1.0,'end')
    text.insert('insert','xn')
def lw():
    text.delete(1.0,'end')
    text.insert('insert','lw')
def yh():
    text.delete(1.0,'end')
text.insert('insert','yh')登录后复制这样就实现了不同按钮之间切换不同的界面。
我们使用标签来放置这些参数,因为这三项的参数是可变的,所以暂时只写前面名字:
t1=t.Label(text='进程数:')
t2=t.Label(text='CPU 使用率:')
t3=t.Label(text='物理内存:')
t1.place(x=10,y=580,width=120)
t2.place(x=150,y=580,width=120)
t3.place(x=300,y=580,width=120)
登录后复制
我们可以使用模块Scrollbar来实现,安装滚动条之前需要做两件事情:
1.指定该组件的yscrollbarcommand参数为Scrollbar的set()方法
2.指定Scrollbar 的 command 参数为该组件的 yview() 方法
接下来我们实现它:
sb=t.Scrollbar(root)
sb.pack(side='left',fill='y')
text=t.Text(root,width=100,height=40)
text.place(x=10,y=36)
sb.config(command=text.yview) #文本框内容随滚动条滚动
text.config(yscrollcommand=sb.set(0.1,0.3)) #Y轴填充
登录后复制
t1=t.Label(text='')
t2=t.Label(text='')
t3=t.Label(text='')
登录后复制
(注:这里只是隐藏部件,万不可用destroy销毁部件)
7)实现状态栏标签功能现在我们来实现这三个标签的内容。想必大家刚刚应该看到了,上面的标签没有设置任何内容,那么这是为什么呢?我们都知道,一旦你把内容添加进去,它就会紧随其后并不会覆盖,所以初始值必须是空,才不至于不能覆盖值。那么我们来看下具体实现过程吧。
def jcs():
  t1.configure(text='进程数:'+str(len(psutil.pids())))
  root.after(3000,jcs)
def cpu():
  pp=str(ceil(psutil.cpu_percent(1)))
  t2.configure(text='CPU 使用率:'+pp+'%')
  root.after(1500,cpu)
def wlnc():
  f= psutil.virtual_memory().free #剩余内存
  t=psutil.virtual_memory().total#总内存
  wl= float(t-f)/float(t) #为使得最后值更精确,必须用float
  t3.configure(text='物理内存:'+str(floor(wl*100))+'%')
  root.after(2000,wlnc)
登录后复制
这里的三个函数就是分别实现上面的三个功能的,最后将它添加到窗口事件即可。
8)功能编写可以看到这页主要是系统运行的一些应用程序的名字,所以我们可以这样这里我们需要用到模块psutil 来获取系统的关键参数。
1.编写应用程序选项应用程序选项包含进程号和进程名和进程文件路径,所以可以用psutil进行获取,方法如下:
text.insert('insert','进程号   '+'进程名      '+'  进程文件路径'+'\n')
  for y in psutil.pids():
    a=psutil.Process(y)
    if a.name()=='System Idle Process':
      continue
    else:
text.insert('insert',str(y)+' '+a.name()+' '+a.exe()+'\n\n')登录后复制这样就可以将这些内容添加进来了。
2.编写进程选项这里我们可以投机取巧,使用cmd中的tasklist命令,它可以打印出当前系统所有在运行的进程的信息。
mm=os.popen('tasklist')
text.insert('insert',mm.read())登录后复制也是使用cmd中的sc 命令,它相当于一个扫描器,可以得到很多有用的信息。
mm=os.popen('sc query type= service')
text.insert('insert',mm.read())登录后复制这个内容会比较多点,因为我们要得到比较多的参数和把组件放在多行文本框中,于是增加了一些冗余代码:
l1=t.Label(root,text='开机时间:')  tm=datetime.datetime.fromtimestamp(psutil.boot_time()).strftime("%Y-%m-%d %H:%M:%S")
  l2=t.Label(root,text=str(tm))
  l3=t.Label(root,text='当前时间:')
  l4=t.Label(root,text='')
  dq=time.strftime('%Y-%m-%d %H:%M:%S',time.localtime(time.time()))
  l4.configure(text=str(dq))
  l5=t.Label(root,text='物理内存使用情况(MB):')
  l6=t.Label(root,text='')
  jh=psutil.virtual_memory() #物理内存
  tt=int((jh.total)/1024/1024) #总量
  us=int((jh.used)/1024/1024) #使用量
  fr=int((jh.free)/1024/1024) #剩余量
  l6.configure(text='总量:' + str(tt) +'\n'+'使用:'+str(us) +'\n'+'剩余:'+str(fr))
  l7=t.Label(root,text='交换内存使用情况(MB):')
  l8=t.Label(root,text='')
  hj=psutil.swap_memory() #交换内存
  ht=int((hj.total)/1024/1024)
  hu=int((hj.used)/1024/1024)
  hf=int((hj.free)/1024/1024)
  l8.configure(text='总量:' + str(ht) + '  '+'使用:'+str(hu) +'  '+'剩余:'+str(hf))
  text.window_create('insert',window=l1) #添加组件到多行文本框
  text.window_create('insert',window=l2)
  text.insert('insert','\n\n')
  text.window_create('insert',window=l3)
  text.window_create('insert',window=l4)
  text.insert('insert','\n\n')
  text.window_create('insert',window=l5)
  text.window_create('insert',window=l6)
  text.insert('insert','\n\n')
  text.window_create('insert',window=l7)
text.window_create('insert',window=l8)登录后复制这里我们只获取网卡的收发流量,因此:
n = psutil.net_io_counters()
r=str(float(n.bytes_recv / 1024 / 1024))+'MB'
s= str(float(n.bytes_sent / 1024 / 1024))+'MB'
text.insert('insert','网卡接收流量: '+str(r)+'\n'+'网卡发送流量:'+str(s)+'\n')登录后复制这里我们需要获取当前的用户数:
use='    用户'+'      '+'     状态'+'\n'
text.insert('insert',use)
for y in psutil.users():
text.insert('2.0',str(y.name)+' '+'运行中。。。。'+'\n')登录后复制这样就完成了任务管理器的编写了。

通过对任务管理器的了解,使我们认识到了系统中的一些至关重要的信息,比如说通过进程名可以获取进程号,通过进程号可以获取进程名,cmd命令的用法,可以说是相当亲民了,希望本文可以帮到大家。
