https://learn.microsoft.com/zh-cn/windows-server/virtualization/hyper-v/deploy/set-up-hosts-for-live-migration-without-failover-clustering
前提条件:
1.属于同一 Active Directory 域的源计算机和目标计算机,或属于相互信任的域。
2.有权执行各种步骤的用户帐户。 源和目标计算机上的本地 Hyper-V 管理员组或管理员组的成员身份满足此要求,除非你正在配置约束委派。
3.在源和目标服务器上安装的 Windows Server 2016 或 Windows Server 2012 R2 中的 Hyper-V 角色。
4.安装 Hyper-V 管理工具
配置步骤:
一.使用Powershell配置:
1.启用Live Migrations:
Enable-VMMigration -ComputerName hyper-v01 -Passthru

2.配置身份认证协议:
Set-VMHost -ComputerName hyper-v01 -VirtualMachineMigrationAuthenticationType Kerberos -Verbose -Passthru

3.配置委派:
Get-ADComputer -Identity Hyper-v01 | Set-ADAccountControl -TrustedForDelegation $false -TrustedToAuthForDelegation $true -PassThru

注意:-TrustedToAuthForDelegation 表示 “使用任何身份认证协议(Use any authentication protocol)”
-TrustedForDelegation 表示 "仅使用Kerberos(Use Kerberos only)"
Get-ADComputer -Identity Hyper-V01 | Set-ADObject -Add @{"msDS-AllowedToDelegateTo"="Microsoft Virtual System Migration Service/Hyper-V02.ykx.ai", "cifs/Hyper-V02.ykx.ai","Microsoft Virtual System Migration Service/Hyper-V02","cifs/Hyper-V02"}

get-adcomputer -Identity hyper-v01 -Properties msDS-AllowedToDelegateTo | select -ExpandProperty msDS-AllowedToDelegateTo

在多个Host主机上运行同样的命令,主机名更换一下即可。
4.迁移:
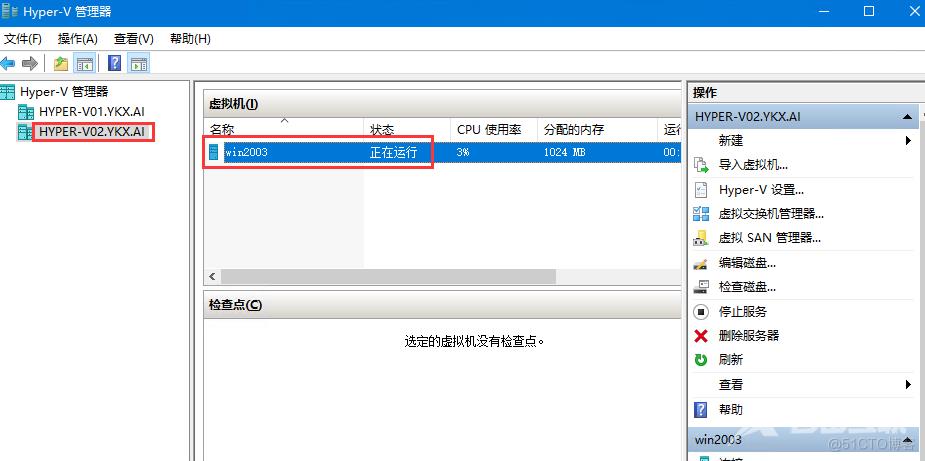
Move-VM -Name "win2003" -ComputerName Hyper-v02 -DestinationHost Hyper-v01 -IncludeStorage -DestinationStoragePath c:\vms\win2003 -Passthru

二.使用GUI配置:
1.打开Hyper-V 管理工具:添加好多个Hyper-V主机,选择“Hyper-V设置”:启用“实时迁移”
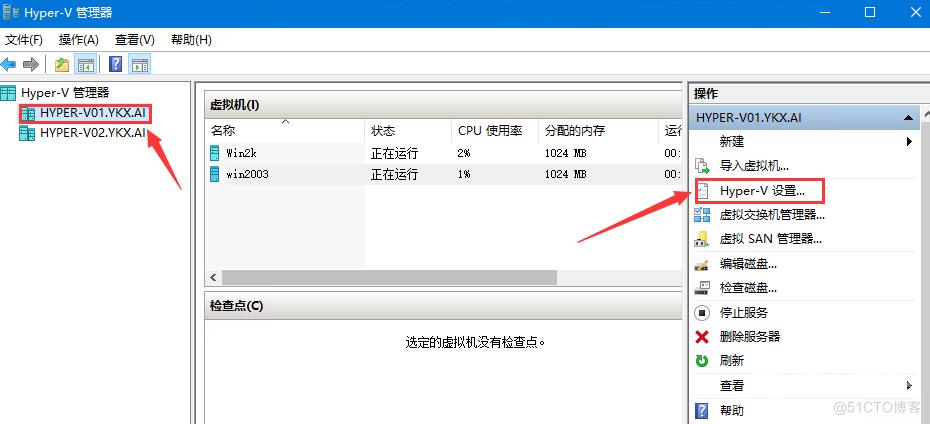
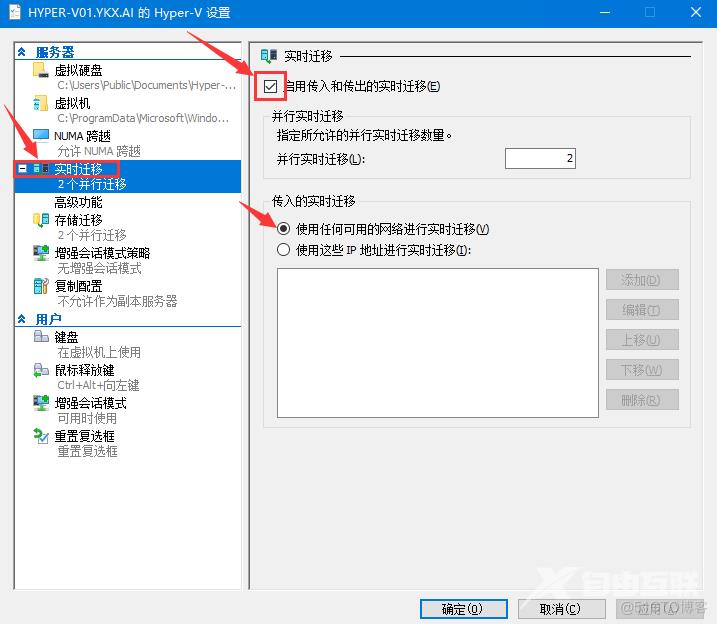
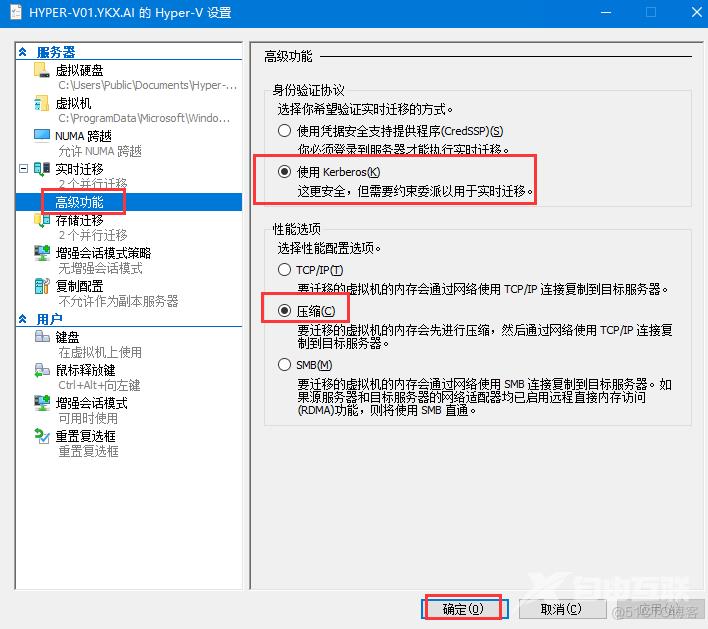
每个主机做以上相同设置。
2.配置委派:打开“Active Directory用户和计算机”
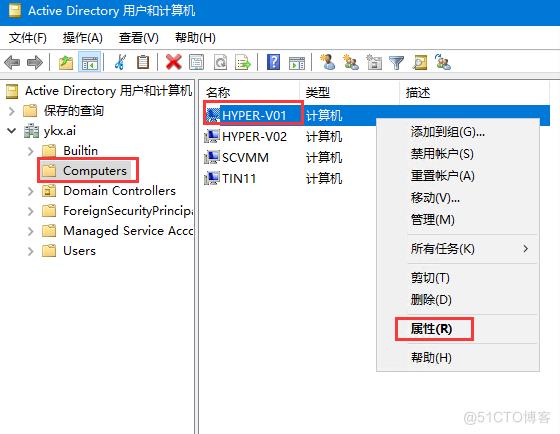
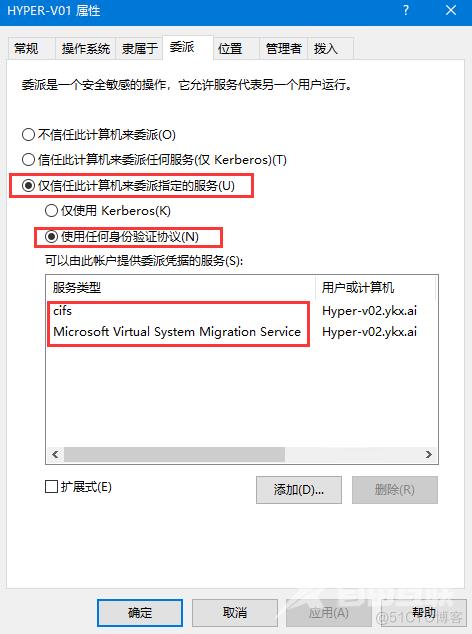
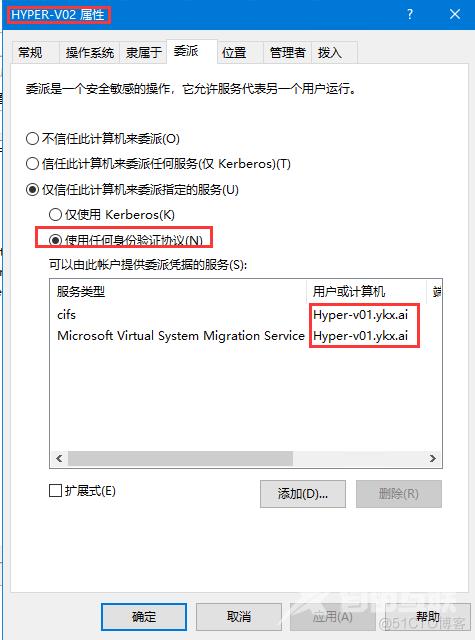
这里如果是windows 2016以上主机,就是要选择“使用任何身份验证协议”,
如果选择“仅使用Kerberos”,迁移时就会出现错误: “No credentials are available in the security package (0x8009030E)”
powershell查看委派配置:
get-adcomputer -Identity ComputerAccount -Properties msDS-AllowedToDelegateTo | select -ExpandProperty msDS-AllowedToDelegateTo

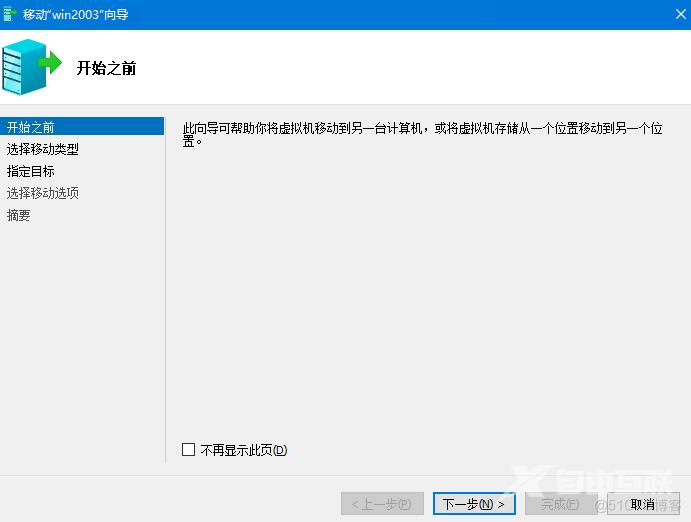
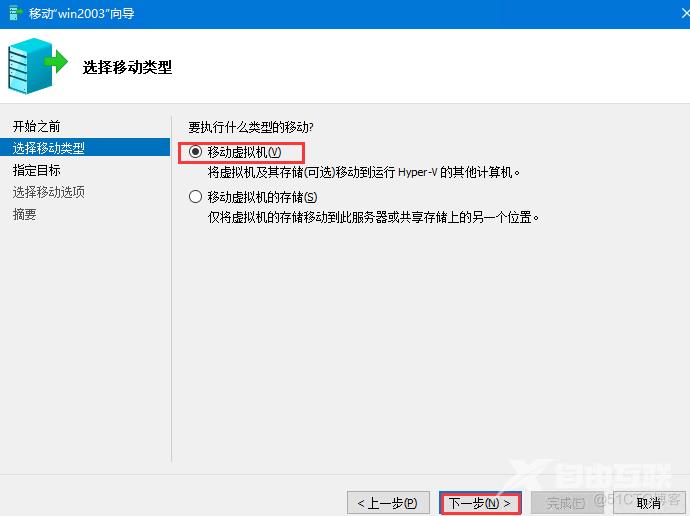
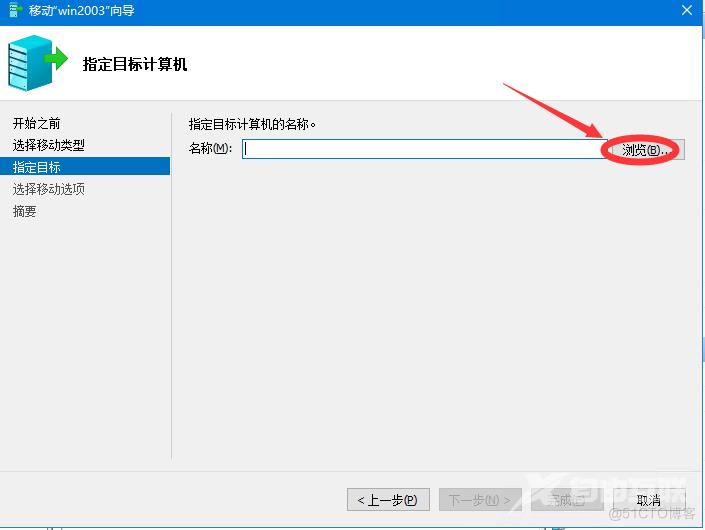
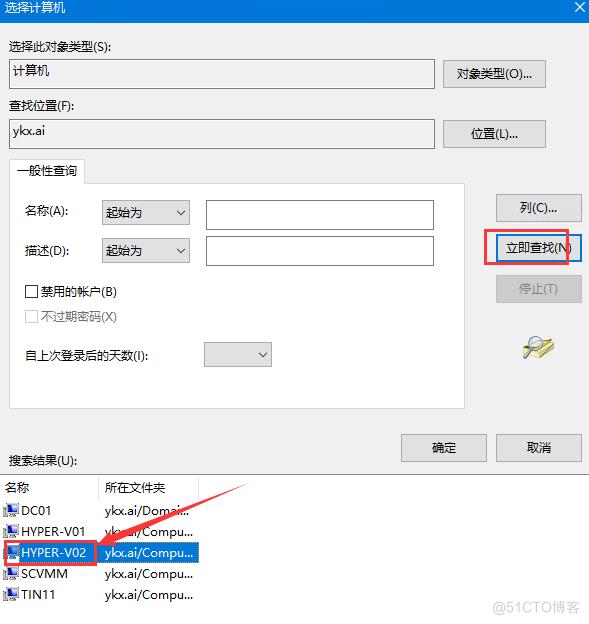
3.迁移:
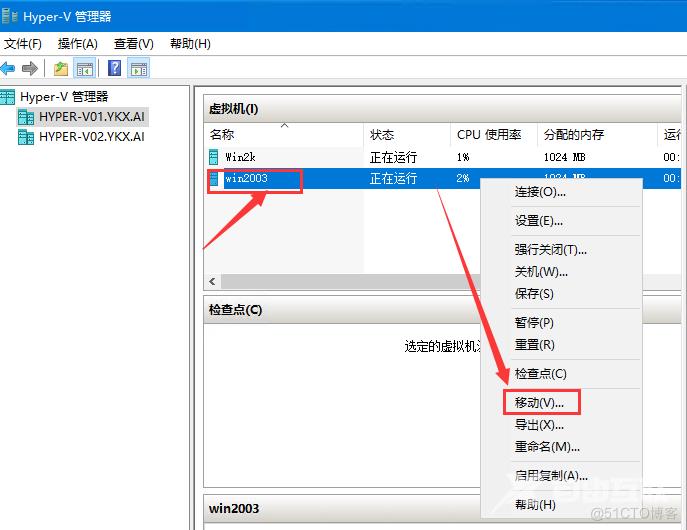
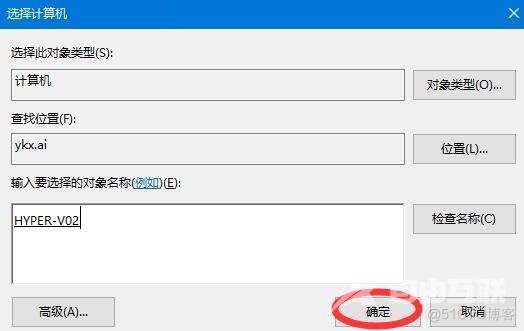
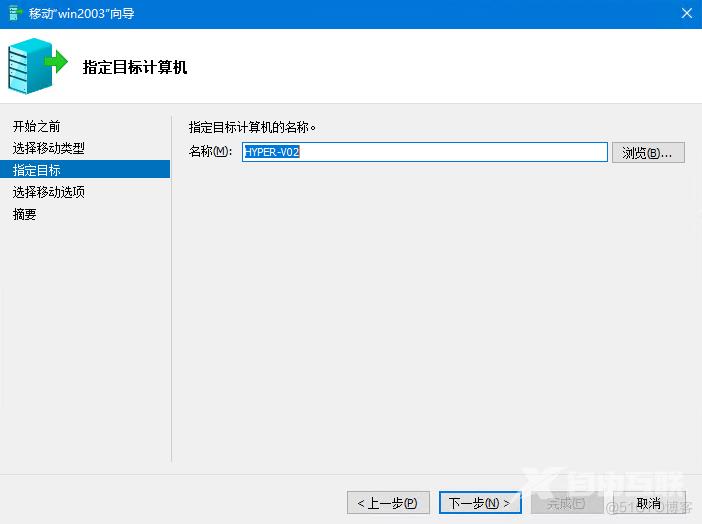
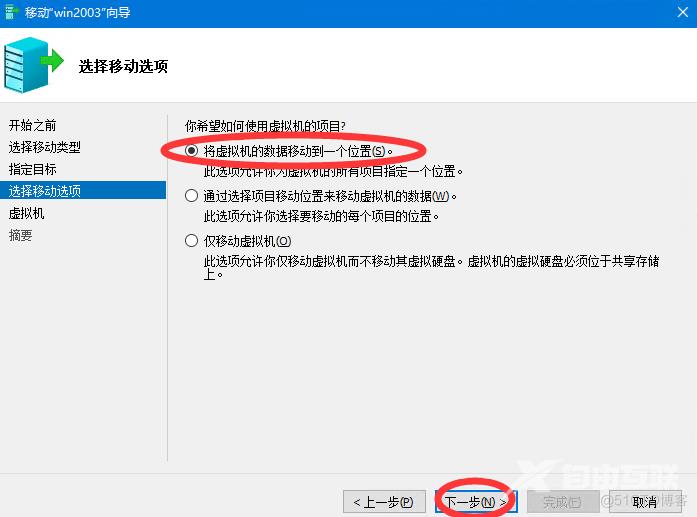
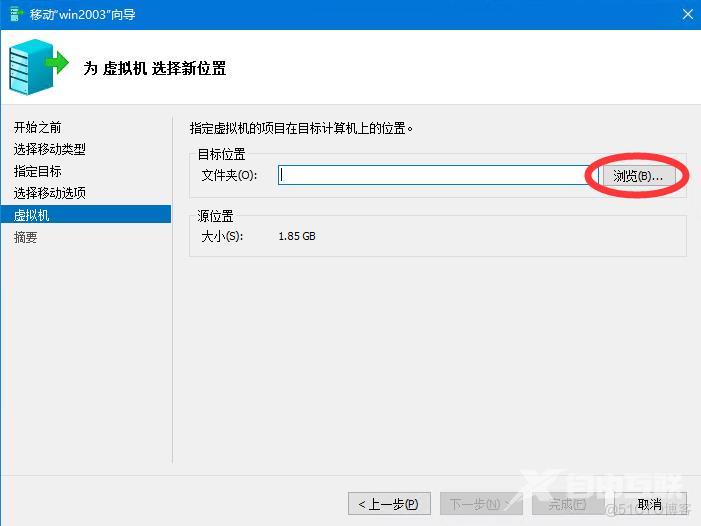
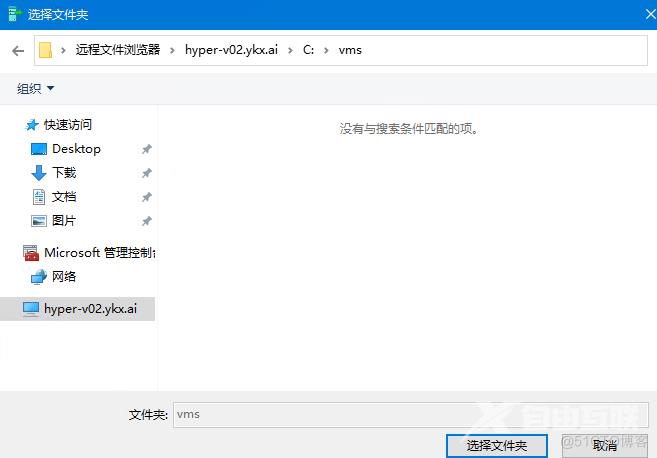
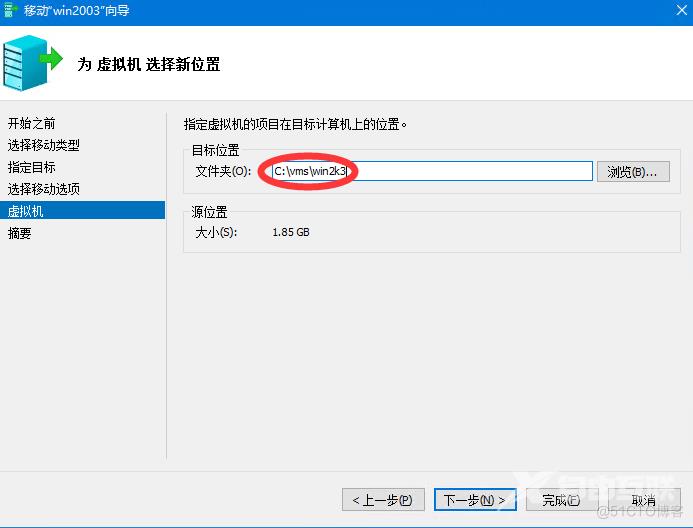
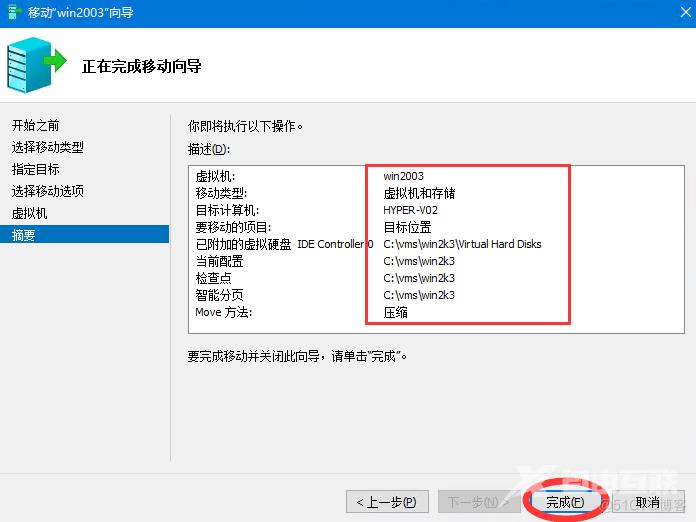
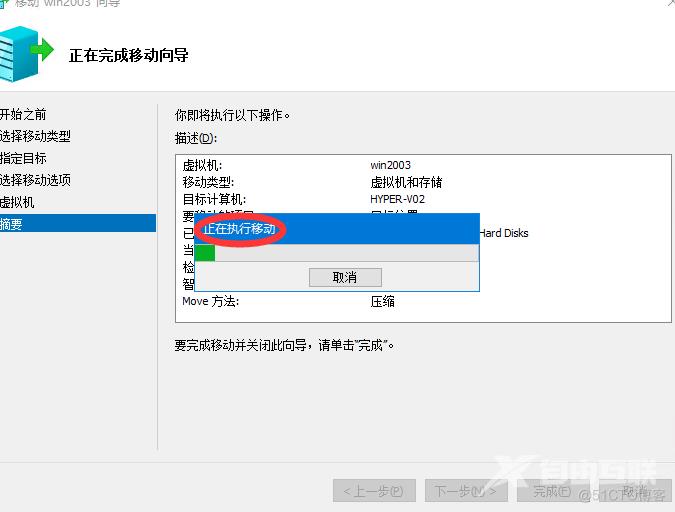
等待迁移完成
