很多新手小伙伴还不了解爱笔思画x怎么用,所以下面小编就带来了爱笔思画x的使用教程,有需要的小伙伴赶紧来看一下吧。 爱笔思画x怎么用?爱笔思画x使用教程 1、首先打开爱笔思画
很多新手小伙伴还不了解爱笔思画x怎么用,所以下面小编就带来了爱笔思画x的使用教程,有需要的小伙伴赶紧来看一下吧。
爱笔思画x怎么用?爱笔思画x使用教程
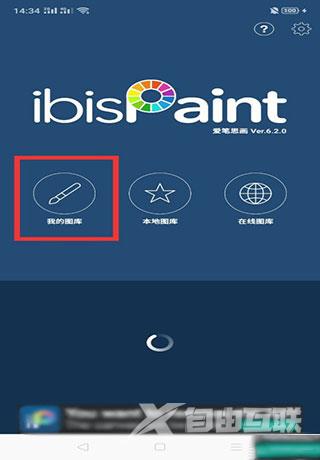
1、首先打开爱笔思画x,点击我的图库进入,如下图所示:
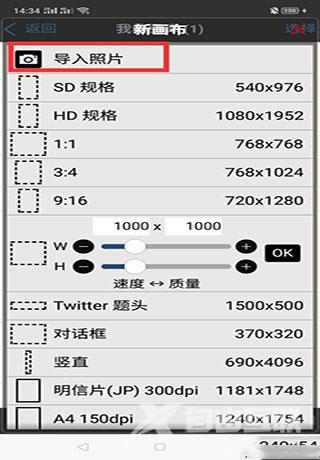
2、在新建画布处,选择导入照片,如下图所示:
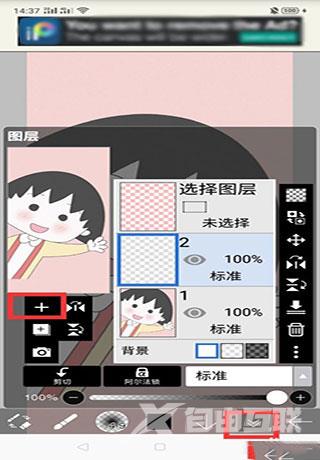
3、小编导入了一张樱桃小丸子的照片,点击图中红框处,新建一个图层,如下图所示:
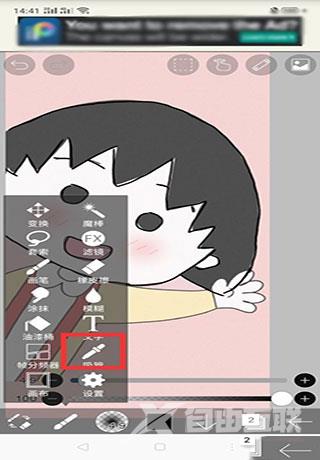
4、接着用画笔,小编选的是软蘸笔4.9粗细,将小丸子的轮廓描出来,如下图所示:

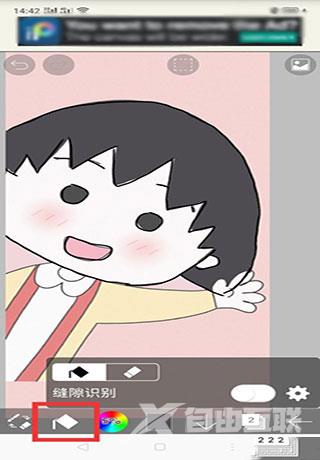
5、然后就是上色,在工具处选择吸管,对着原来有颜色的地方吸色,如下图所示:
6、接着选择油桶,进行铺色,如下图所示:
7、大致把颜色上完了之后,打开图层位置,隐藏最下面的图层,如下图所示:
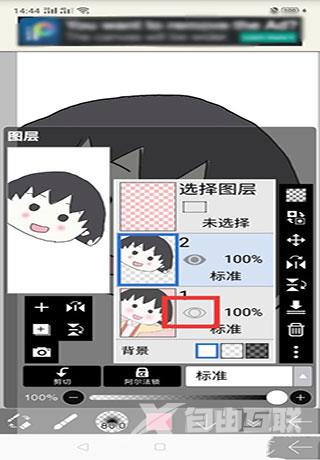
8、这时我们就得到了爱笔思画的初级作品了,如下图所示:

上面就是小编为大家带来的爱笔思画x怎么用的全部内容,更多精彩教程尽在自由互联。