有很多朋友还不知道学浪学生版怎么上传课程,所以下面小编就讲解了学浪学生版上传课程的方法,有需要的小伙伴赶紧来看一下吧,相信对大家一定会有所帮助哦。 第一步:首先点击
有很多朋友还不知道学浪学生版怎么上传课程,所以下面小编就讲解了学浪学生版上传课程的方法,有需要的小伙伴赶紧来看一下吧,相信对大家一定会有所帮助哦。
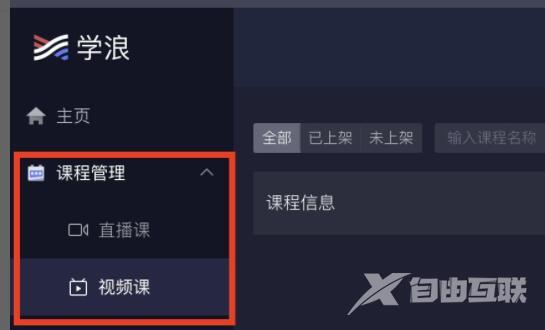
第一步:首先点击左侧边栏的“视频课”(如图所示)。
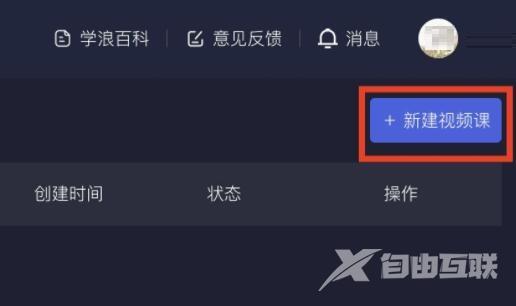
第二步:然后点击右上角的“新建视频课”(如图所示)。
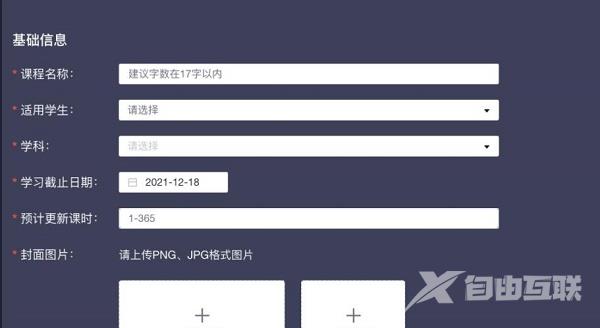
第三步:接着设置视频属性,包括名称、适用学生、学科、截止日期、预计更新、封面图片等(如图所示)。
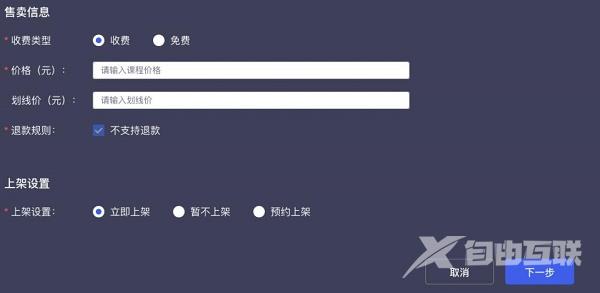
第四步:还可以填写课程介绍、售卖信息、上架设置等,设置完成后点击下面的“下一步”(如图所示)。
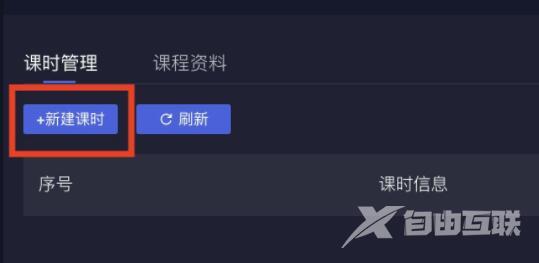
第五步:然后在课时管理下点击“新建课时”(如图所示)。
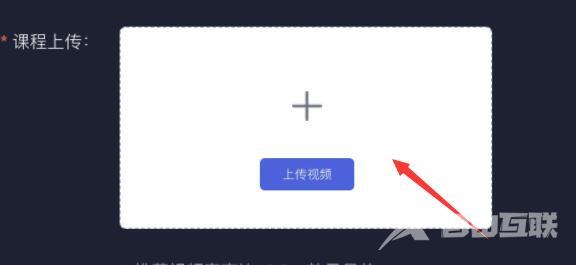
第六步:然后点击课程上传右侧的白色方框(如图所示)。
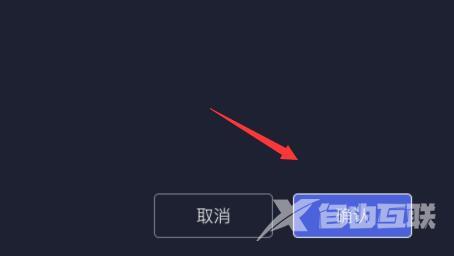
第七步:上传完成后点击下方“确认”就可以完成课程的上传了(如图所示)。
上面就是小编为大家带来的学浪学生版怎么上传课程的全部内容,希望对大家能够有所帮助哦。
【感谢龙石数据资产管理和维护 http://www.longshidata.com/pages/government.html】