以Java web的方式显示图片到浏览器以Java web的方式下载服务器文件到浏览器 以Spring Boot的方式显示图片或下载文件到浏览器 请求例子:http://localhost:8080/image/1564550185144.jpeg 示例代码: i
以Java web的方式显示图片到浏览器以Java web的方式下载服务器文件到浏览器
以Spring Boot的方式显示图片或下载文件到浏览器
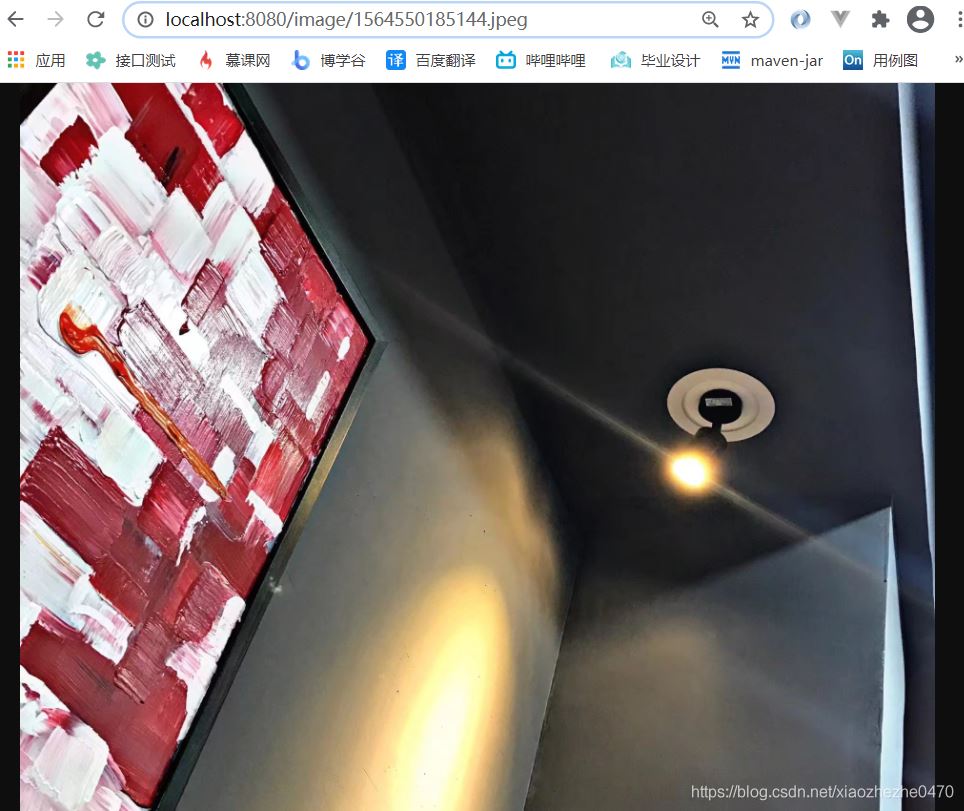
请求例子:http://localhost:8080/image/1564550185144.jpeg
示例代码:
import org.springframework.context.annotation.Configuration;
import org.springframework.web.servlet.config.annotation.ResourceHandlerRegistry;
import org.springframework.web.servlet.config.annotation.WebMvcConfigurer;

import java.io.File;
import java.io.IOException;

@Configuration
public class ImageShow implements WebMvcConfigurer {

 @Override
 public void addResourceHandlers(ResourceHandlerRegistry registry) {
  File directory = new File("image");
  String path = null;
  try {
   path = directory.getCanonicalPath();
  }catch (IOException e){
   e.printStackTrace();
  }
  registry.addResourceHandler("/image/**").addResourceLocations("file:"+path+"/");
 }

}
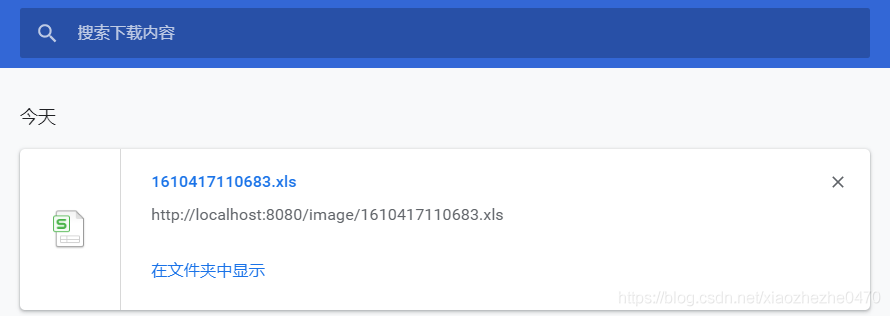
运行结果:
显示图片

下载文件

补充:springboot 下载图片并输出浏览器
@GetMapping(value = "v1/returnGroupCode",produces = MediaType.IMAGE_JPEG_VALUE)
  public byte[] returnGroupCode(@RequestParam("seriesUniqueCode") String seriesUniqueCode){
    URL url = null;
            InputStream is = null;
            ByteArrayOutputStream outStream = null;
            HttpURLConnection httpUrl = null;
            try{
              url = new URL(pdGroupcodeSeriesInfo.getQrCodeUrl());
              httpUrl = (HttpURLConnection) url.openConnection();
              httpUrl.connect();
              httpUrl.getInputStream();
              is = httpUrl.getInputStream();
              outStream = new ByteArrayOutputStream();
              //创建一个Buffer字符串
              byte[] buffer = new byte[1024];
              //每次读取的字符串长度,如果为-1,代表全部读取完毕
              int len = 0;
              //使用一个输入流从buffer里把数据读取出来
              while( (len=is.read(buffer)) != -1 ){
                //用输出流往buffer里写入数据,中间参数代表从哪个位置开始读,len代表读取的长度
                outStream.write(buffer, 0, len);
              }
              byte[] temp = outStream.toByteArray();
              return temp;
  }
到此这篇关于以Spring Boot的方式显示图片或下载文件到浏览器的示例代码的文章就介绍到这了,更多相关Spring Boot下载文件到浏览器内容请搜索易盾网络以前的文章或继续浏览下面的相关文章希望大家以后多多支持易盾网络!
