本文实例为大家分享了Unity实现虚拟摇杆的具体代码,供大家参考,具体内容如下 设置摇杆的背景图片的锚点如下: 设置摇杆的锚点为背景图片的中心点。 并给摇杆绑定脚本如下:
本文实例为大家分享了Unity实现虚拟摇杆的具体代码,供大家参考,具体内容如下
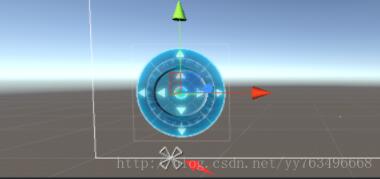
设置摇杆的背景图片的锚点如下:

设置摇杆的锚点为背景图片的中心点。
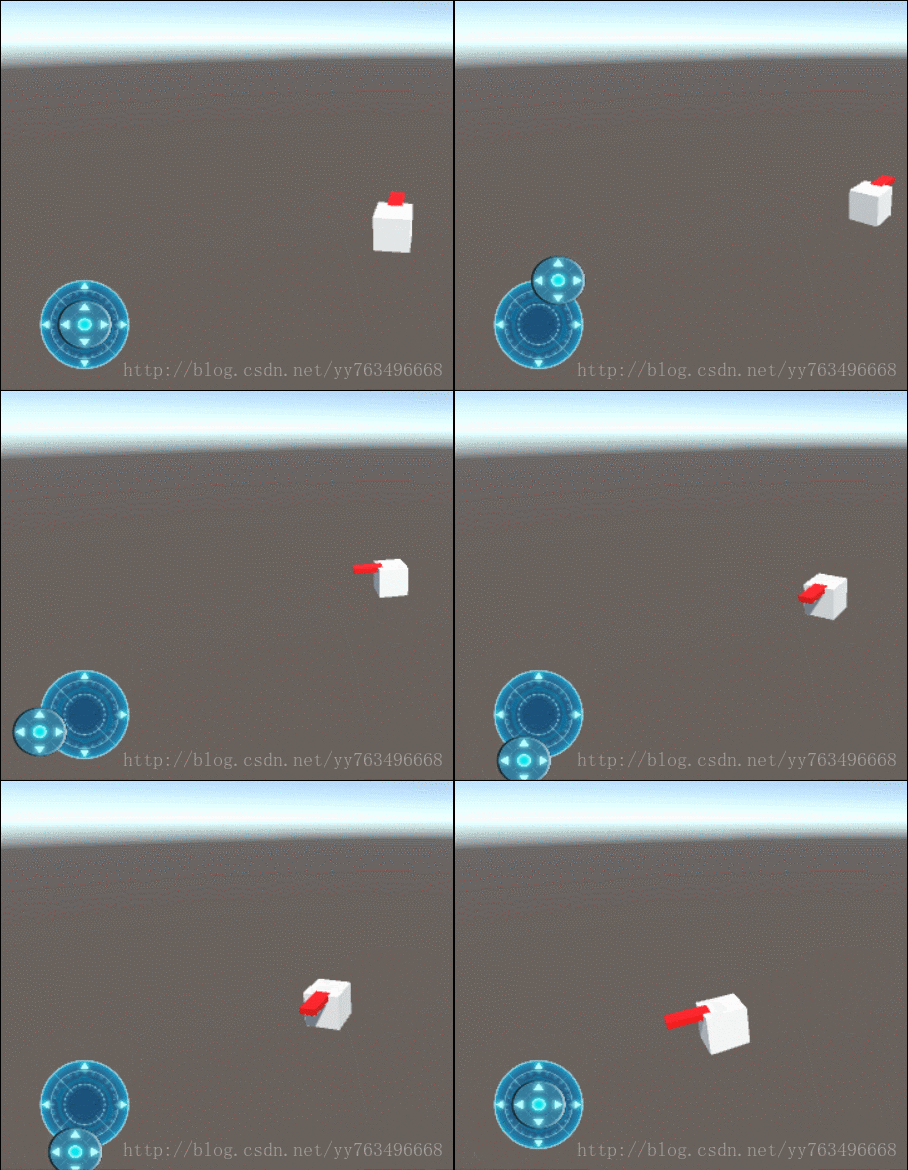
并给摇杆绑定脚本如下:
using UnityEngine;
using UnityEngine.EventSystems;
using System.Collections;
using System;

public class JoyStickController : MonoBehaviour,IDragHandler,IEndDragHandler {
  //最大的拖动距离
  public float maxDragDistance = 50f;
  //虚拟摇杆的方向
  public Vector3 direction;
  //玩家
  public GameObject player;
  // Use this for initialization
  void Start()
  {

  }

  // Update is called once per frame
  void Update()
  {
    //屏幕上的y轴分量 当作游戏世界里的z分量
    //设置玩家的朝向
    player.transform.forward = new Vector3(direction.x,0,direction.y);
    int flag = Vector3.Distance(Vector3.zero, this.transform.localPosition) <1f ? 0 : 1;
    player.transform.Translate(Vector3.forward * flag * Time.deltaTime,Space.Self);

  }
  //拖拽中的时候
  public void OnDrag(PointerEventData eventData)
  {
    this.transform.position = Input.mousePosition;
    if (Vector3.Distance(Vector3.zero,this.transform.localPosition) > maxDragDistance)
    {
      direction = this.transform.position - Vector3.zero;
      this.transform.localPosition = direction.normalized * maxDragDistance;
    }
  }
  //拖拽结束的时候
  public void OnEndDrag(PointerEventData eventData)
  {
    this.transform.localPosition = Vector3.zero;
  }
}

以上就是本文的全部内容,希望对大家的学习有所帮助,也希望大家多多支持易盾网络。
