很多小伙伴使用Photoshop来制作图片效果,那么Photoshop怎么制作镂空文字效果呢?下面小编就为大家详细的介绍一下,相信一定会帮到你们的。 Photoshop怎么制作镂空文字效果?Photoshop制作镂
很多小伙伴使用Photoshop来制作图片效果,那么Photoshop怎么制作镂空文字效果呢?下面小编就为大家详细的介绍一下,相信一定会帮到你们的。
Photoshop怎么制作镂空文字效果?Photoshop制作镂空文字效果方法
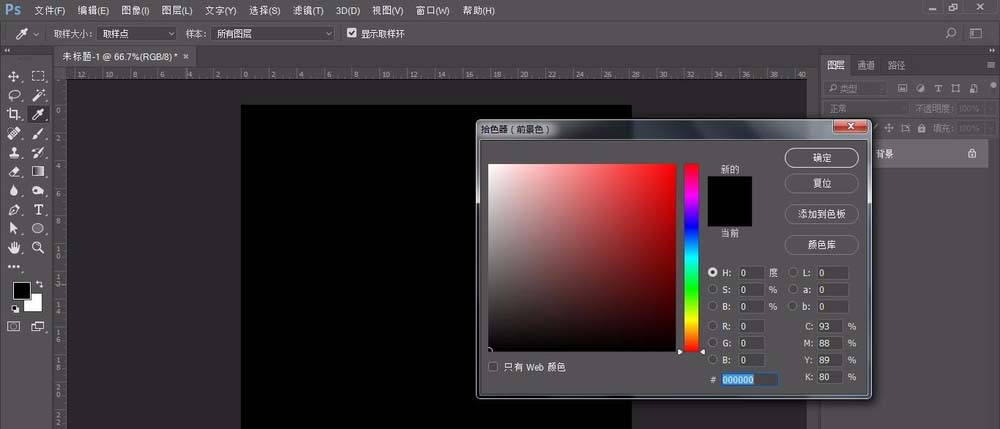
1、首先打开Photoshop,新建文件,以此为例

2、然后填充前景色为黑色,方便观看
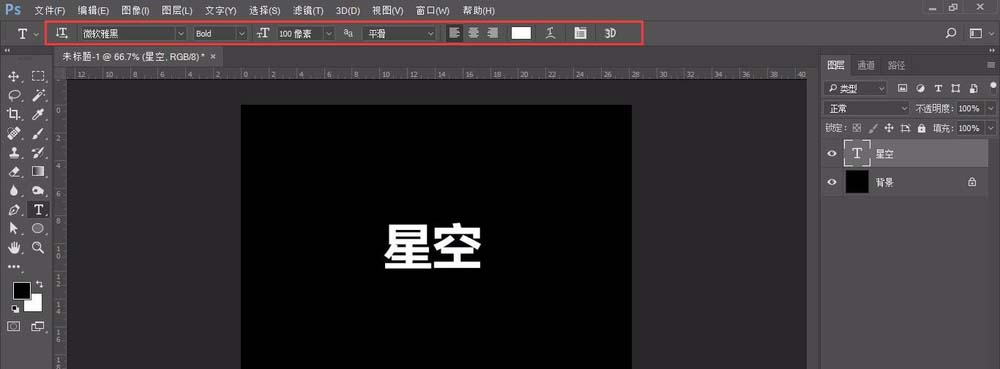
3、接着输入文字:星空,选择字体较粗一些的字体,本例选择“微软雅黑”-加粗-字体调大-颜色选择白色
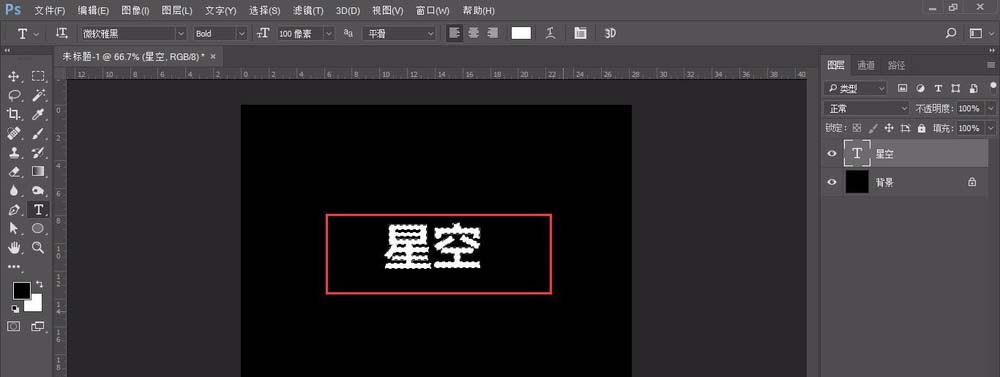
4、随后按住CTRL键同时鼠标左键字体图层,出现字体缩略图
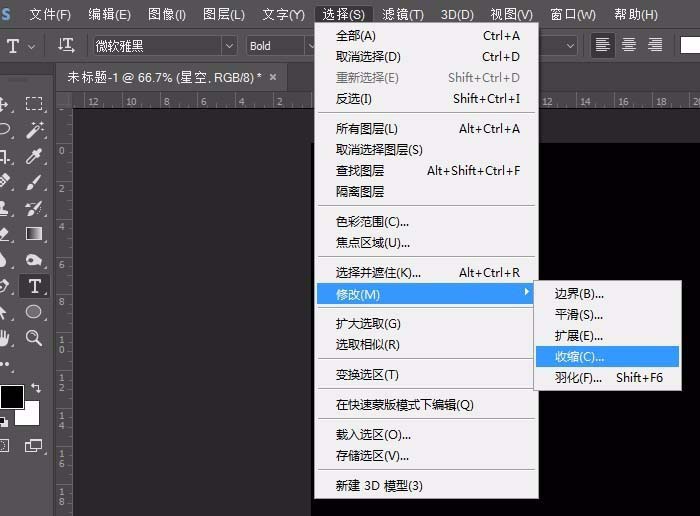
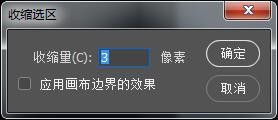
5、之后依次选择“选择”-“修改”-“收缩”
6、设置收缩量为“3像素”,确定
7、然后在文字图层上面-新建图层
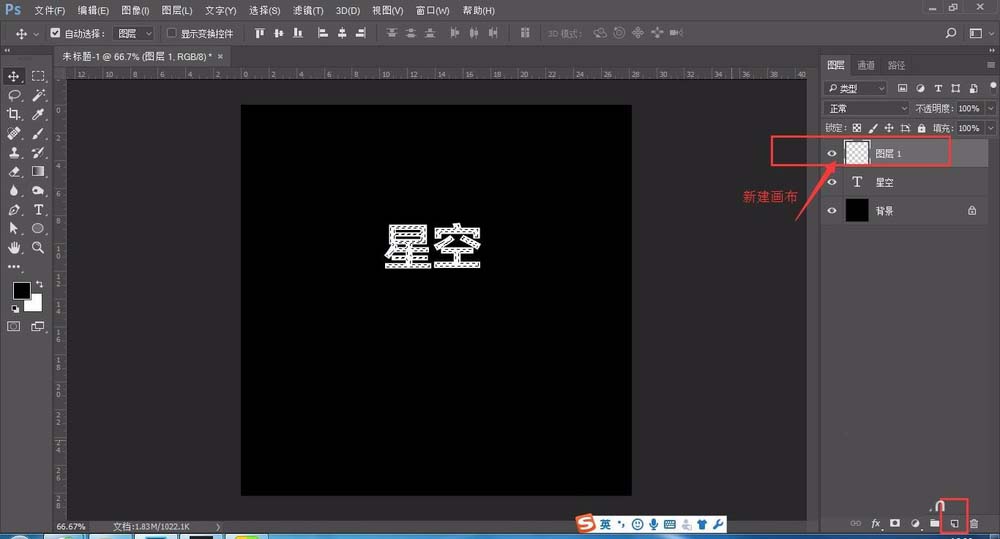
8、最后再新建图层中填充背景色为“黑色”,然后Ctrl+D取消选区

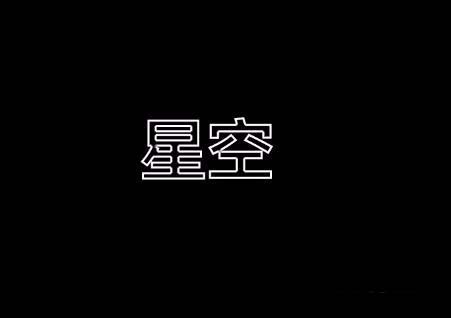
9、最终效果如图
以上这篇文章就是Photoshop制作镂空文字效果方法,更多精彩教程请关注自由互联!