一、说明 环境准备:JDK8+ mysql 5.x 官网:https://shardingsphere.apache.org/ 下载地址:https://archive.apache.org/dist/shardingsphere/5.0.0/ 二、安装部署1、解压 tar -zxvf apache-shardingsphere- 5.0 . 0 -shardingsphe
环境准备:JDK8+ mysql 5.x
官网:https://shardingsphere.apache.org/
下载地址:https://archive.apache.org/dist/shardingsphere/5.0.0/
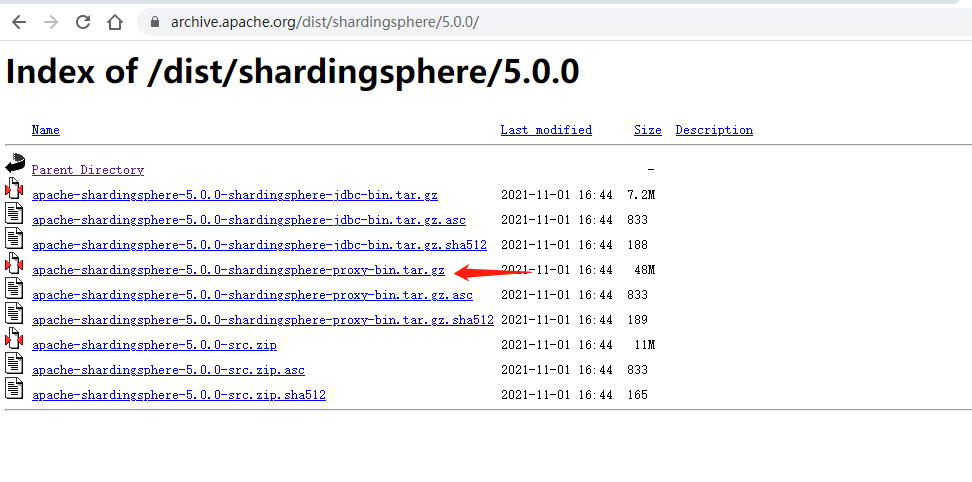
二、安装部署 1、解压
tar -zxvf apache-shardingsphere-5.0.0-shardingsphere-proxy-bin.tar.gz2、下载mysql连接驱动
下载地址:https://repo1.maven.org/maven2/mysql/mysql-connector-java/5.1.47/
本人的shardingsphere版本是5.0.0,故mysql 连接驱动使用的是5.1.47 ,需要注意连接驱动的版本问题,否则shardingsphere服务启动失败,曾经踩过这个坑,,,,无语
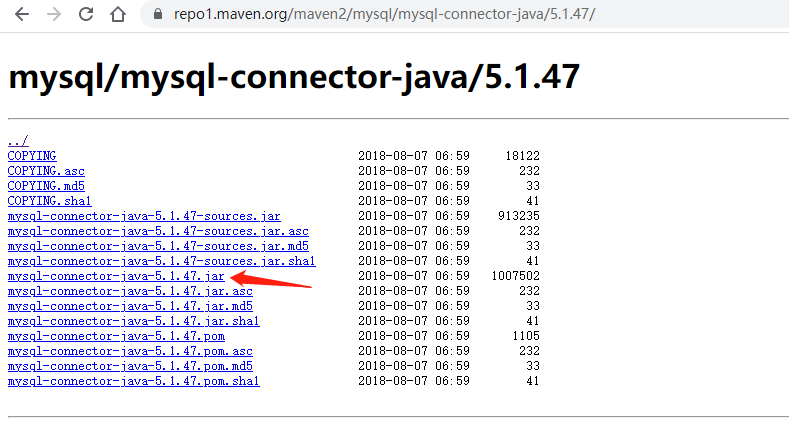
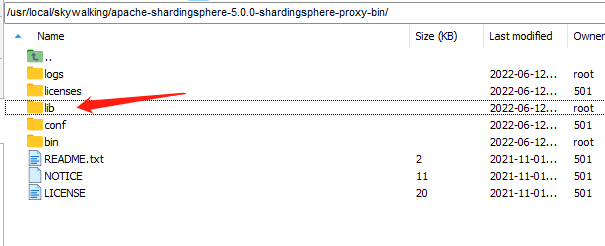
下载完成之后将jar包放置在shardingsphere解压目录的lib目录下即可
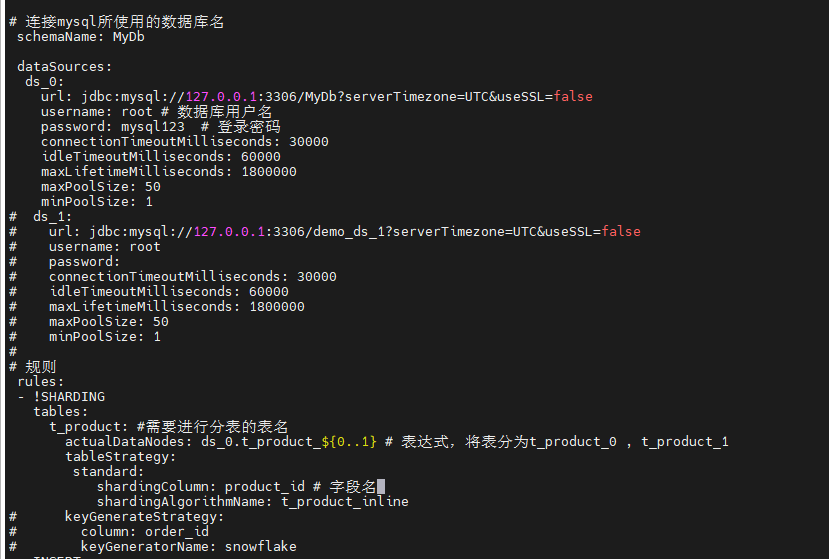
3、修改conf/config-sharding.yaml 文件
4、修改conf/server.yaml文件

5、启动服务
进入bin
-- 进入bin目录
cd bin

-- 启动服务
./start.sh
查看日志文件,查看服务是否启动成功 cat apache-shardingsphere-5.0.0-shardingsphere-proxy-bin/logs/stdout.log

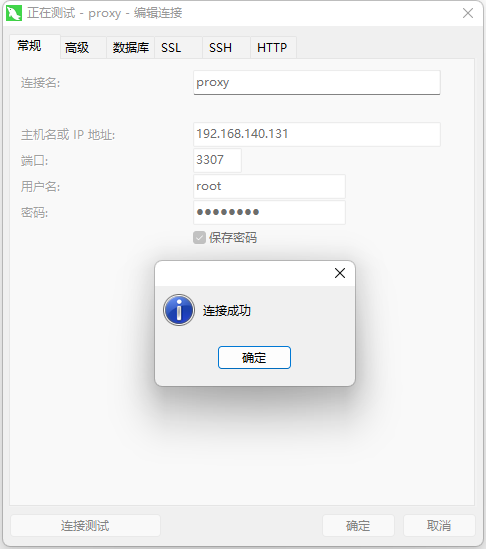
三、连接服务(默认端口是3307) 1、使用Navicat进行连接
2、创建t_product表
如下图,当我们在代理中间件中创建t_product表时,原MyDb数据库会同步创建t_product_0和t_product_1

