一、代码配置 1、创建项目 流程看图 2、增添代码 更改布局 布局完整代码 xml version="1.0" encoding="utf-8"LinearLayout xmlns:android="http://schemas.android.com/apk/res/android" xmlns:app="http://schemas.android.co
一、代码配置
1、创建项目
流程看图

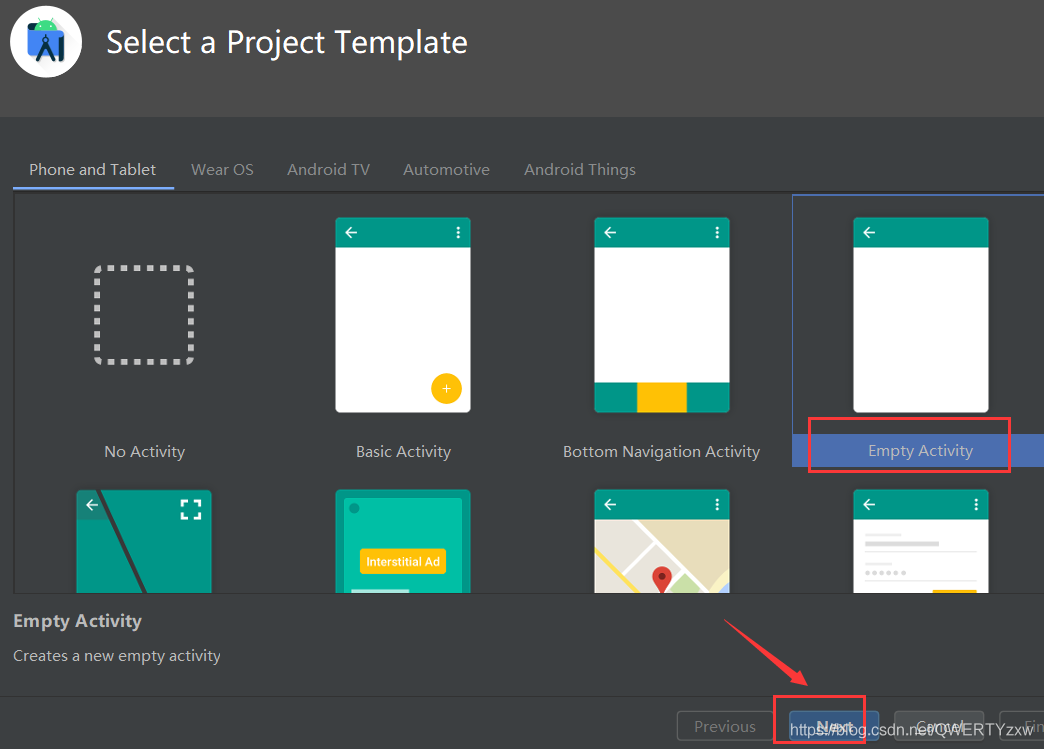
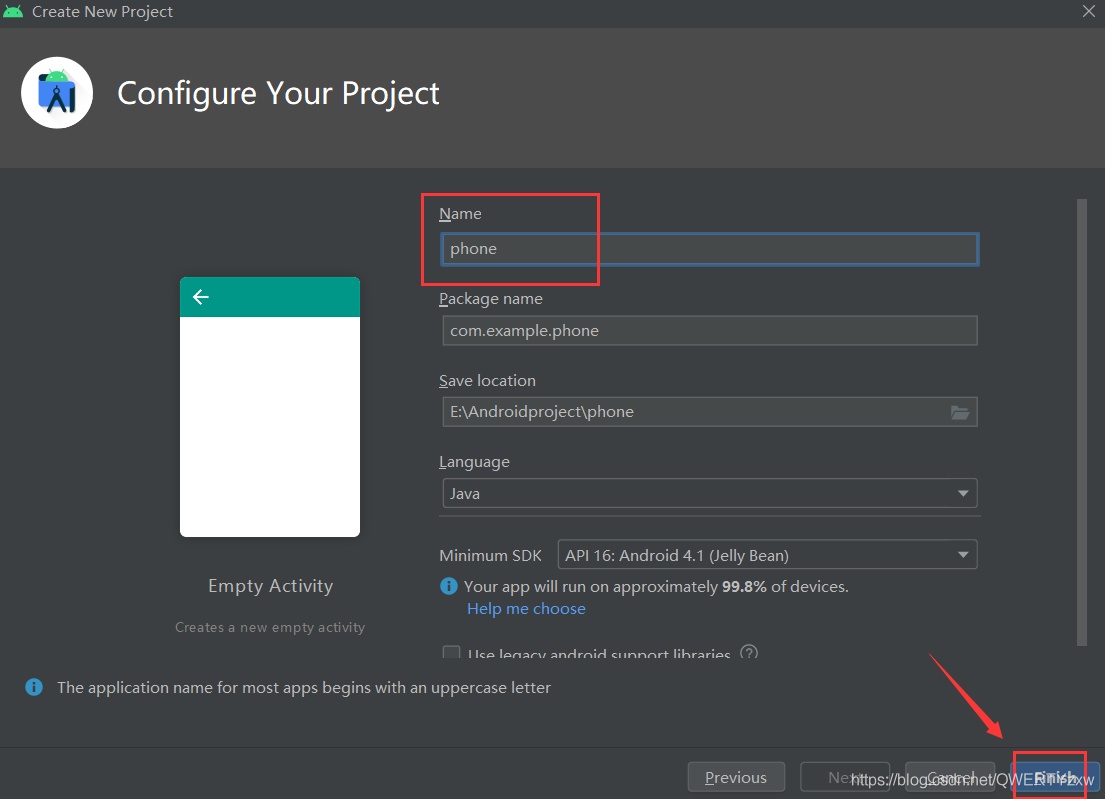
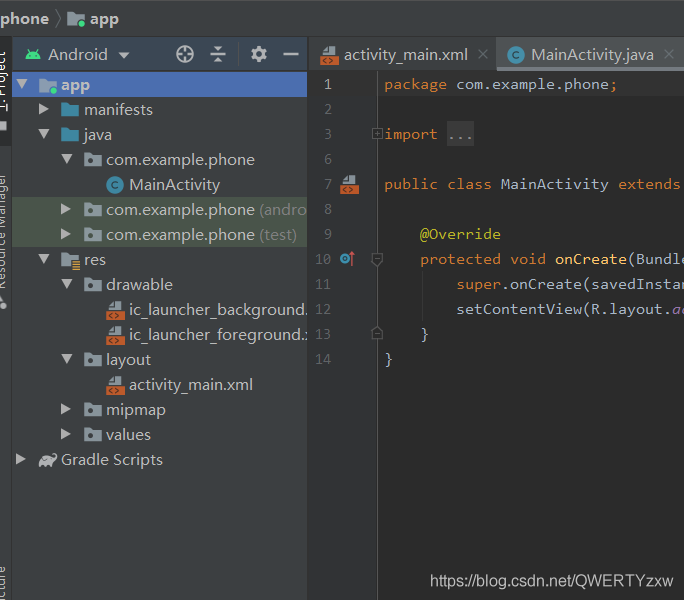
2、增添代码
更改布局
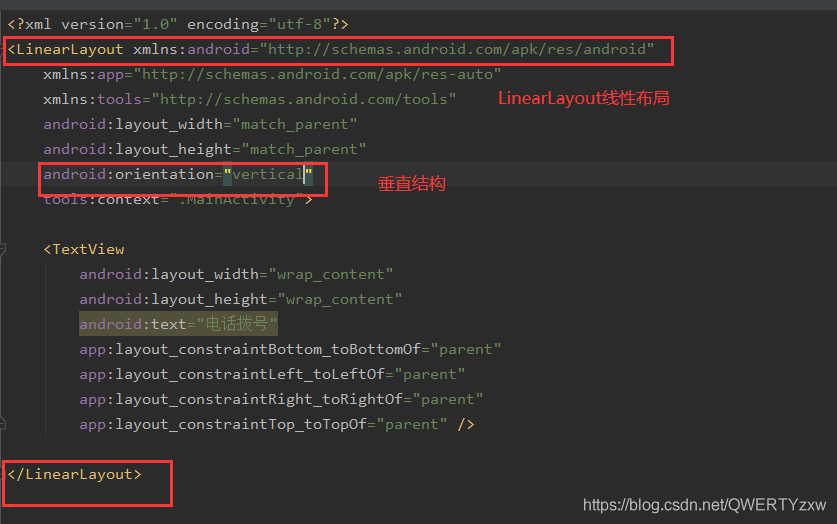
布局完整代码
<?xml version="1.0" encoding="utf-8"?>
<LinearLayout xmlns:android="http://schemas.android.com/apk/res/android"
    xmlns:app="http://schemas.android.com/apk/res-auto"
    xmlns:tools="http://schemas.android.com/tools"
    android:layout_width="match_parent"
    android:layout_height="match_parent"
    android:orientation="vertical"
    tools:context=".MainActivity">

    <TextView
        android:layout_width="wrap_content"
        android:layout_height="wrap_content"
        android:text="电话拨号"
        app:layout_constraintBottom_toBottomOf="parent"
        app:layout_constraintLeft_toLeftOf="parent"
        app:layout_constraintRight_toRightOf="parent"
        app:layout_constraintTop_toTopOf="parent" />

</LinearLayout>
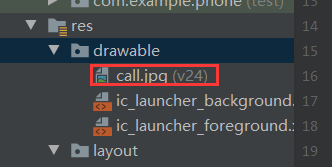
插入图片
activity_main_xml文件布局
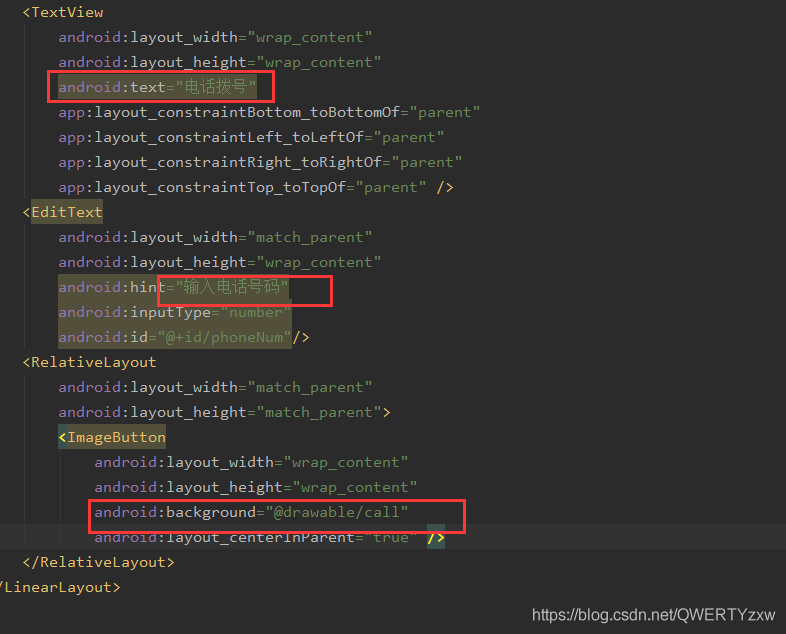
完整代码
<?xml version="1.0" encoding="utf-8"?>
<LinearLayout xmlns:android="http://schemas.android.com/apk/res/android"
    xmlns:app="http://schemas.android.com/apk/res-auto"
    xmlns:tools="http://schemas.android.com/tools"
    android:layout_width="match_parent"
    android:layout_height="match_parent"
    android:orientation="vertical"
    tools:context=".MainActivity">

    <TextView
        android:layout_width="wrap_content"
        android:layout_height="wrap_content"
        android:text="电话拨号"
        app:layout_constraintBottom_toBottomOf="parent"
        app:layout_constraintLeft_toLeftOf="parent"
        app:layout_constraintRight_toRightOf="parent"
        app:layout_constraintTop_toTopOf="parent" />
    <EditText
        android:layout_width="match_parent"
        android:layout_height="wrap_content"
        android:hint="输入电话号码"
        android:inputType="number"
        android:id="@+id/phoneNum"/>
    <RelativeLayout
        android:layout_width="match_parent"
        android:layout_height="match_parent">
        <ImageButton
            android:layout_width="wrap_content"
            android:layout_height="wrap_content"
            android:background="@drawable/call"
            android:layout_centerInParent="true"
            android:id="@+id/call_btn"/>
    </RelativeLayout>
</LinearLayout>
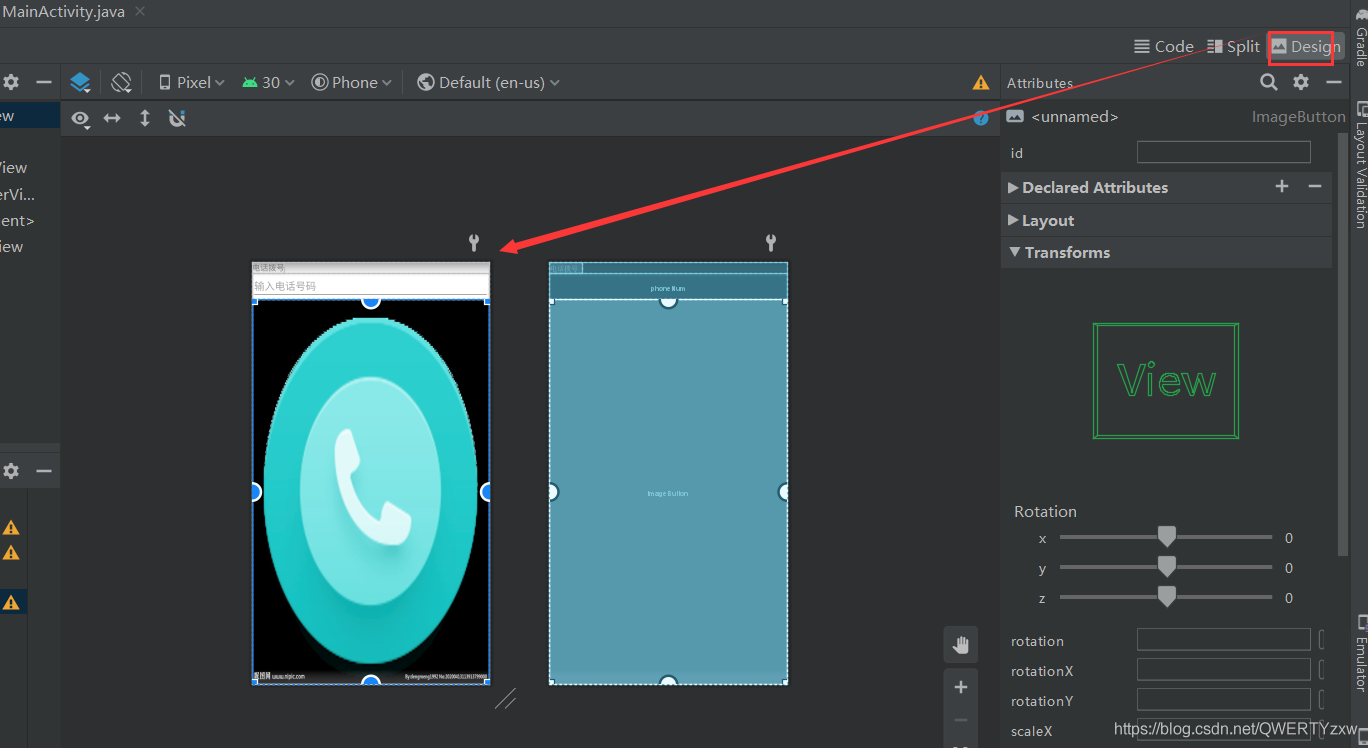
效果展示
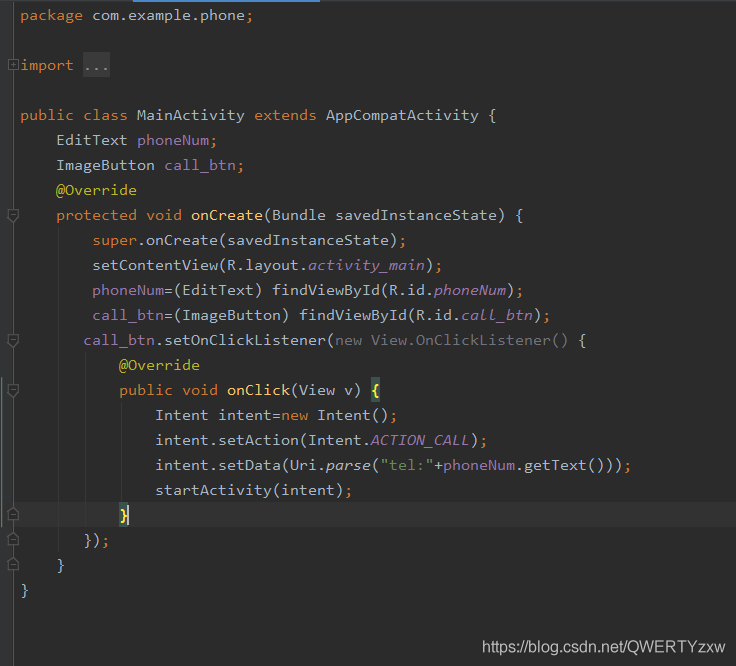
mainactivity.java文件
 EditText phoneNum;
    ImageButton call_btn;
    @Override
    protected void onCreate(Bundle savedInstanceState) {
        super.onCreate(savedInstanceState);
        setContentView(R.layout.activity_main);
        phoneNum=(EditText) findViewById(R.id.phoneNum);
        call_btn=(ImageButton) findViewById(R.id.call_btn);
       call_btn.setOnClickListener(new View.OnClickListener() {
           @Override
           public void onClick(View v) {
               Intent intent=new Intent();
               intent.setAction(Intent.ACTION_CALL);
               intent.setData(Uri.parse("tel:"+phoneNum.getText()));
               startActivity(intent);
图片
运行代码
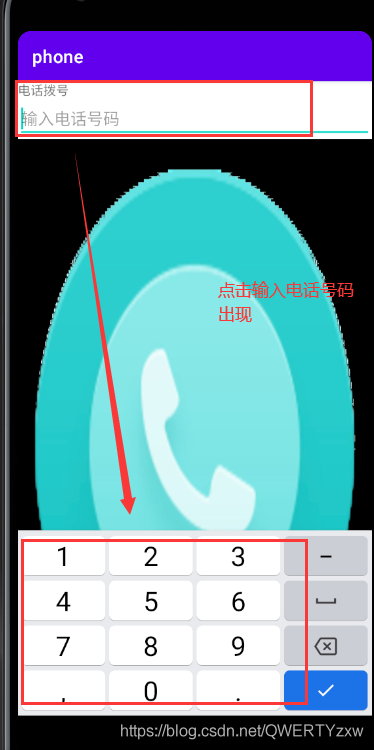
拨号尝试,出现报错,需要设置对应权限
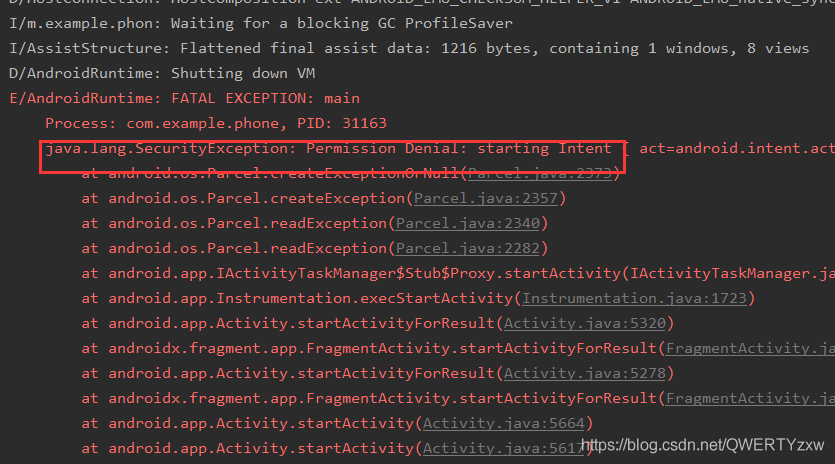
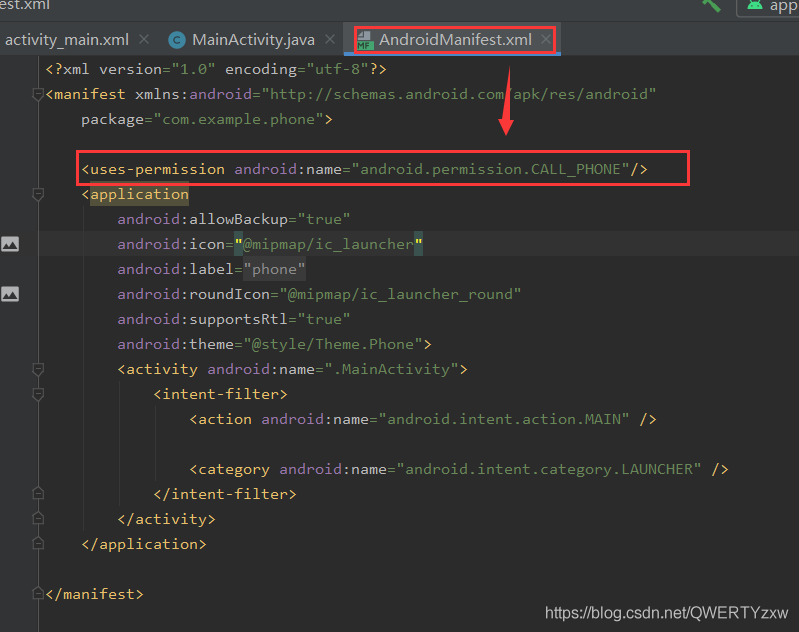
3、权限请求
Androidmainfest.xml文件中
<uses-permission android:name="android.permission.CALL_PHONE"/>
Android 6.0以上需要自己手动赋予权限。
应用程序权限请求
版本号判断方法
protected boolean shouldAskPermissions(){
    return (Build.VERSION.SDK_INT > Build.VERSION_CODES.LOLLIPOP_MR1);
}
权限申请方法
protected void askPermissions() {
    String[] permissions = {
            "android.permission.CALL_PHONE"
    };
    int requestCode = 200;
    requestPermissions(permissions, requestCode);
}
在onCreate中调用
if(shouldAskPermissions()){
    askPermissions();
}
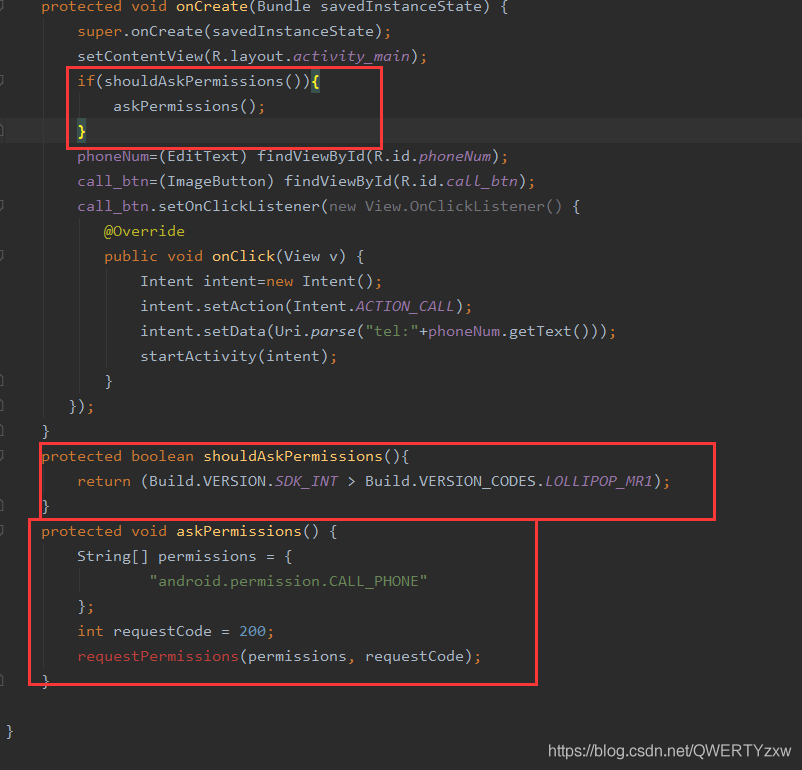
请求权限加入代码时要保证程序处于运行状态,不然代码加进去会报错。
二、效果演示


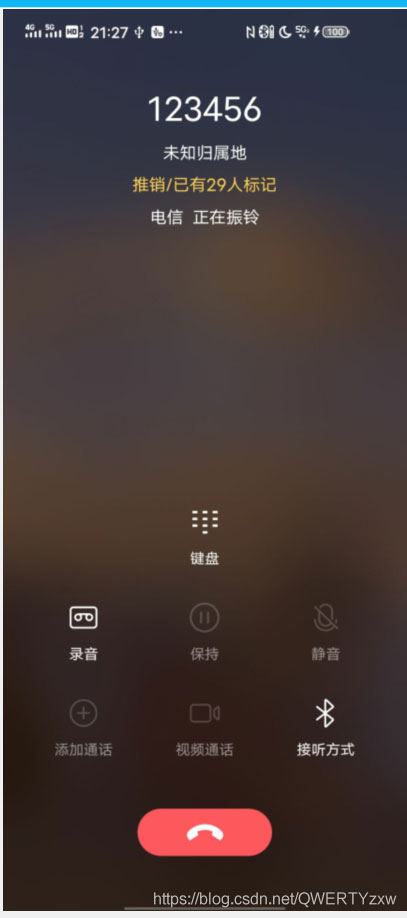
随便输入得数字号码,提示为空号。
以上就是Android studio案例之实现电话拨号的详细内容,更多关于Android studio电话拨号的资料请关注自由互联其它相关文章!
