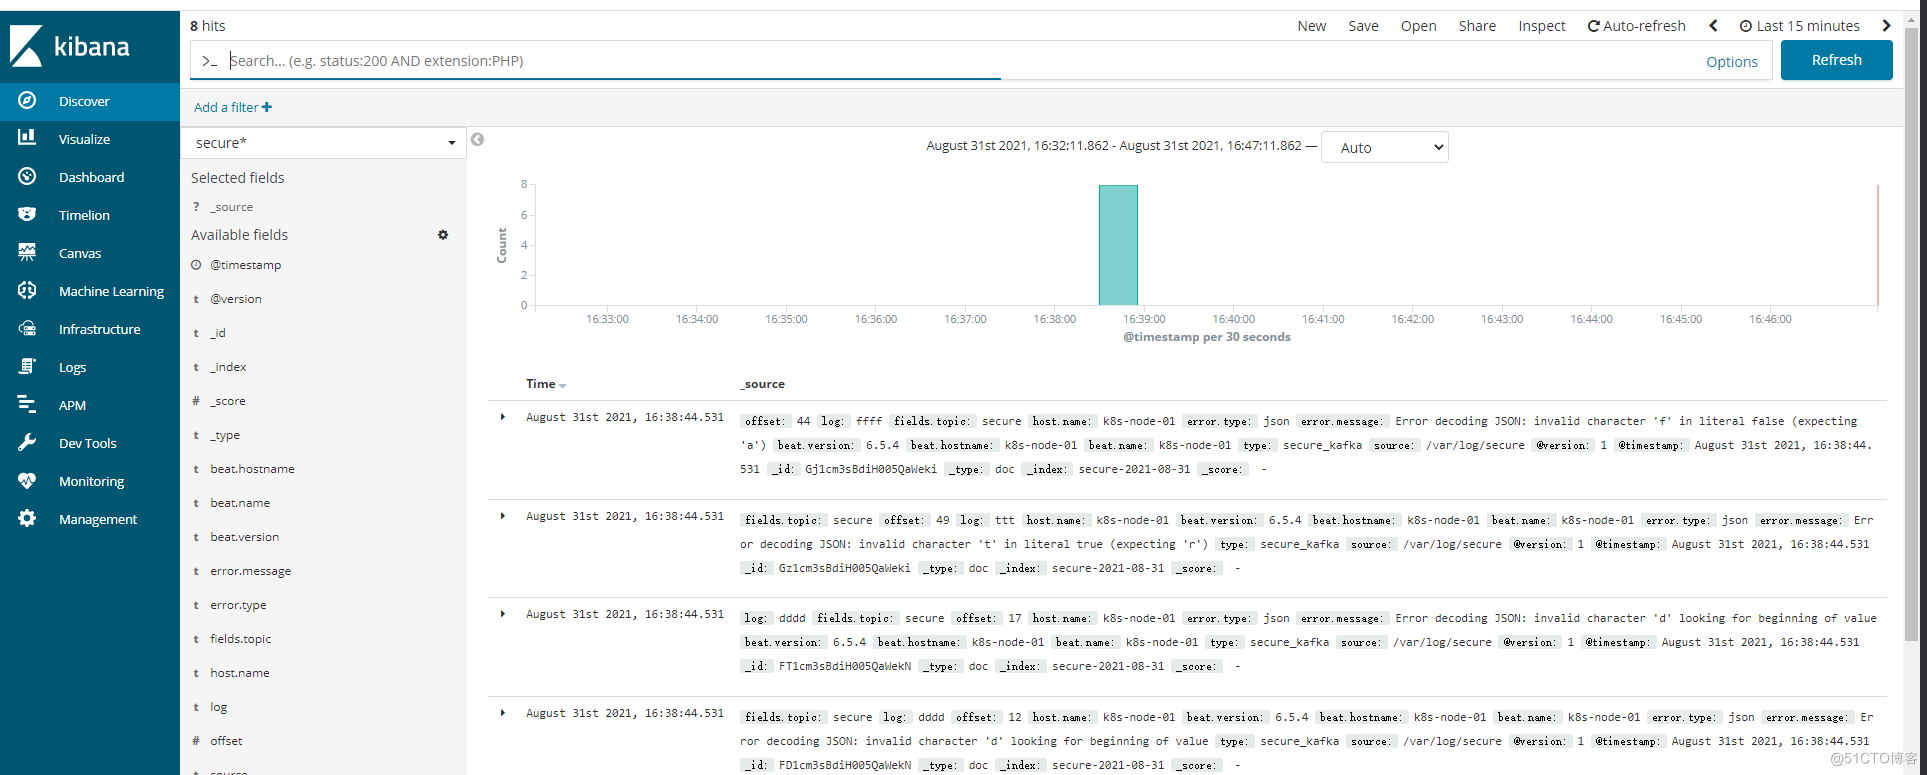
elk+kafka高可用集群搭建 环境准备 10.206.16.14(node1) elasticsearch kafka 10.206.16.15(node2) elasticsearch(包含head插件) kafka logstash kibana 10.206.16.16(node3) kafka 10.206.16.18(node4) filebeat elasticsearch集群搭建 下
elk+kafka高可用集群搭建
环境准备
10.206.16.14(node1) elasticsearch kafka
10.206.16.15(node2) elasticsearch(包含head插件) kafka logstash kibana
10.206.16.16(node3) kafka
10.206.16.18(node4) filebeat
elasticsearch集群搭建
下载安装elasticsearch
yum install -y epel-release yum install -y java cd /usr/local/ && wget https://artifacts.elastic.co/downloads/elasticsearch/elasticsearch-6.5.3.tar.gz useradd es tar zvxf elasticsearch-6.5.3.tar.gz && mv elasticsearch-6.5.3 elasticsearch mkdir /data/es/{data,worker,plugins} -p chown es.es /data/es -R chown es.es /usr/local/elasticsearch -R系统环境准备
调整内核参数
echo "vm.max_map_count=262144" >> /etc/sysctl.conf echo "vm.swappiness=0" >>/etc/sysctl.conf sysctl -w vm.max_map_count=262144 sysctl -p调整文件描述符
vim /etc/security/limits.d/es.conf es hard nofile 65536 es soft fsize unlimited es hard memlock unlimited es soft memlock unlimited配置文件修改
cluster.name: es-cluster # 集群名称 node.name: es-node1 node.master: true node.data: true # 节点名称,仅仅是描述名称,用于在日志中区分 path.data: /data/es/data # 数据的默认存放路径 path.logs: /usr/local/elasticsearch/logs # 日志的默认存放路径 #path.plugins: /data/es/plugins bootstrap.memory_lock: false bootstrap.system_call_filter: false network.host: 10.206.16.15 # 当前节点的IP地址 http.port: 9200 # 对外提供服务的端口,9300为集群服务的端口 #添加如下内容 #culster transport port transport.tcp.port: 9300 transport.tcp.compress: true discovery.zen.ping.unicast.hosts: ["10.206.16.14"] discovery.zen.minimum_master_nodes: 2 discovery.zen.ping_timeout: 150s discovery.zen.fd.ping_retries: 10 client.transport.ping_timeout: 60s http.cors.enabled: true http.cors.allow-origin: "*" ## 禁用xpack安全机制 xpack.security.enabled: false ### 是否开启监控 xpack.monitoring.enabled: true ### 收集集群统计信息的超时。默认为10s xpack.monitoring.collection.cluster.stats.timeout: 10s ### index 缓冲区大小 indices.memory.index_buffer_size: 20% ### 传输流量最大值 indices.recovery.max_bytes_per_sec: 10000mb ### 节点fielddata 的最大内存,达到则交换旧数据,建议设置小一点 indices.fielddata.cache.size: 10% ## fielddata限制大小,一定要大于cache 大小 indices.breaker.fielddata.limit: 60% ### request数量使用内存限制,默认为JVM堆的40% indices.breaker.request.limit: 60% #所有breaker使用的内存值,默认值为 JVM 堆内存的70%,当内存达到最高值时会触发内存回收 indices.breaker.total.limit: 80% ### 动作自动创建索引 action.auto_create_index: truenode2的操作,只需要把elasticsearch目录复制过去,然后修改node.name即可
分别启动elasticsearch
su es ./elasticsearch -dhead插件安装
安装node
wget https://nodejs.org/dist/v9.3.0/node-v9.3.0-linux-x64.tar.xz # 下载nodejs最新的bin包 xz -d node-v9.3.0-linux-x64.tar.xz # 解压包 tar -xf node-v9.3.0-linux-x64.tar # 解压包 ln -s ~/node-v9.3.0-linux-x64/bin/node /usr/bin/node # 部署bin文件,先确定nodejs的bin路径 ln -s ~/node-v9.3.0-linux-x64/bin/npm /usr/bin/npm安装head插件
wget https://github.com/mobz/elasticsearch-head/archive/master.zip unzip -d /usr/local master.zip安装grunt
npm install -g cnpm --registry=https://registry.npm.taobao.org cd /usr/local/elasticsearch-head npm install -g grunt-cli //执行后会生成node_modules文件夹 npm install cd /usr/local/ git clone git://github.com/mobz/elasticsearch-head.git cd elasticsearch-head wget https://npm.taobao.org/mirrors/phantomjs/phantomjs-2.1.1-linux-x86_64.tar.bz2 tar -jxvf phantomjs-2.1.1-linux-x86_64.tar.bz2 #加入环境变量 vim /etc/profile #末尾加入,注意文件路径 export PATH=$PATH:/usr/local/phantomjs-2.1.1-linux-x86_64/bin #执行 source /etc/profile rm -rf ./node_modules && npm install --unsafe-perm npm install修改配置文件
vi _site/app.js # 修改 this.base_uri = this.config.base_uri || this.prefs.get("app-base_uri") || "http://localhost:9200"; # 在文件的4354行附近 # 这里的 localhost 是指进入elasticsearch-head页面时默认访问的ES集群地址,把她修改为其中一台ES节点的地址即可 this.base_uri = this.config.base_uri || this.prefs.get("app-base_uri") || "http://192.168.60.200:9200";还要修改Head主目录下的Gruntfile.js,由于默认文件中是没有hostname属性的,我们需要手动添加:

运行head插件
grunt server &运行效果图

kibana配置安装
安装kibana
cd /usr/local wget https://artifacts.elastic.co/downloads/kibana/kibana-6.5.4-linux-x86_64.tar.gz tar zvxf kibana-6.5.4-linux-x86_64.tar.gz mv kibana-6.5.4-linux-x86_64 kibana配置
echo ' server.port: 5601 server.host: 10.206.16.15 elasticsearch.url: "http://10.206.16.15:9200" kibana.index: ".kibana" ' >> /usr/local/kibana/config/kibana.yml启动
cd /usr/local/kibana nohup ./bin/kibana &安装nginx反向代理用户账号密码认证
#安装 yum install -y nginx httpd-tools #配置 vim /etc/nginx/conf.d/kibana.conf upstream kibana_server { server 127.0.0.1:5601 weight=1 max_fails=3 fail_timeout=60; } server { listen 80; server_name www.kibana.com; auth_basic "Restricted Access"; auth_basic_user_file /etc/nginx/conf.d/htpasswd.users; location / { proxy_pass http://kibana_server; proxy_http_version 1.1; proxy_set_header Upgrade $http_upgrade; proxy_set_header Connection 'upgrade'; proxy_set_header Host $host; proxy_cache_bypass $http_upgrade; } } htpasswd -bc /etc/nginx/conf.d/htpasswd.users admin 123456 systemctl restart nginx搭建效果图

kafka集群搭建
node1,node2,node3都需要执行
安装kafaka
cd /usr/local wget http://mirror.rise.ph/apache/kafka/2.6.2/kafka_2.12-2.6.2.tgz mv kafka_2.12-2.6.2 kafka mkdir /data/zookeeper/{data,logs} mkdir -p /data/kafka/logs配置zookeeper
#注释掉没有注释的行 sed -i 's/^[^#]/#&/' zookeeper.properties #添加如下行倒配置文件 echo ' dataDir=/data/zookeeper/data dataLogDir=/data/zookeeper/logs clientPort=2181 maxClientCnxns=0 admin.enableServer=false tickTime=2000 initLimit=20 syncLimit=10 server.1=10.206.16.14:2888:3888 server.2=10.206.16.15:2888:3888 server.3=10.206.16.16:2888:3888 4lw.commands.whitelist=* ' >> zookeeper.properties #创建myid文件 echo 1 > /data/zookeeper/data/myid配置kafka
#注释掉配置 sed -i 's/^[^#]/#&/' server.properties echo ' broker.id=1 listeners=PLAINTEXT://10.206.16.14:9092 num.network.threads=3 num.io.threads=8 socket.send.buffer.bytes=102400 socket.receive.buffer.bytes=102400 socket.request.max.bytes=104857600 log.dirs=/data/kafka/logs num.partitions=6 num.recovery.threads.per.data.dir=1 offsets.topic.replication.factor=2 transaction.state.log.replication.factor=1 transaction.state.log.min.isr=1 log.retention.hours=168 log.segment.bytes=536870912 log.retention.check.interval.ms=300000 zookeeper.connect=10.206.16.14:2181,10.206.16.15:2181,10.206.16.16:2181 zookeeper.connection.timeout.ms=6000 group.initial.rebalance.delay.ms=0 ' >> server.properties启动验证zookeeper
nohup bin/zookeeper-server-start.sh config/zookeeper.properties & #启动zookeeper echo stat|nc 127.0.0.1 2181 查看状态 echo conf|nc 127.0.0.1 2181 查看配置启动验证kafka
#启动kafka nohup bin/kafka-server-start.sh config/server.properties & #创建topic ./bin/kafka-topics.sh --create --zookeeper localhost:2181 --replication-factor 1 --partitions 1 --topic testtopic #列出topic ./bin/kafka-topics.sh -zookeeper 127.0.0.1:2181 --list #模拟生产消费 ./bin/kafka-console-producer.sh --broker-list 10.206.16.16:9092 --topic testtopic >hello world! ./bin/kafka-console-consumer.sh --bootstrap-server 10.206.16.14:9092 --topic testtopic --from-beginning #接收14发送的消息注意其他两台机器,只需要修改
broker.id=2 listeners=PLAINTEXT://10.206.16.15:9092logstash配置
下载安装logstash
cd /usr/local version='7.14.0' wget https://artifacts.elastic.co/downloads/logstash/logstash-${version}-linux-x86_64.tar.gz tar zvxf logstash-${version}-linux-x86_64.tar.gz mv logstash-${version}-linux-x86_64 logstash mkdir /usr/local/logstash/etc/conf.d -p修改配置文件
cd /usr/local/logstash/etc/conf.d echo ' input { kafka { type => "nginx_kafka" codec => "json" topics => ["nginx"] decorate_events => "true" bootstrap_servers => "10.206.16.14:9092, 10.206.16.15:9092, 10.206.16.16:9092" } kafka { type => "messages_kafka" codec => "json" topics => ["messages"] decorate_events => "true" bootstrap_servers => "10.206.16.14:9092, 10.206.16.15:9092, 10.206.16.16:9092" } kafka { type => "secure_kafka" codec => "json" topics => ["secure"] decorate_events => "true" bootstrap_servers => "10.206.16.14:9092, 10.206.16.15:9092, 10.206.16.16:9092" } } ' >> input.conf echo ' output { if [type] == "nginx_kafka" { elasticsearch { hosts => ["10.206.16.14:9200"] index => "logstash-nginx-%{+YYYY-MM-dd}" } } if [type] == "messages_kafka" { elasticsearch { hosts => ["10.206.16.14:9200"] index => "logstash-messages-%{+YYYY-MM-dd}" } } if [type] == "secure_kafka" { elasticsearch { hosts => ["10.206.16.14:9200"] index => "logstash-secure-%{+YYYY-MM-dd}" } } elasticsearch { hosts => ["10.206.16.14:9200"] # index => "%{[fields][logtopic}" ##直接在日志中匹配,索引会去掉elk index => "%{[@metadata][topic]}-%{+YYYY-MM-dd}" } stdout { codec => rubydebug } } ' >> output.conf启动logstash
#检查配置文件是否正确 bin/logstash -f -t etc/conf.d #启动logstash nohup bin/logstash -f etc/conf.d/ --config.reload.automatic &filebeat安装配置
安装filebeat
cd /usr/local/ wget https://artifacts.elastic.co/downloads/beats/filebeat/filebeat-6.5.4-linux-x86_64.tar.gz tar zvxf filebeat-6.5.4-linux-x86_64.tar.gz mv filebeat-6.5.4-linux-x86_64 filebeatfilebeat配置
cd /usr/local/filebeat/ echo ' filebeat.prospectors: - input_type: log enabled: True paths: - /opt/log/nginx/h5sdk/access.log json.keys_under_root: true json.add_error_key: true json.message_key: log fields: topic: nginx document_type: nginx - input_type: log enabled: True paths: - /var/log/messages json.keys_under_root: true json.add_error_key: true json.message_key: log document_type: messages fields: topic: messages - input_type: log enabled: True paths: - /var/log/secure json.keys_under_root: true json.add_error_key: true json.message_key: log document_type: secure fields: topic: secure output.kafka: hosts: ["10.206.16.14:9092","10.206.16.15:9092","10.206.16.16:9092"] topic: '%{[fields.topic]}' #partition.hash: reachable_only: true compression: gzip max_message_bytes: 1000000 required_acks: 0 logging.to_files: true ' >> filebeat.yml启动
nohup ./filebeat -e -c filebeat.yml &