在工作中,有很多方案,资料要写,一般文本的存储方式都采用word保存,当资料多的时候,不便于查看和阅读,如果能把自己的资料已页面的方式展示,当领导需要自己的方案时也可以直接保存为pdf,这样显的更加专业,岂不更好。
文档系统的要求:
1、git控制版本
2、gitweb保存自己写的脚本
3、页面展示自己的文档信息
4、需要登录
5、分布式,可供多人使用
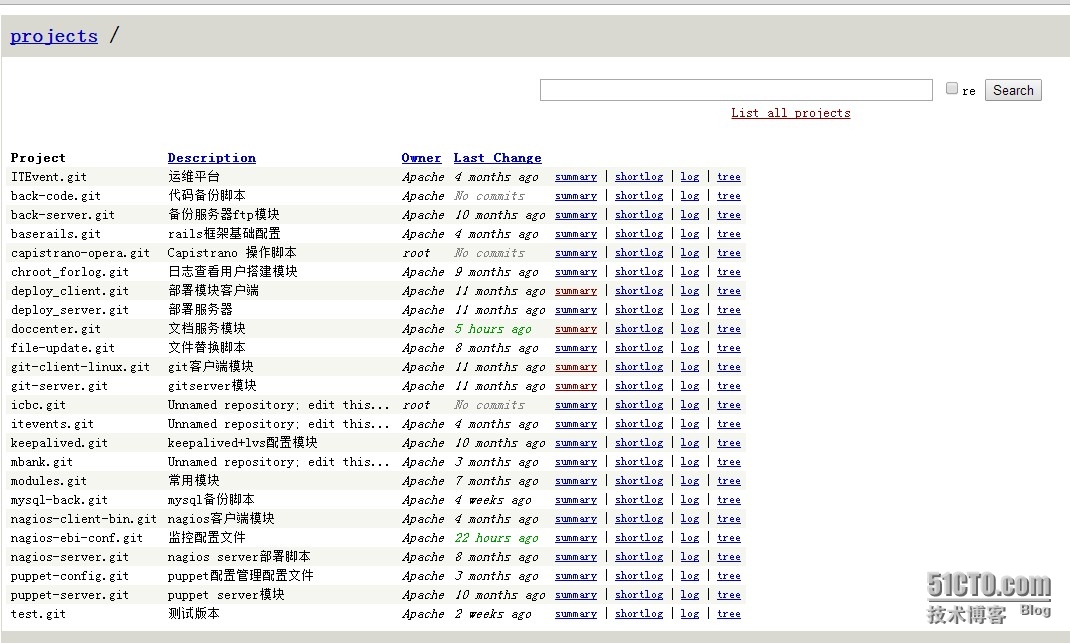
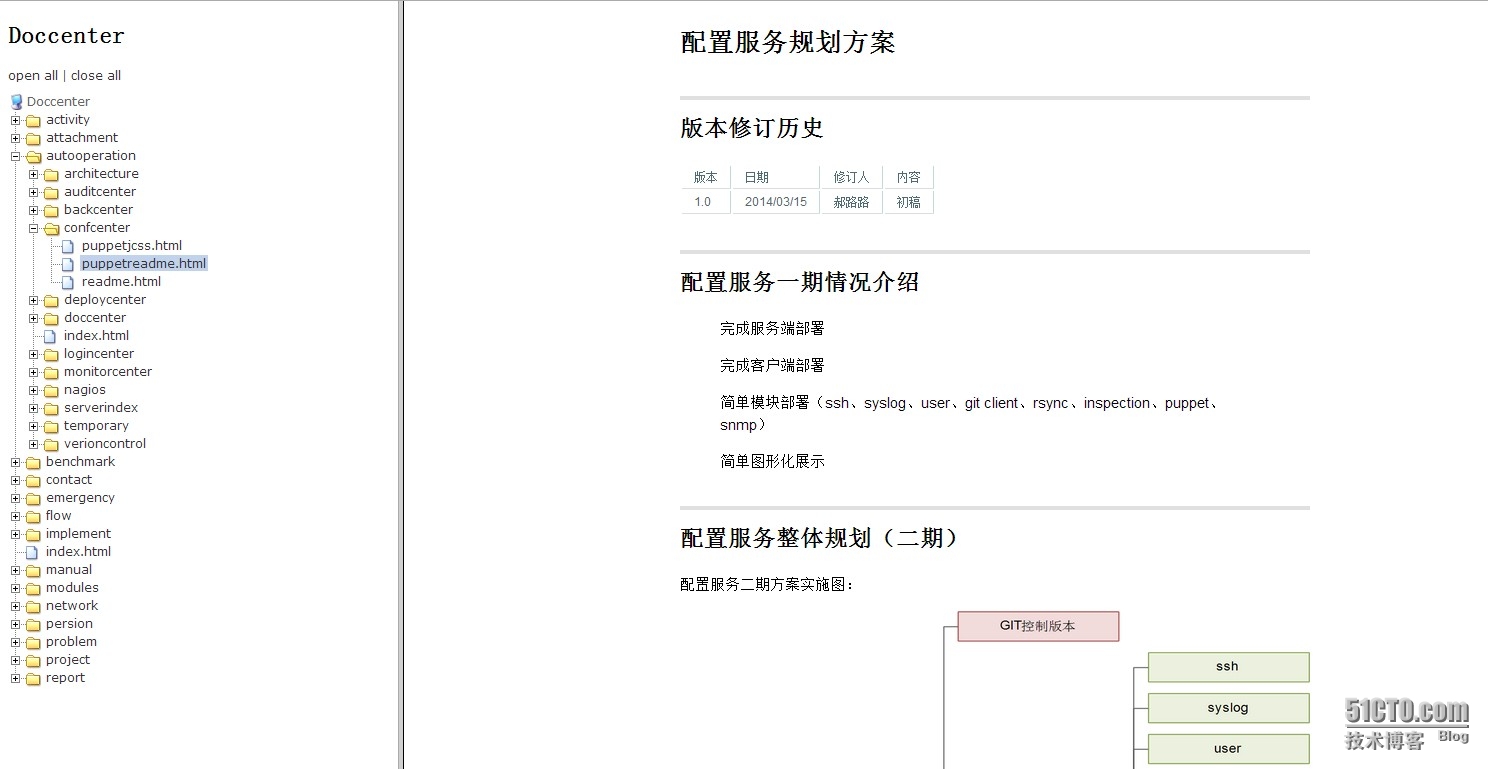
文档系统界面展示:
脚本保存页面:

每个脚本都建立一个仓库,方便日后修改和阅读,文档系统也通过git进行管理,上图中的doccenter。
文档系统展示界面:

操作全部为脚本方式部署,只需执行脚本即可,文章末提供下载方式。
1、安装部署脚本依赖环境
tar -zxvf deploy_client-5c88b13.tar.gz
cd deploy_client-5c88b13
sh install --install
这个软件包是包含脚本所需要的一些依赖环境。
2、安装git-client
tar -zxvf git-client-linux-64064c4.tar.gz
cd git-client-linux-64064c4
sh install --install
需挂载光盘or yum等
3、安装git-server
tar -zxvf git-server-cd595f5.tar.gz
cd git-server-cd595f5
sh install --install
cd git-client-linux-64064c4
cd git-1.7.12.1/
cd gitweb/
cp gitweb.cgi /opt/gitwebrepo/
cp -r static/ /opt/gitwebrepo/
vi /etc/http/conf.d/gitweb.conf
cd /etc/httpd/conf
service httpd restart
service xinetd restart
4、关闭SE linux
vi /etc/sysconfig/selinux
setenforce 0
5、创建git仓库
cd /opt/gitwebrepo
mkdir test.git
cd test.git/
git --bare init
cd /tmp/
git clone git://192.168.19.179/test.git
cd test/
touch test.sh
echo 111 >test.sh
git config --global user.email haolulue@163.com
chown apache:apache /opt/gitwebrepo/ -R
git status
git add *
git commit -m "测试"
git push origin master
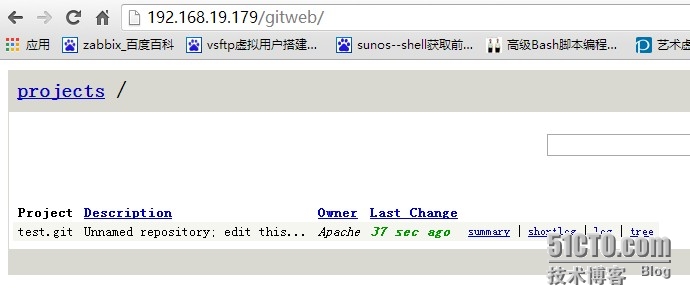
上传完成。
访问页面查看。

关闭git clone方式
mv /etc/xinetd.d/git-server /mnt/
service xinetd restart
git clone 更改为:
git clone http://192.168.19.179/repos/test.git
6、部署Doccenter
cd ~
tar -zxvf doccenter-eaa9a1d.tar.gz
mv doccenter-eaa9a1d doccenter
cd /opt/gitwebrepo
mkdir doccenter.git
cd doccenter.git/
git --bare init
cd /mnt/
git clone http://192.168.19.179/repos/doccenter.git
cd doccenter/
mv ~/doccenter/* .
git add *
git commit -m "文档系统"
git push origin master
7、文档系统脚本
vi /usr/bin/updatedoccenter.sh
chmod o+x /usr/bin/updatedoccenter.sh
执行脚本:
updatedoccenter.sh
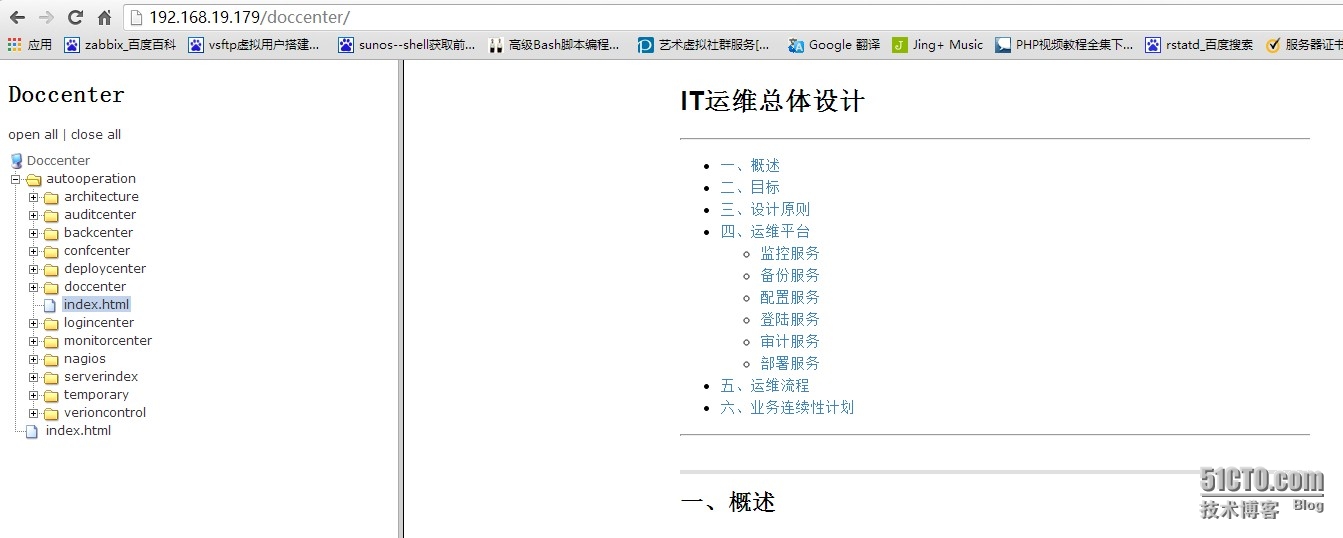
界面展示:

注:
每次更新完需执行此脚本生成页面即可。可安装git 桌面版本在windows中使用。
本文所使用的软件及脚本
http://down.51cto.com/data/1112227
