代码样例 # coding: utf-8 # !/usr/bin/python """ @File : draw_func.py @Author : jiaming @Modify Time: 2020/1/27 13:53 @Contact : https://blog.csdn.net/weixin_39541632 @Version : 1.0 @Desciption : cv2.line(),cv2.circle(),cv2.rectangle(),c
代码样例
# coding: utf-8# !/usr/bin/python
"""
@File : draw_func.py
@Author : jiaming
@Modify Time: 2020/1/27 13:53
@Contact : https://blog.csdn.net/weixin_39541632
@Version : 1.0
@Desciption : cv2.line(),cv2.circle(),cv2.rectangle(),cv2.ellipse(),
cv2.putText()
img: 你想要绘制图形的那幅图像
color: 形状的颜色 RGB:传入元组,灰度图:传入灰度值
thickness:线条的粗细,如果给一个闭合图形设置为 -1, 那么这个图形就会被填充,默认值
linetype: 线条的类型,8连接(默认),抗锯齿等。cv2.LINE_AA 为抗锯齿
"""
import os
import sys
import numpy as np
import cv2
from matplotlib import pyplot as plt
rawPath = os.path.abspath(__file__)
currentFile = os.path.basename(sys.argv[0])
dataPath = rawPath[:rawPath.find(currentFile)] + r'static\\'
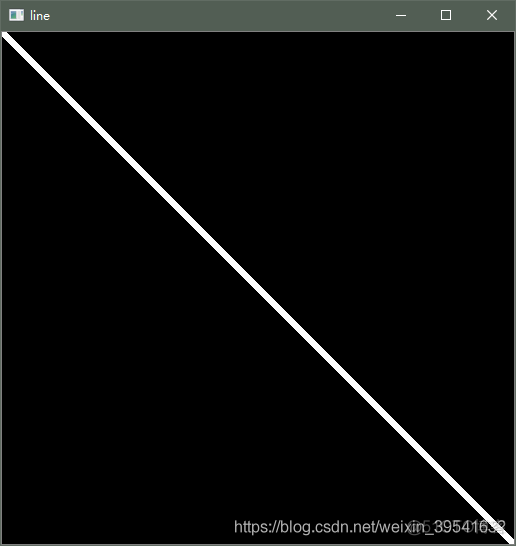
def draw_line():
img = np.zeros((512, 512, 3), np.uint8)
cv2.line(img, (0, 0), (511, 511), (255, 255, 255), 5)
cv2.imshow('line', img)
cv2.waitKey(0)
cv2.destroyAllWindows()
def draw_rectangle():
img = np.zeros((512, 512, 3), np.uint8)
cv2.rectangle(img, (384, 0), (510, 128), (255, 255, 255), 1)
cv2.imshow('rectangle', img)
cv2.waitKey(0)
cv2.destroyAllWindows()
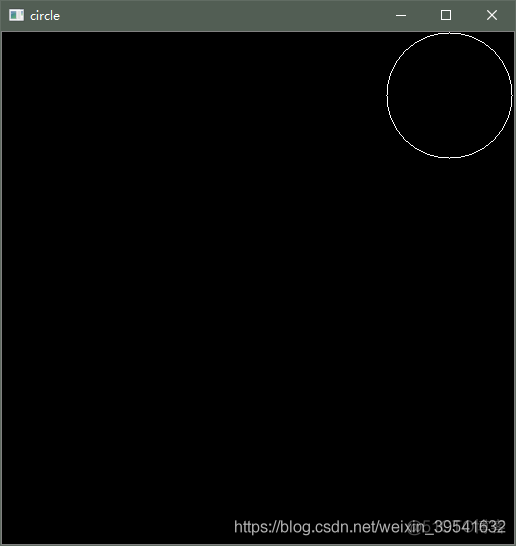
def draw_circle():
img = np.zeros((512, 512, 3), np.uint8)
cv2.circle(img, (447, 63), 63, (255, 255, 255), 1)
cv2.imshow('circle', img)
cv2.waitKey(0)
cv2.destroyAllWindows()
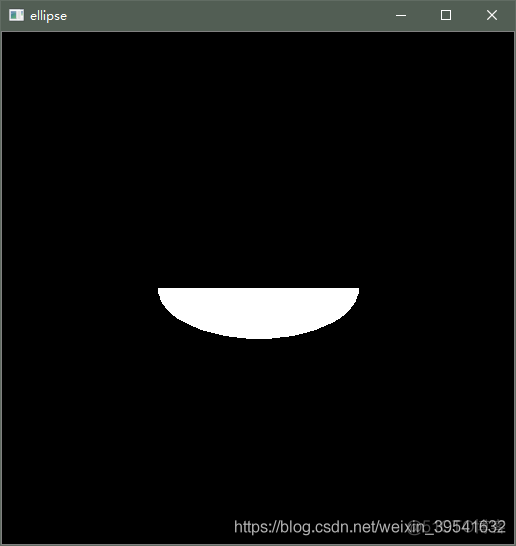
def draw_ellipse():
"""
绘制椭圆
:return:
"""
img = np.zeros((512, 512, 3), np.uint8)
# 中心点的位置坐标、长短轴长度、椭圆沿着逆时针方向旋转的角度、椭圆弧沿着顺时针方向起始的角度和结束角度
cv2.ellipse(img, (256, 256), (100, 50), 0, 0, 180, (255, 255, 255), -1)
cv2.imshow('ellipse', img)
cv2.waitKey(0)
cv2.destroyAllWindows()
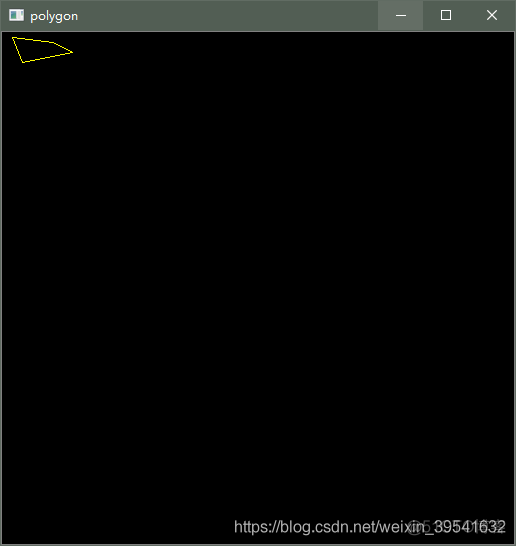
def draw_polygon():
"""
绘制多边形
cv2.polylines(img, pts, isClosed, color[, thickness[, lineType[, shift]]])
:return:
"""
img = np.zeros((512, 512, 3), np.uint8)
pts = np.array([[10, 5], [20, 30], [70, 20], [50, 10]], np.int32)
pts = pts.reshape((-1, 1, 2)) # 第一个参数 -1 表明这一维长度是根据后面的维度计算出来的。
cv2.polylines(img, [pts], True, (0, 255, 255)) # True: 封闭图形
cv2.imshow('polygon', img)
cv2.waitKey(0)
cv2.destroyAllWindows()
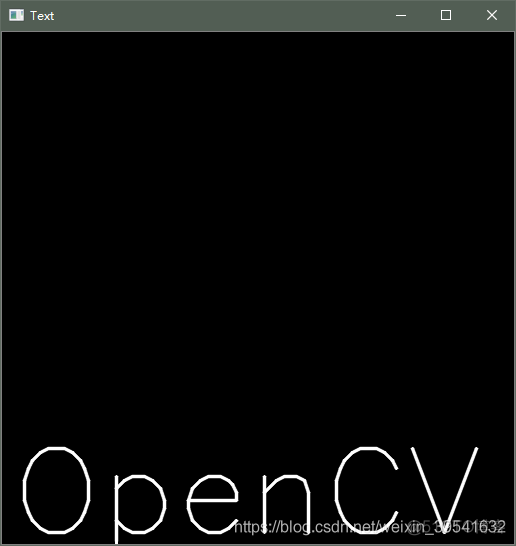
def putText():
"""
在图片上添加文字
:return:
"""
img = np.zeros((512, 512, 3), np.uint8)
font = cv2.FONT_HERSHEY_SIMPLEX
# 绘制的文字、绘制的位置、字体类型、字体大小、文字属性
cv2.putText(img, 'OpenCV', (10, 500), font, 4, (255, 255, 255), 2,
cv2.LINE_AA)
cv2.imshow('Text', img)
cv2.waitKey()
if __name__ == "__main__":
putText()
结果显示
