很多的伙伴们都喜欢使用photoshop,不过你们了解使用photoshop如何绘制出水滴背景吗?今日在这里就为你们带来了photoshop绘画出水滴背景的具体操作流程。 打开PS软件,新建一个空白文档,
很多的伙伴们都喜欢使用photoshop,不过你们了解使用photoshop如何绘制出水滴背景吗?今日在这里就为你们带来了photoshop绘画出水滴背景的具体操作流程。
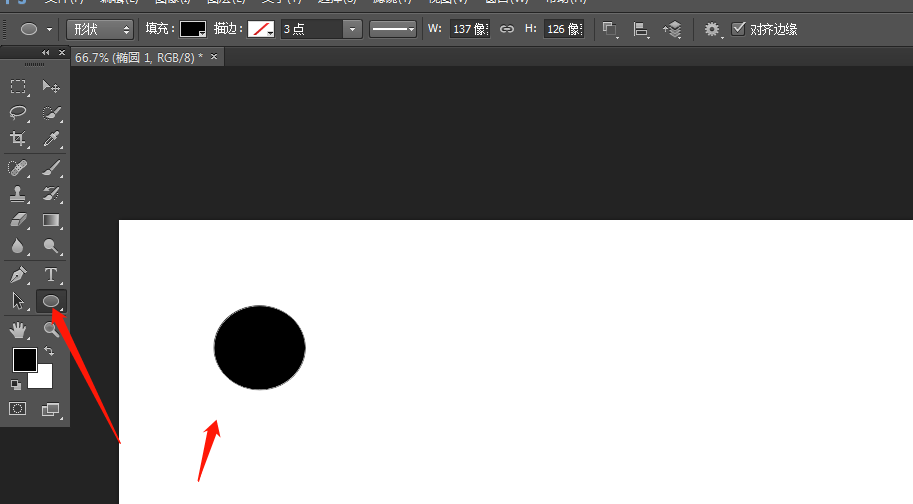
打开PS软件,新建一个空白文档,选择形状工具——椭圆,在空白页面画上圆形,
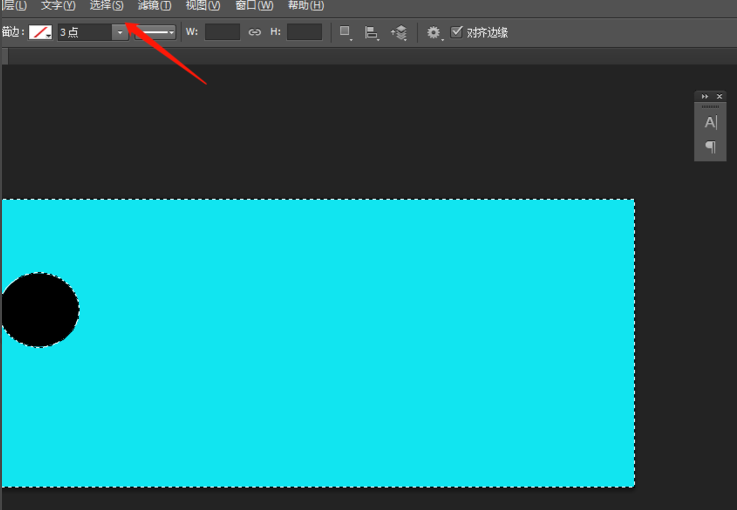
选中新建的圆形图层,右击鼠标,选择格式化图层,然后选择“选择”菜单栏,选择“载入选区”,载入选区之后,选择“选择”菜单栏,选择反选,新建一个空白图层,填充自己喜欢的颜色,例如我填充的蓝色。
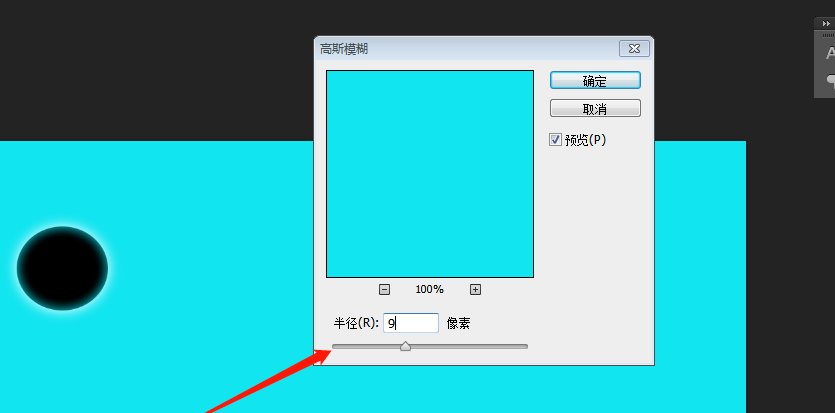
按ctrl+d取消选区,选择“滤镜”菜单栏,选择模糊,
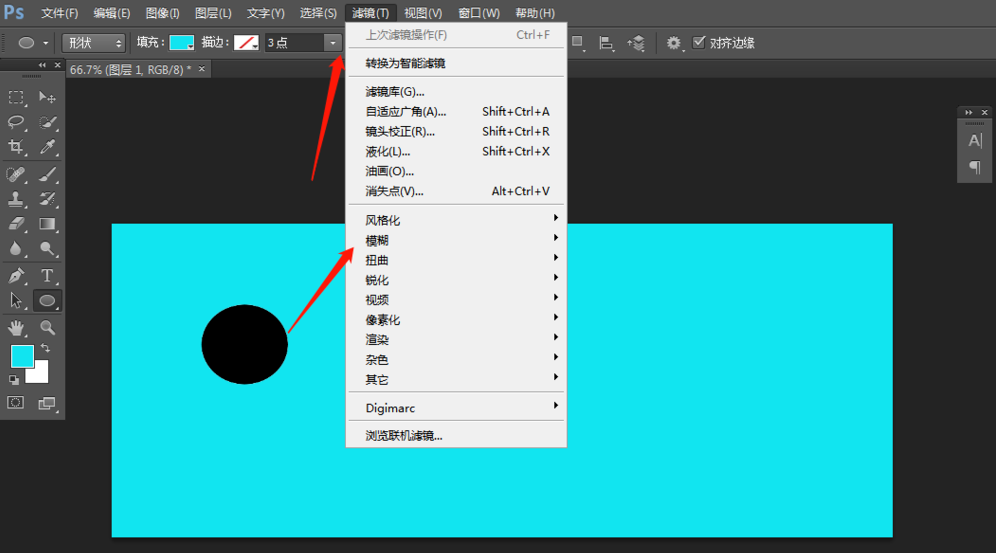
在模糊的下拉选项中,选择高斯模糊,像素设置为9,
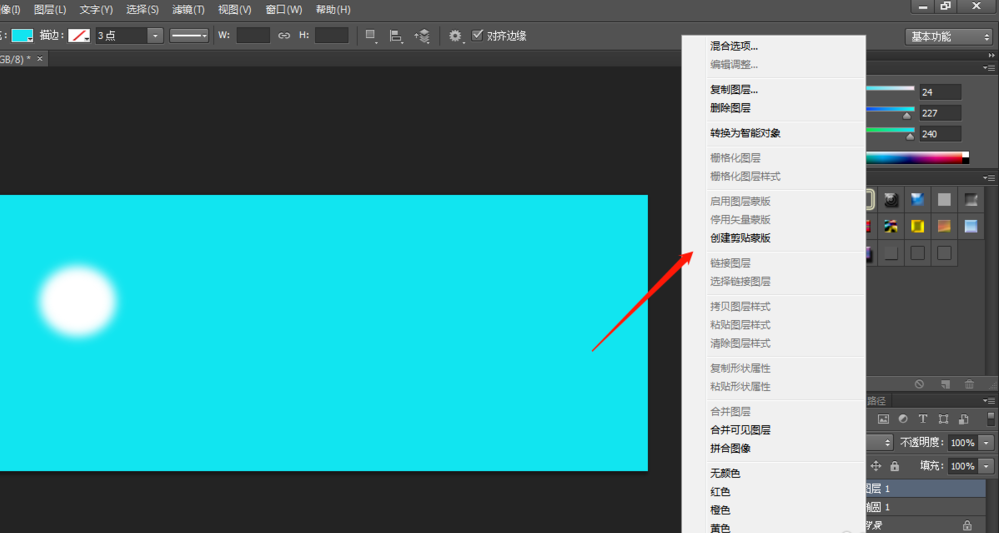
然后将新建的椭圆图层隐藏,选择图层1,右击,添加创建蒙版,
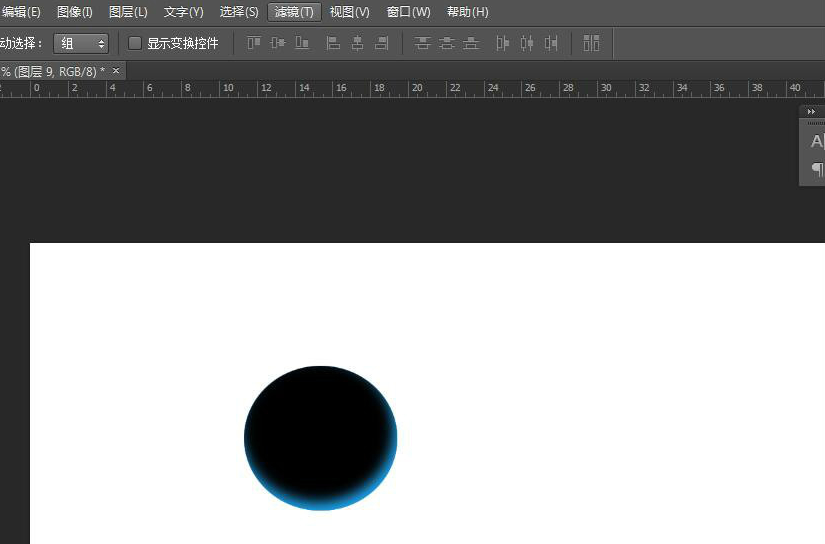
添加蒙版之后,将图层定位在椭圆图层上,上下移动可调整位置及效果,
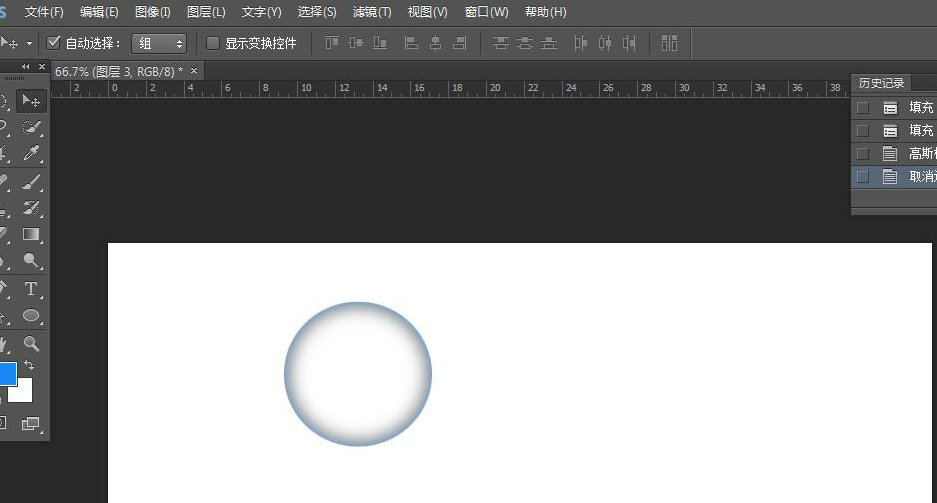
调查椭圆选区,新建一个图层,填充为白色,选择滤镜-模糊-高斯模糊,像素为12,
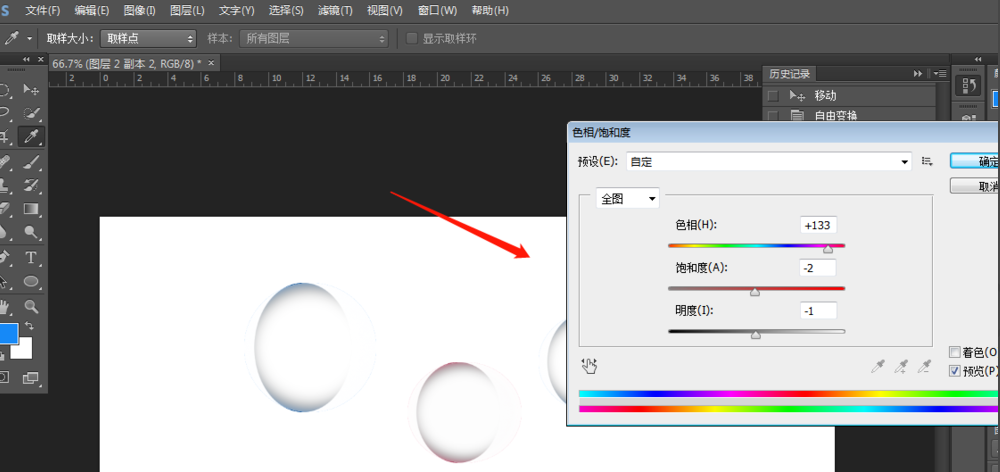
调整之后,合并,可以随意复制、变换形状,选择色相饱和度,可以调整颜色。
相信你们看完了上文描述的photoshop绘画出水滴背景的具体操作流程,应该都学会啦!