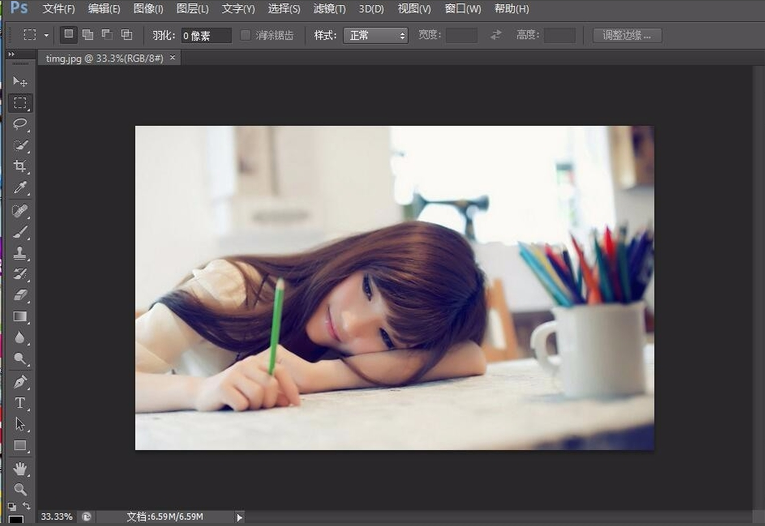
想必使用Photoshop的用户都知道其中有一个色阶的功能,那么你们知道Photoshop中怎么采用色阶抠图吗?下文就带来了Photoshop中采用色阶抠图的具体操作方法。 打开Photoshop软件,导入图片素
想必使用Photoshop的用户都知道其中有一个色阶的功能,那么你们知道Photoshop中怎么采用色阶抠图吗?下文就带来了Photoshop中采用色阶抠图的具体操作方法。

打开Photoshop软件,导入图片素材,
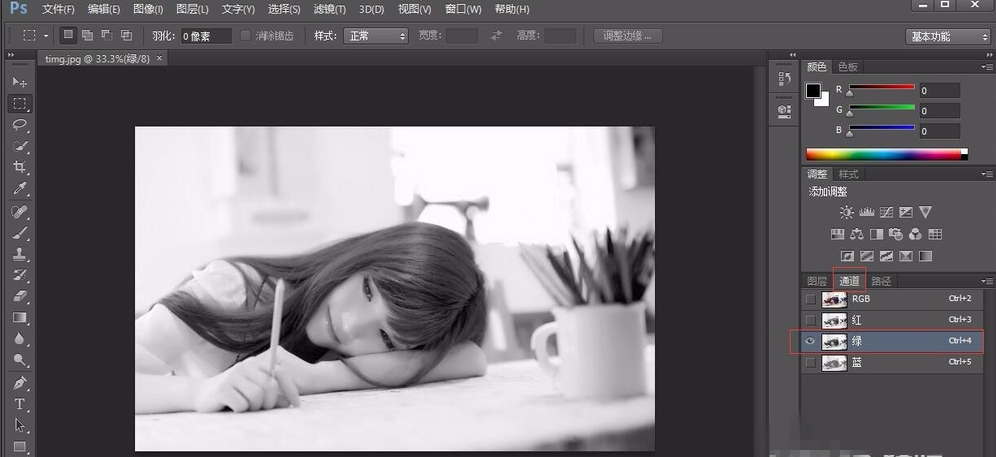
选择通道,查看红黄绿几个通道,看看哪一个色彩更容易对比黑白;
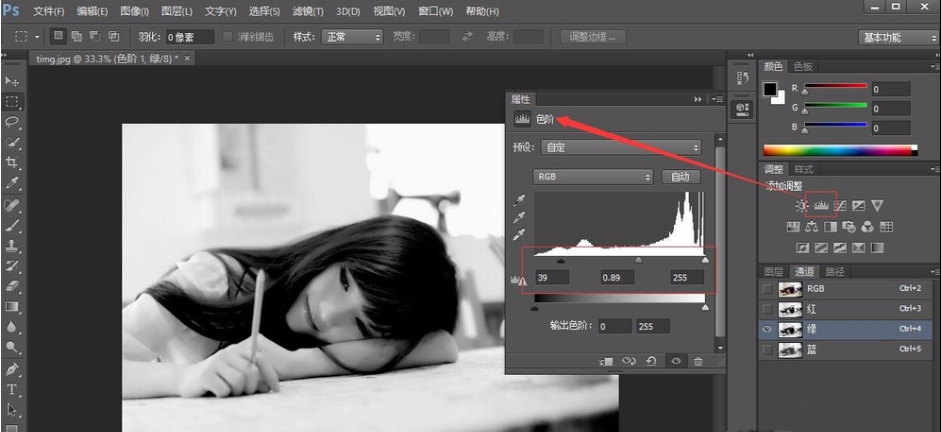
然后选择色阶,调整至黑白色对比更明显;
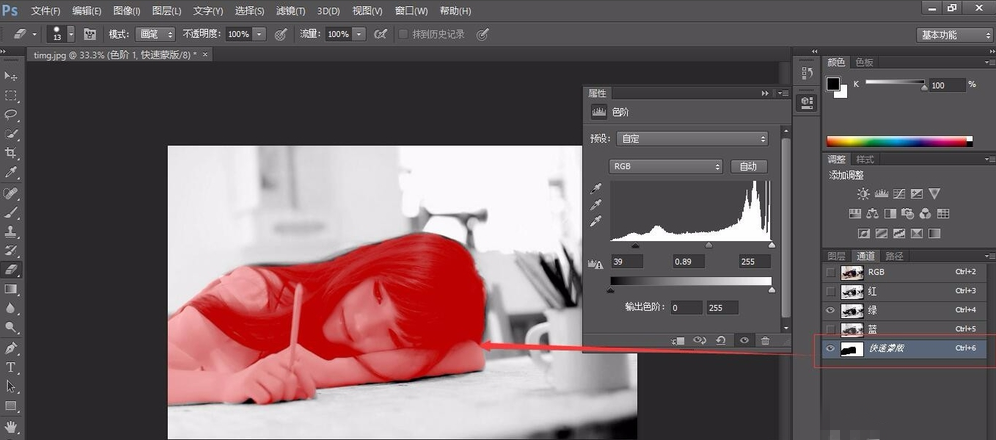
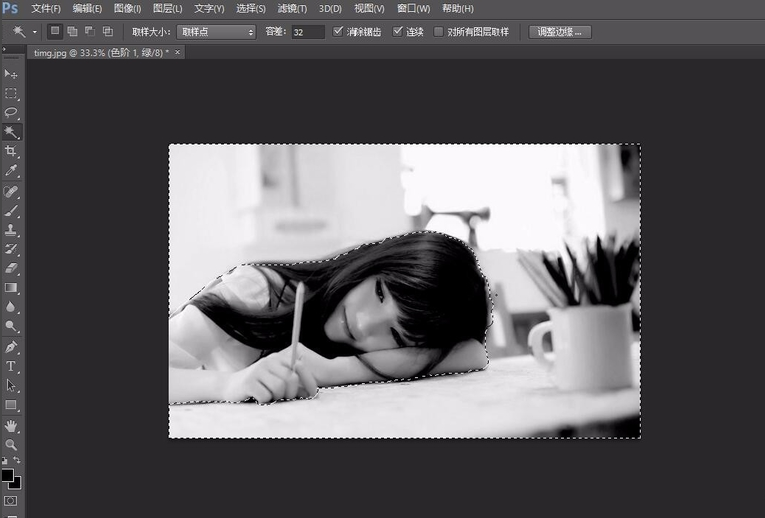
在通道上面建一个图层蒙版,将美女的脸部全部涂红;
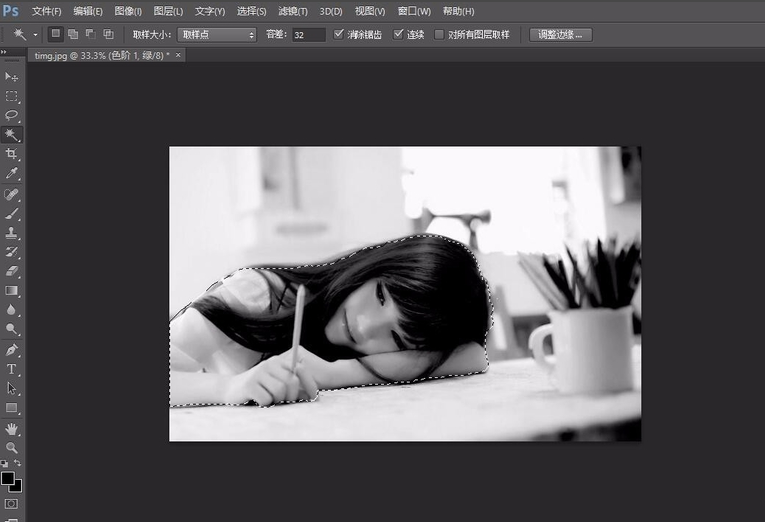
采用魔法工具进行选择,然后选择反向选取;
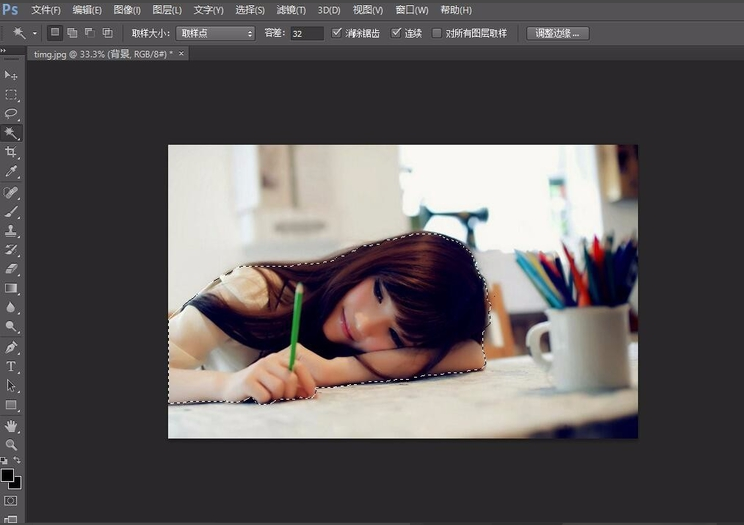
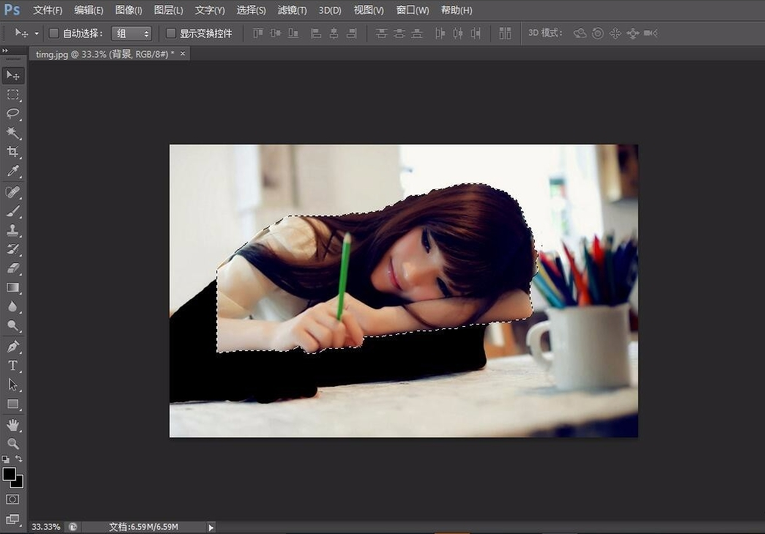
打开原图就可以看到选择的区域,美女图片就这样被抠出来了,可以随意将美女图片拉到其它背景图中。
按照上文呈现的Photoshop中采用色阶抠图的具体操作方法,你们自己也赶快去试试吧!