很多的同学们都在使用Photoshop,不过你们晓得Photoshop中如何设计名片吗?今日在这里就呈现了Photoshop中设计名片的详细操作方法。 打开Photoshop软件,在菜单栏中点击文件——新建, 单击
很多的同学们都在使用Photoshop,不过你们晓得Photoshop中如何设计名片吗?今日在这里就呈现了Photoshop中设计名片的详细操作方法。

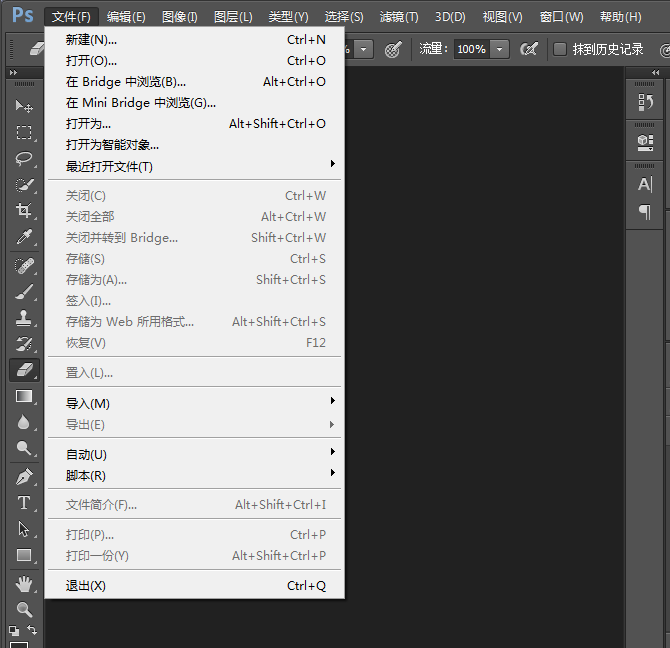
打开Photoshop软件,在菜单栏中点击文件——新建,
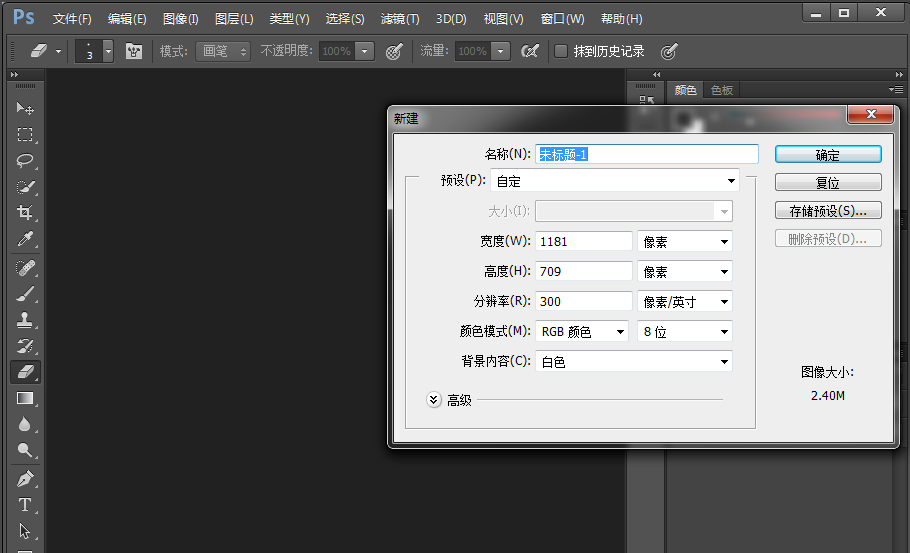
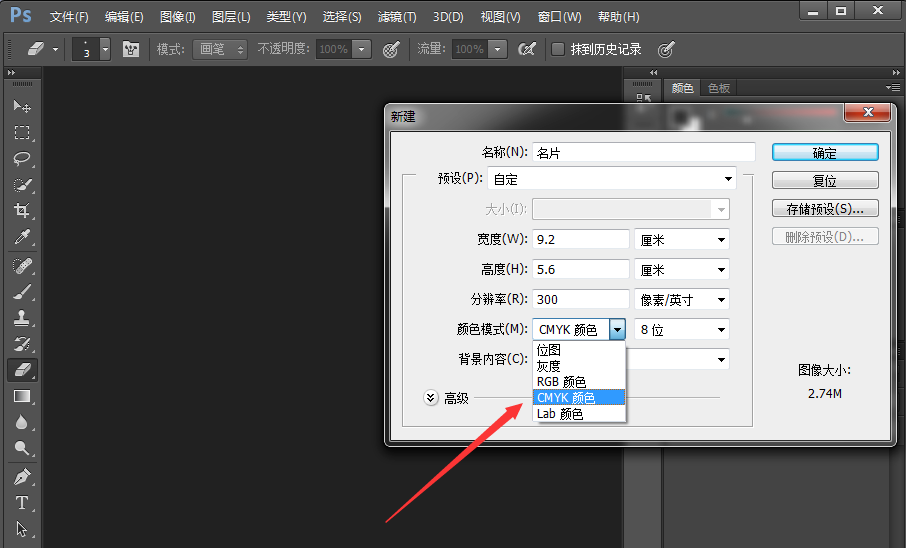
单击“新建”,弹出对话框,修改参数,
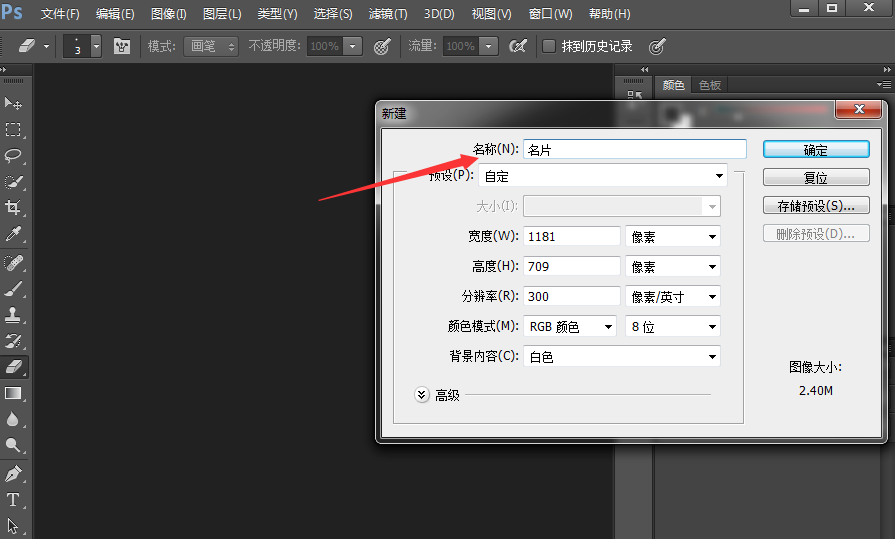
修改名字为“名片”,
将宽设置为“9.2厘米”,高设置为“5.6厘米”,这是留出了出血线,
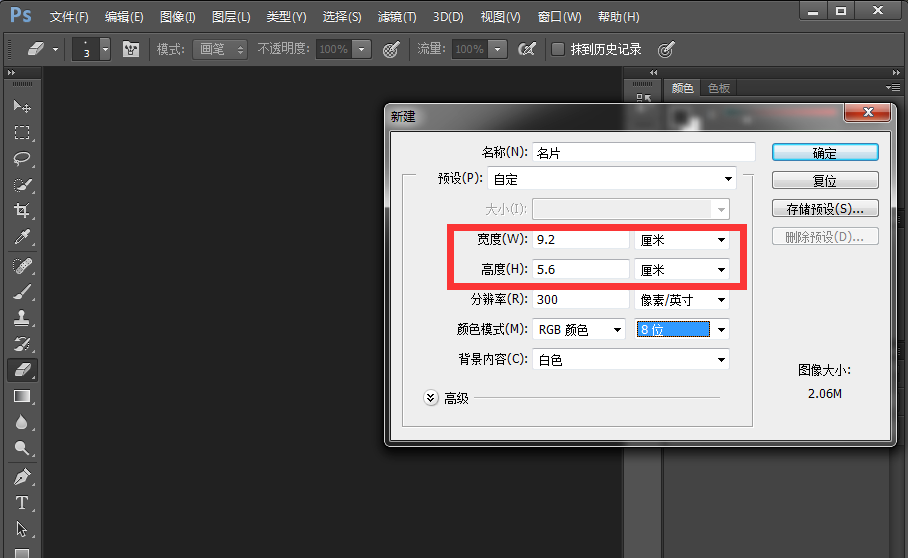
颜色模式一般为RGB,做名片需要选择CMYK模式,单击确定,
完成新建,在左上角显示名字和颜色模式,你会发现有四条蓝线,这是标尺,
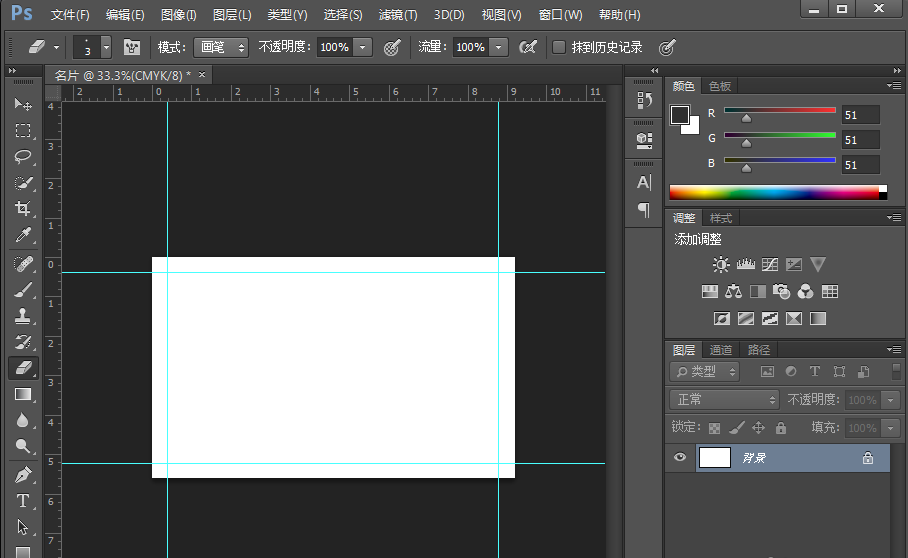
编辑内容要在蓝线范围内,太靠边缘可能会被裁切。
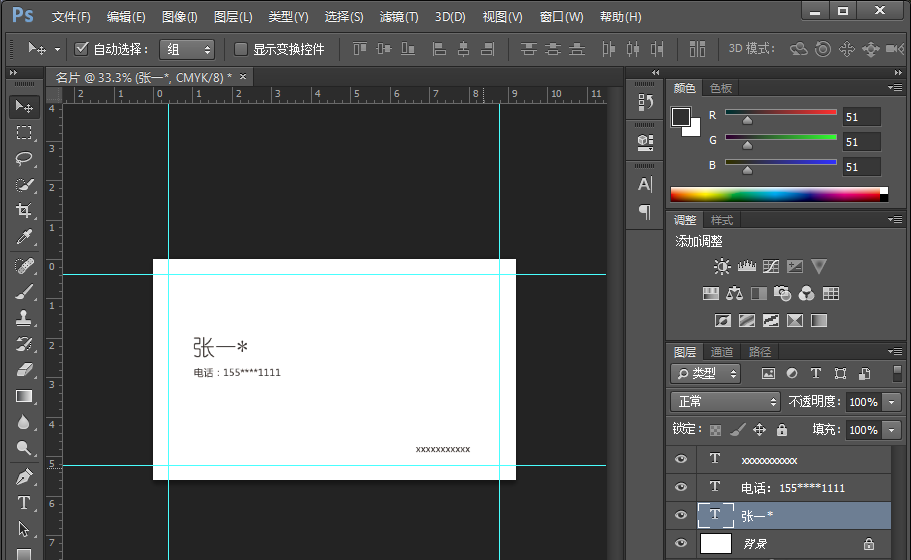
按照以上Photoshop中设计名片的详细操作方法,你们自己也赶紧去试试吧!
【文章原创作者:香港显卡服务器 http://www.558idc.com/hkgpu.html 网络转载请说明出处】