今日为你们带来的教程是关于ppt的,你们晓得使用ppt如何手绘竹子竹笋呢?下文就为大伙带来使用ppt手绘竹子竹笋的操作步骤。 1、首先打开office powerpoint2003之后,在自选图形~基本形状那
今日为你们带来的教程是关于ppt的,你们晓得使用ppt如何手绘竹子竹笋呢?下文就为大伙带来使用ppt手绘竹子竹笋的操作步骤。

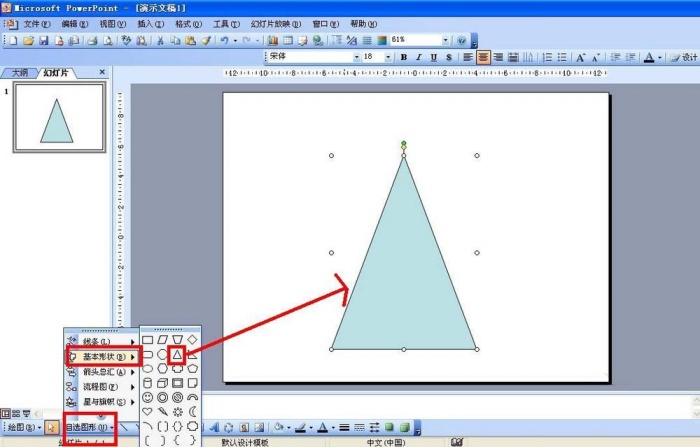
1、首先打开office powerpoint2003之后,在自选图形~基本形状那里选择一个等腰三角形,然后在编辑页面画一个等腰三角形。
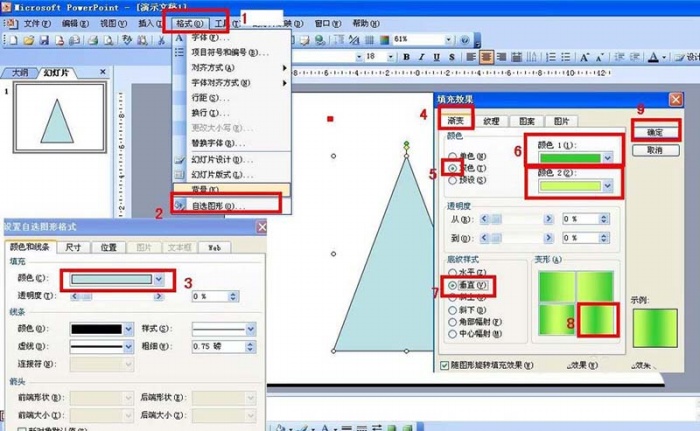
2、选择等腰三角形,点击格式——自选图形——颜色填充选择颜色填充——渐变——双色——一种选择绿色——一种浅黄色——垂直——选择第四种
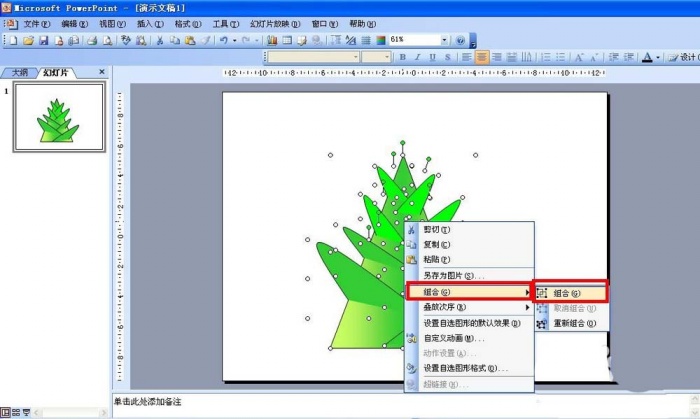
3、选择自选图形——线条——选择曲线,在三角形两边画上竹笋的叶子,并填充绿色。

4、选择所有画好的组件——右击鼠标——选择组合——组合,这样把竹笋组合成一个图形。然后把整个竹笋图形缩小。
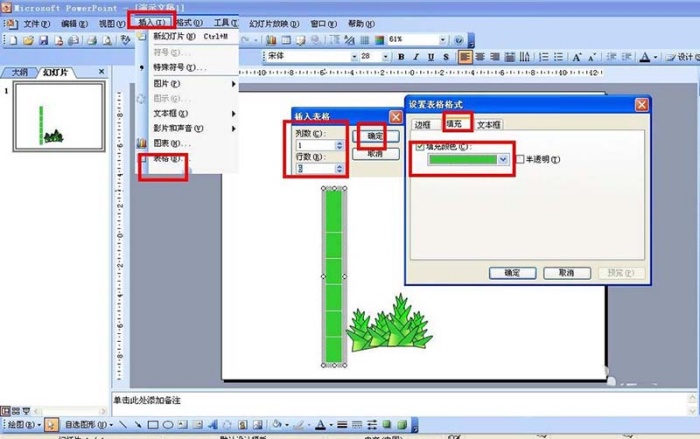
5、复制粘贴几个竹笋,然后插入——表格——设置1列6行——插入表格后,设置表格边框颜色为白色,表格填充绿色
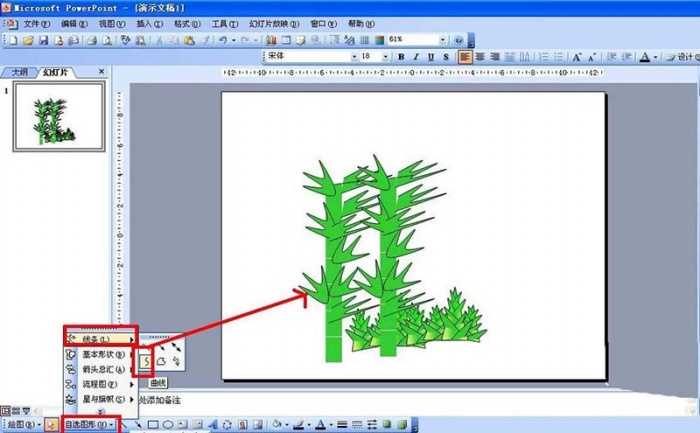
6、最后,再点击自选图形——线条——曲线,再用曲线竹子的叶子,并且双击后填充上绿色。这样就画好了
按照上文描述的使用ppt手绘竹子竹笋的操作步骤,你们自己也赶紧去试试吧!
以上就是小编为大家带来的使用ppt手绘竹子竹笋的操作步骤全部内容,更多相关资讯尽在iefans!